
Before the long text, here’s the recipe:
GOLDEN DOUGH
3 cups bread flour
About 3 cups AP flour, give or take
1 cup water (warm, but not too warm. About body temperature)
1 cup milk (or 1 cup water + 1/4 cup powdered milk)
1 egg
1 tbsp + 3/4 tsp yeast
1 tsp salt
1/2 cup sugar
1/4 cup softened butter
METHOD
(The long method’s below, so read ahead if you want a step-by-step tutorial with photos)
- Proof your yeast. Do this by pouring the 1 cup of water into a bowl, and sprinkling the yeast over. Let that sit for about 5-10 minutes or until bubbly and foamy.
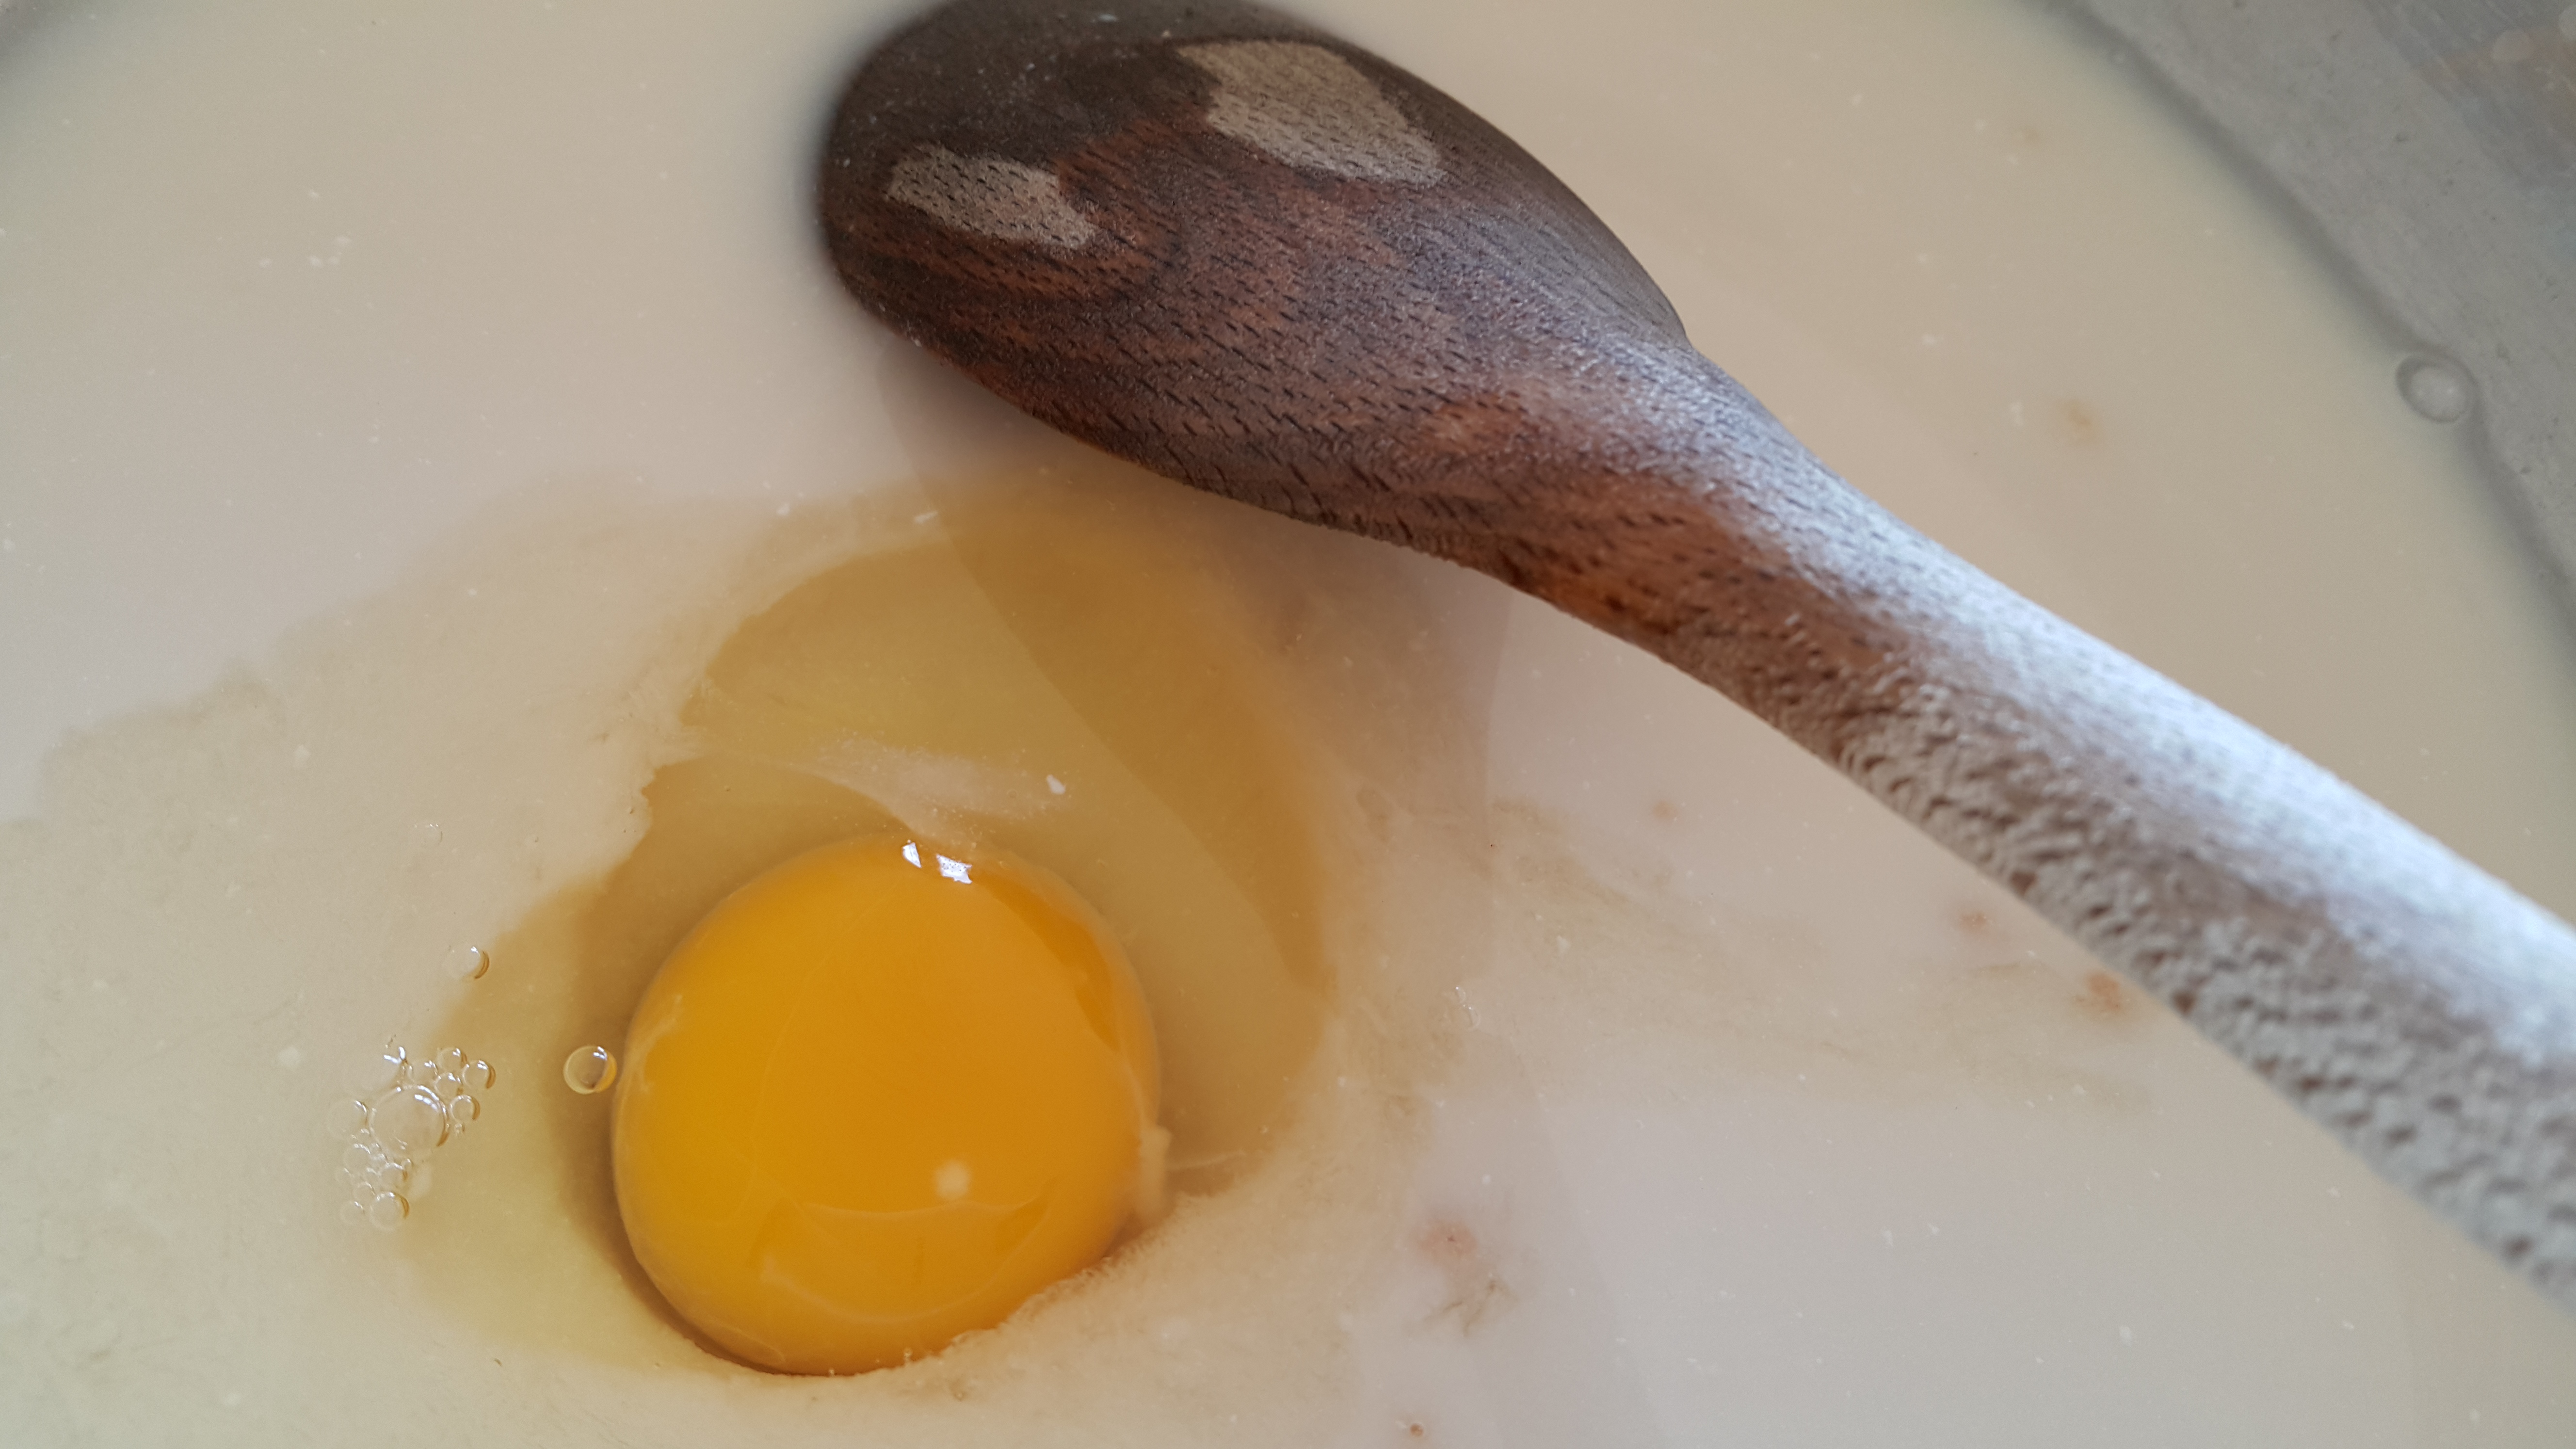
- Add in the egg, sugar, milk, and salt, and give that a good stir. Start add your flour in, a bit at a time.
- Add one increment of flour and mix until well combined. Keep doing that until the dough cannot be stirred, then turn it out onto a work surface. You can keep adding flour while you knead if the dough kneads (ha) it.
- After kneading until the dough is no longer sticky and is elastic, smear the butter all over it, and knead to incorporate. This will take a while so be patient. The dough will get weird and ropey.
- Shape the dough into a ball and place it in another bowl. Cover, and let it rise until doubled or so, about an hour. When it’s risen, punch it down, transfer it to your work surface, and knead a couple of times to get the excess gas out.
- You can now shape the dough any way you want. If you want to see how to shape sub rolls, just scroll down for the long post. Place your shaped dough on a parchment-lined baking sheet (or you can grease/flour/do whatever it) and cover. Leave them to rise until very puffy and doubled, about an hour.
- Preheat your oven to 180C. After they’ve completed their final rising, put the dough in the oven for 25-30 minutes. Oh, and a note, if you want to glaze the dough with an egg wash, do it after the last rising. Simply beat one egg with a little water and brush that (gently) on to the dough. So back to the baking. If the bread gets a little too dark just tent it with foil. Bake until it’s a deep golden colour, which I will say is golden brown.
- That’s it! Be sure to enjoy.
No sane person would, after a night of no sleep, start baking at 8 in the morning. Which brings me to two conclusions- one, I’m probably not sane, and two, my reasoning is skewed. But hey, if you’re up early, you might as well make the best of the situation. And by situation I mean lighting, just so I didn’t have to chase daylight later on. Don’t worry, you don’t have to get up and bake at 8, unless you’re out of your mind and slightly obsessed with taking photos.
I have to say that the weather today was a refreshing change. There was actually sunlight (shock!) which was a form of salvation from the biting cold. The sky had colour to it, which may not sound like much to you, but actually is, since it’s a drastic change from the bleached white it was. Seriously. It looked like paper yesterday.
But what better way to spend a winter’s day than to bake? I’m sorry I spent a paragraph talking about the weather. I’m awfully boring and easily distracted that way. You see, I hate the cold with a burning passion. Ironic description but please bear with me. Sometimes a blanket’s not enough. And when your bathrobe starts giving you static shocks (please tell me I’m not alone), you need another source of warmth. Sure, you could take a hot shower, but there’s no fun in that. Okay, there is. Never mind. Have I mentioned I got no sleep last night?
You know what’s bliss? Standing in front of the oven for longer than you care to admit. Coupled with the luscious scent of whatever you’ve got baking. It makes you feel like you’re wrapped up in a duvet of caramel. From that, I’ve deduced that you can indeed sleep while you’re standing and still awake. From that, I’ve deduced that I make absolutely no sense.
It’s my opinion that bread smells the best when baking. Brownies come a close second, but bread has to be the boss here. There’s something so cozy and homely about that buttery, yeasty aroma. Perhaps even something nostalgic.
So when my sister requested I make submarine rolls, I was elated, and almost… proud, in her very wise decision. For the rolls I used a lightly enriched dough recipe. What makes it so scrumptious is the butter. Do not be afraid of butter. Butter is your friend. Butter is better.
Let’s get on with it then.
Start by sprinkling your yeast into the water. Let it sit until foamy or freaky. As a general rule for yeast, the freakier the better.
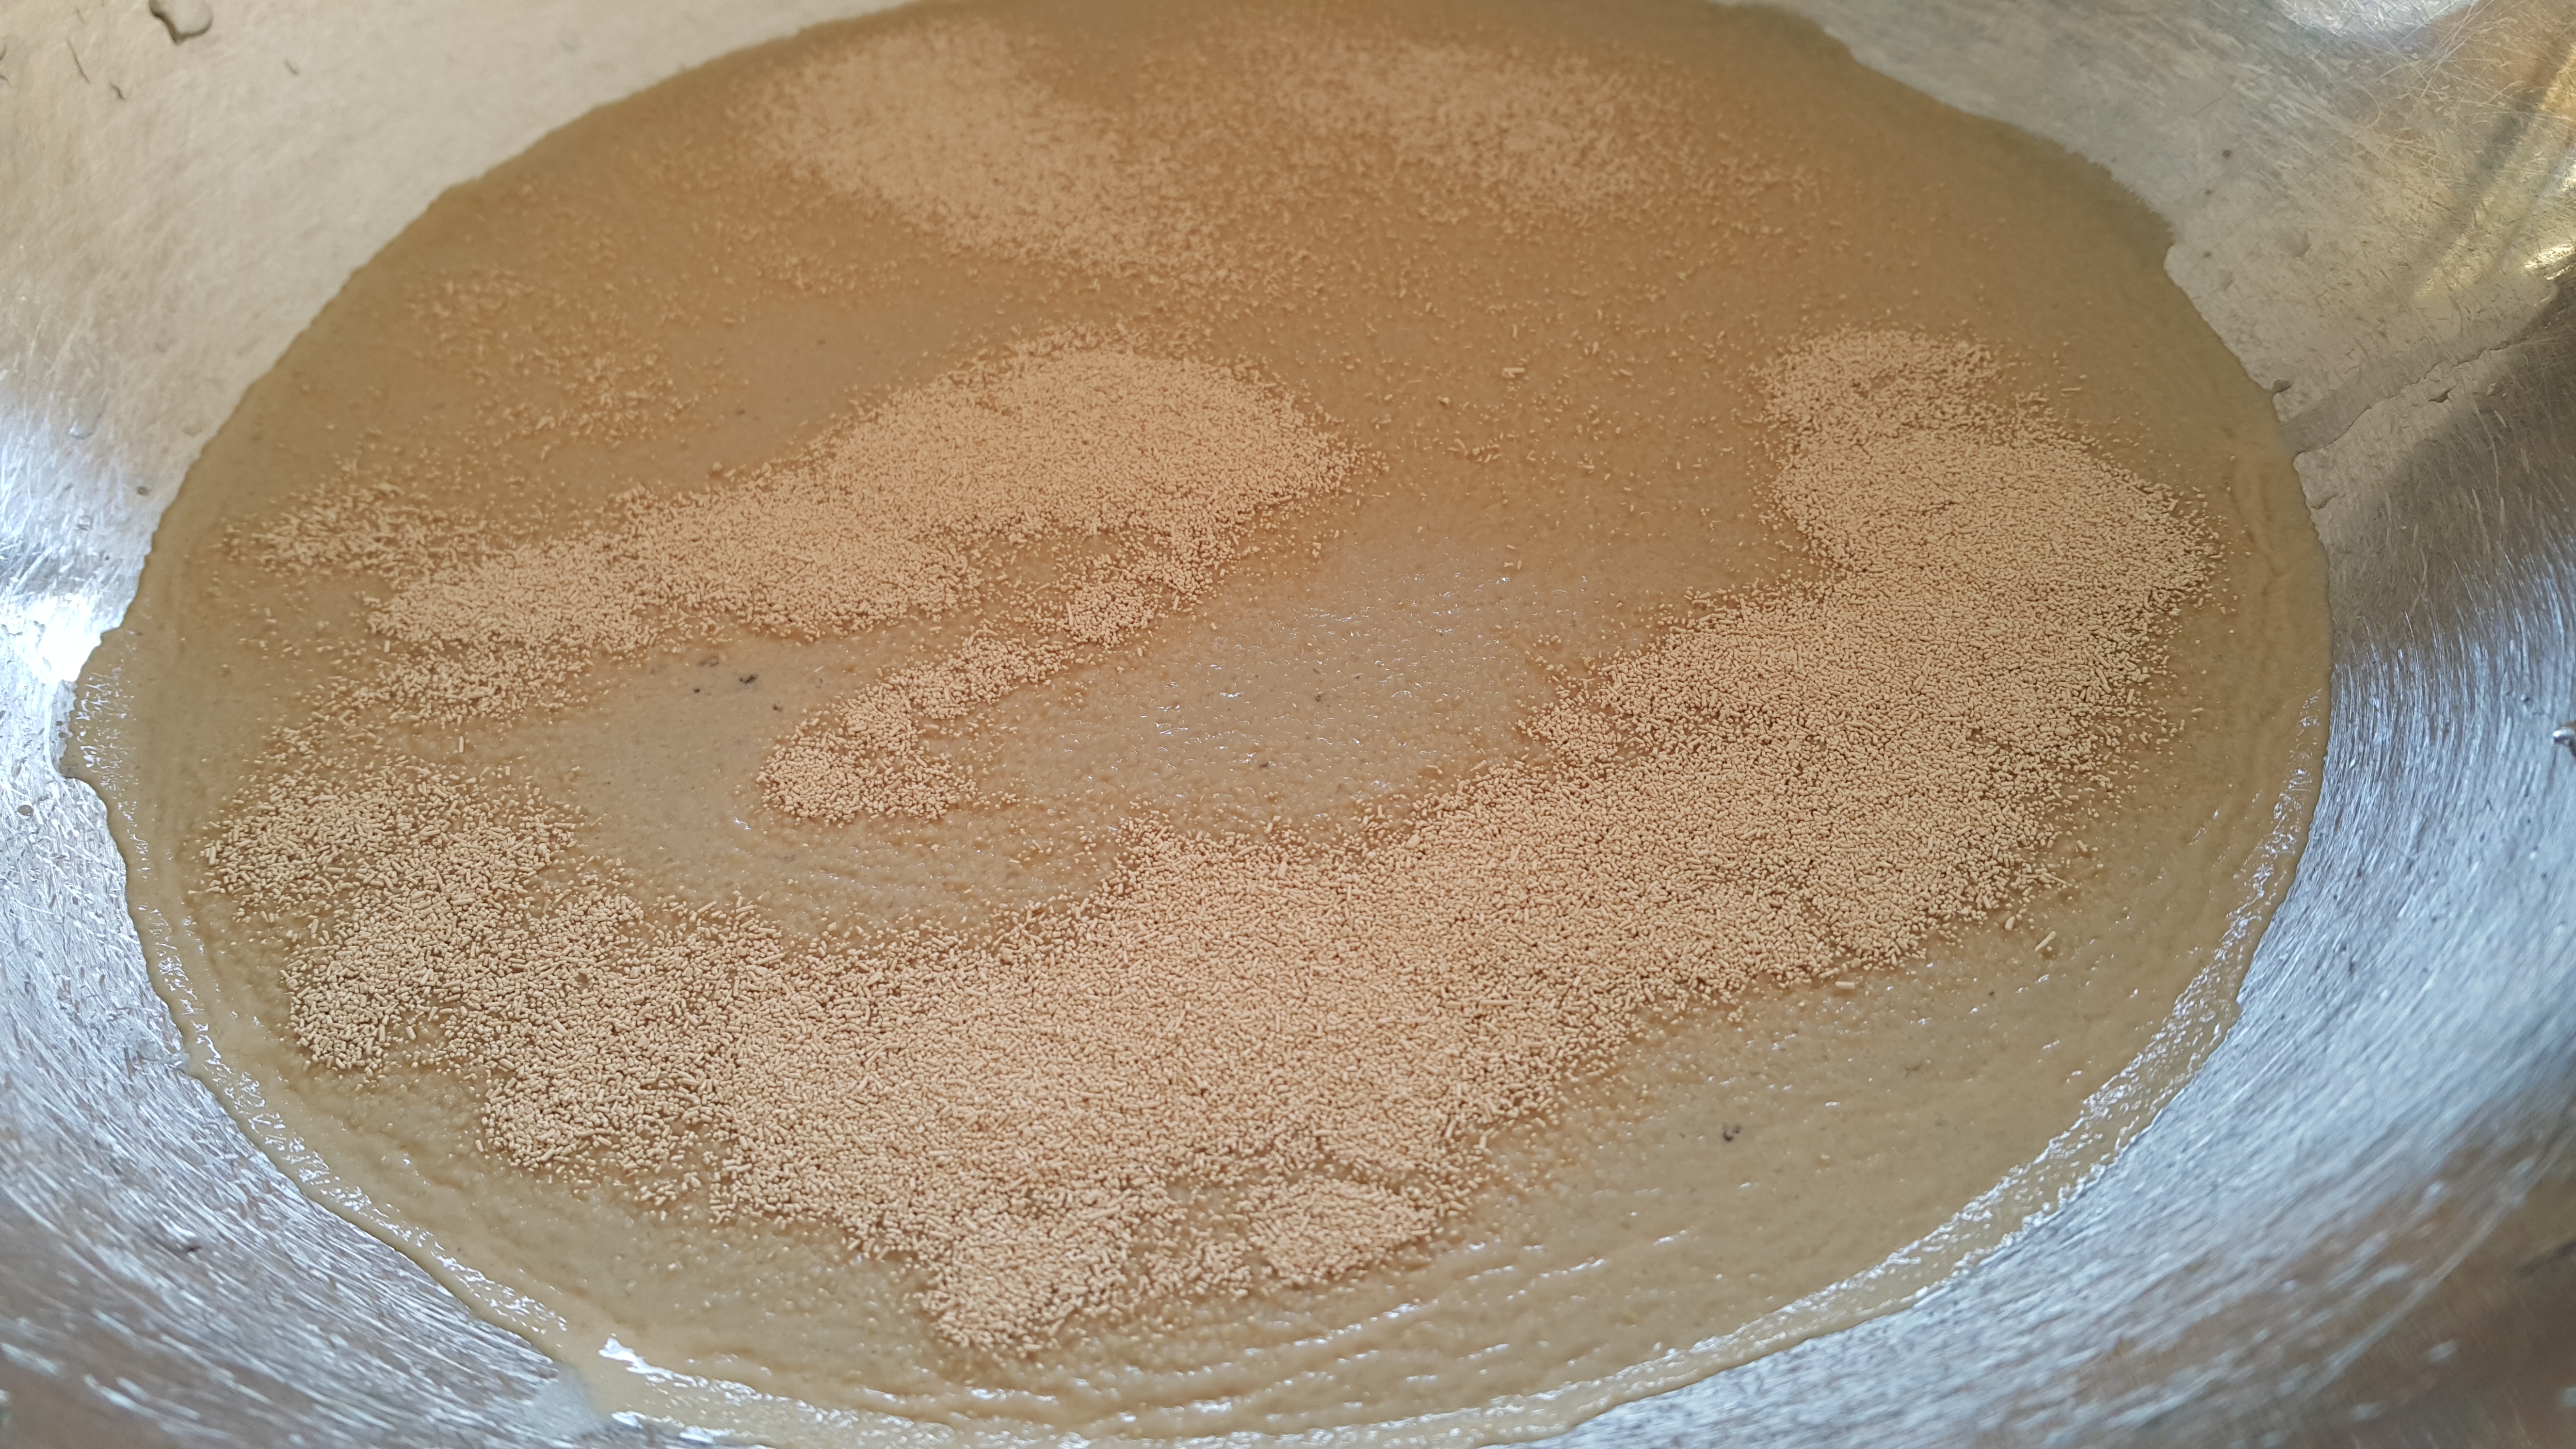
Now, I got impatient and as I knew my yeast wasn’t dead, I didn’t wait for very long. So as you can see there isn’t much freakiness going on.
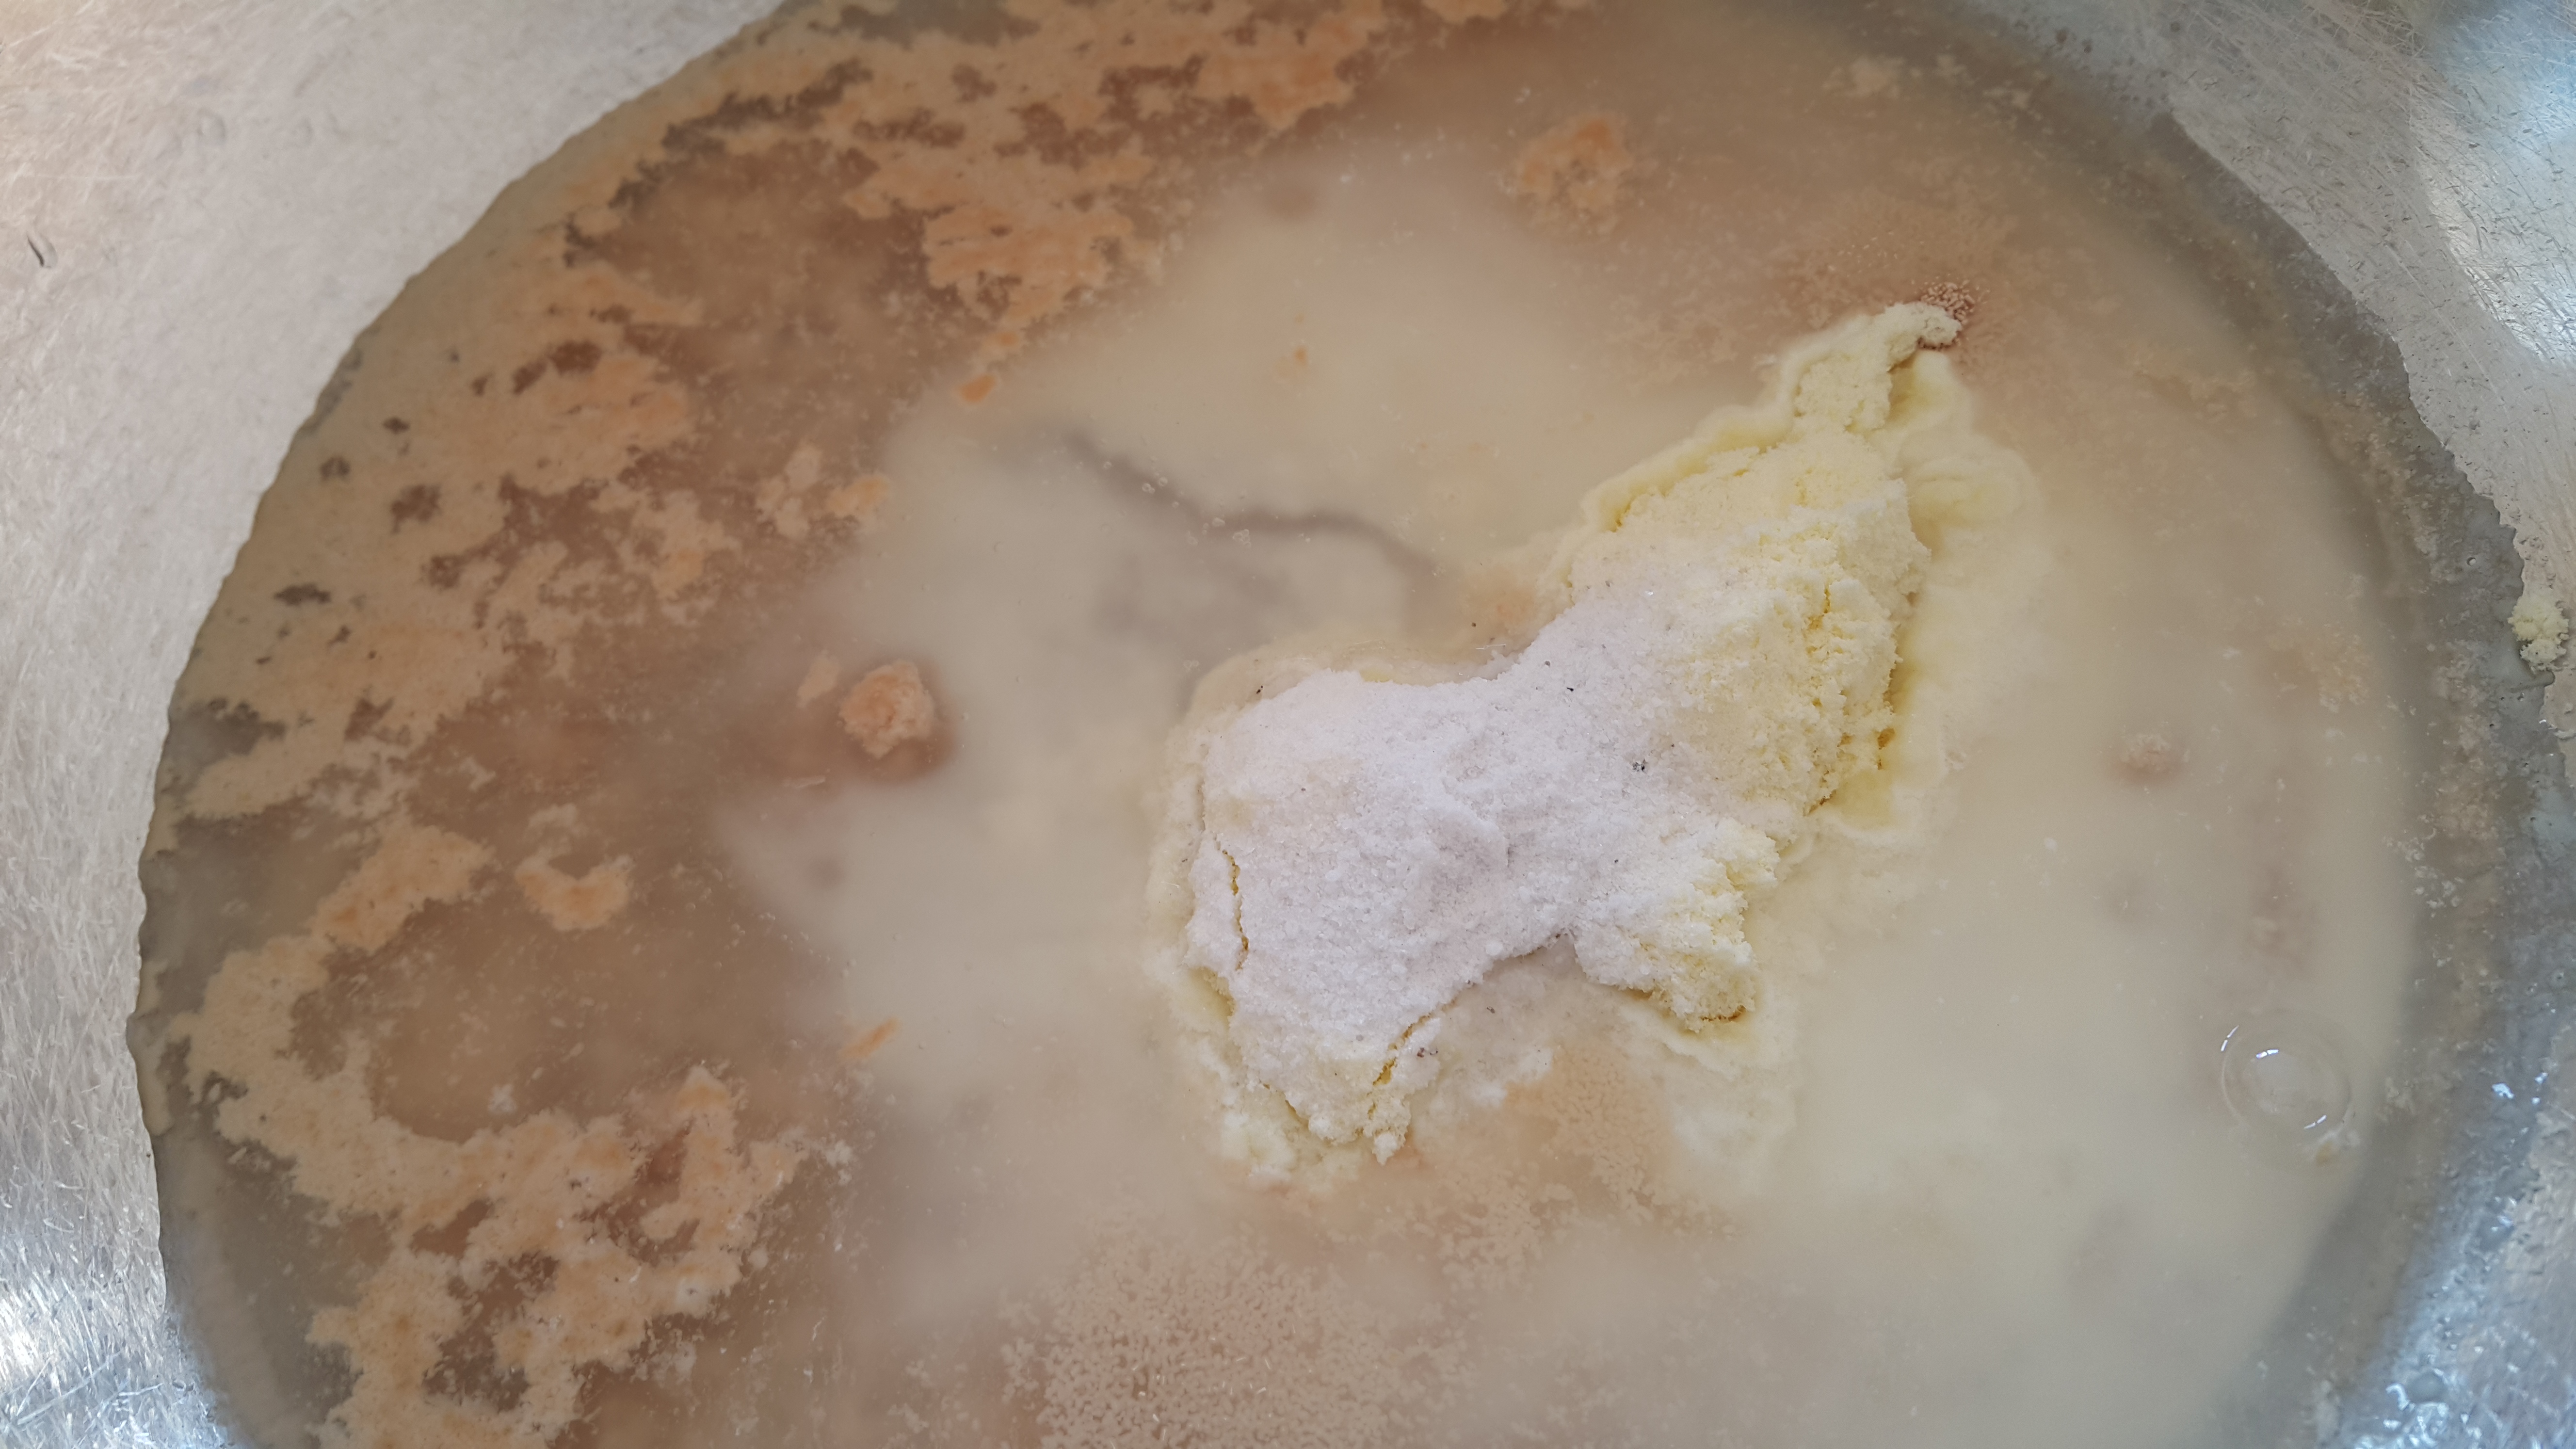
Add the salt, milk powder (if using), and sugar. Give that a stir then add the other liquids…
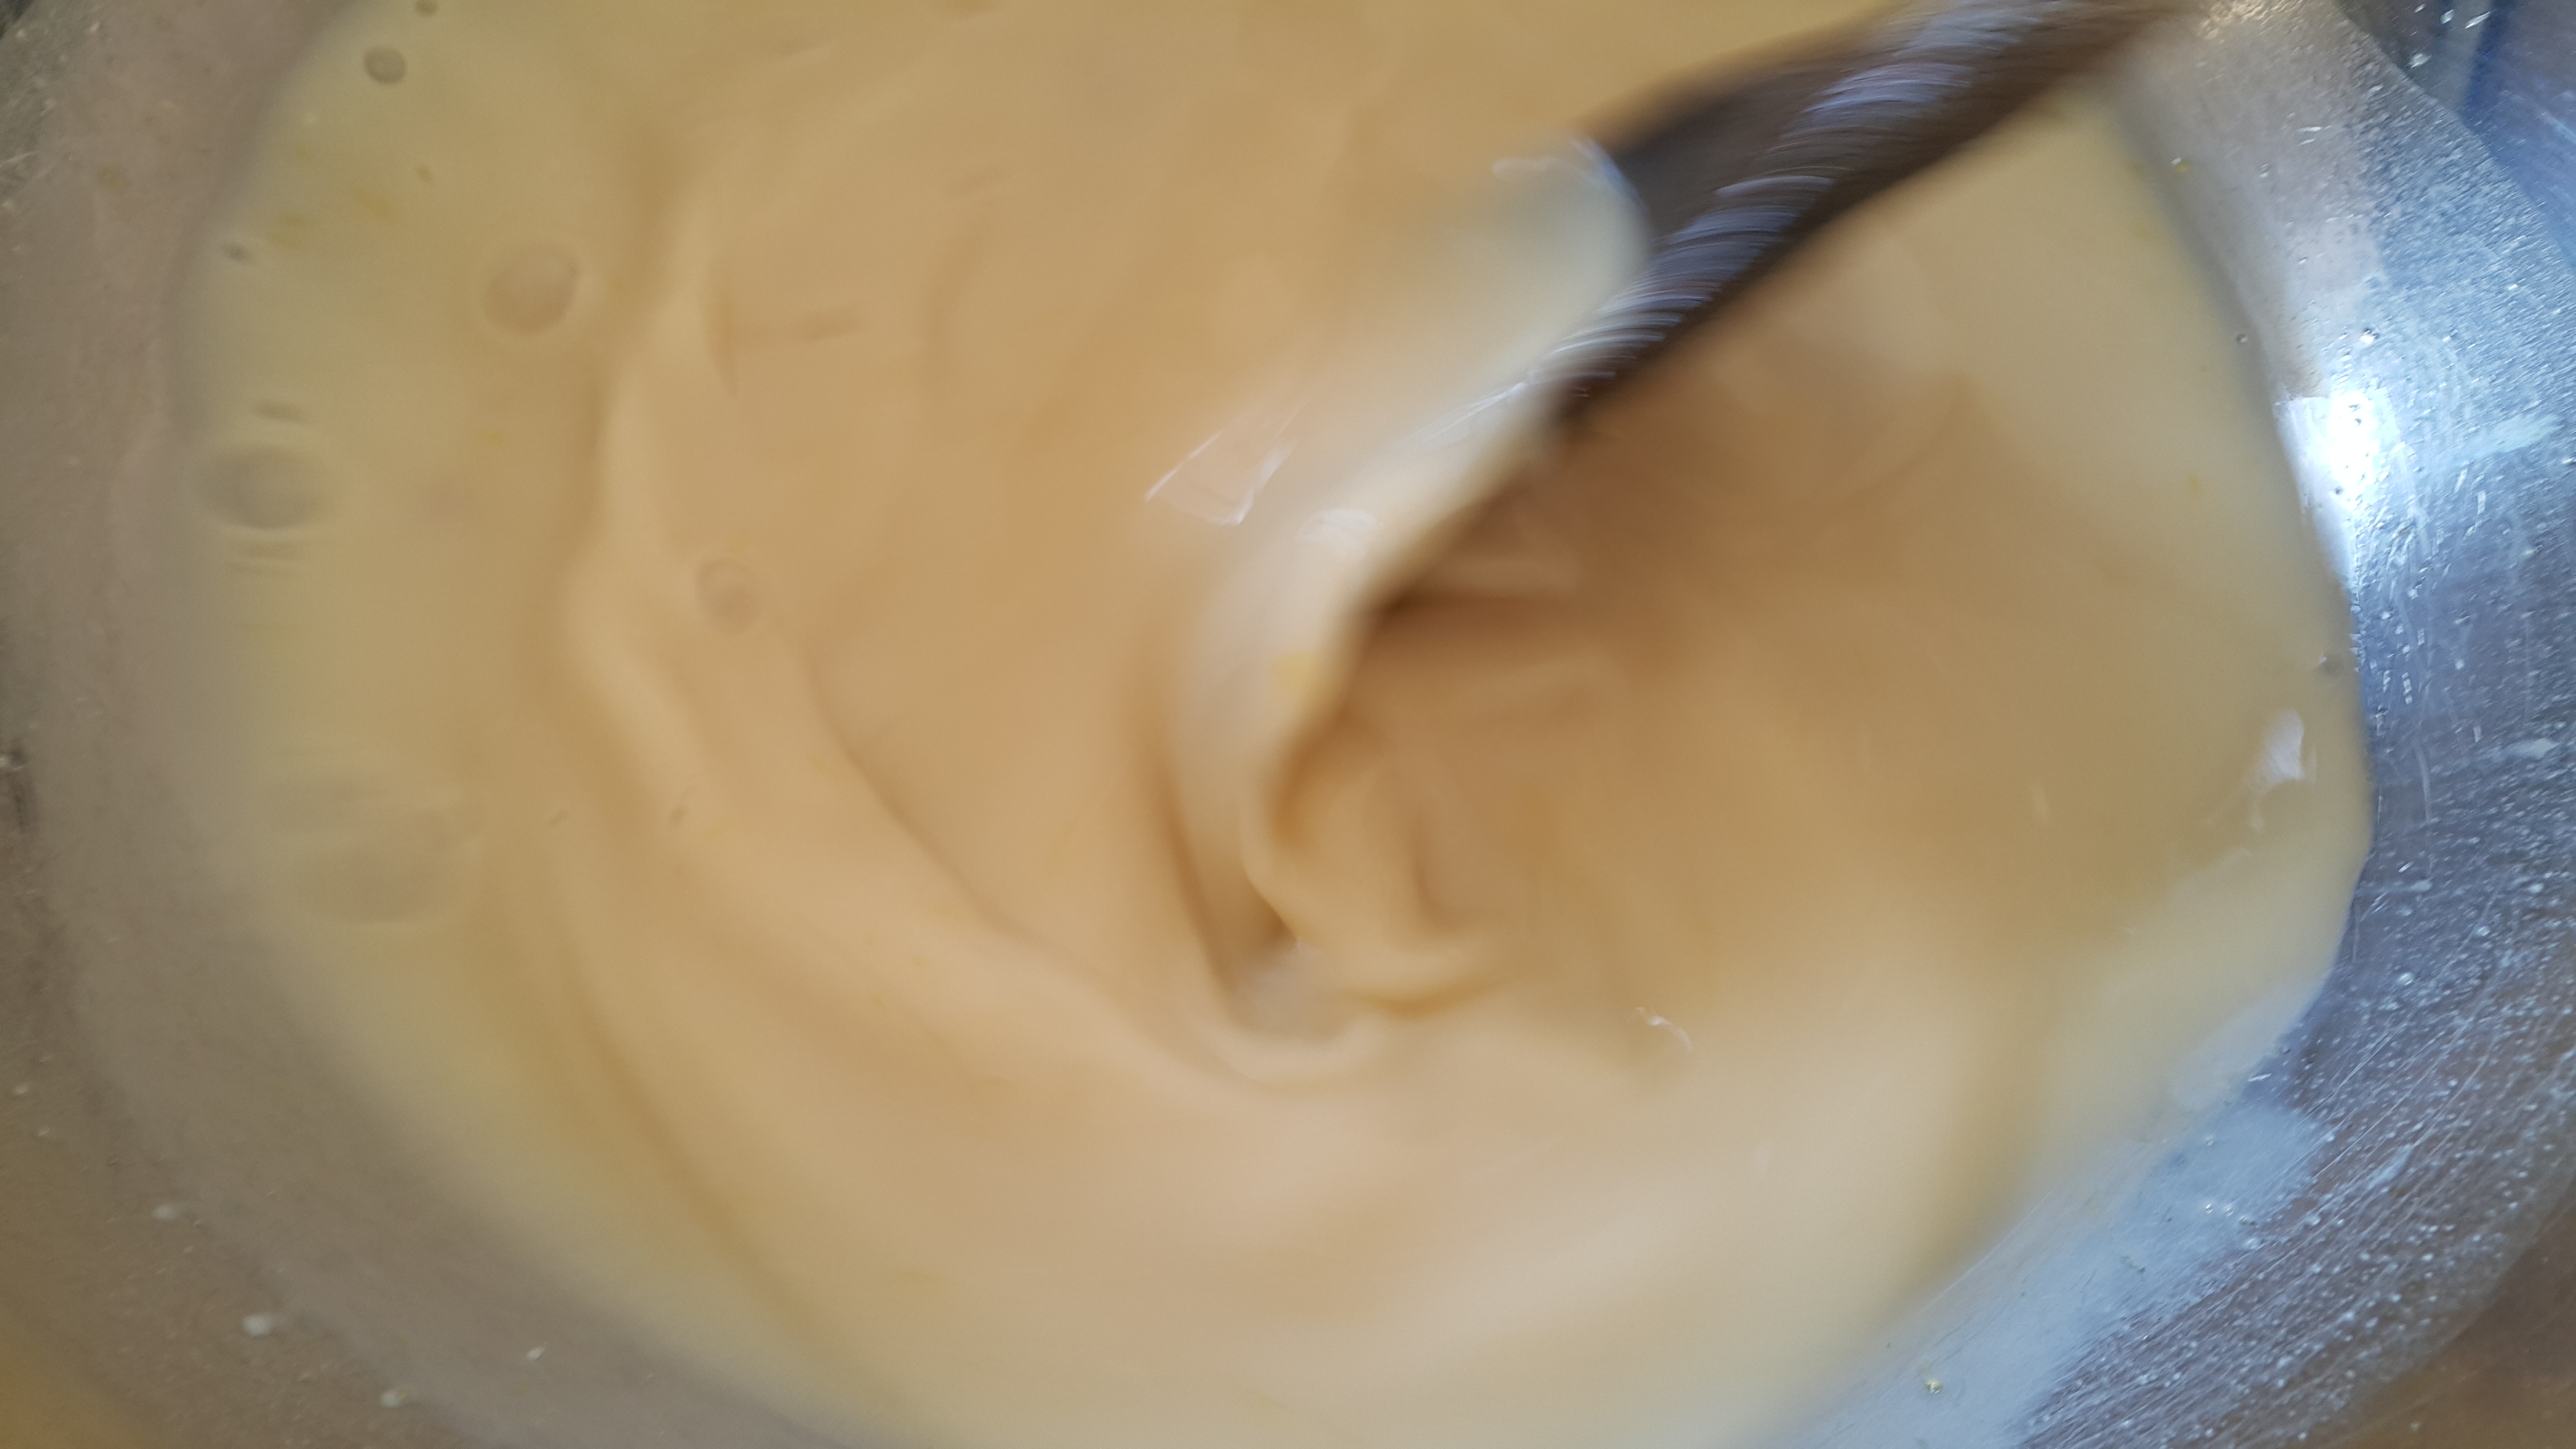
…and give that a good stir!
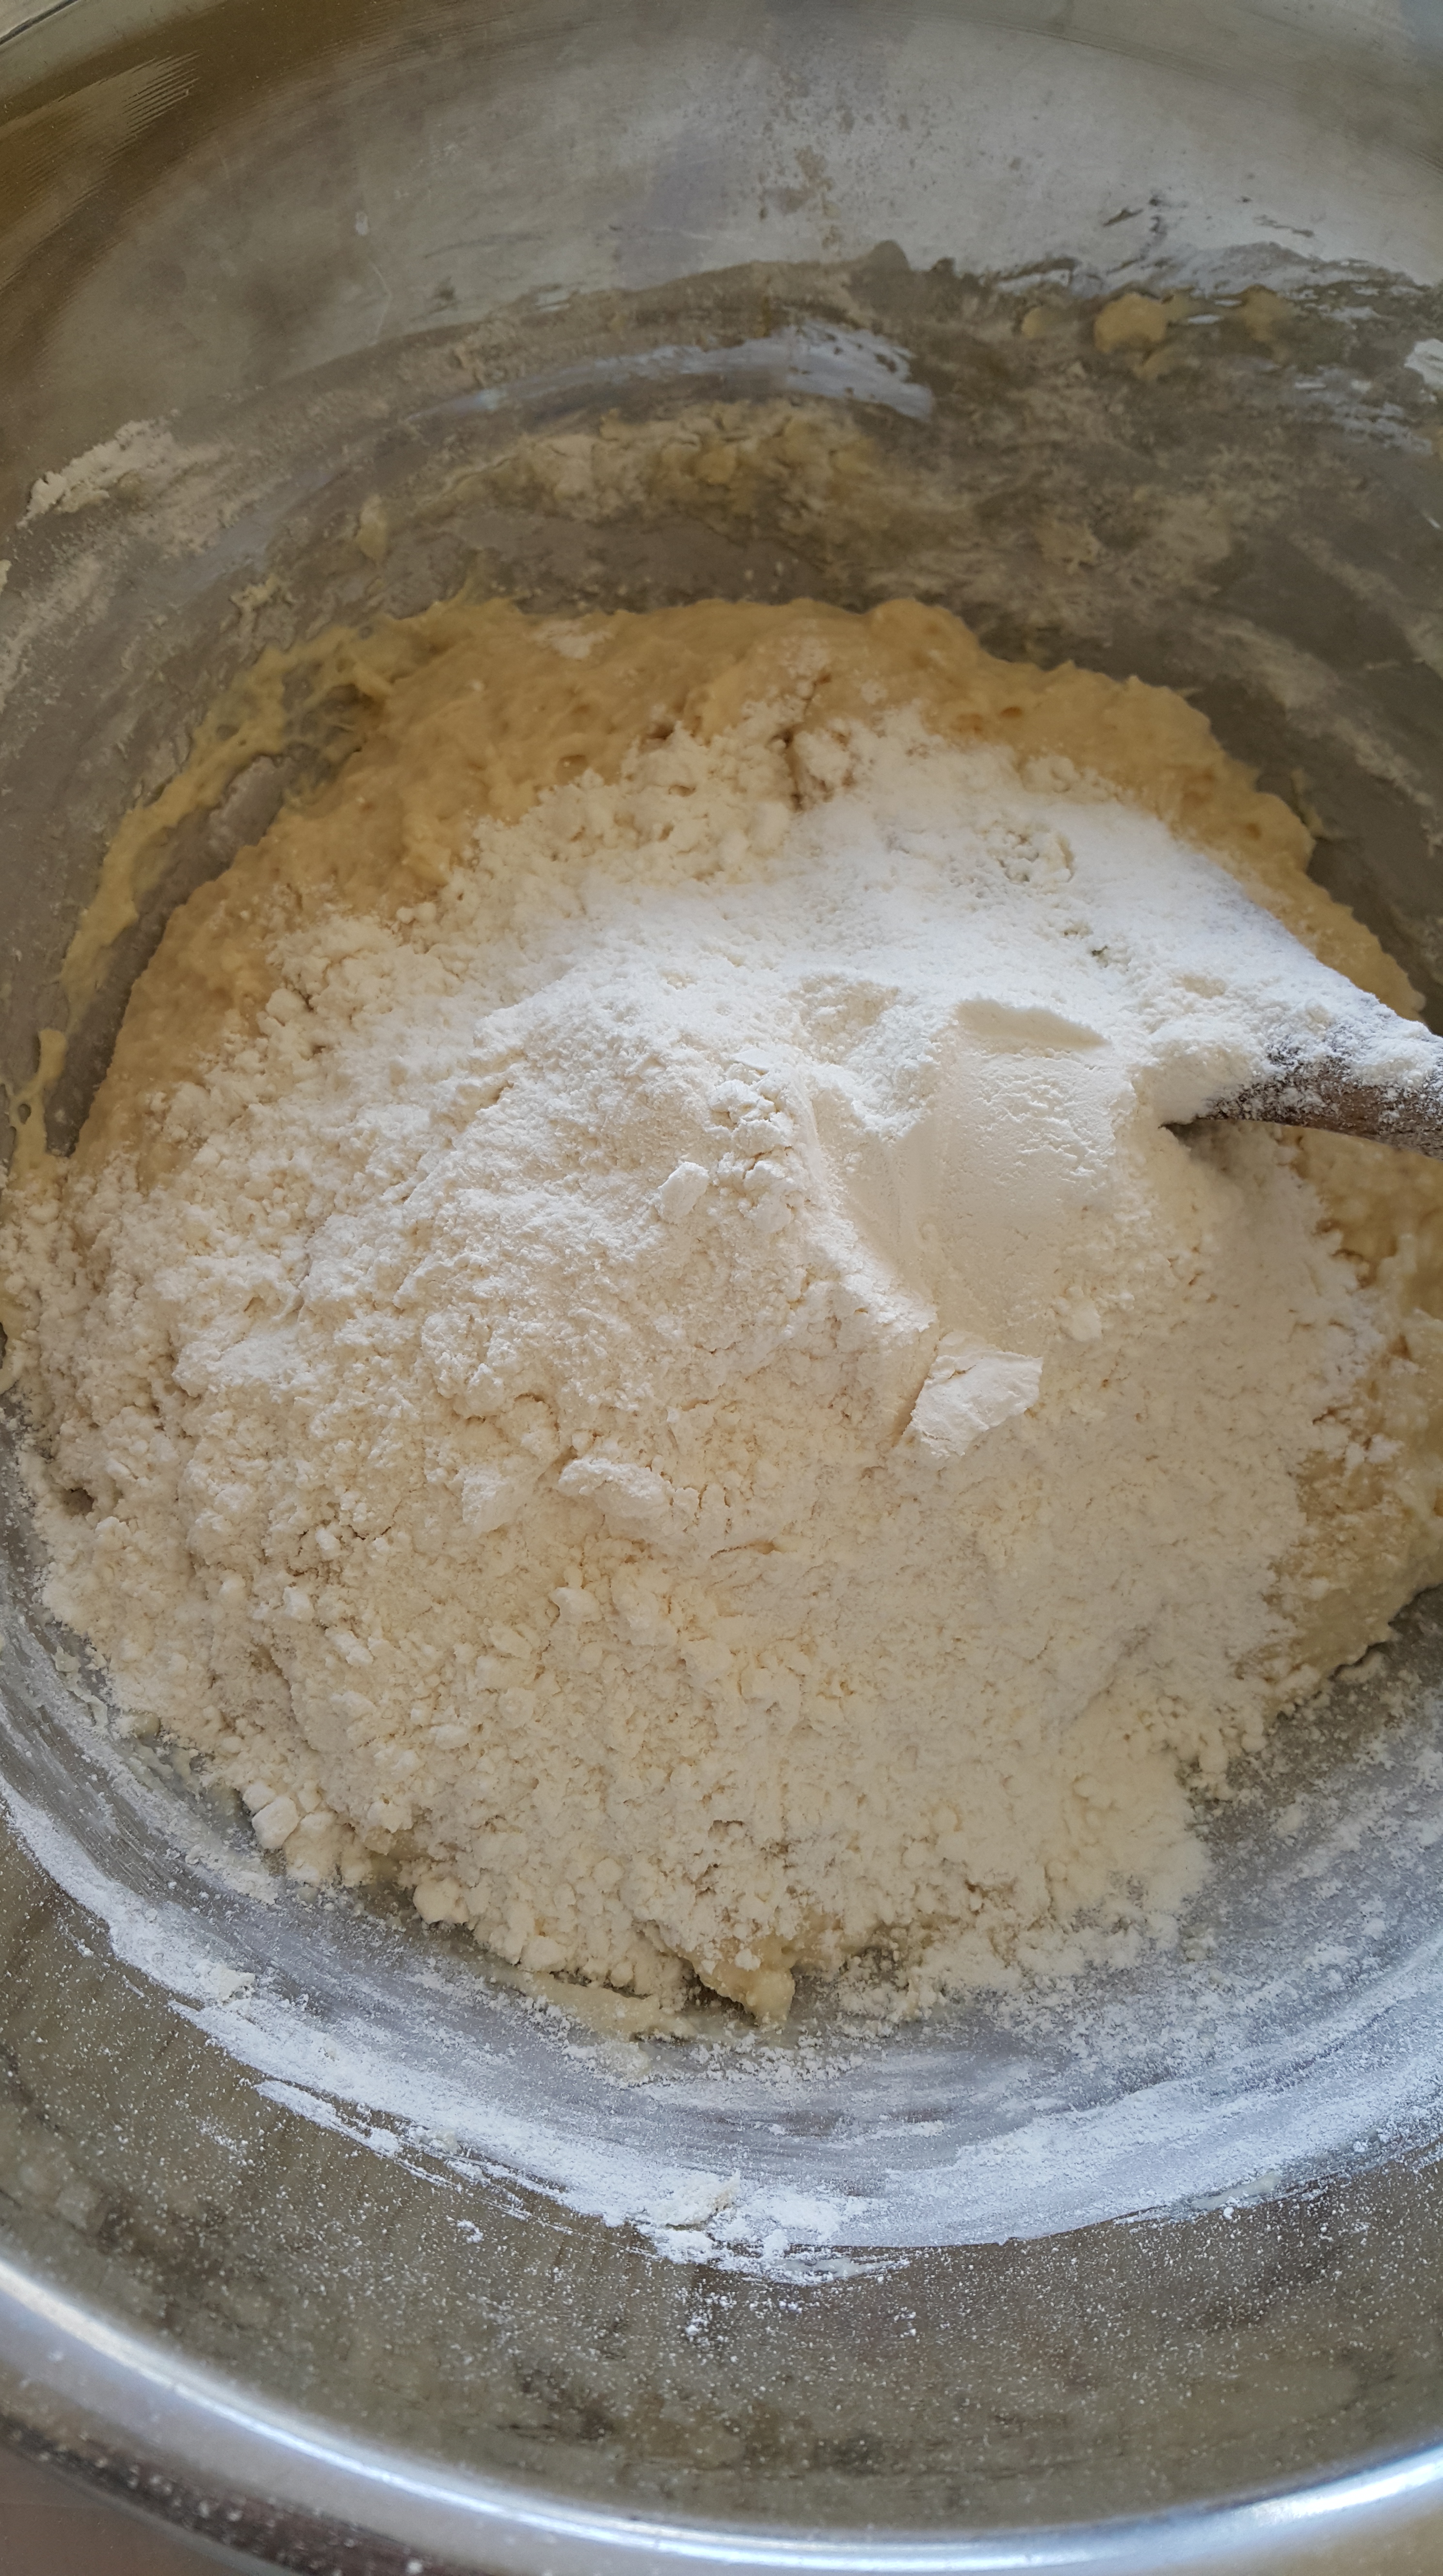
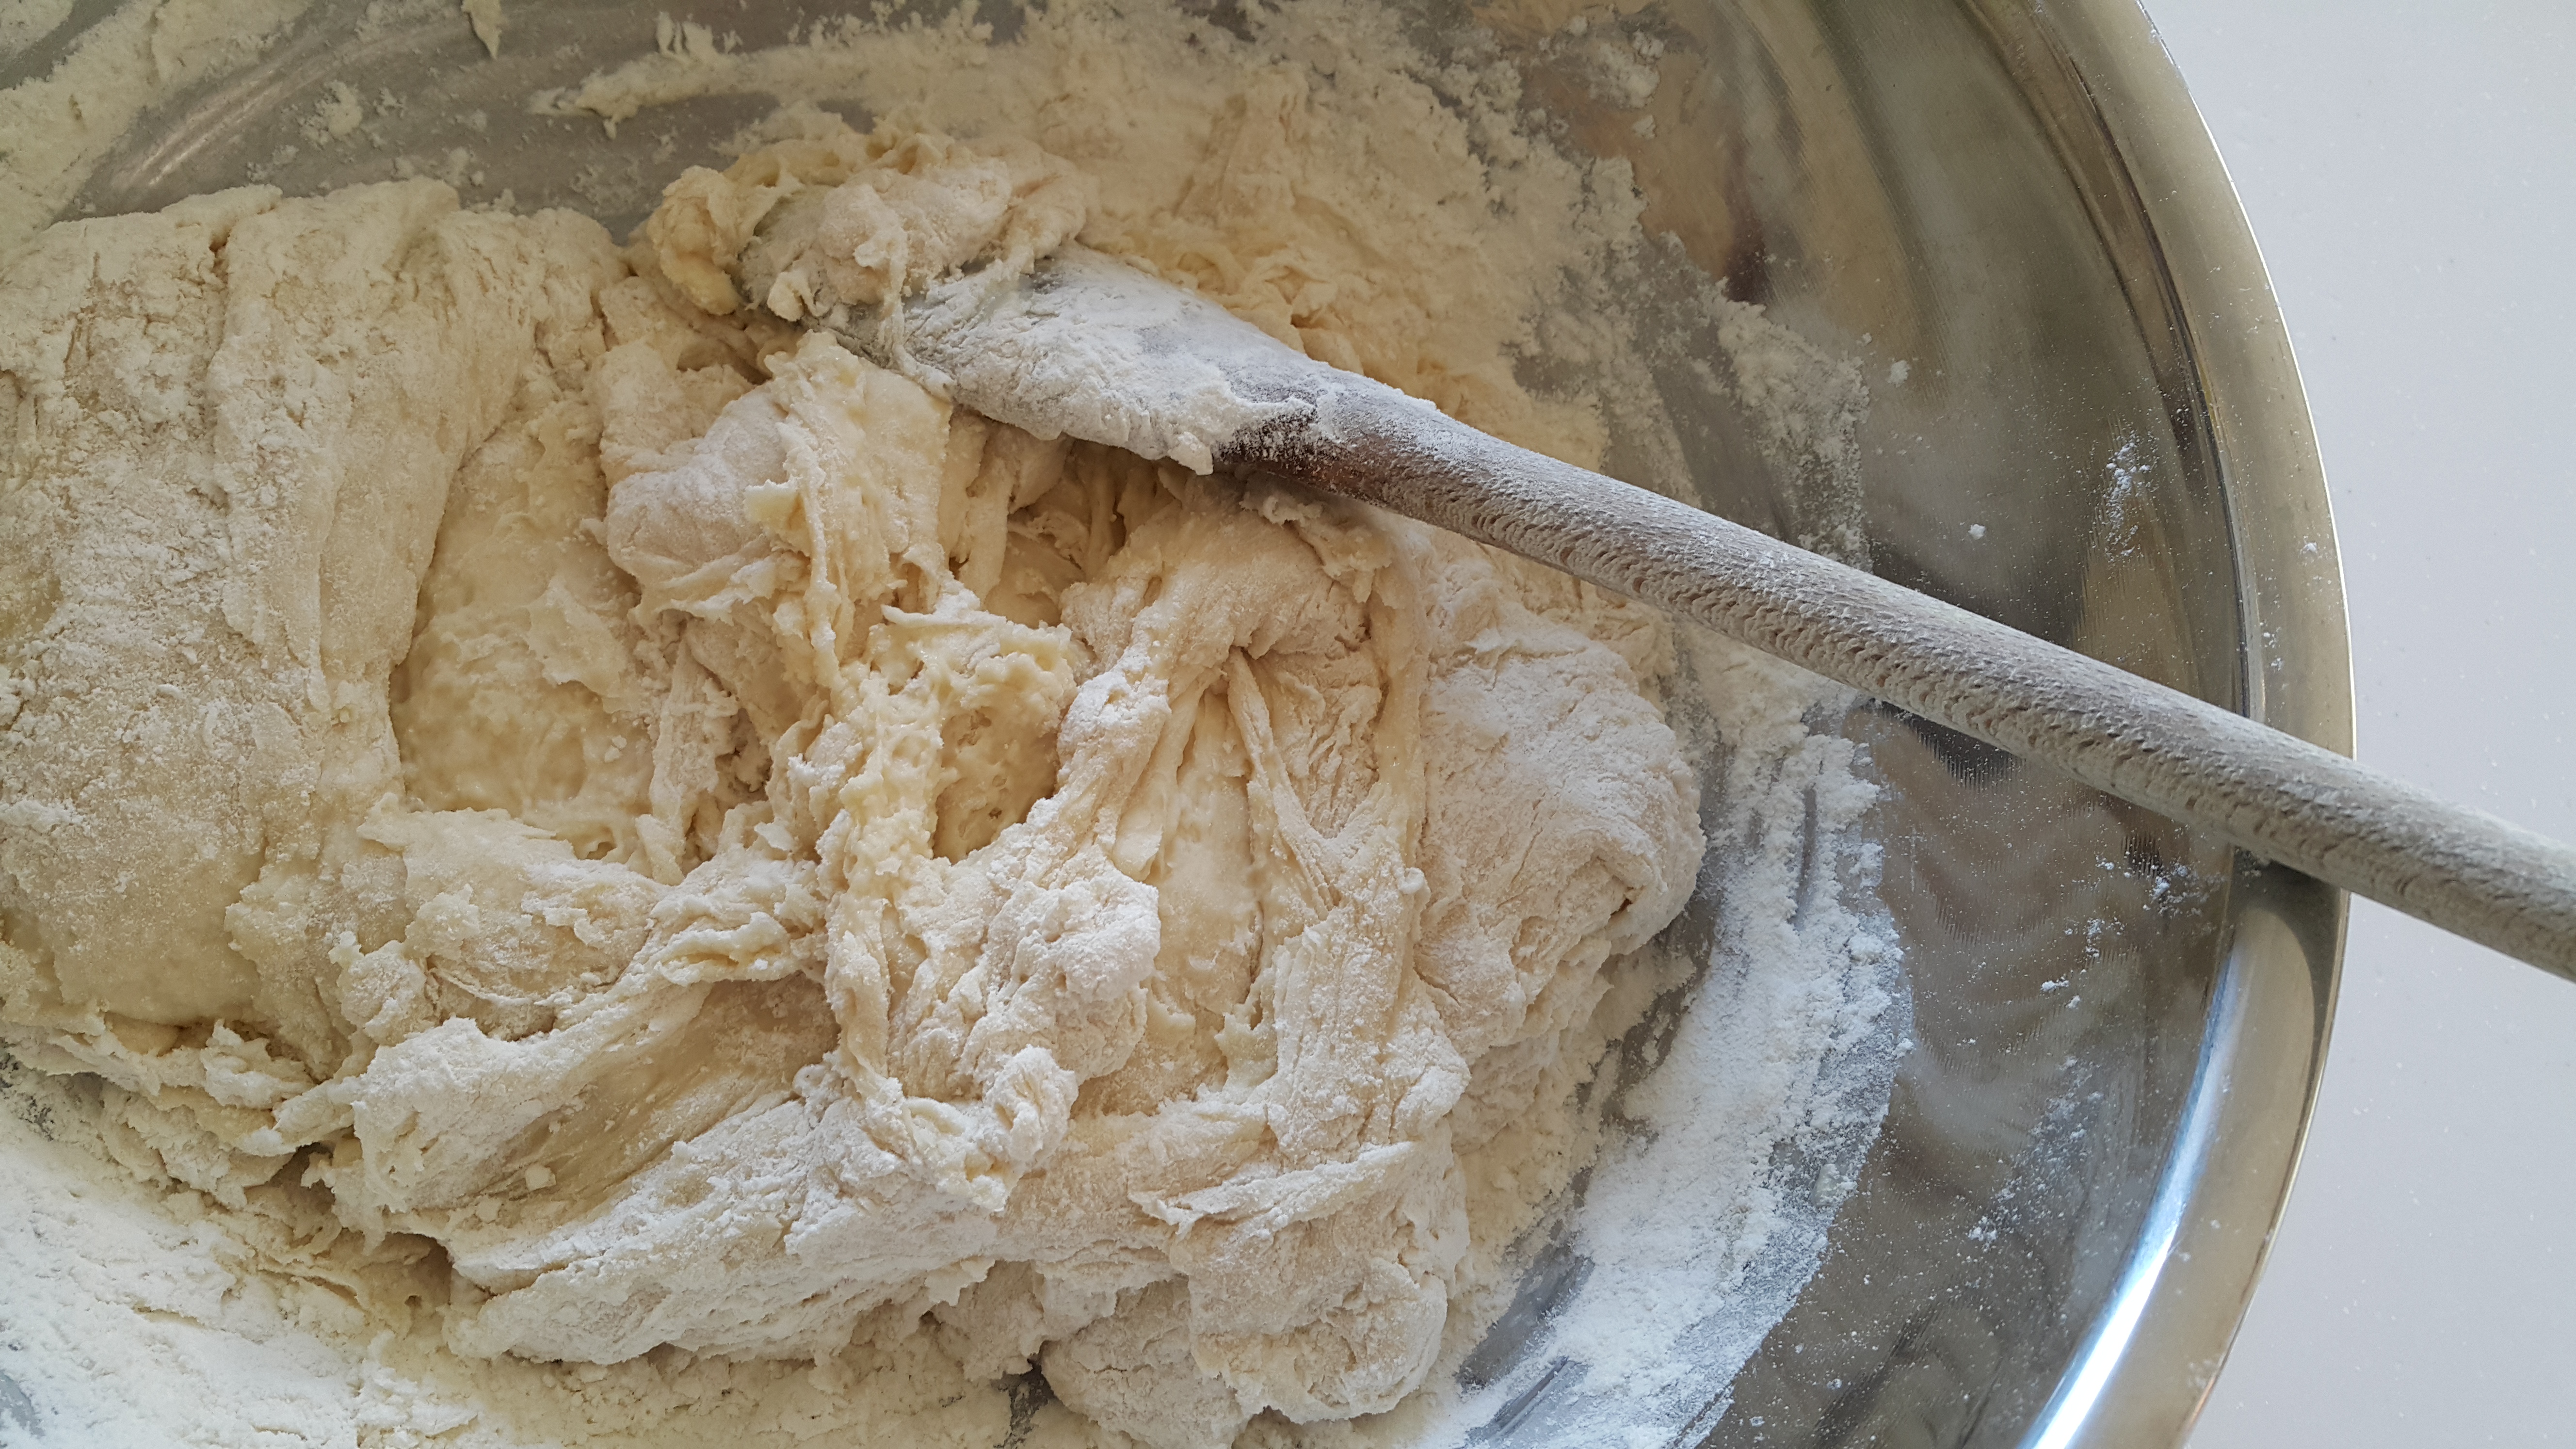
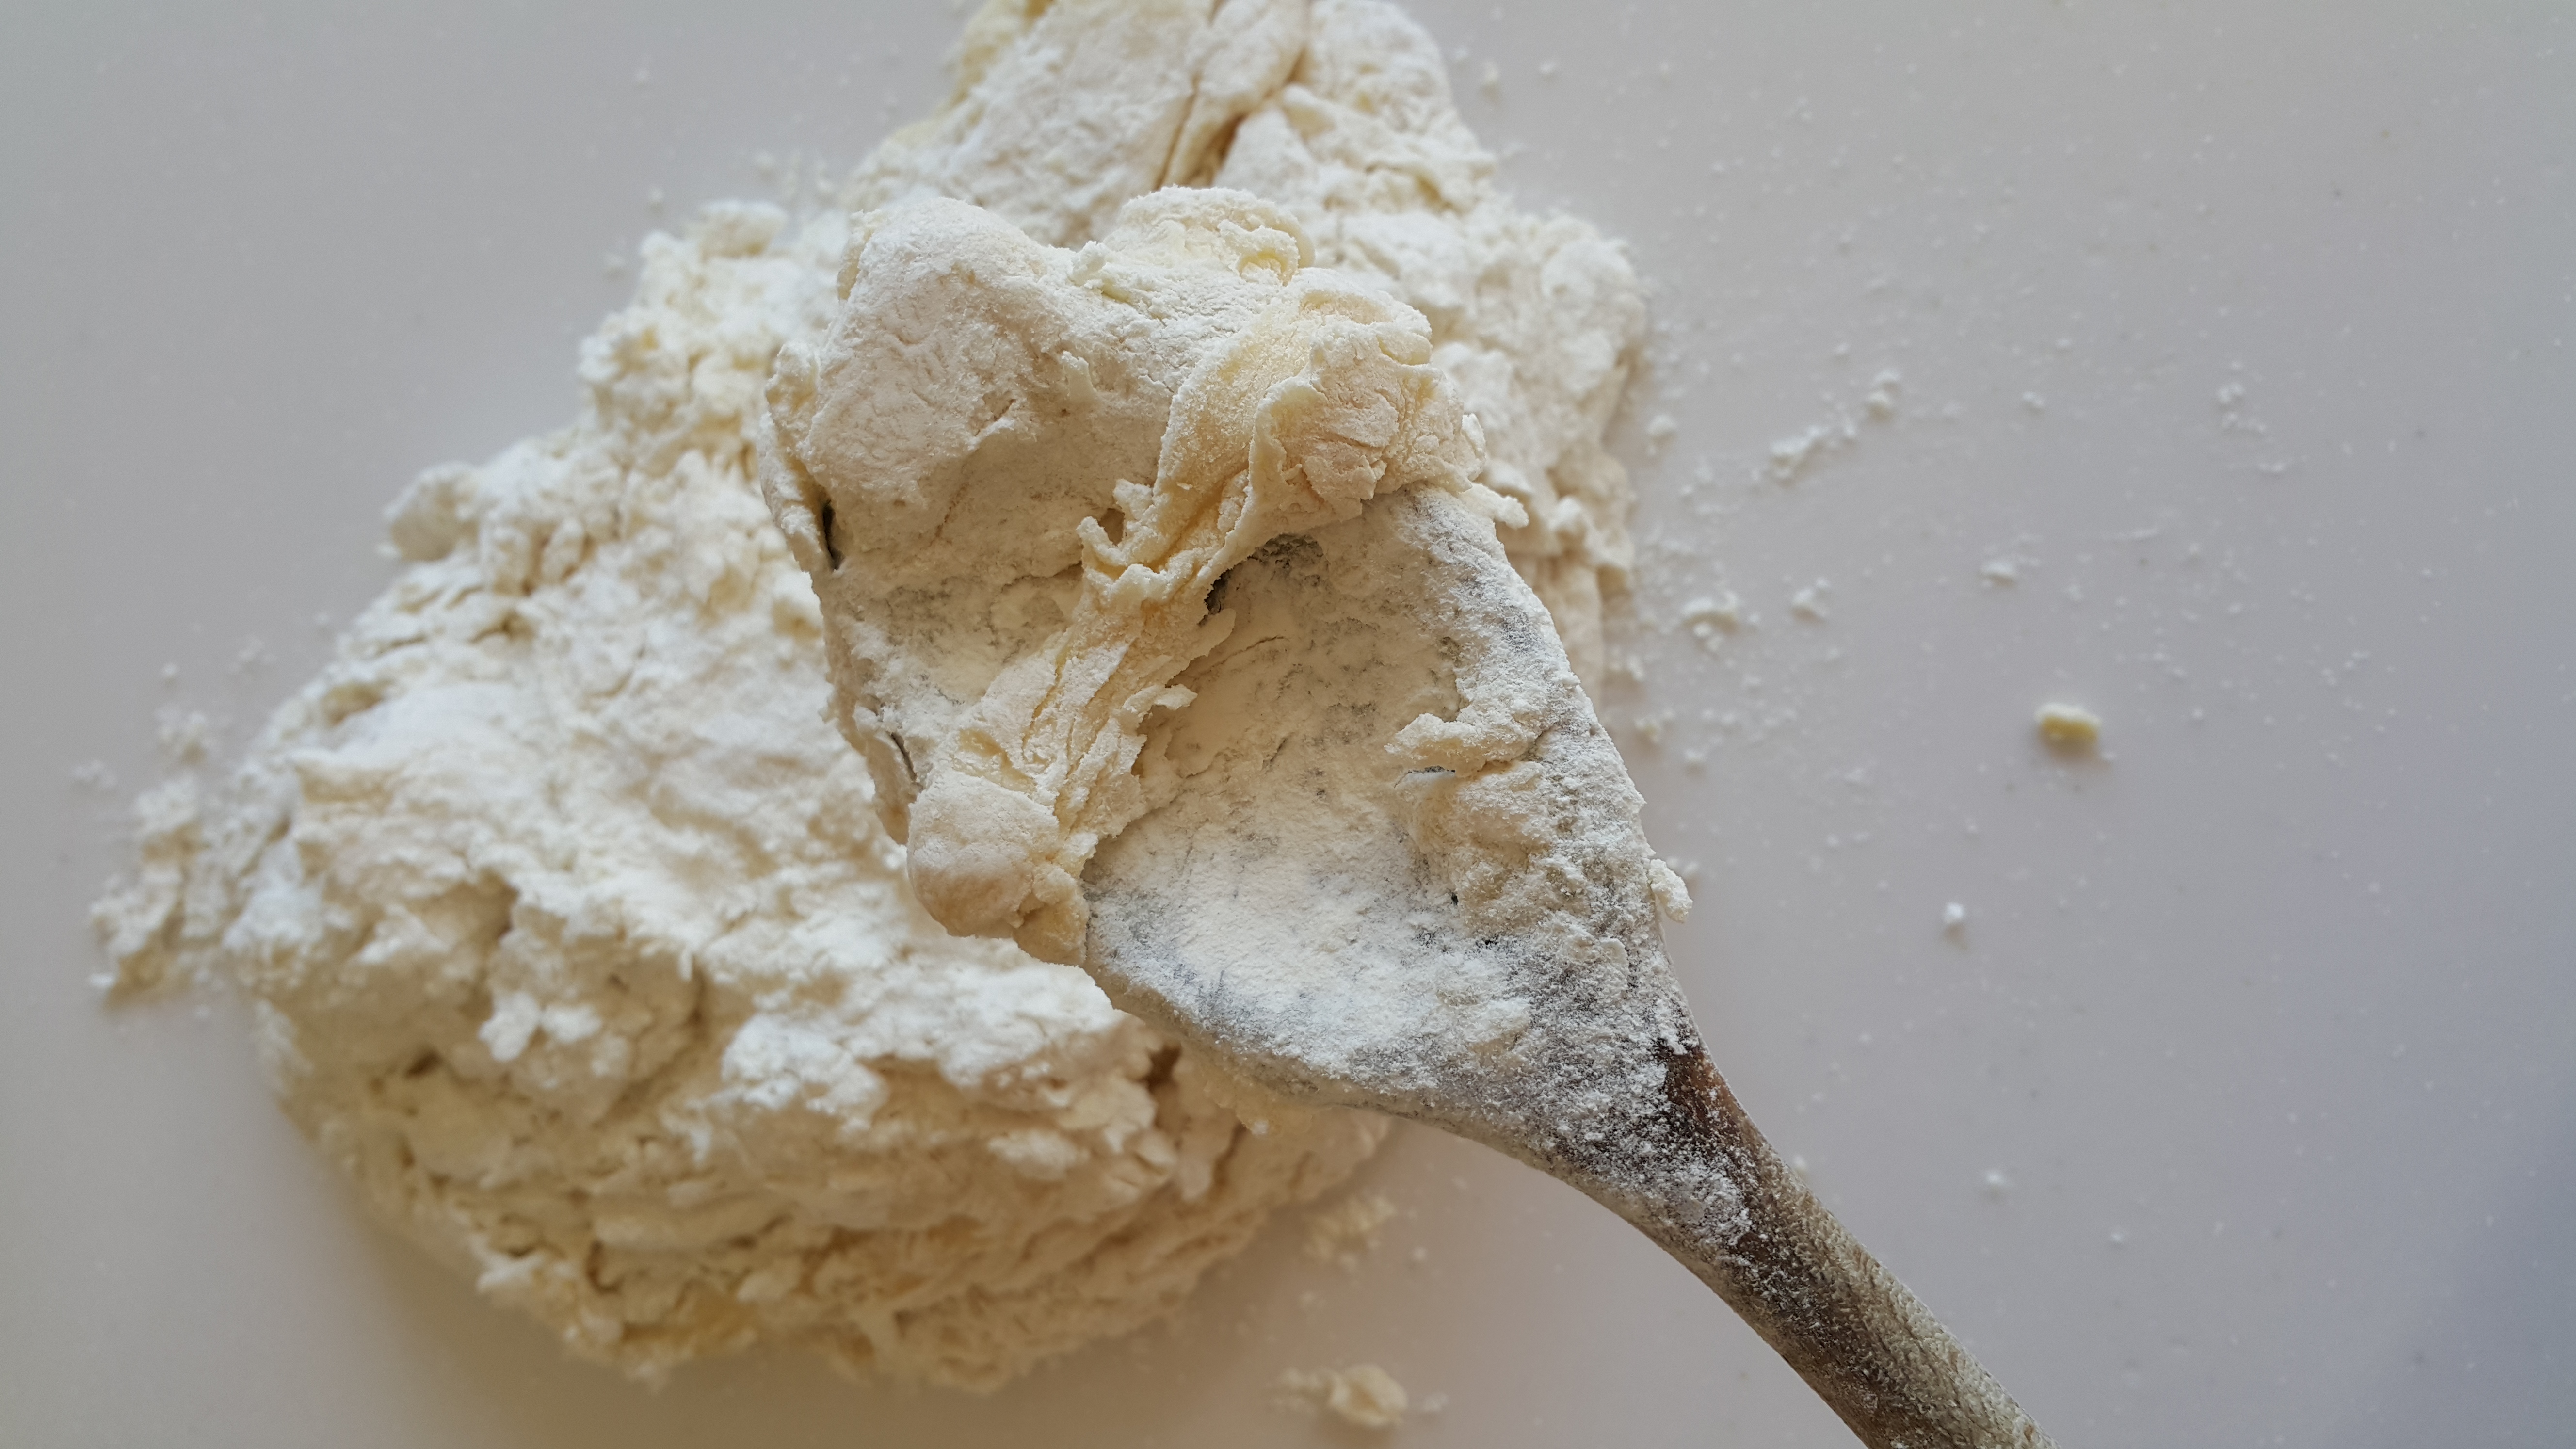
Then mix in the flour, a cup or so at a time. Take your time with this.
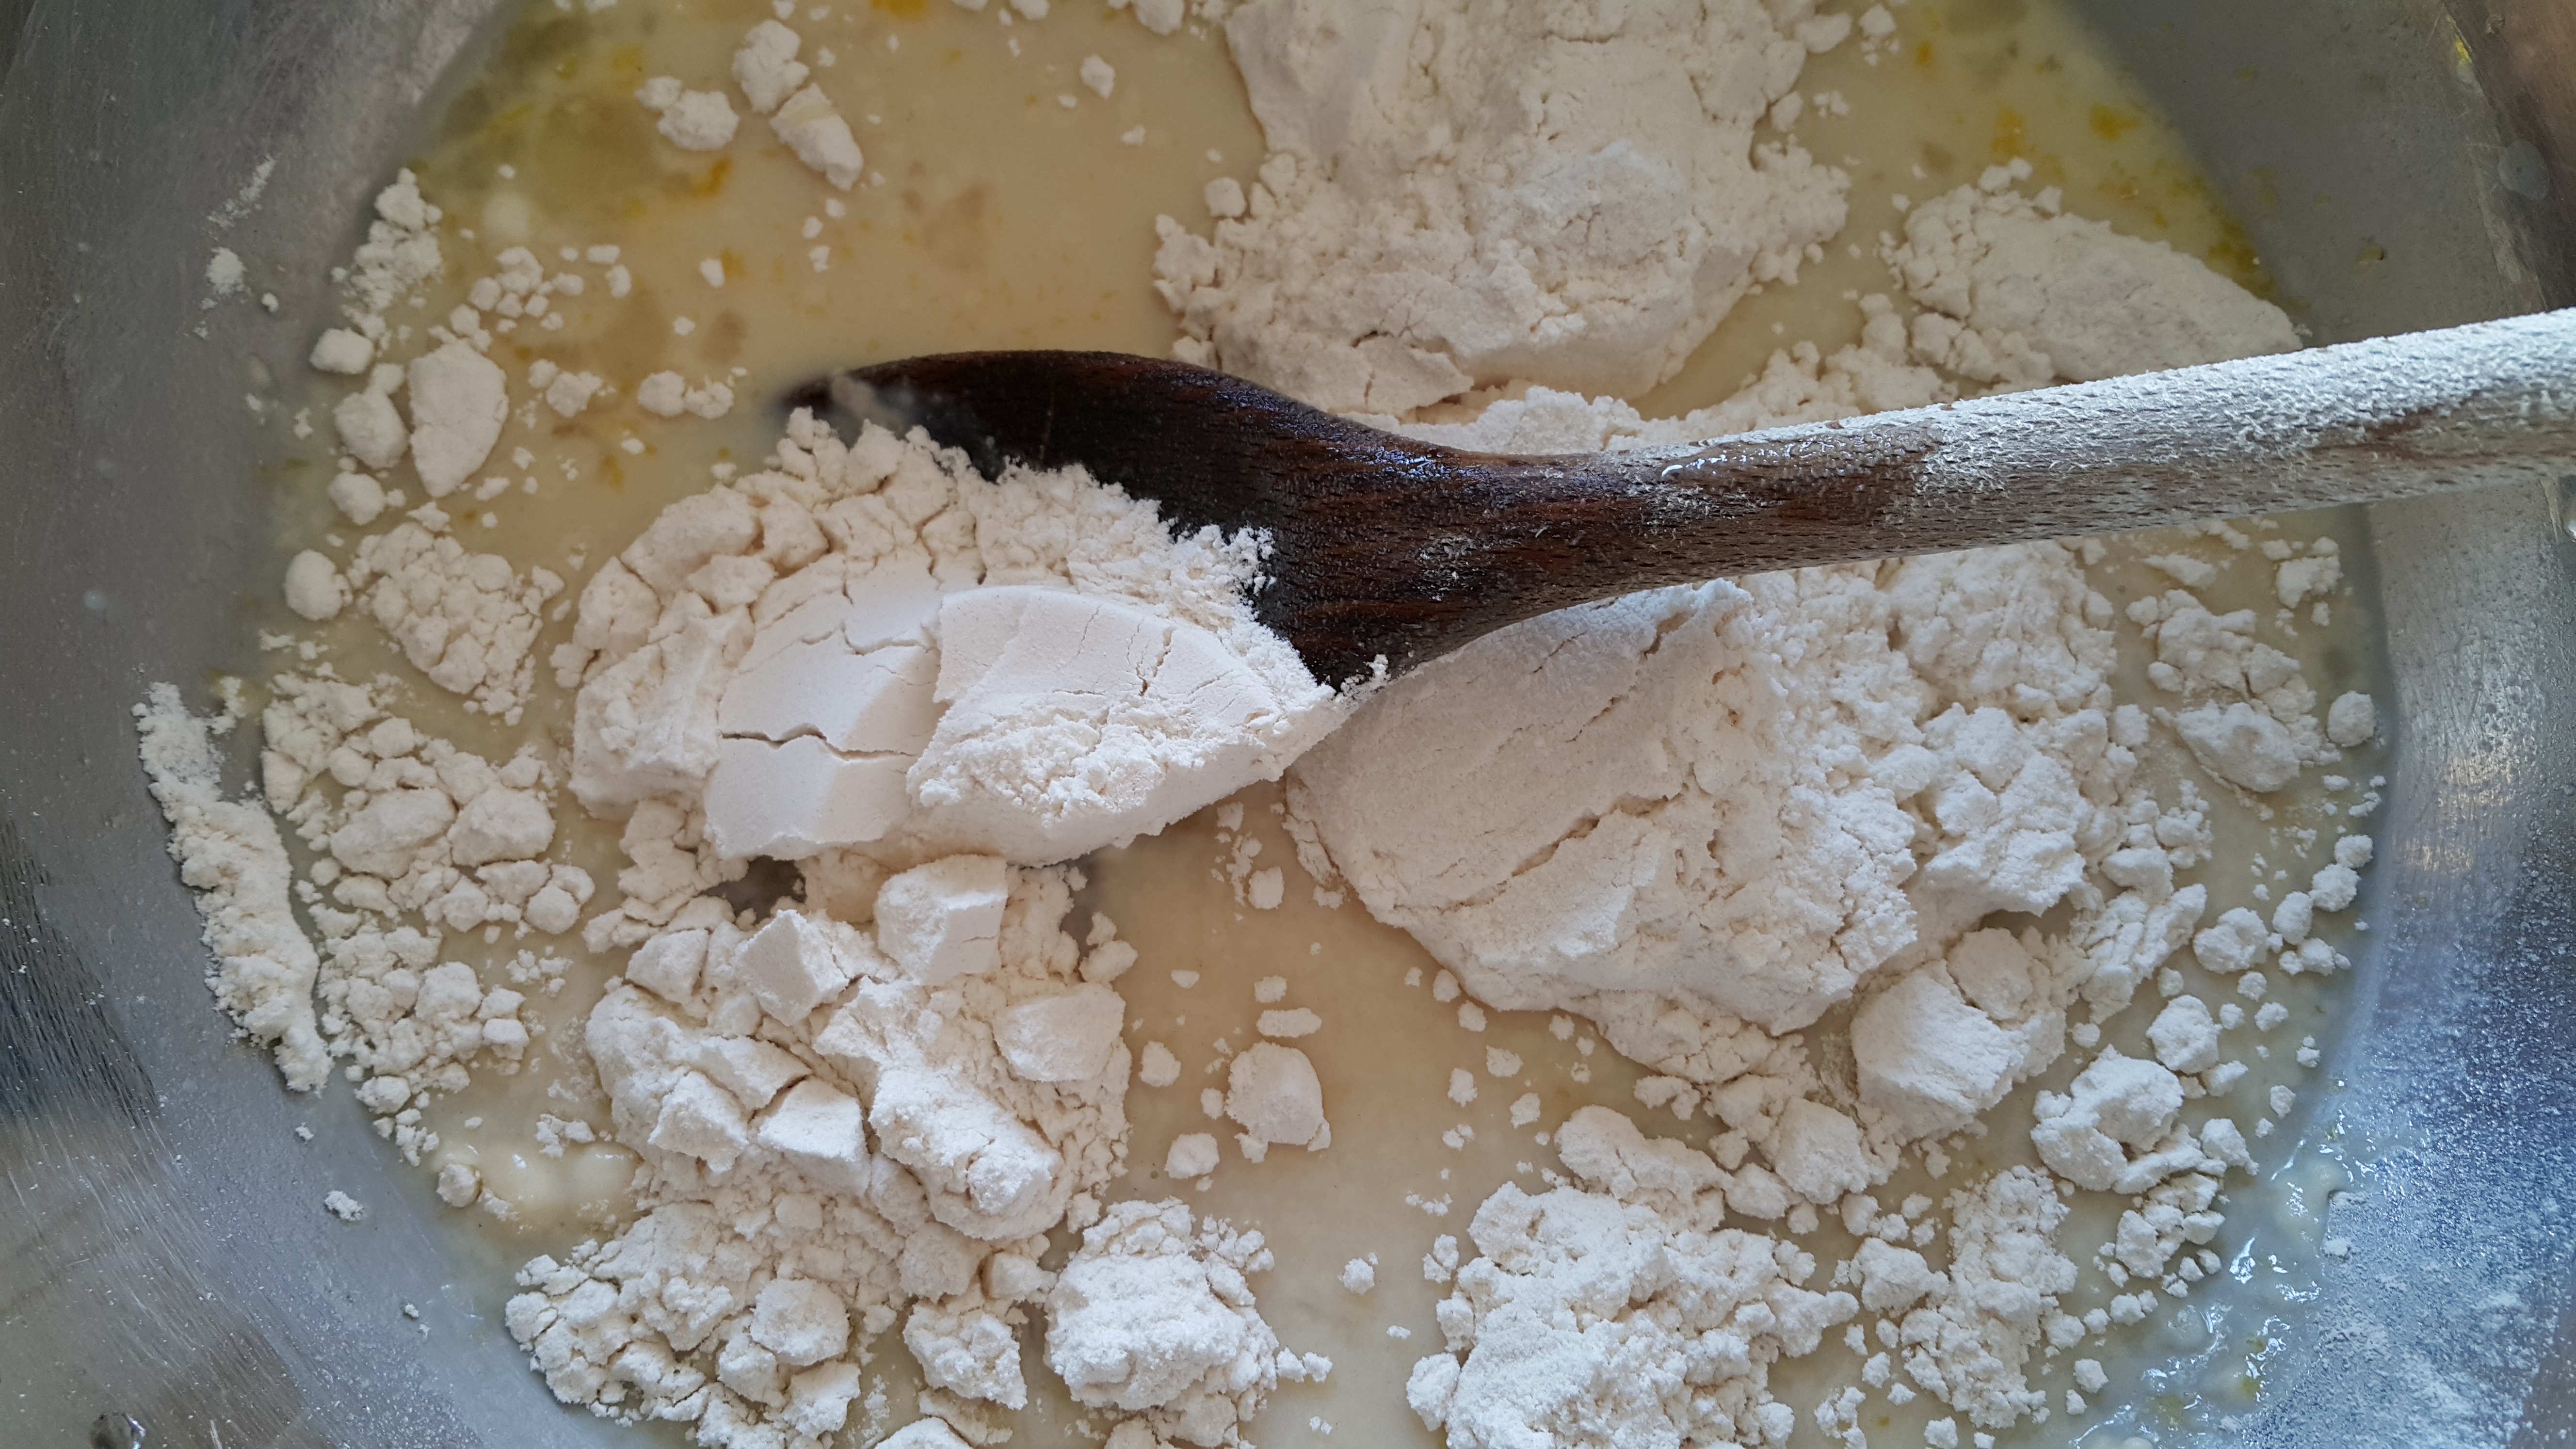
Keep adding in the flour.
Stir it…
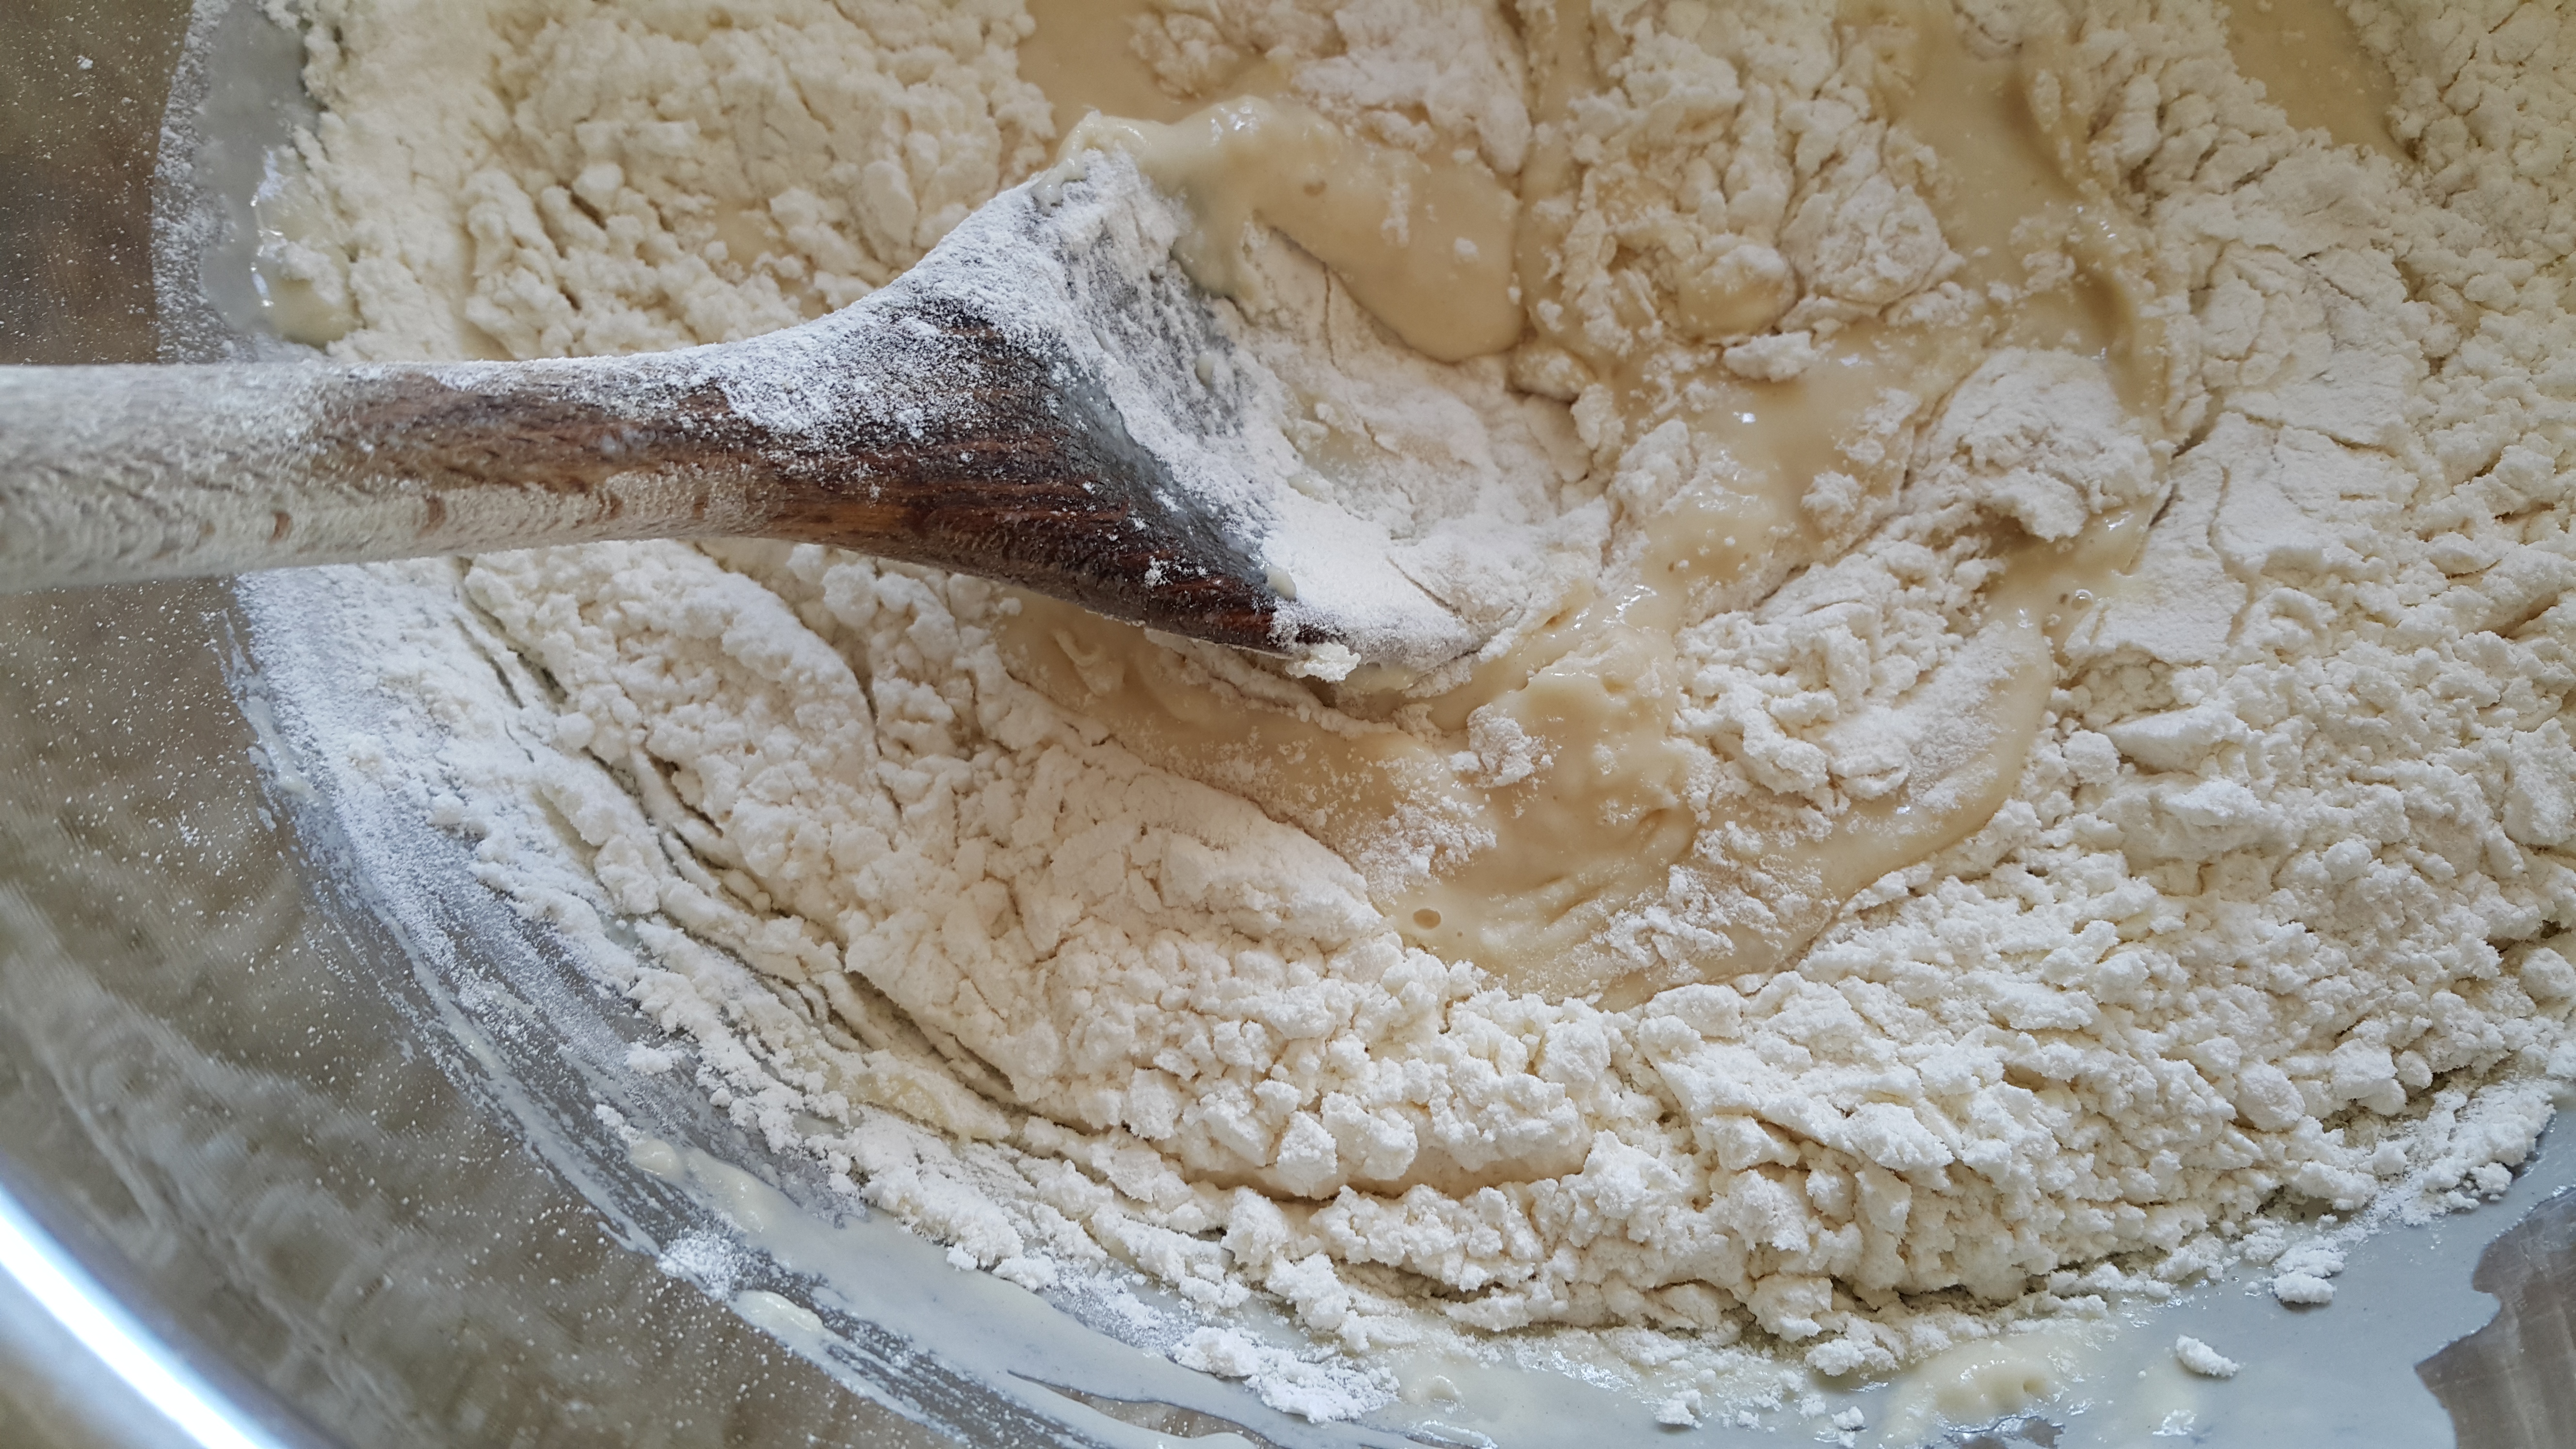
Mix the flour in well…
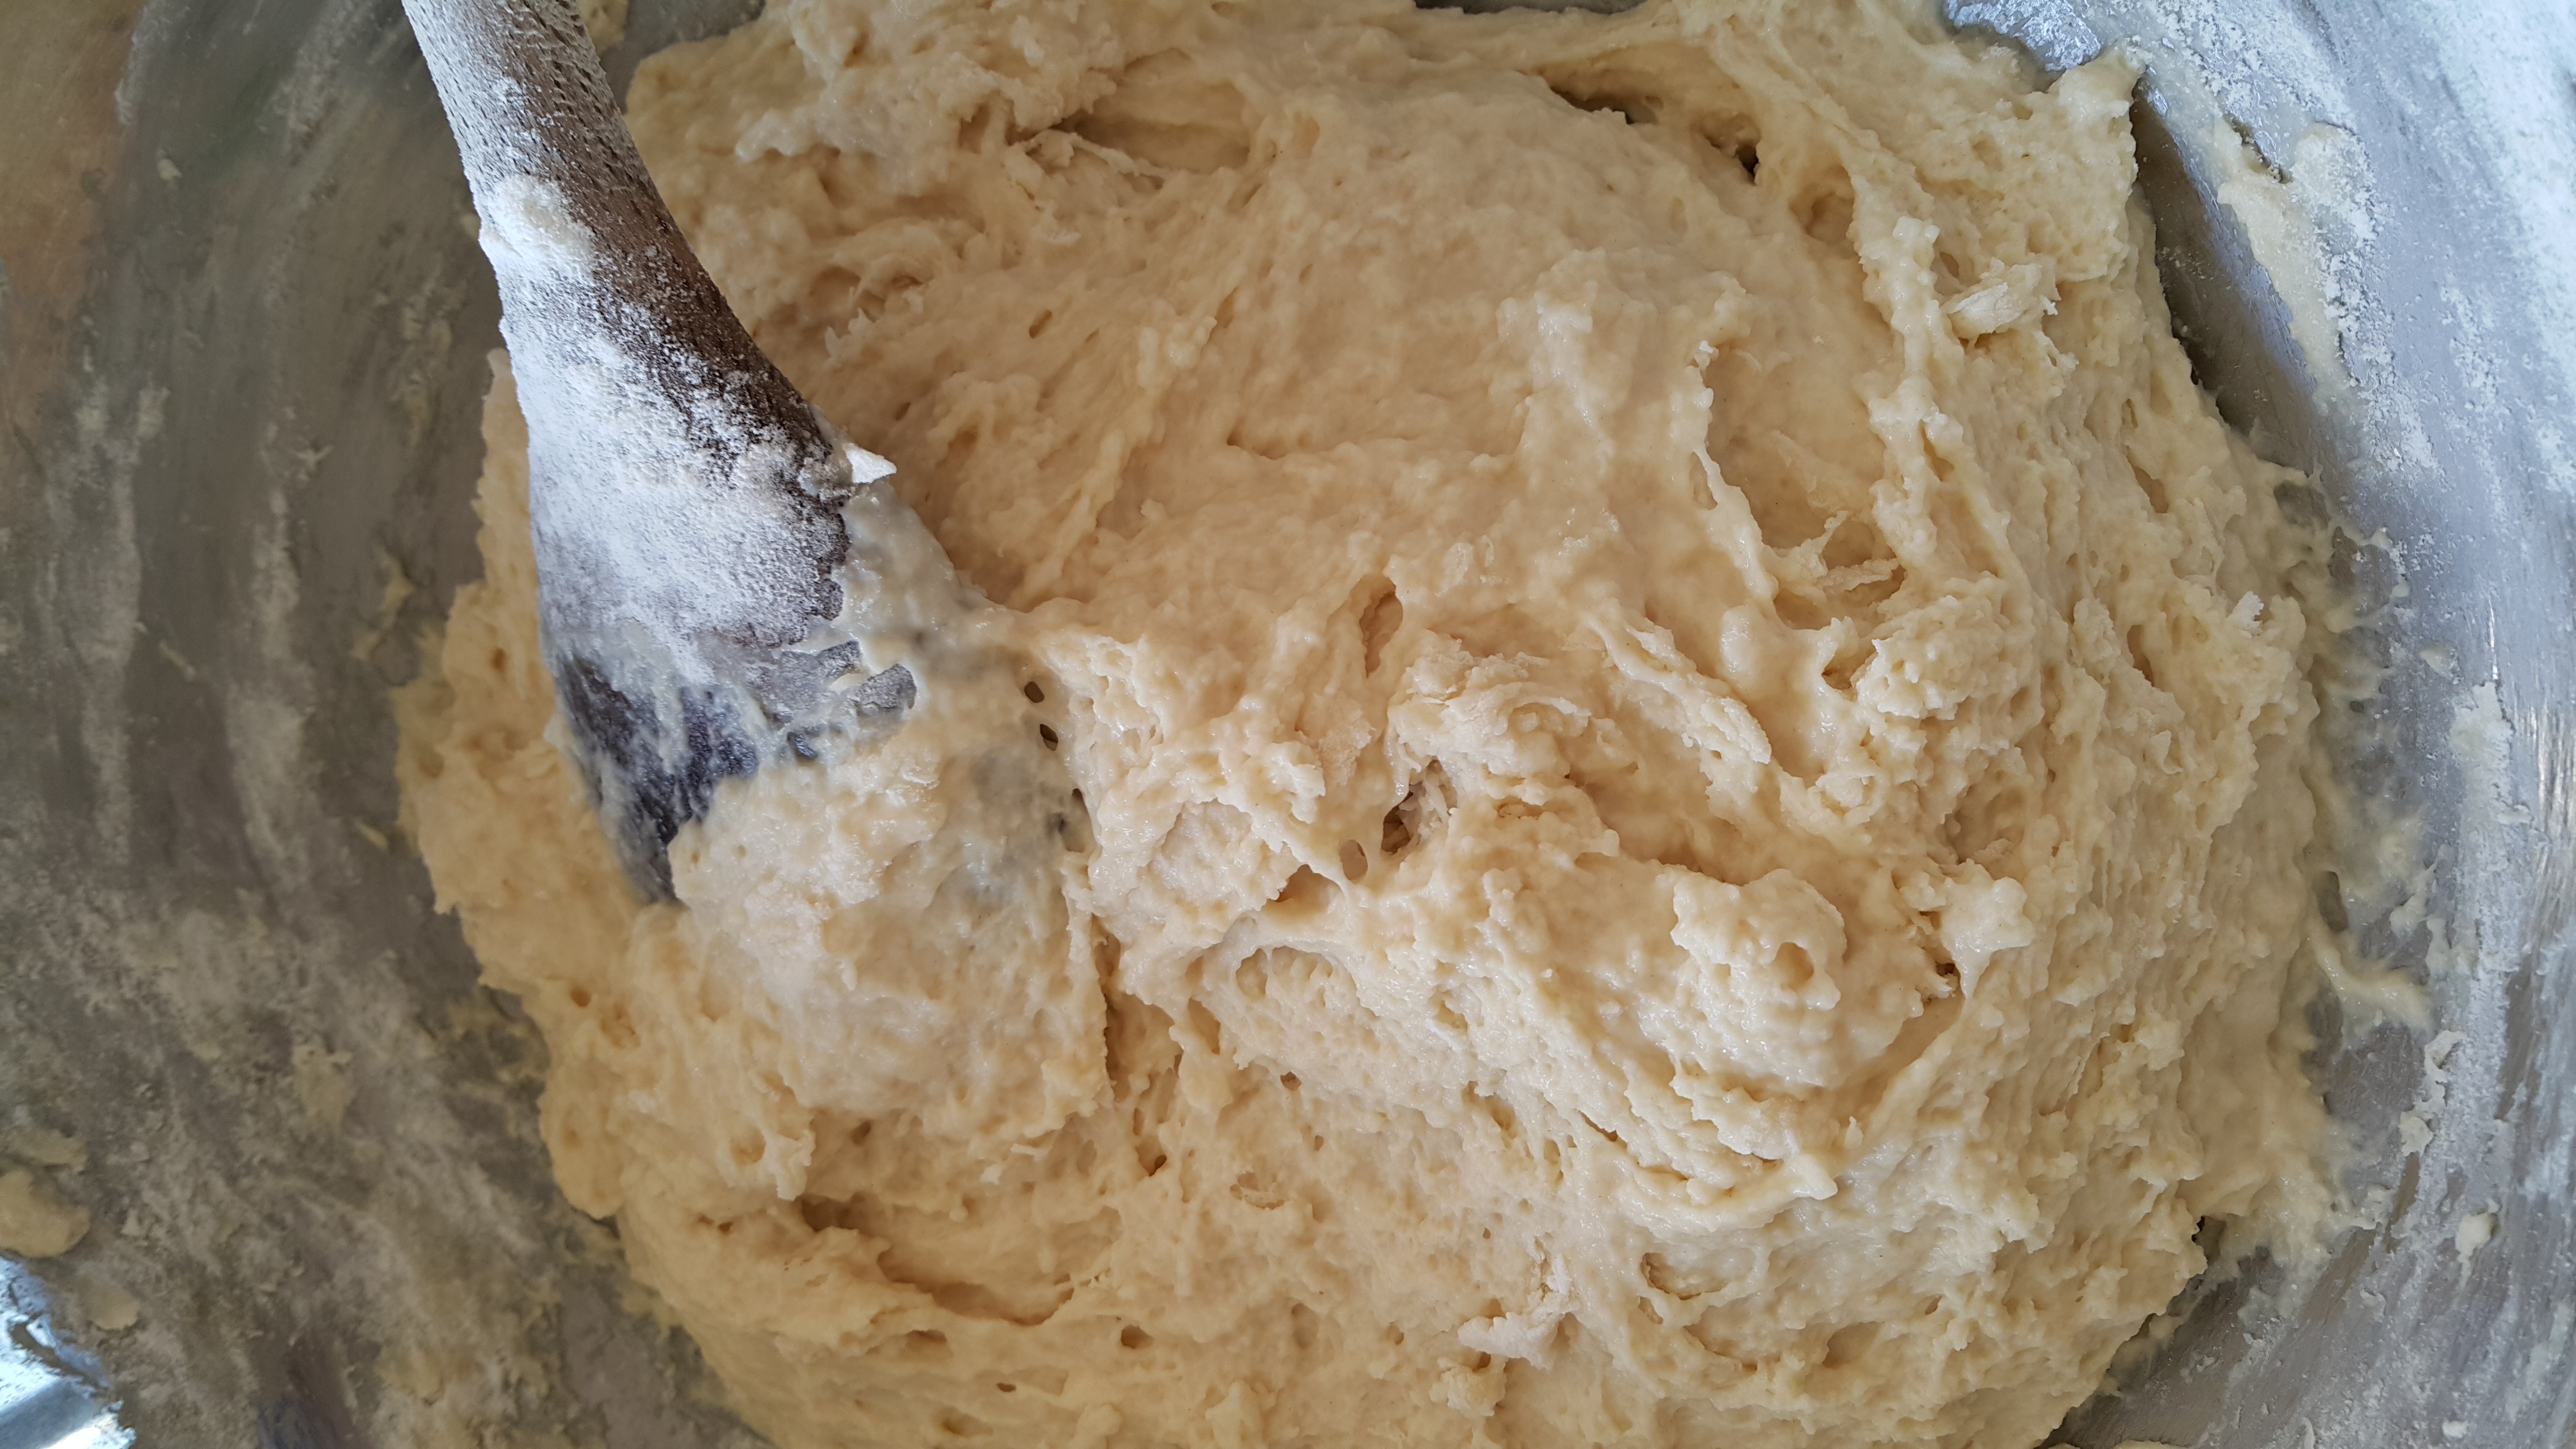
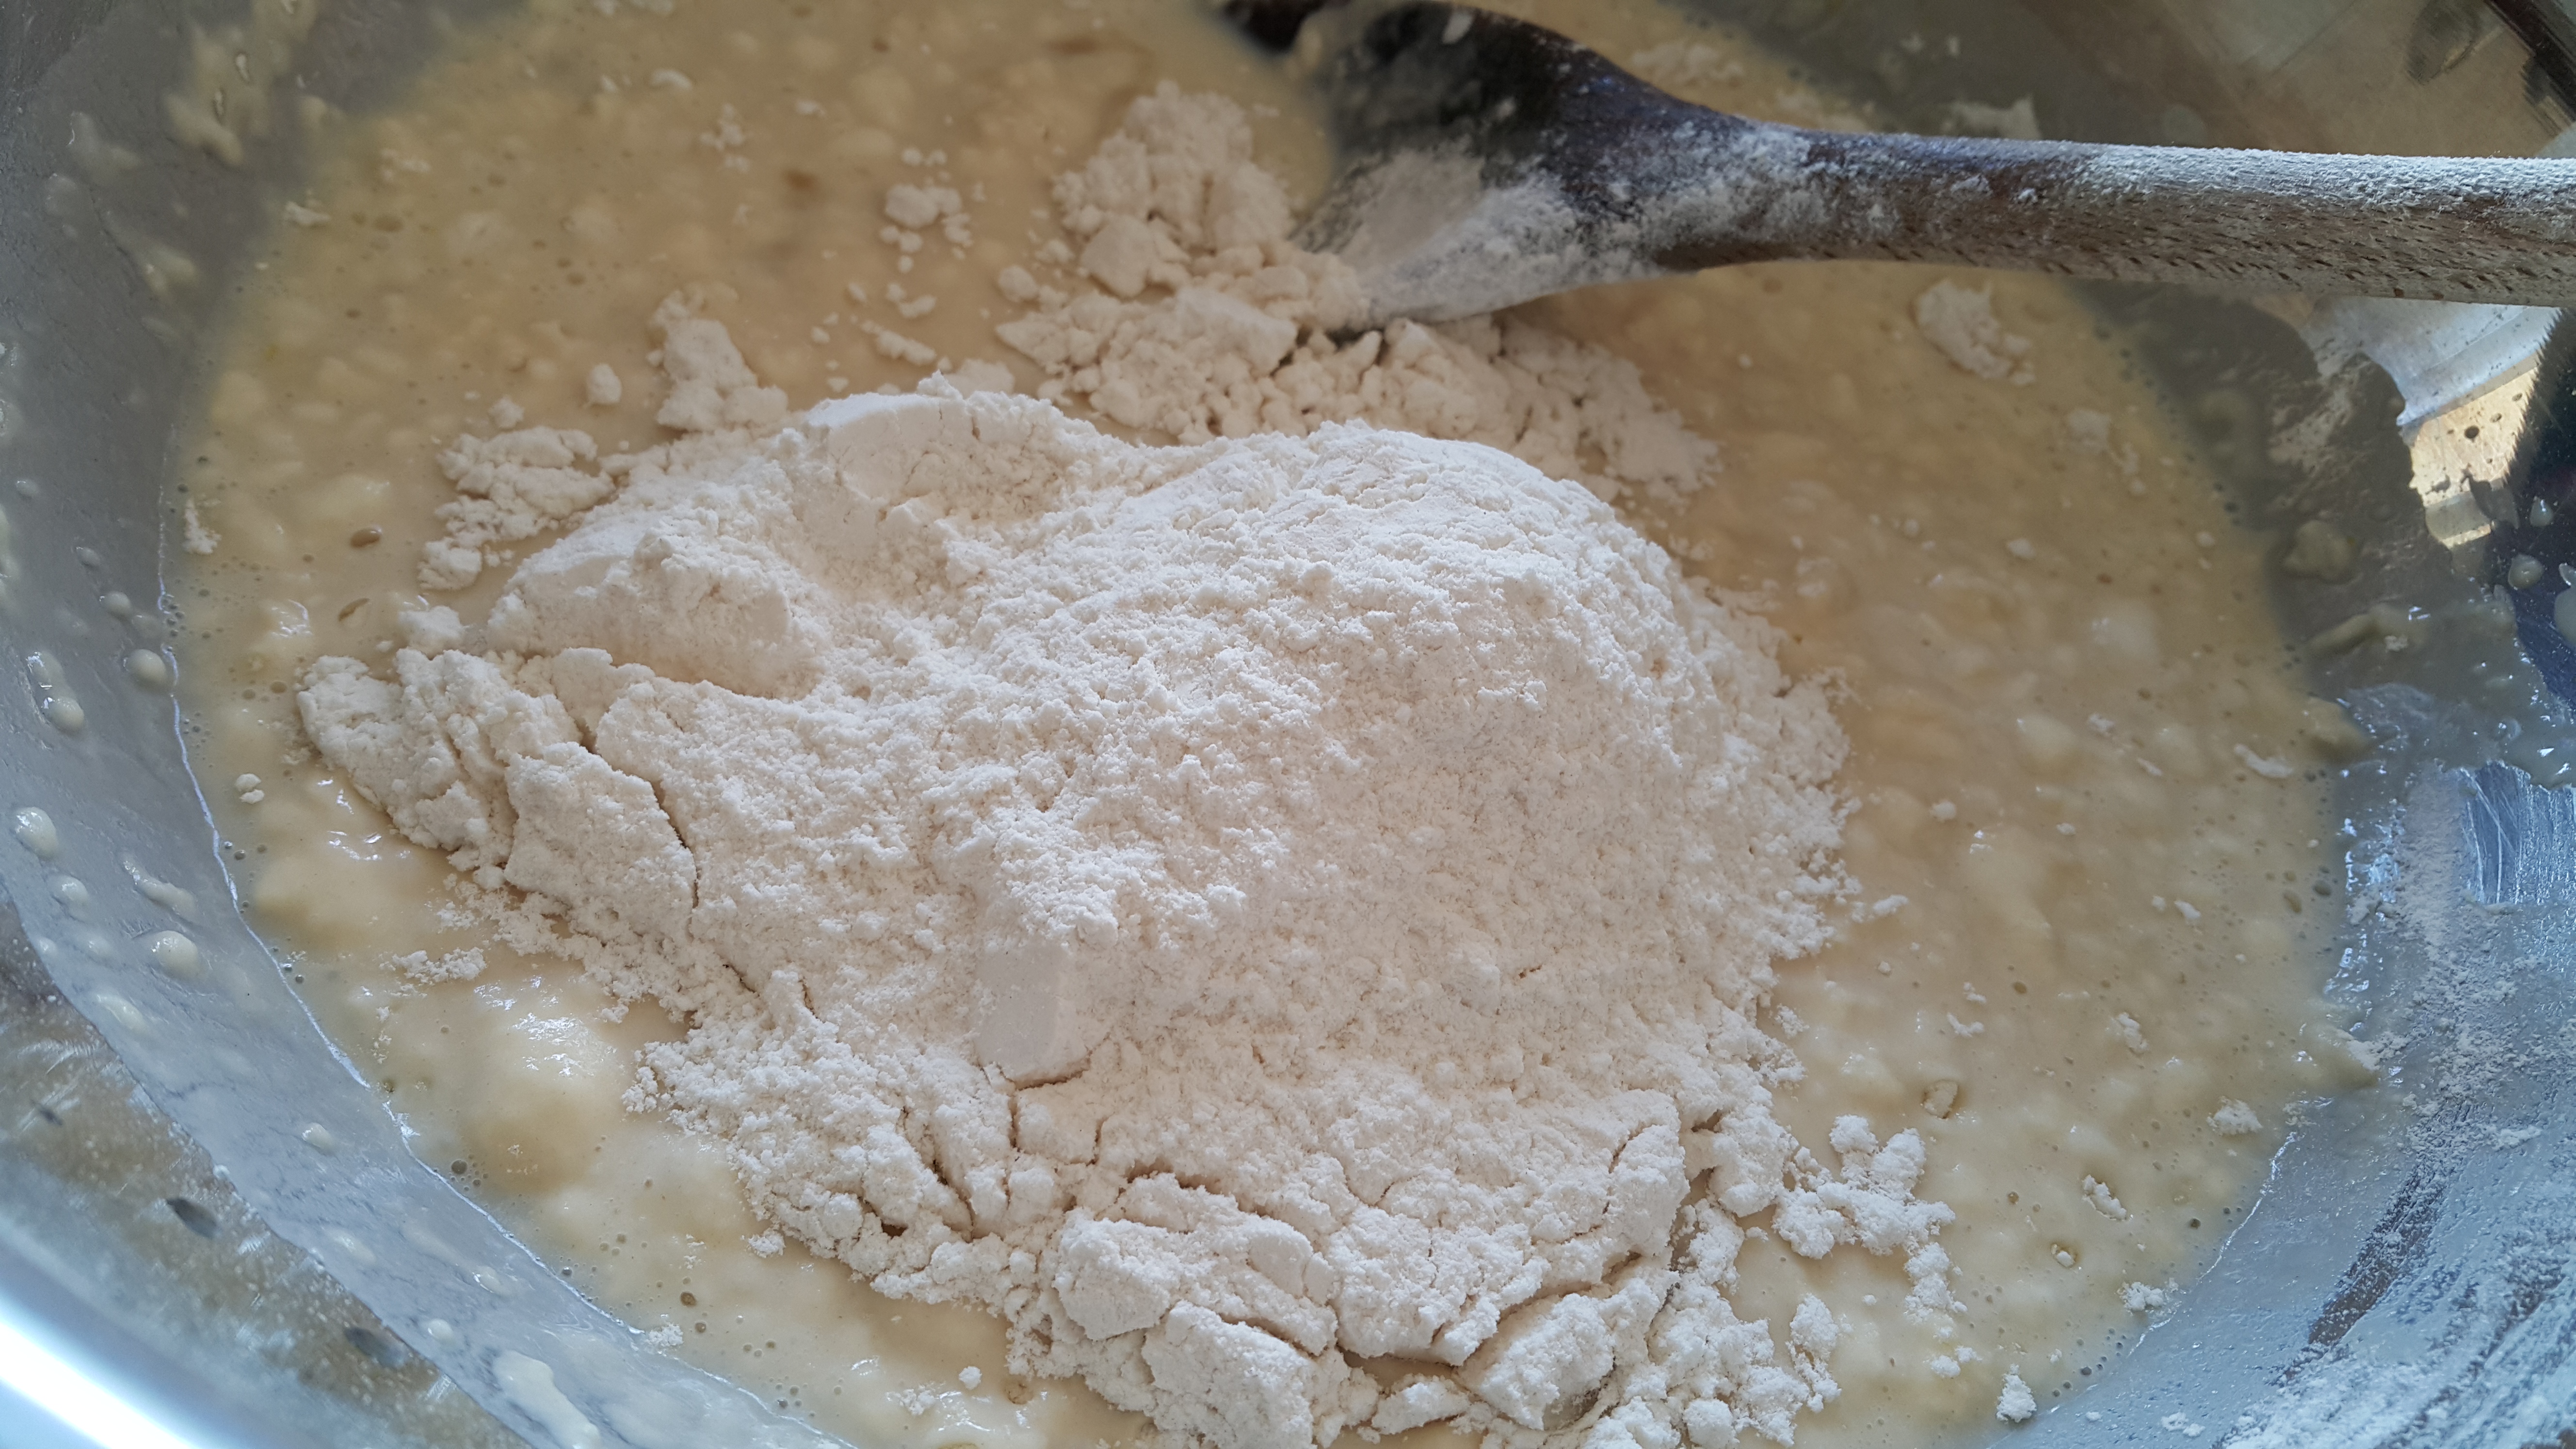
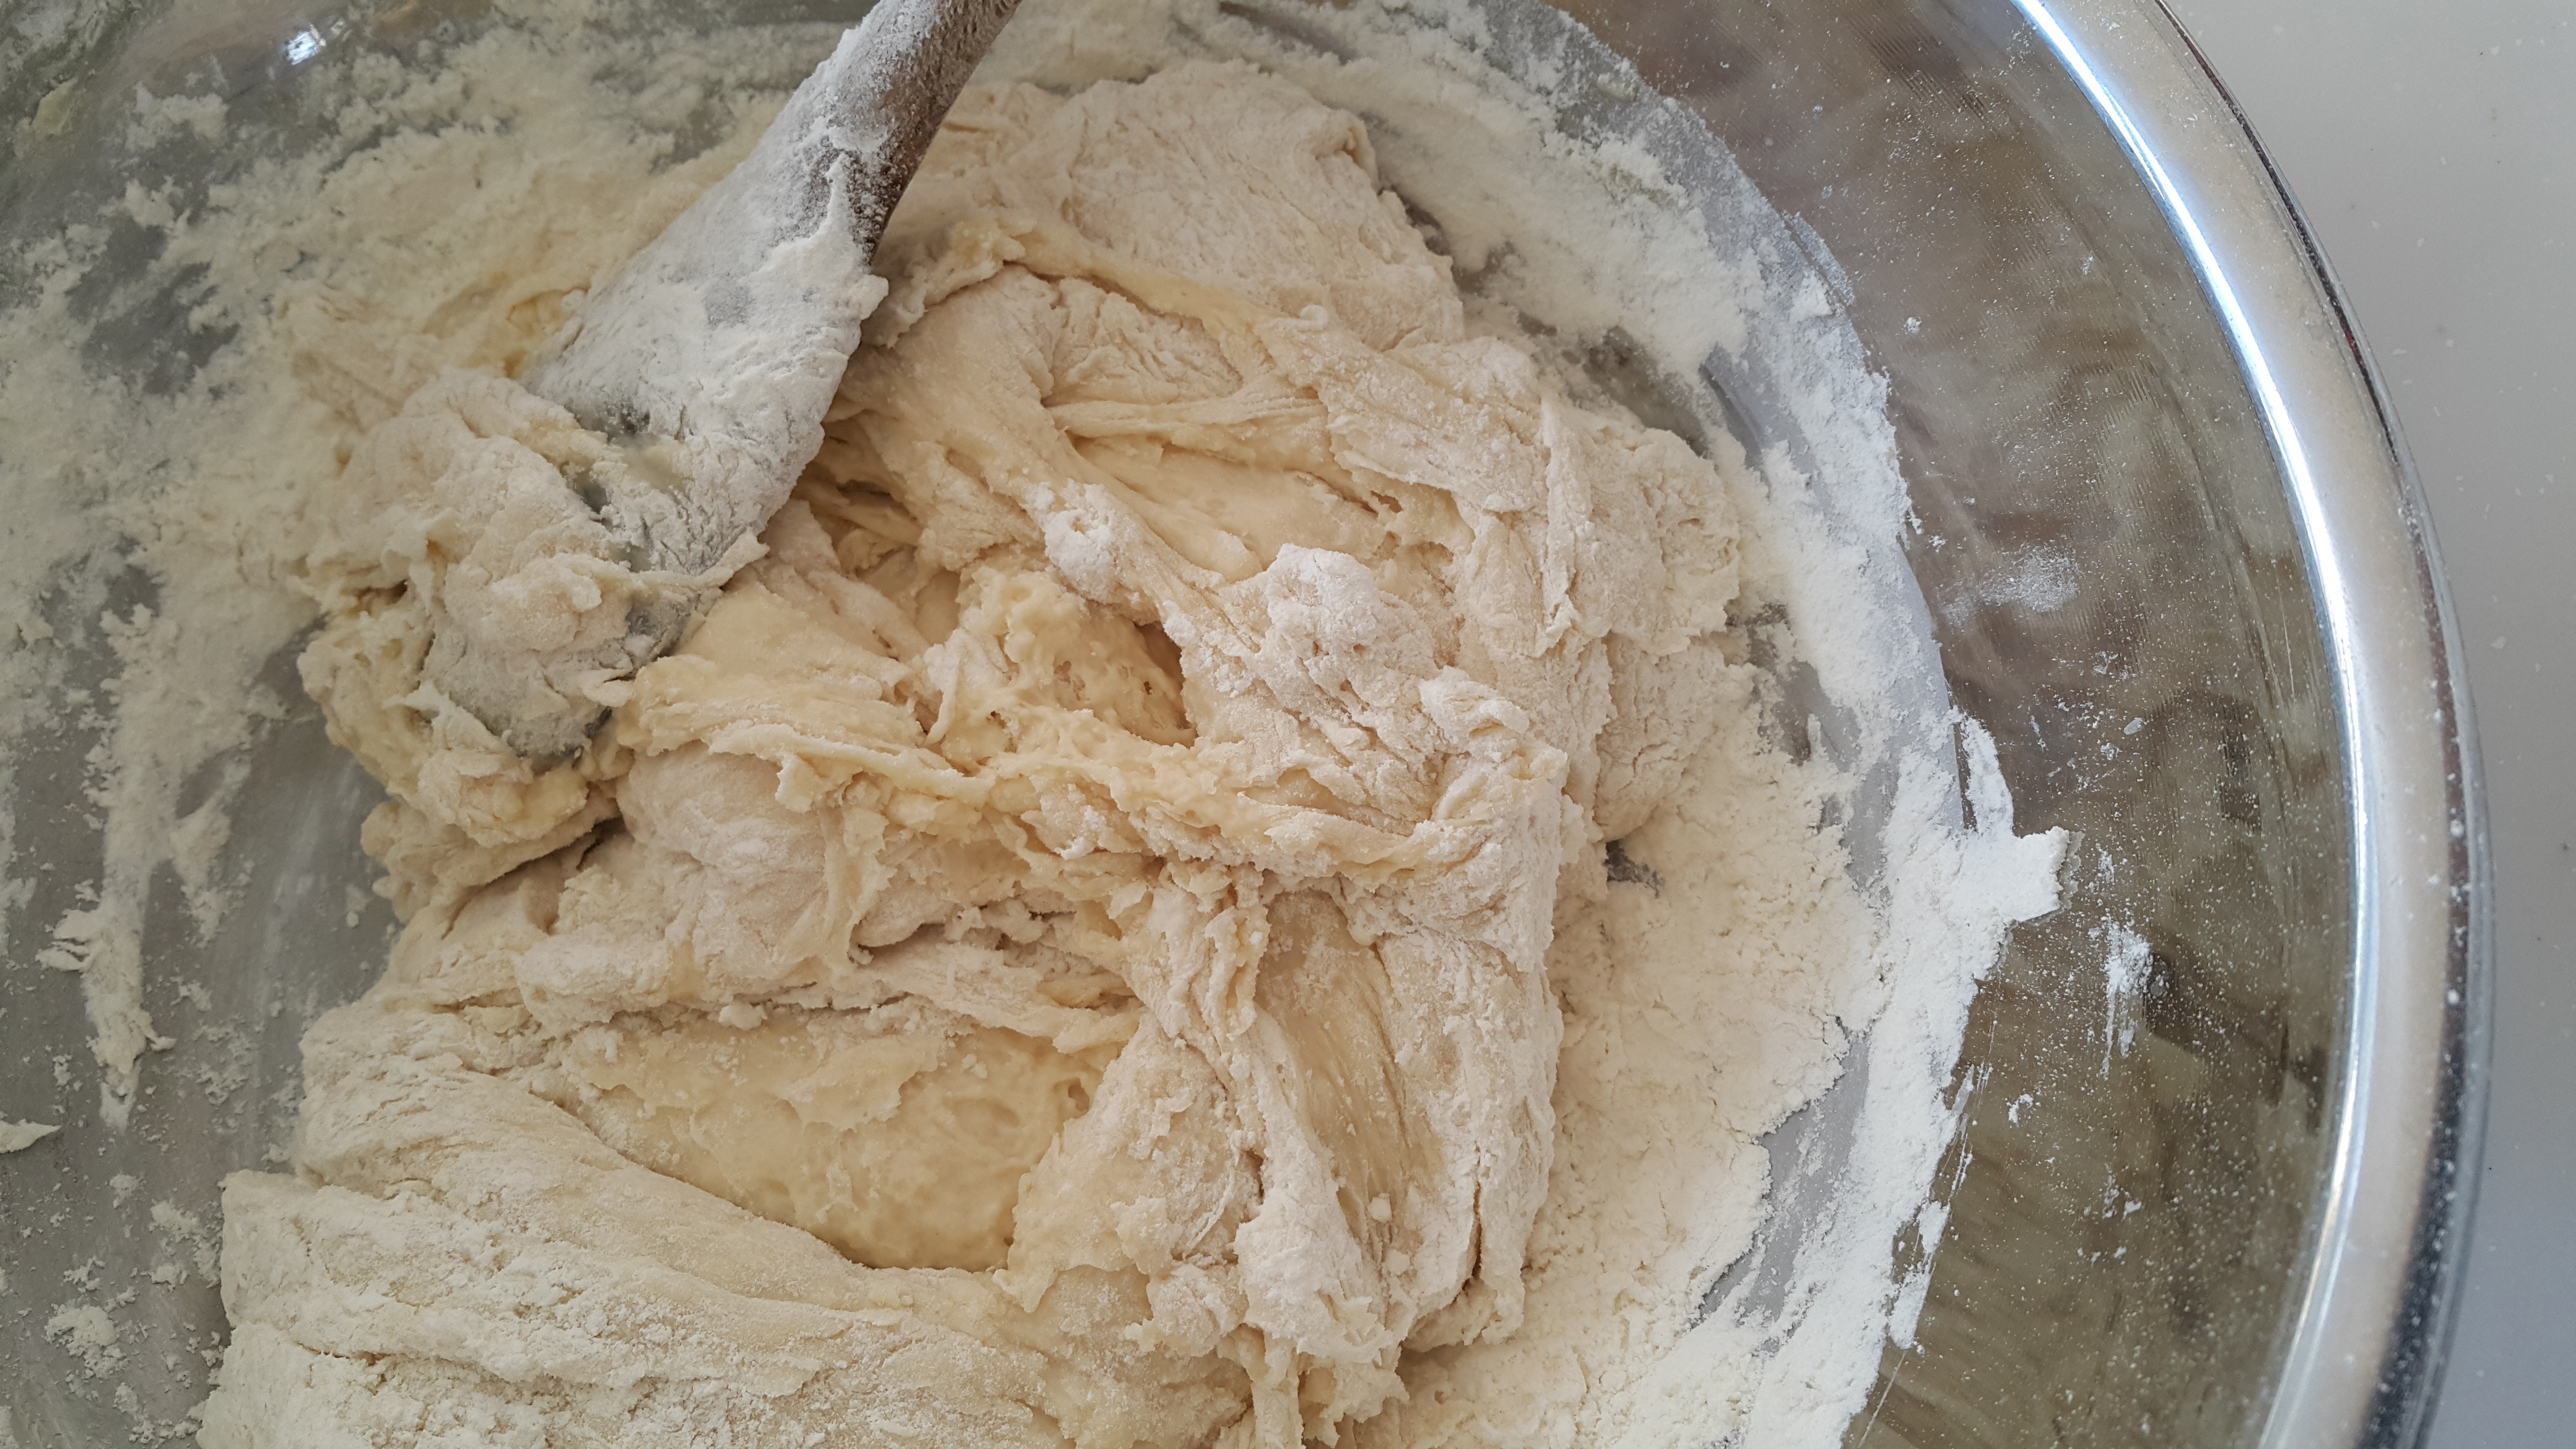
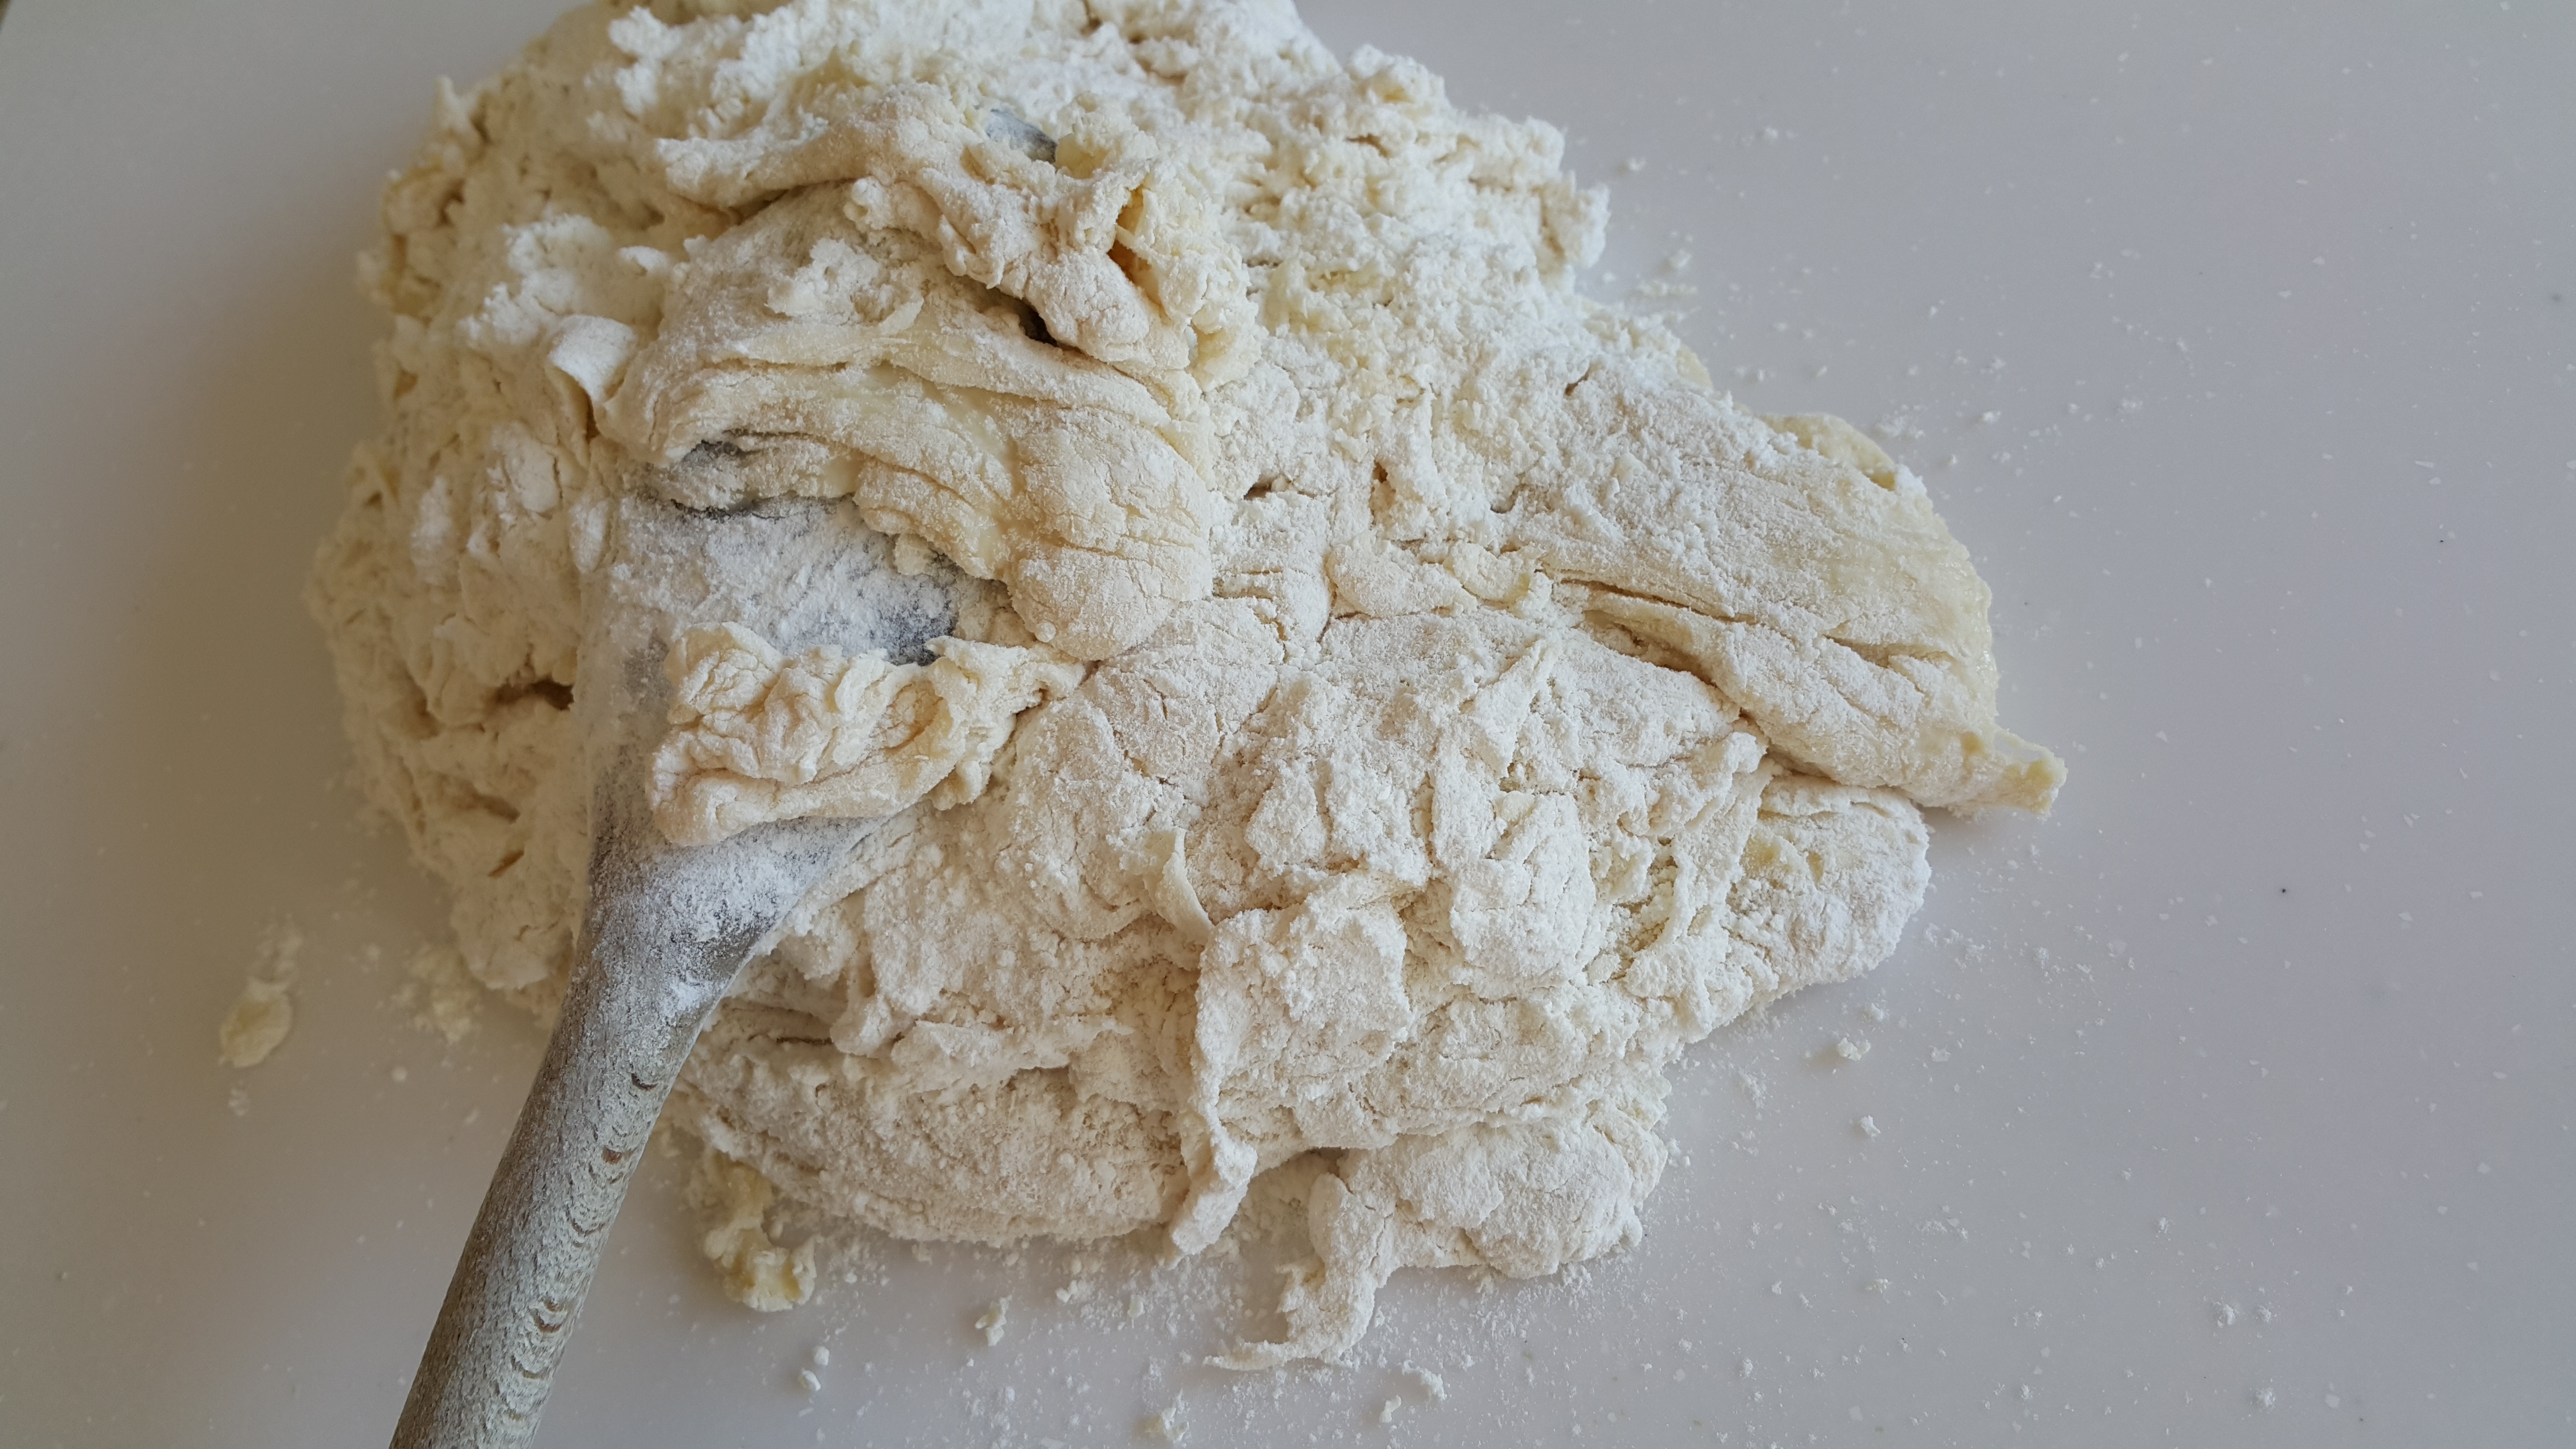
And it’ll become doughy!
We’re not quite there yet, so in goes more flour. I think I added about 5 cups by that point.
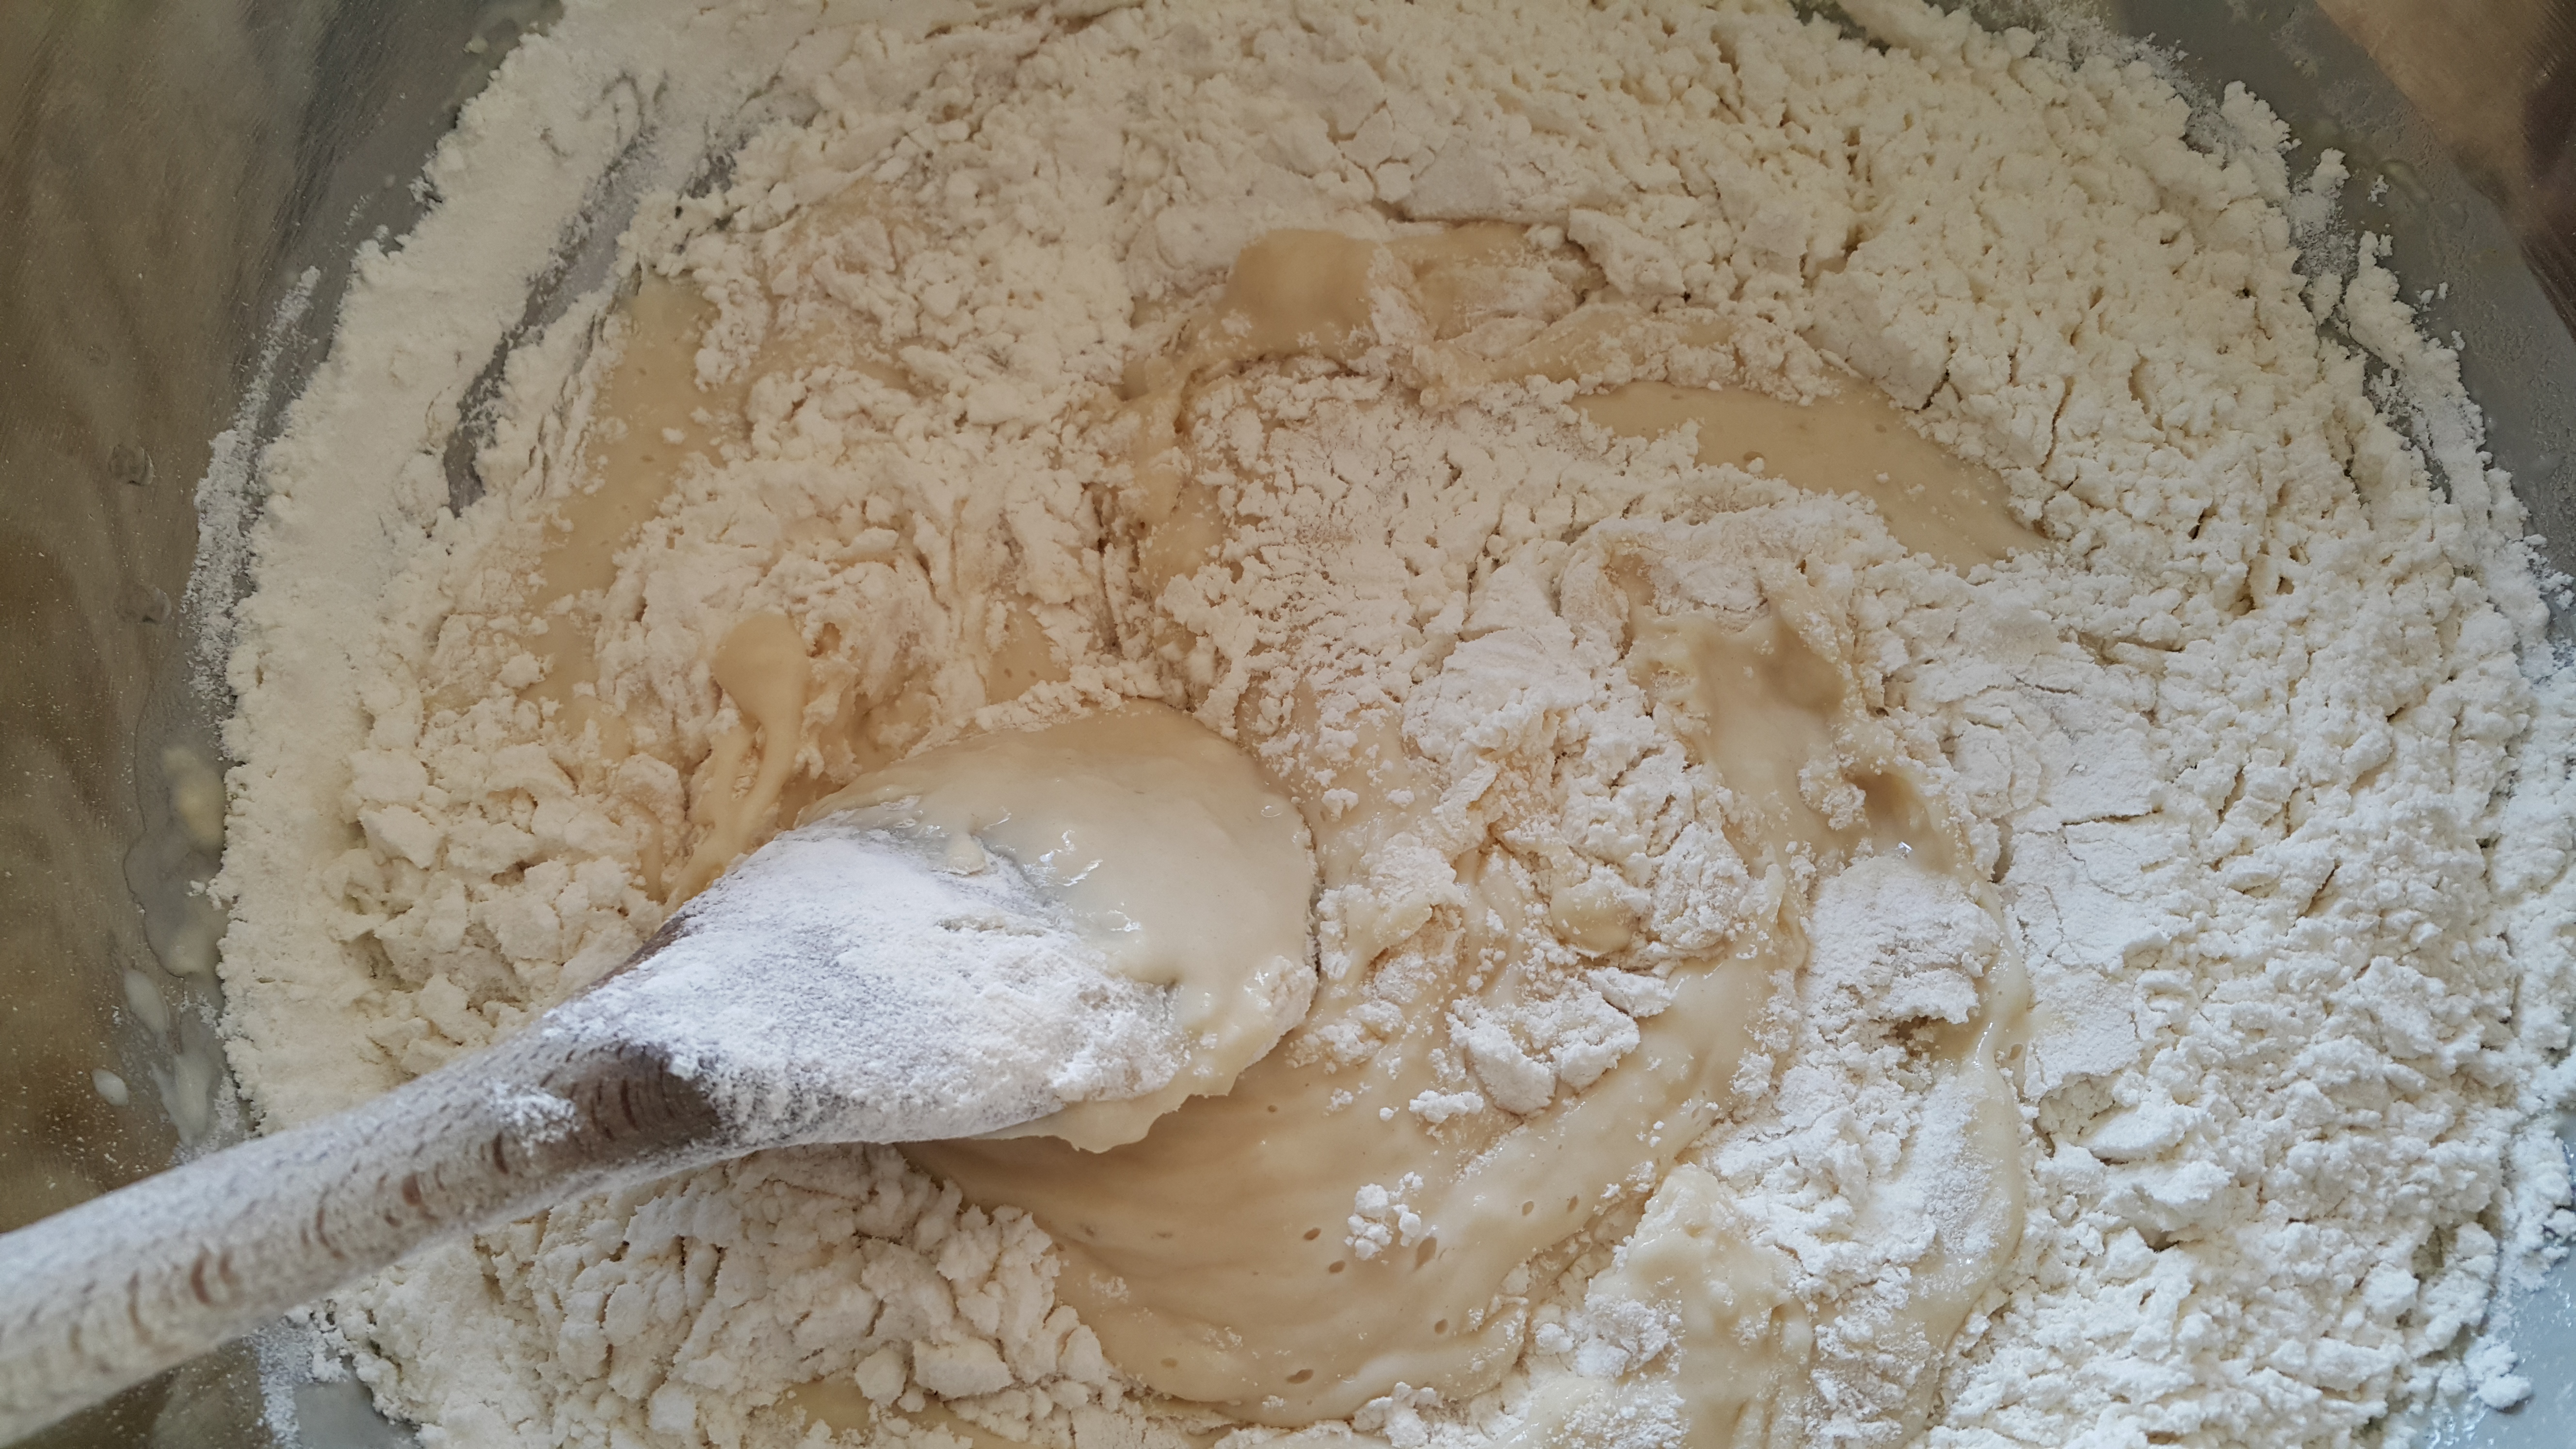
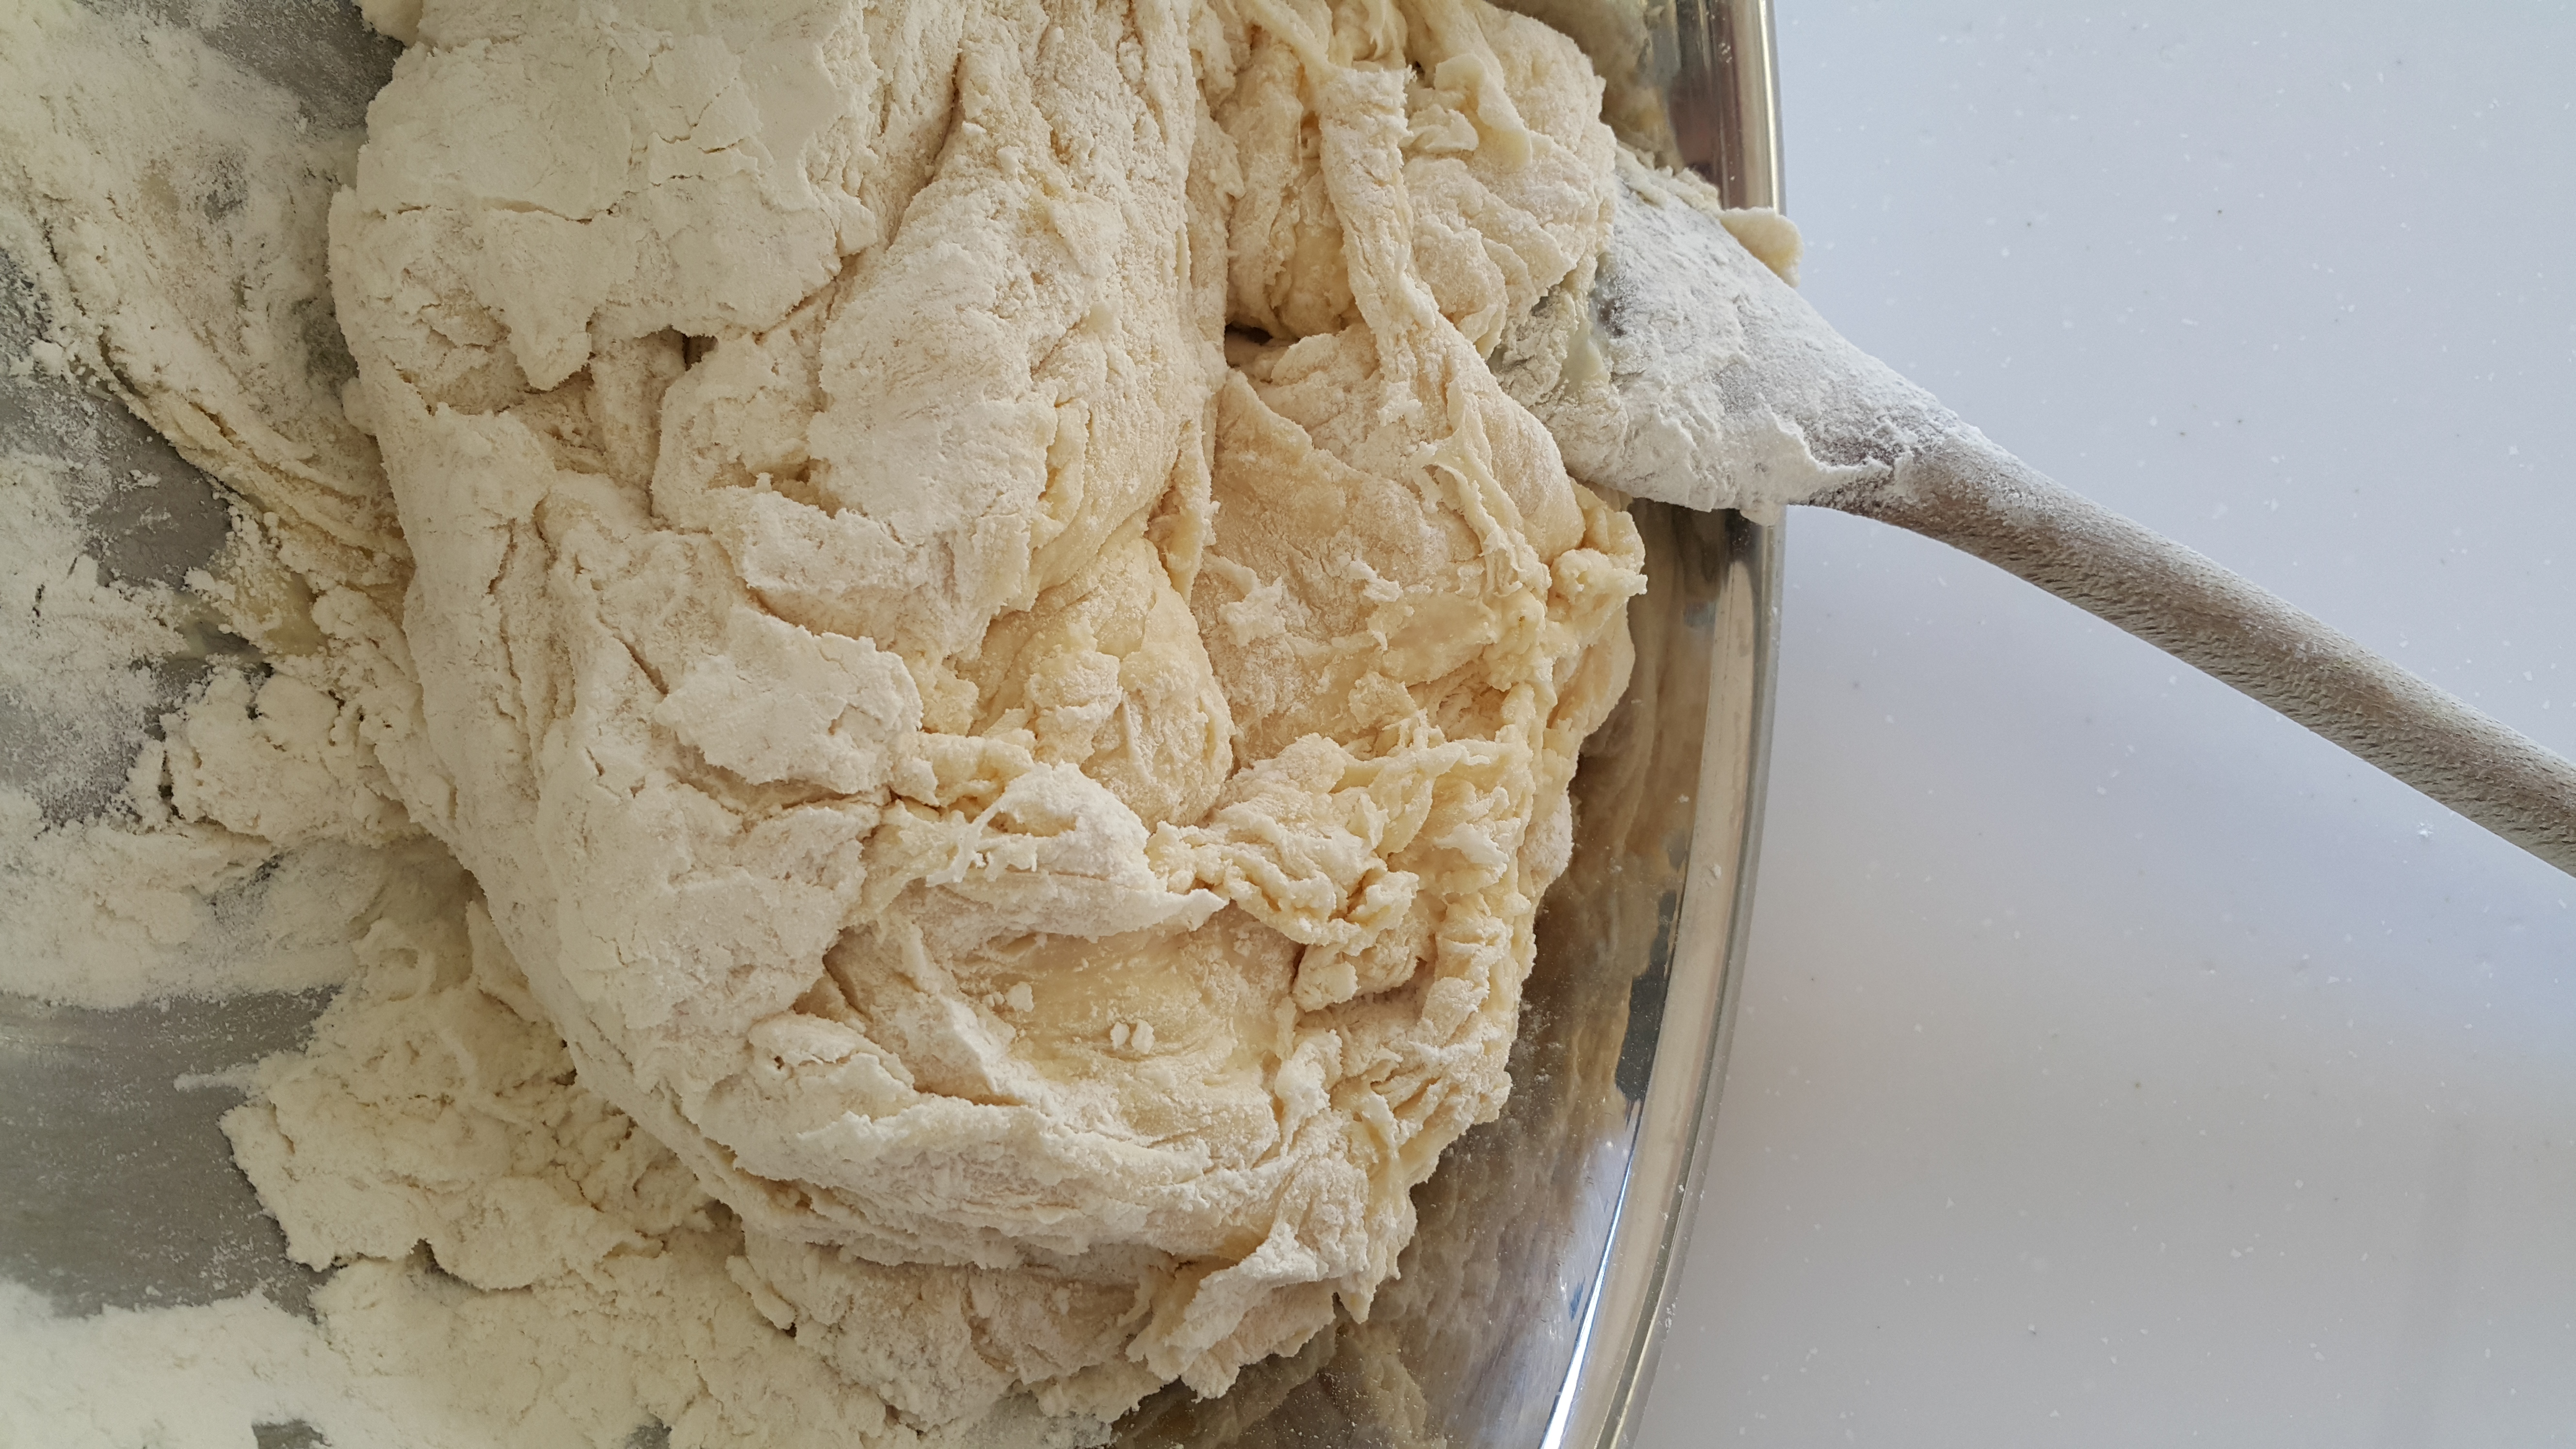
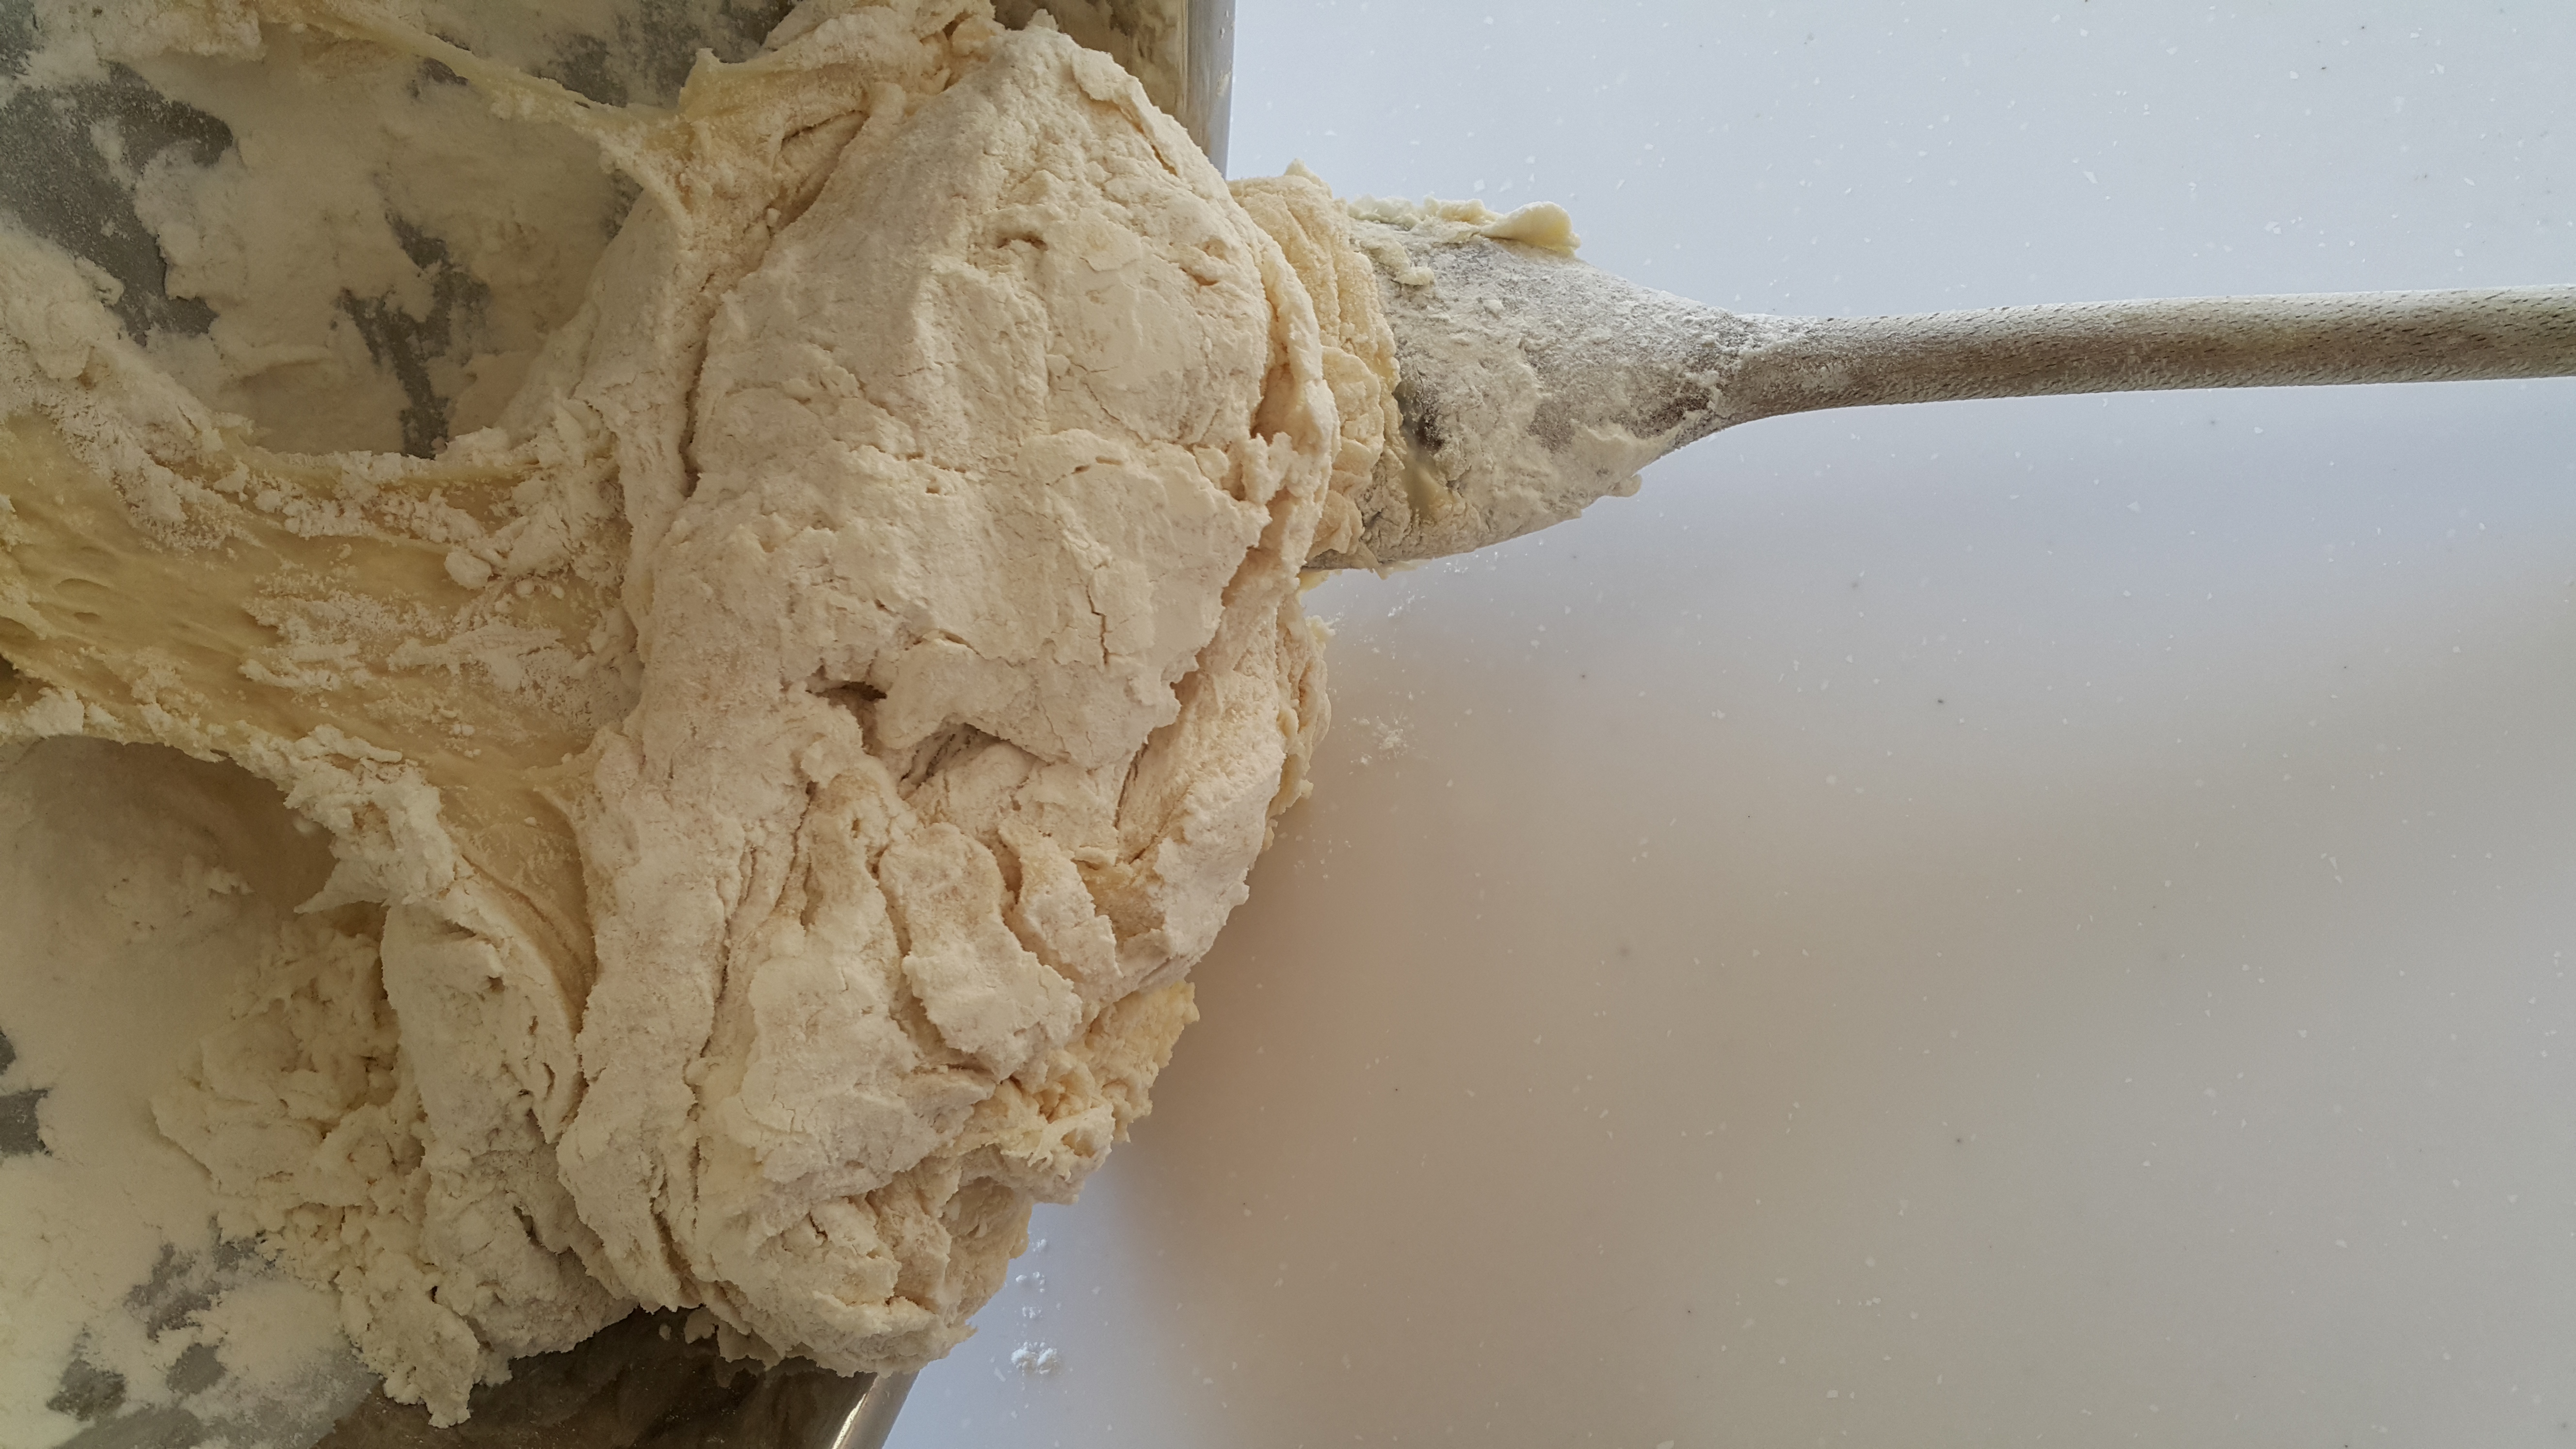
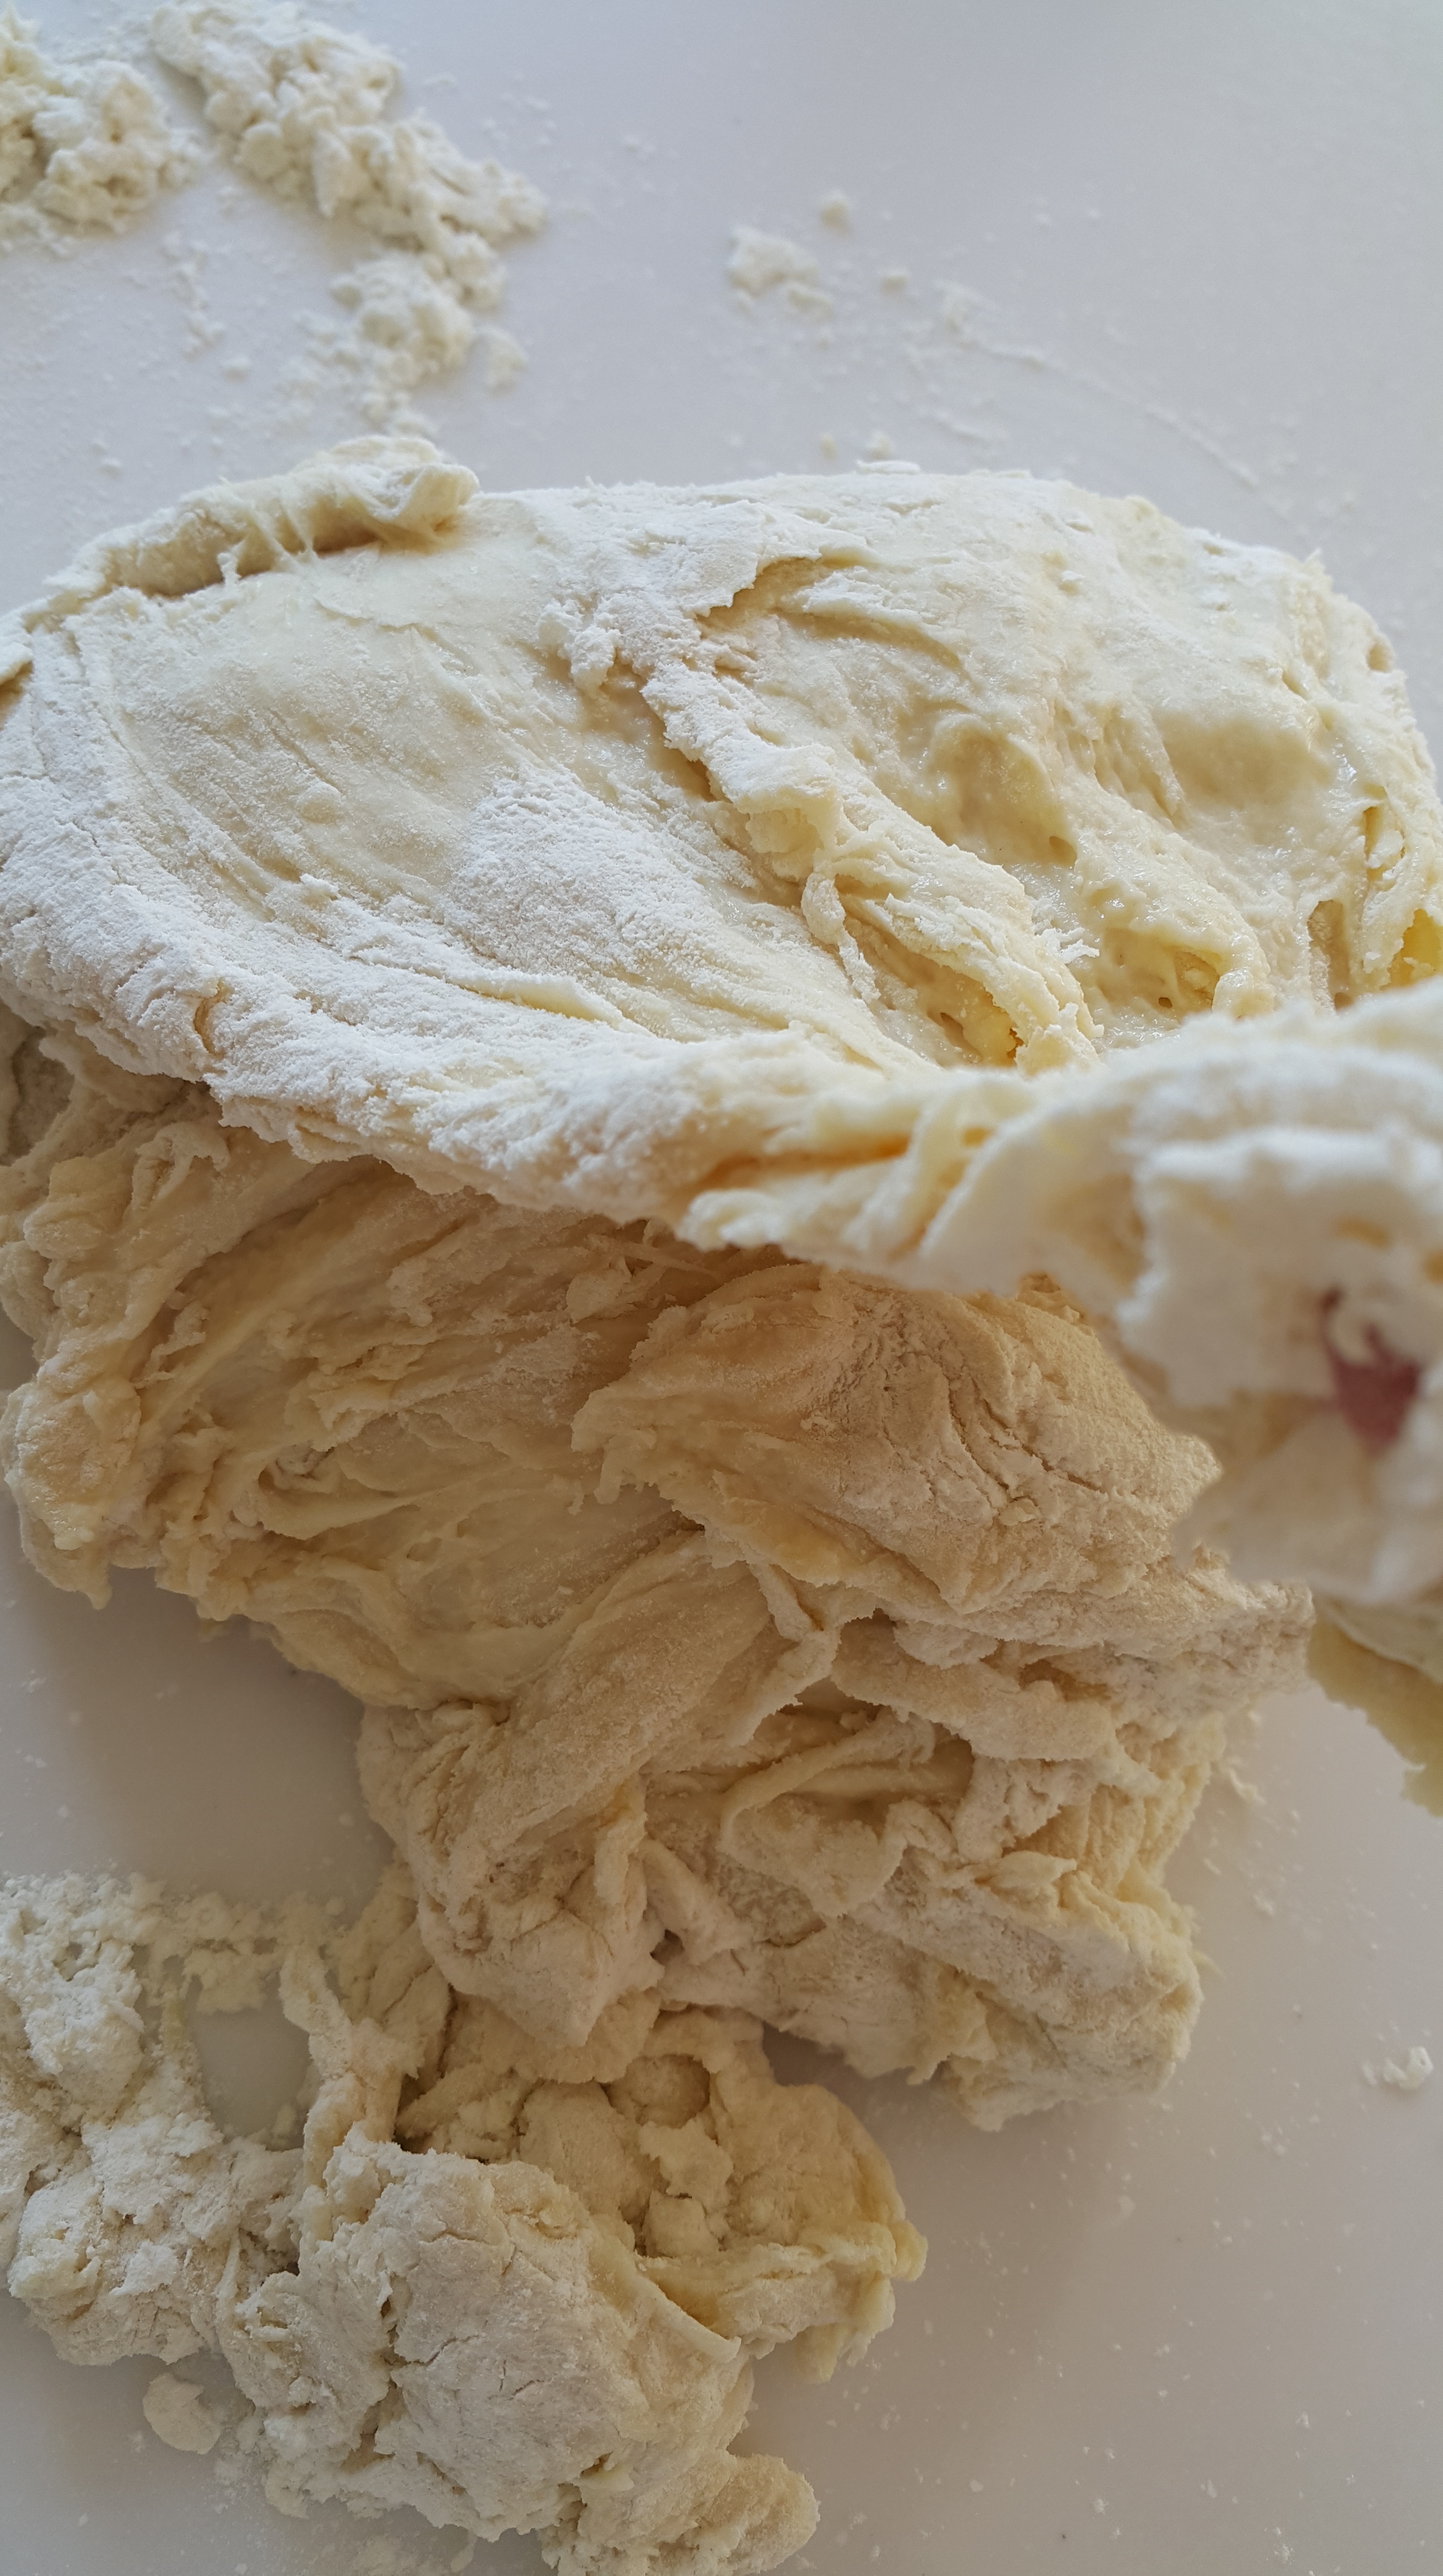
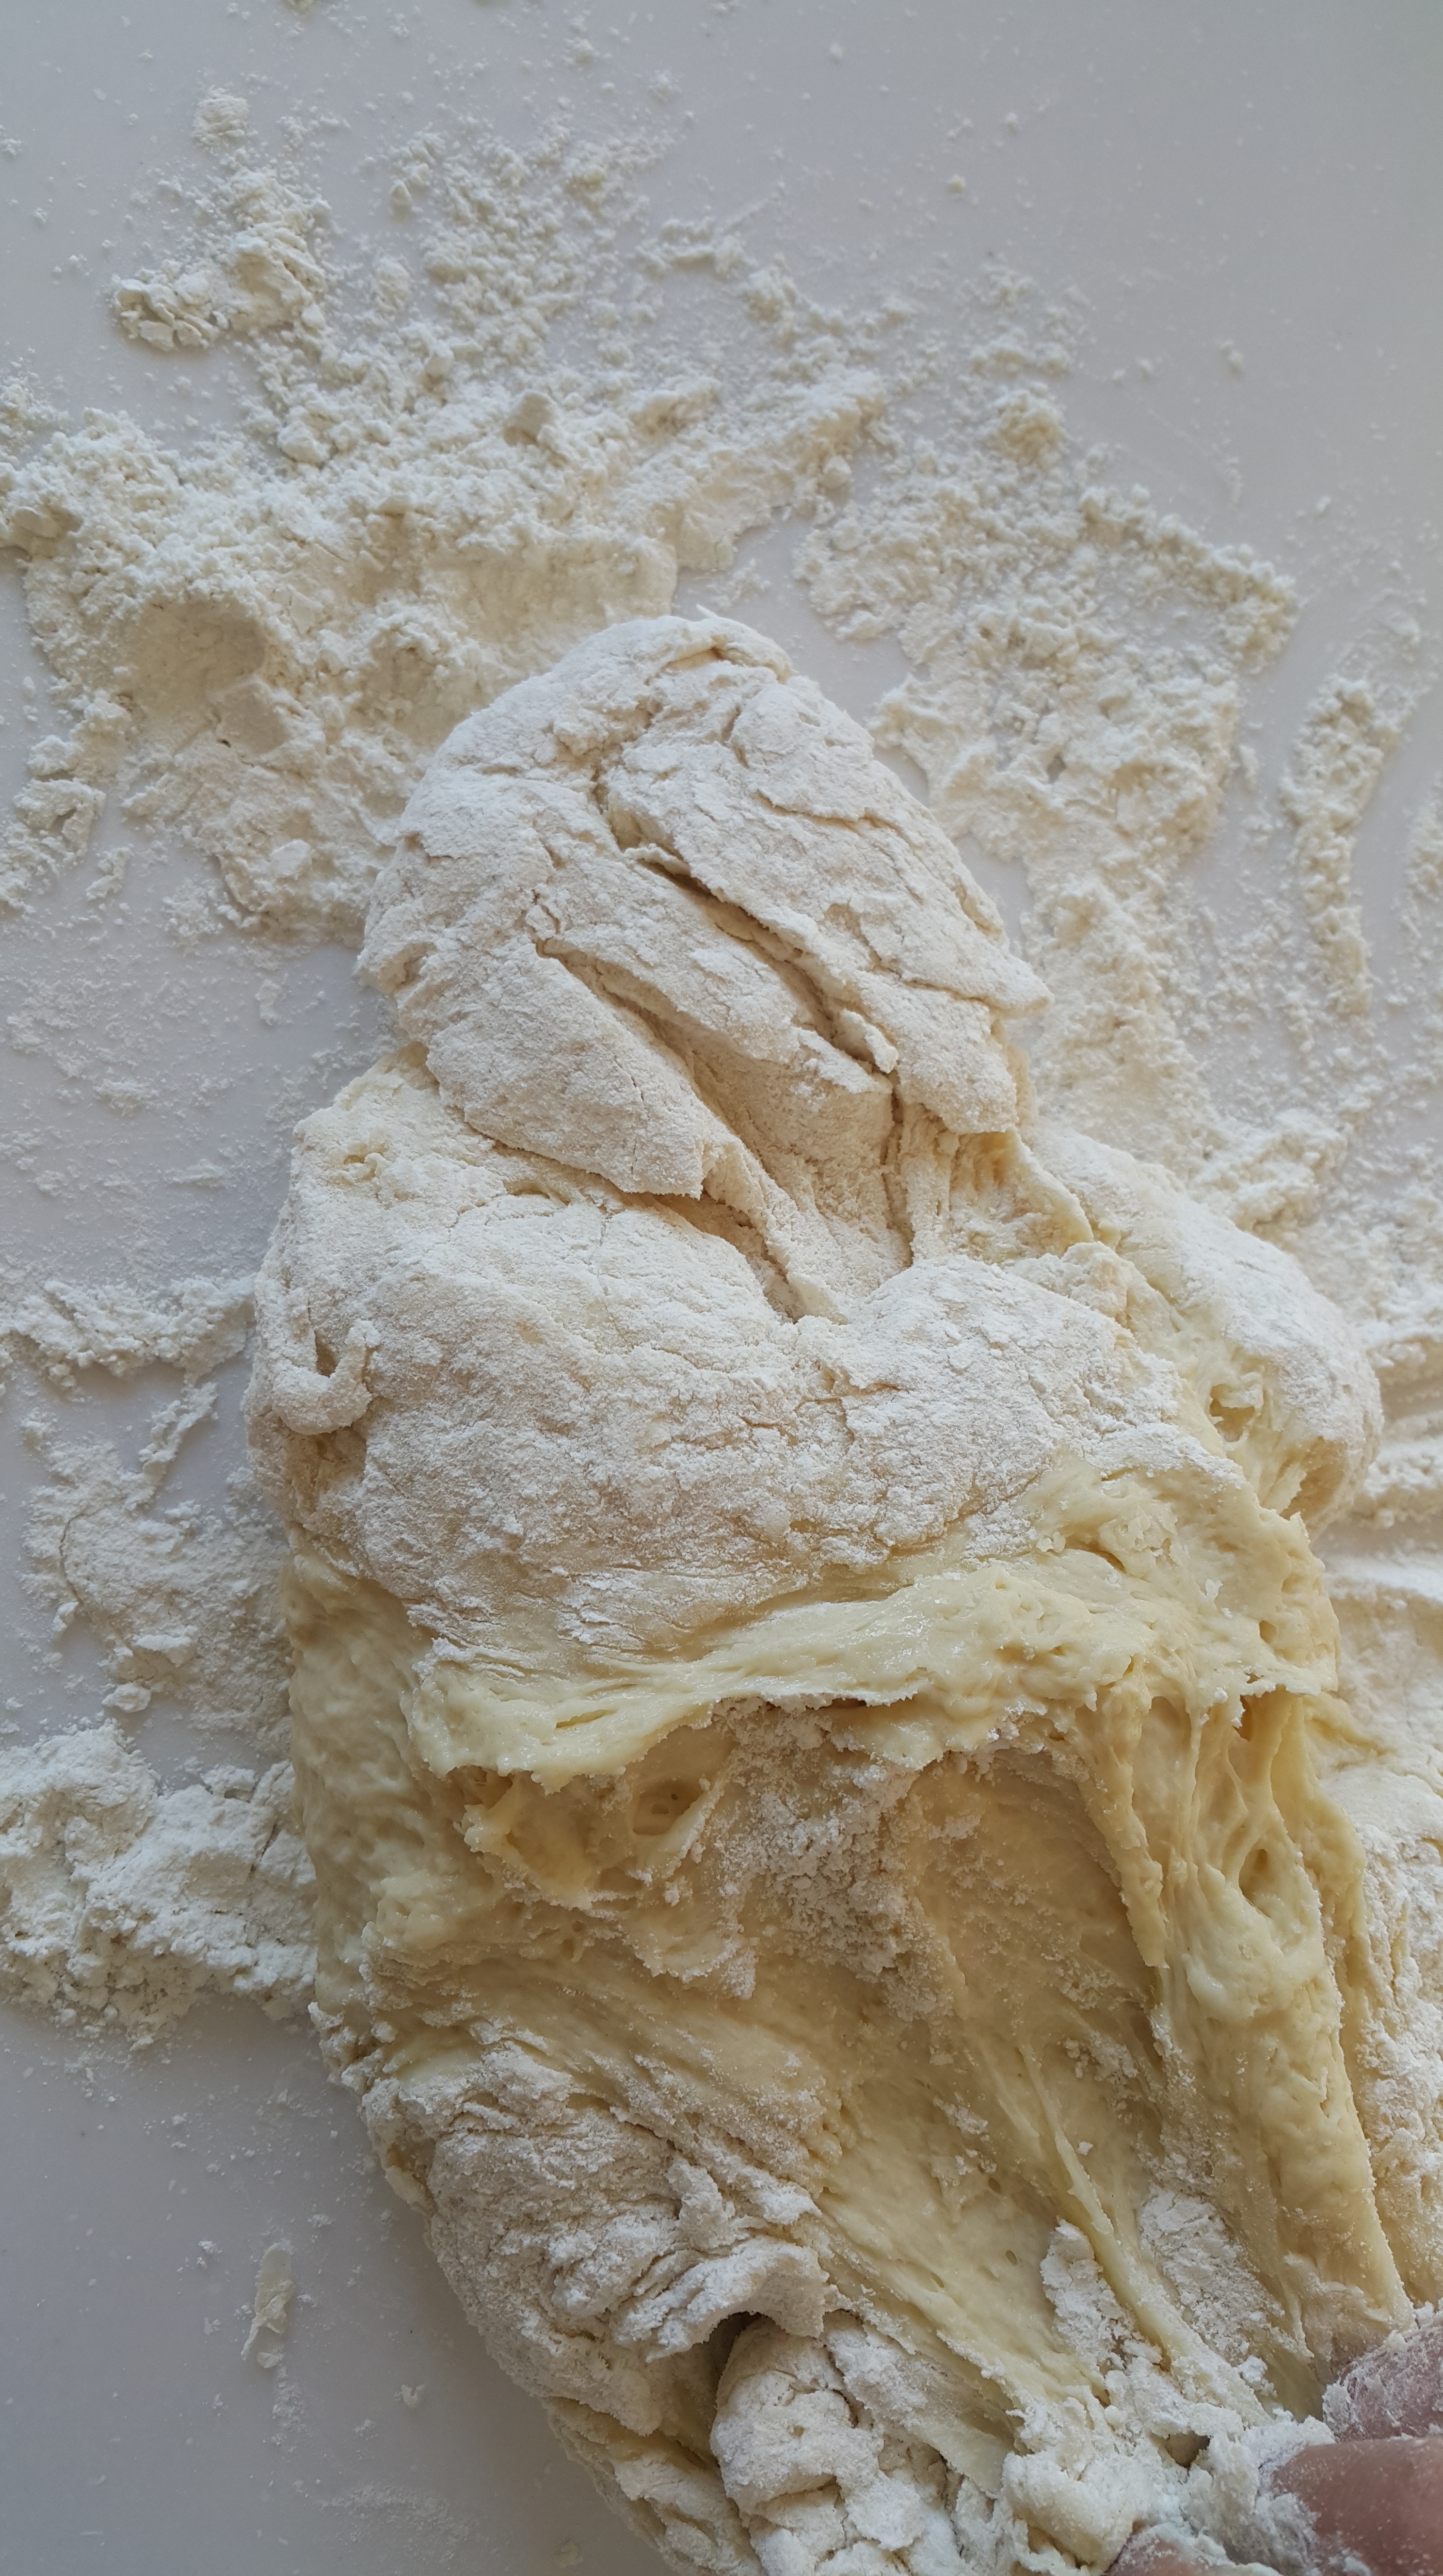
When you’ve added enough flour, and you’ll know this when you can’t stir the dough anymore, turn it out onto a clean surface.
Do remember that when it comes to bread, it’s better to err on the side of too wet rather than too dry. You can always add more flour but you can’t take it away.
I don’t suggest you flour your work surface.
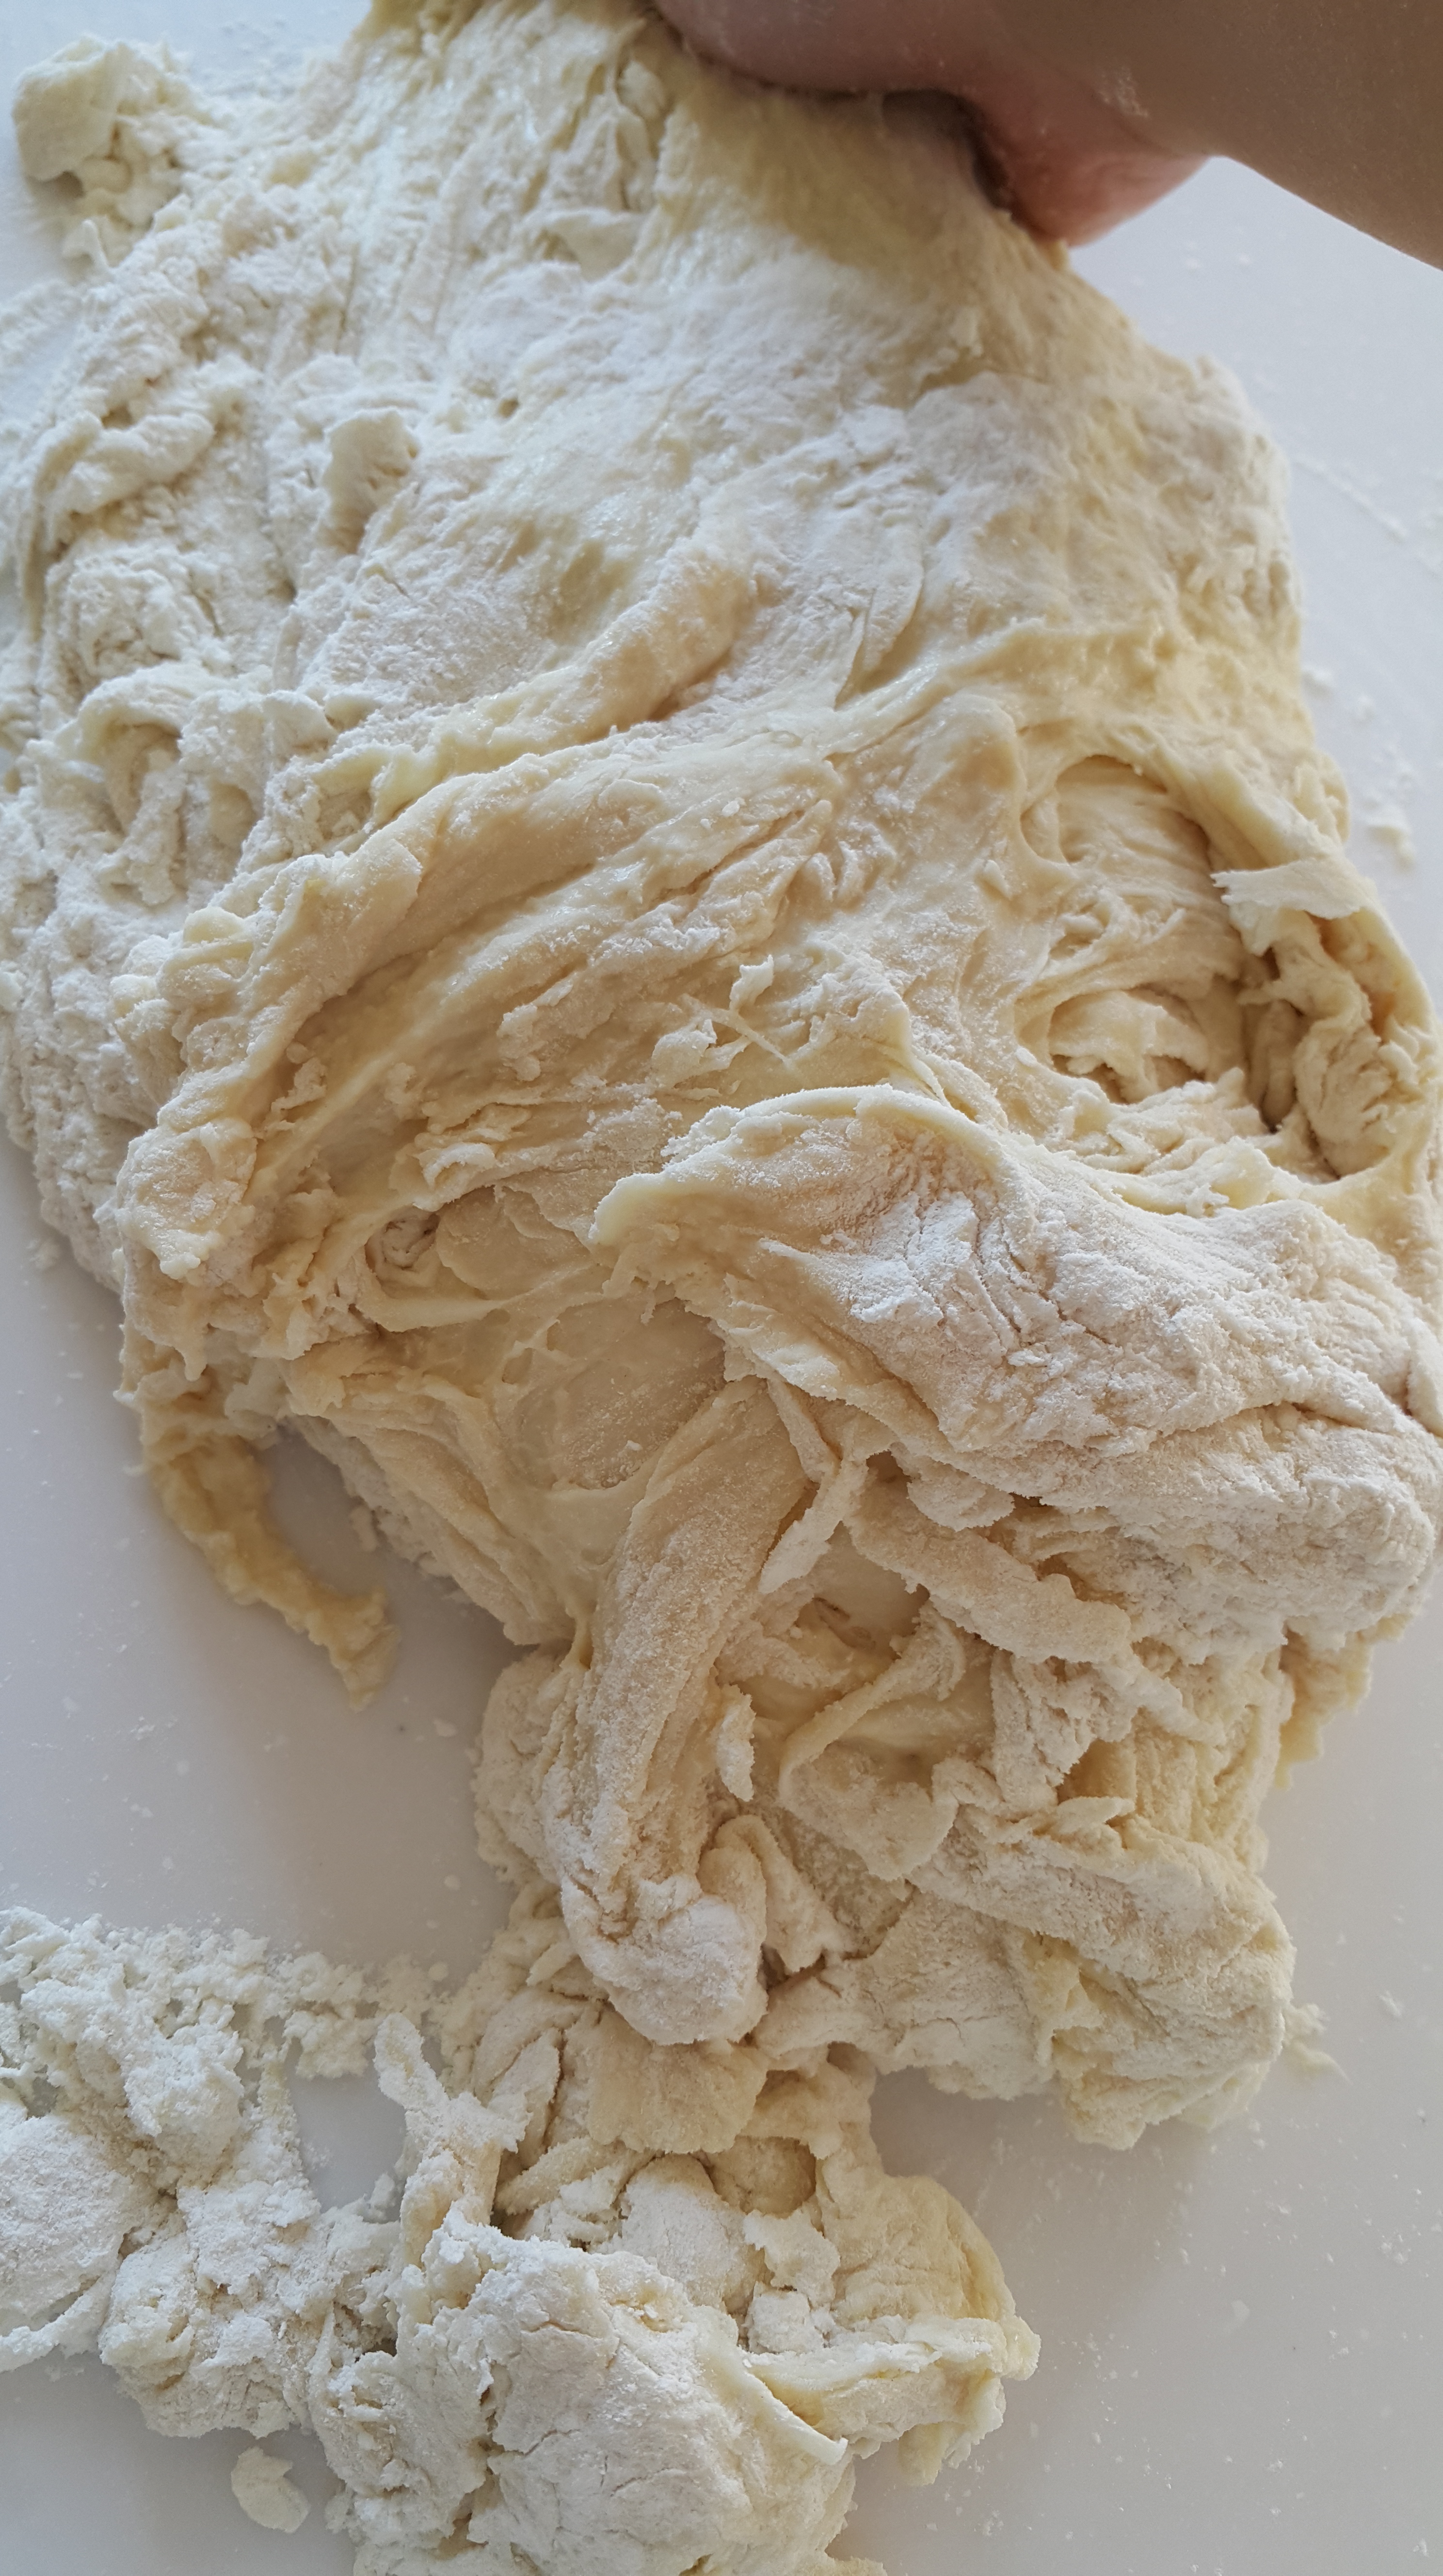
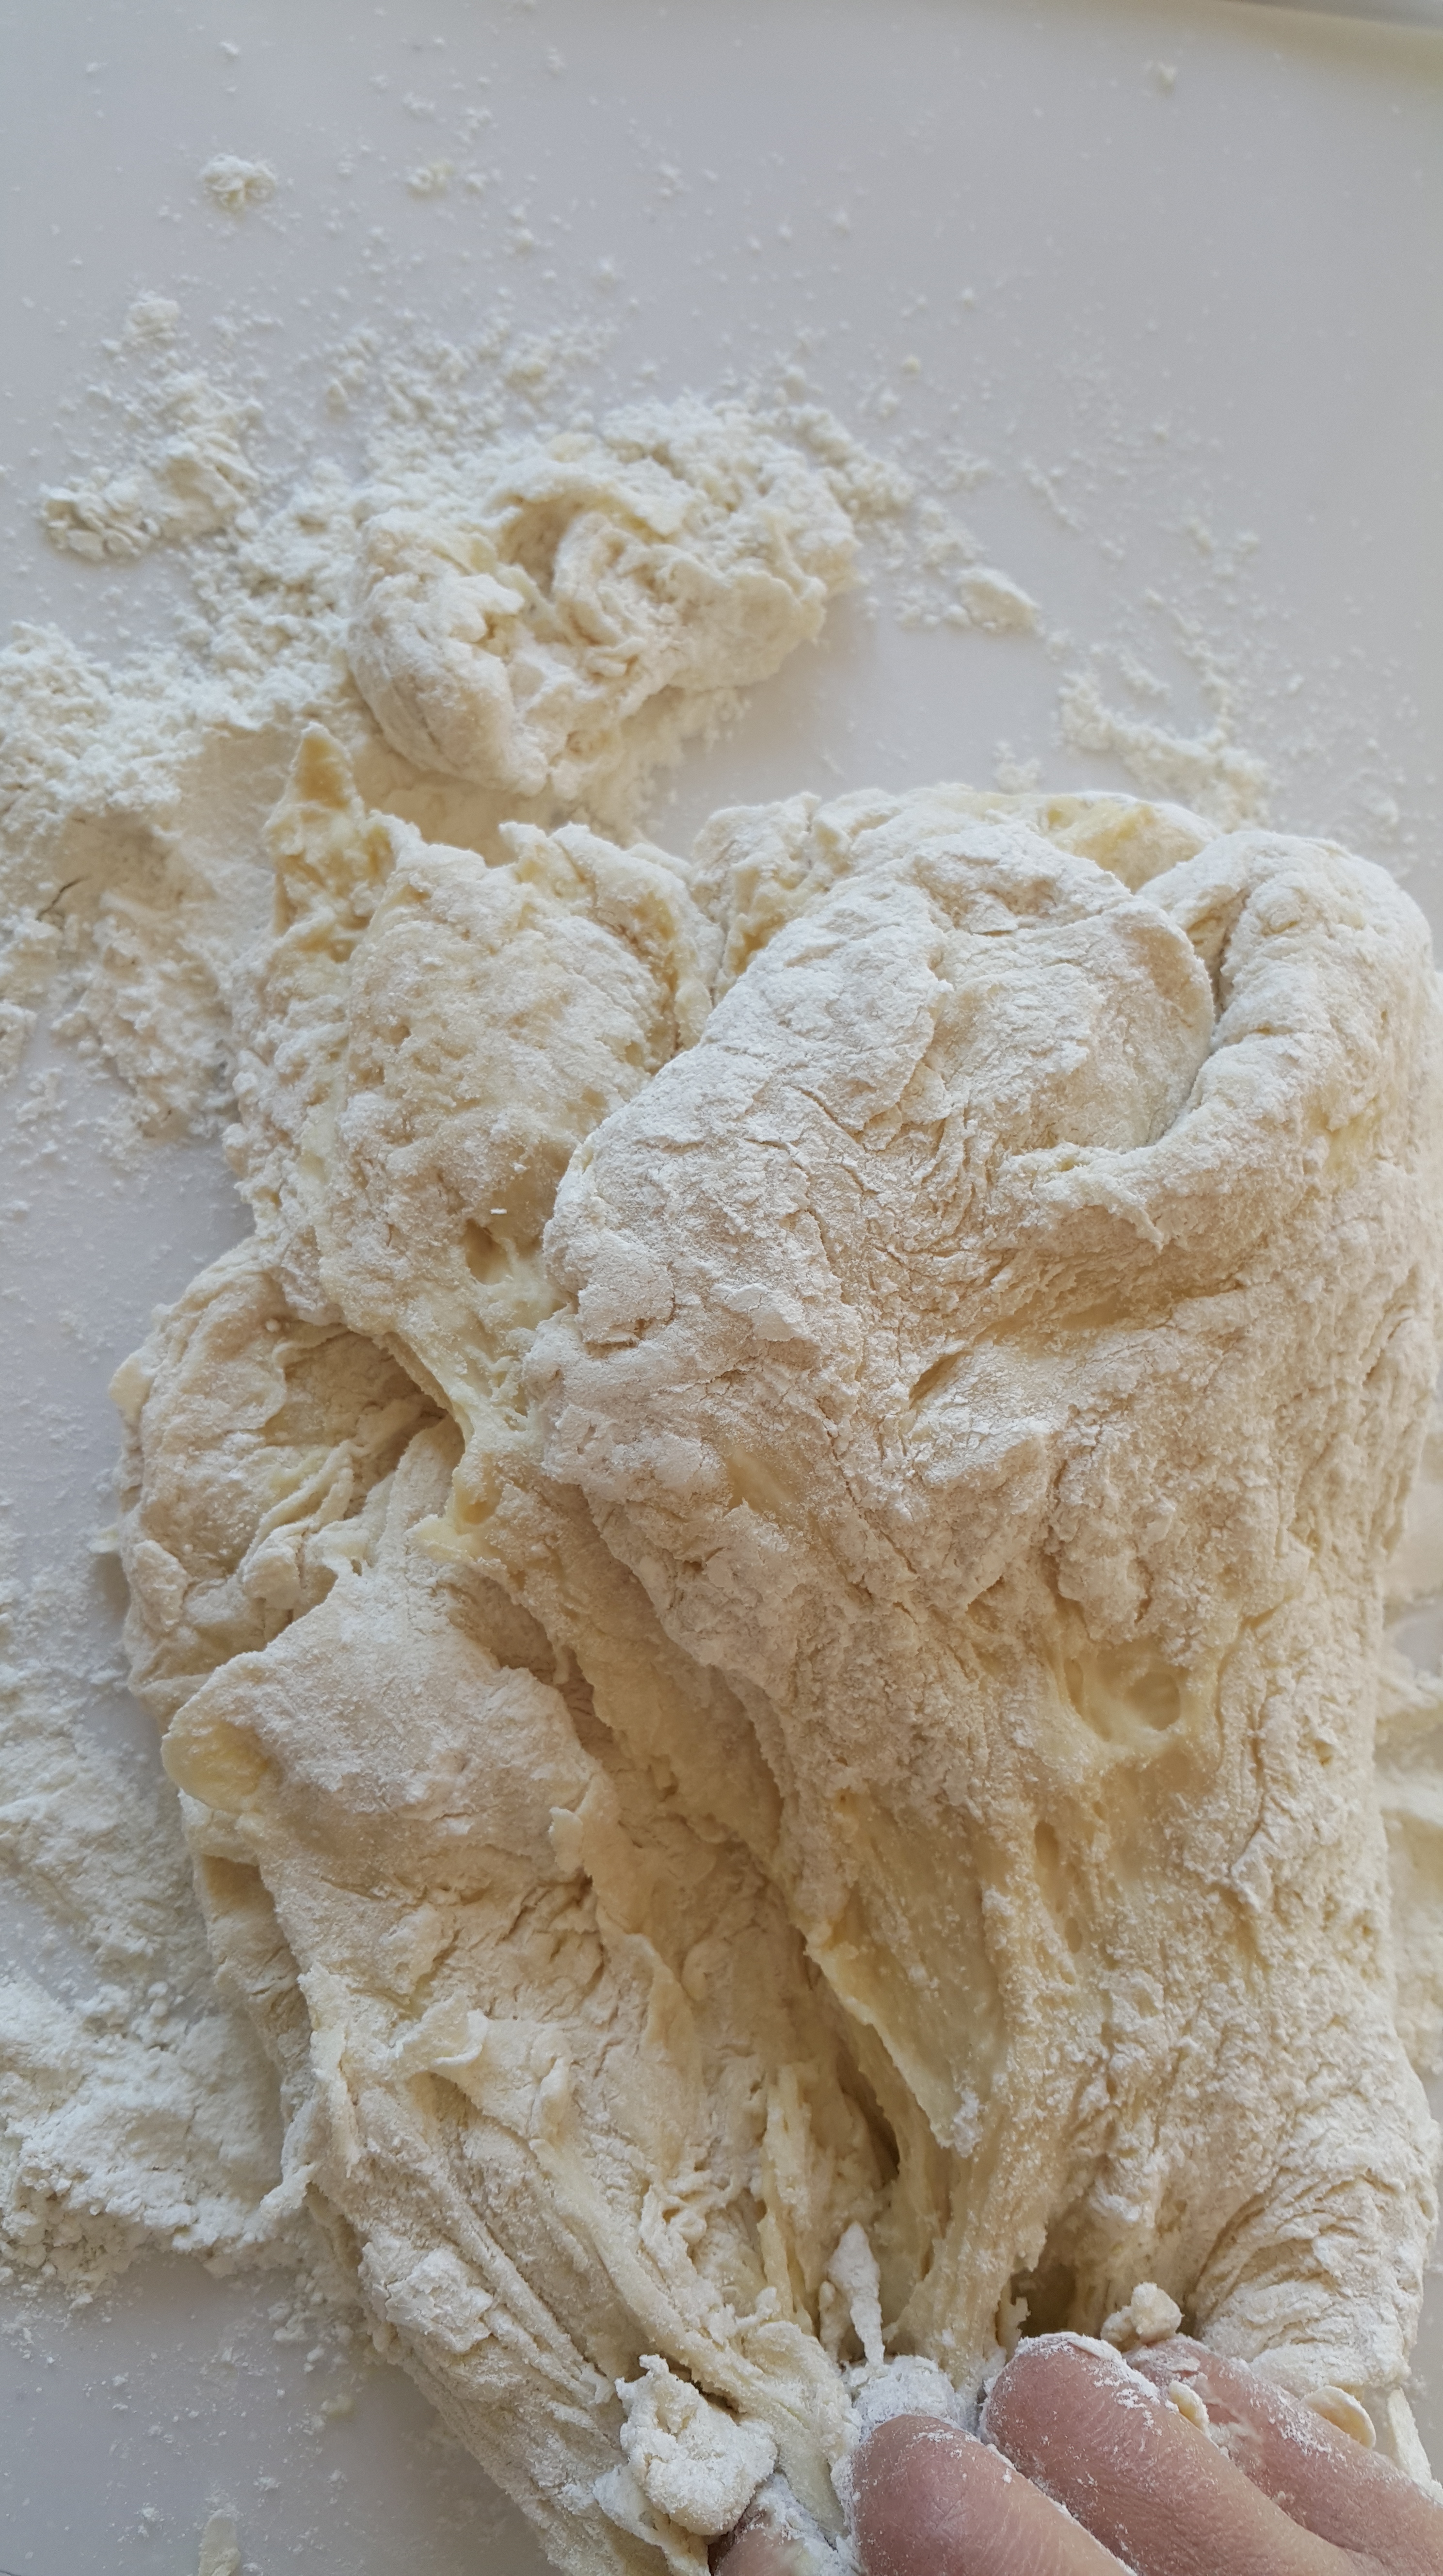
Of course I’ll be all lumpy and bumpy and craggy and shaggy. But isn’t it beautiful?
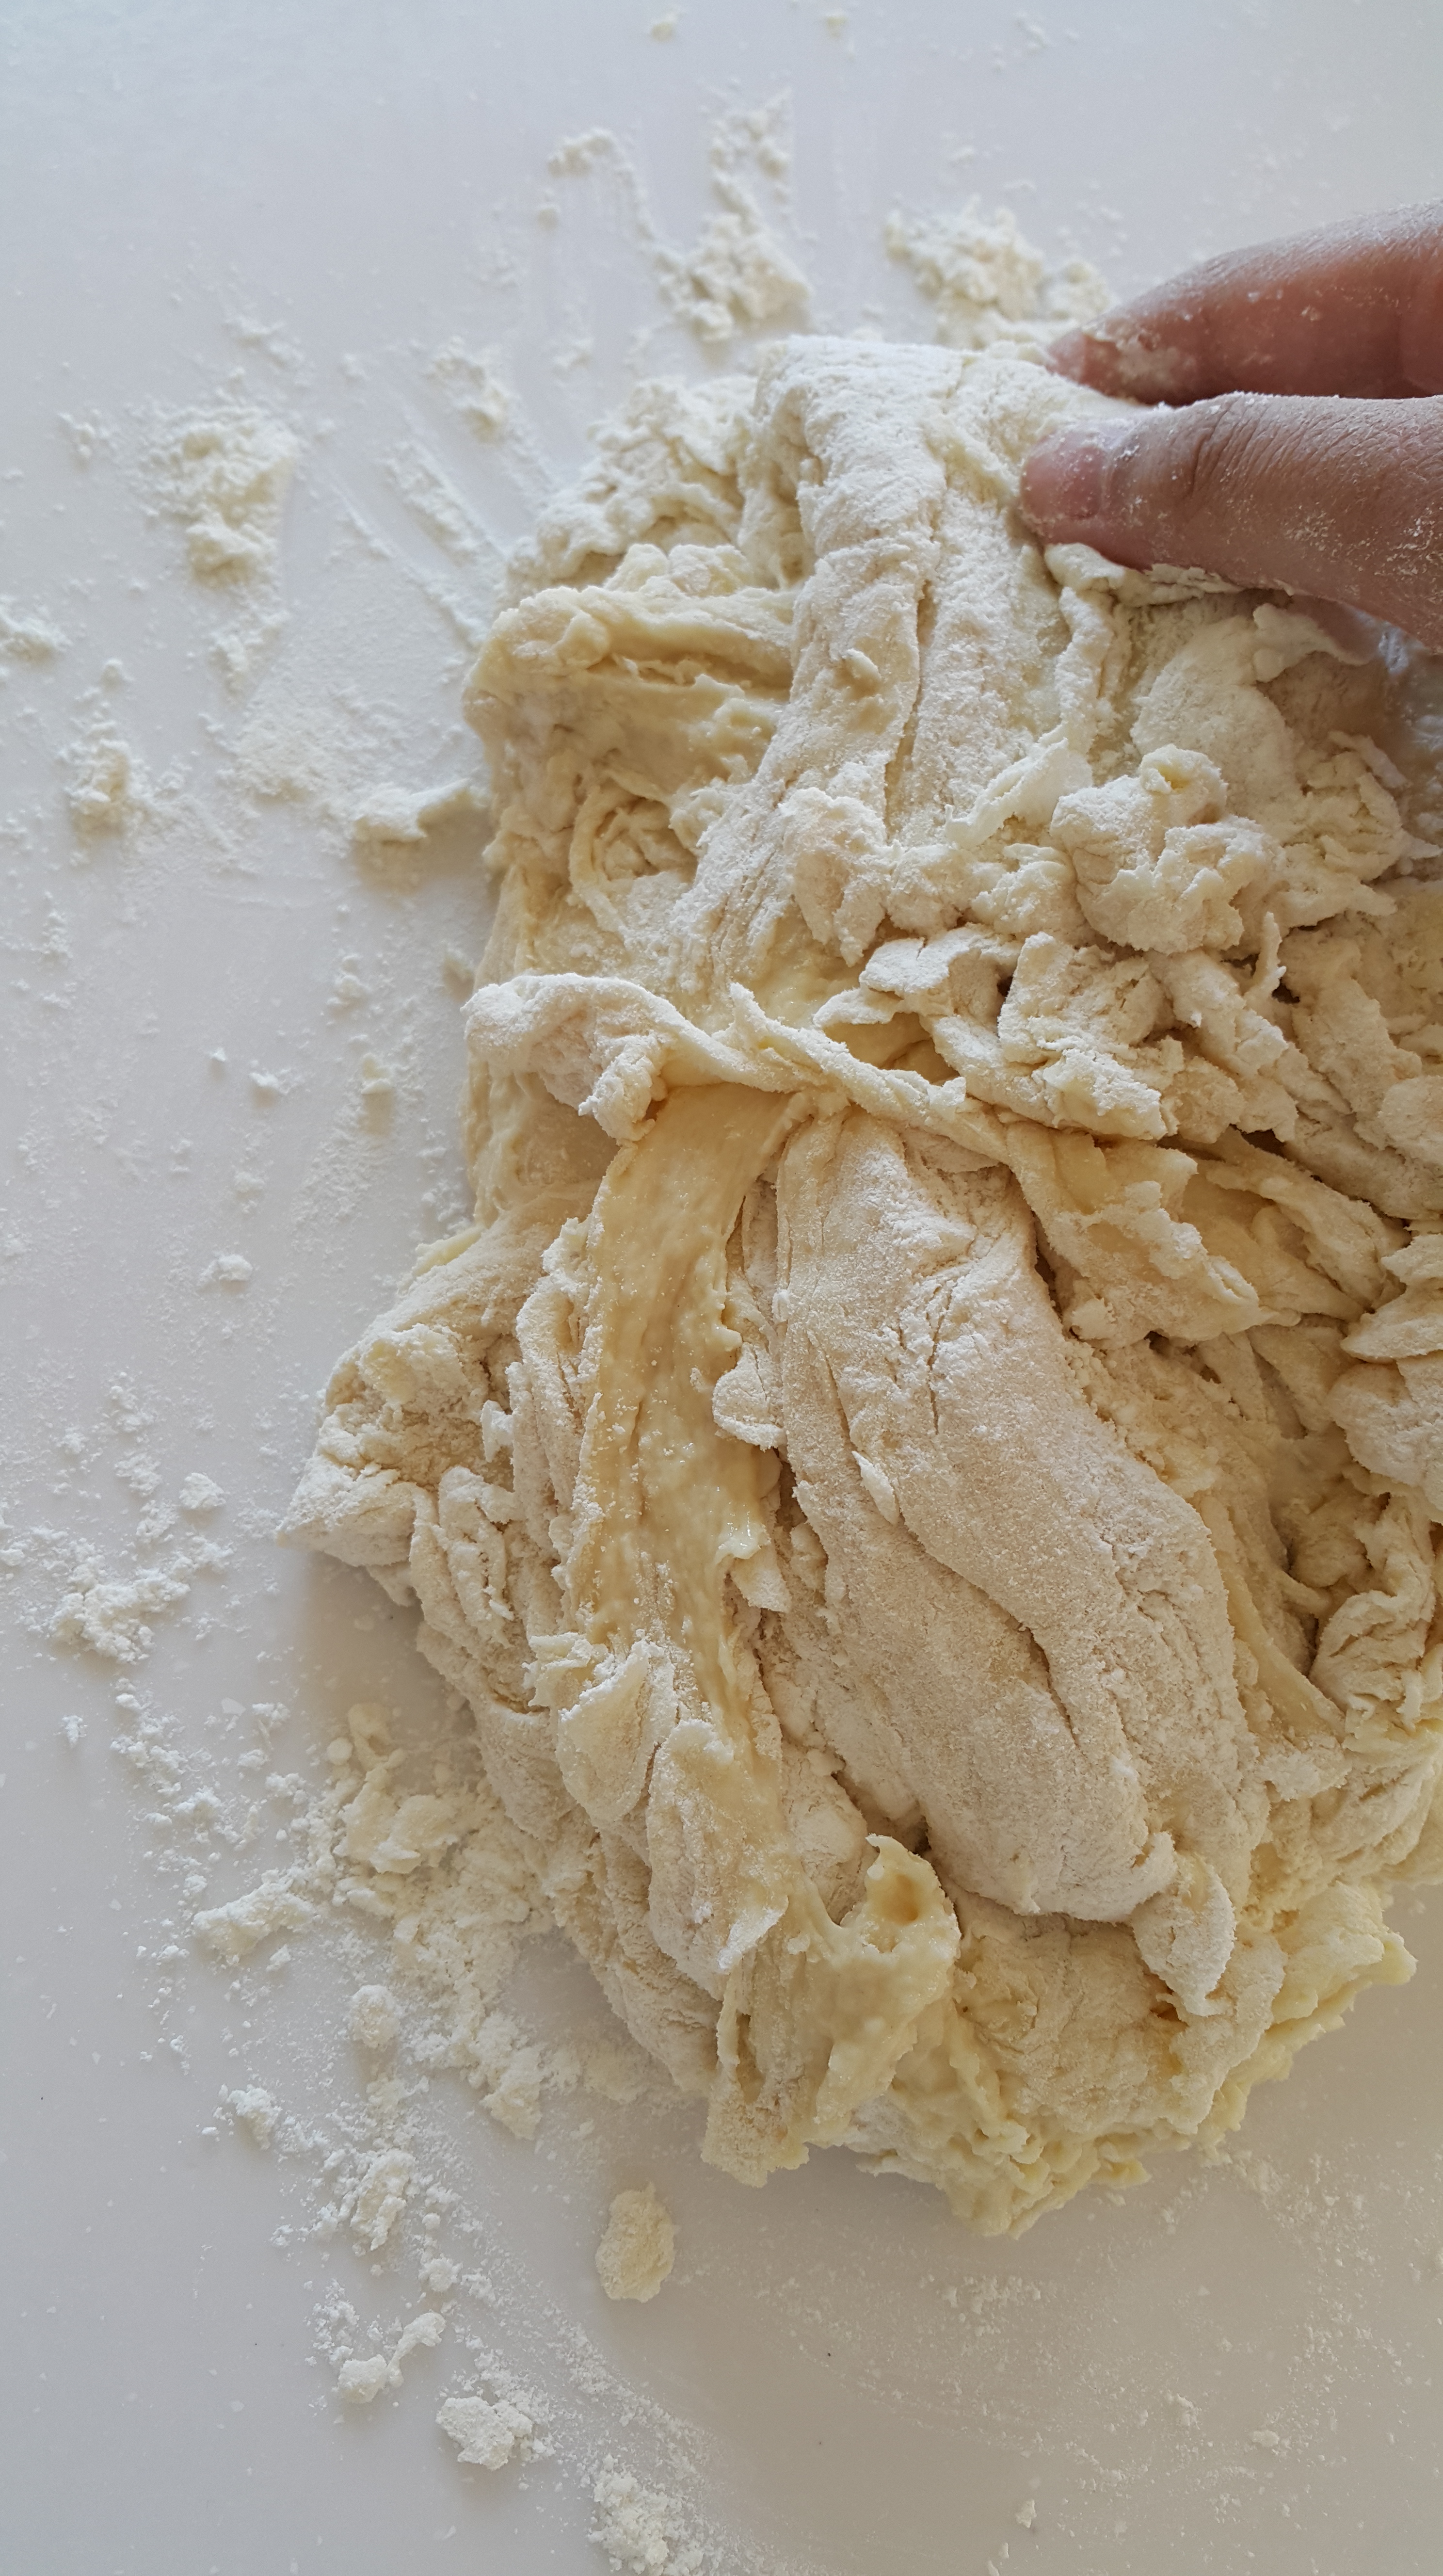
Here’s the part people tend to dread the most: kneading. I promise you it’s not overexerting or complicated. Really. The mistake most people make in the beginning, myself included, is adding too much flour. The thing is, the dough is supposed to be sticky when you start kneading. Not tacky- sticky. Not so sticky that you can’t move it, of course, but it should cling to your hands. Here. I’ll show you.
You can knead the traditional way, which is to simply fold the dough over, then turning it 90 degrees, pushing it forward with the heel of your hand, and repeating.
Perfectly sticky.

Gather up all the loose pieces of dough as you go along. Try to limit wastage!
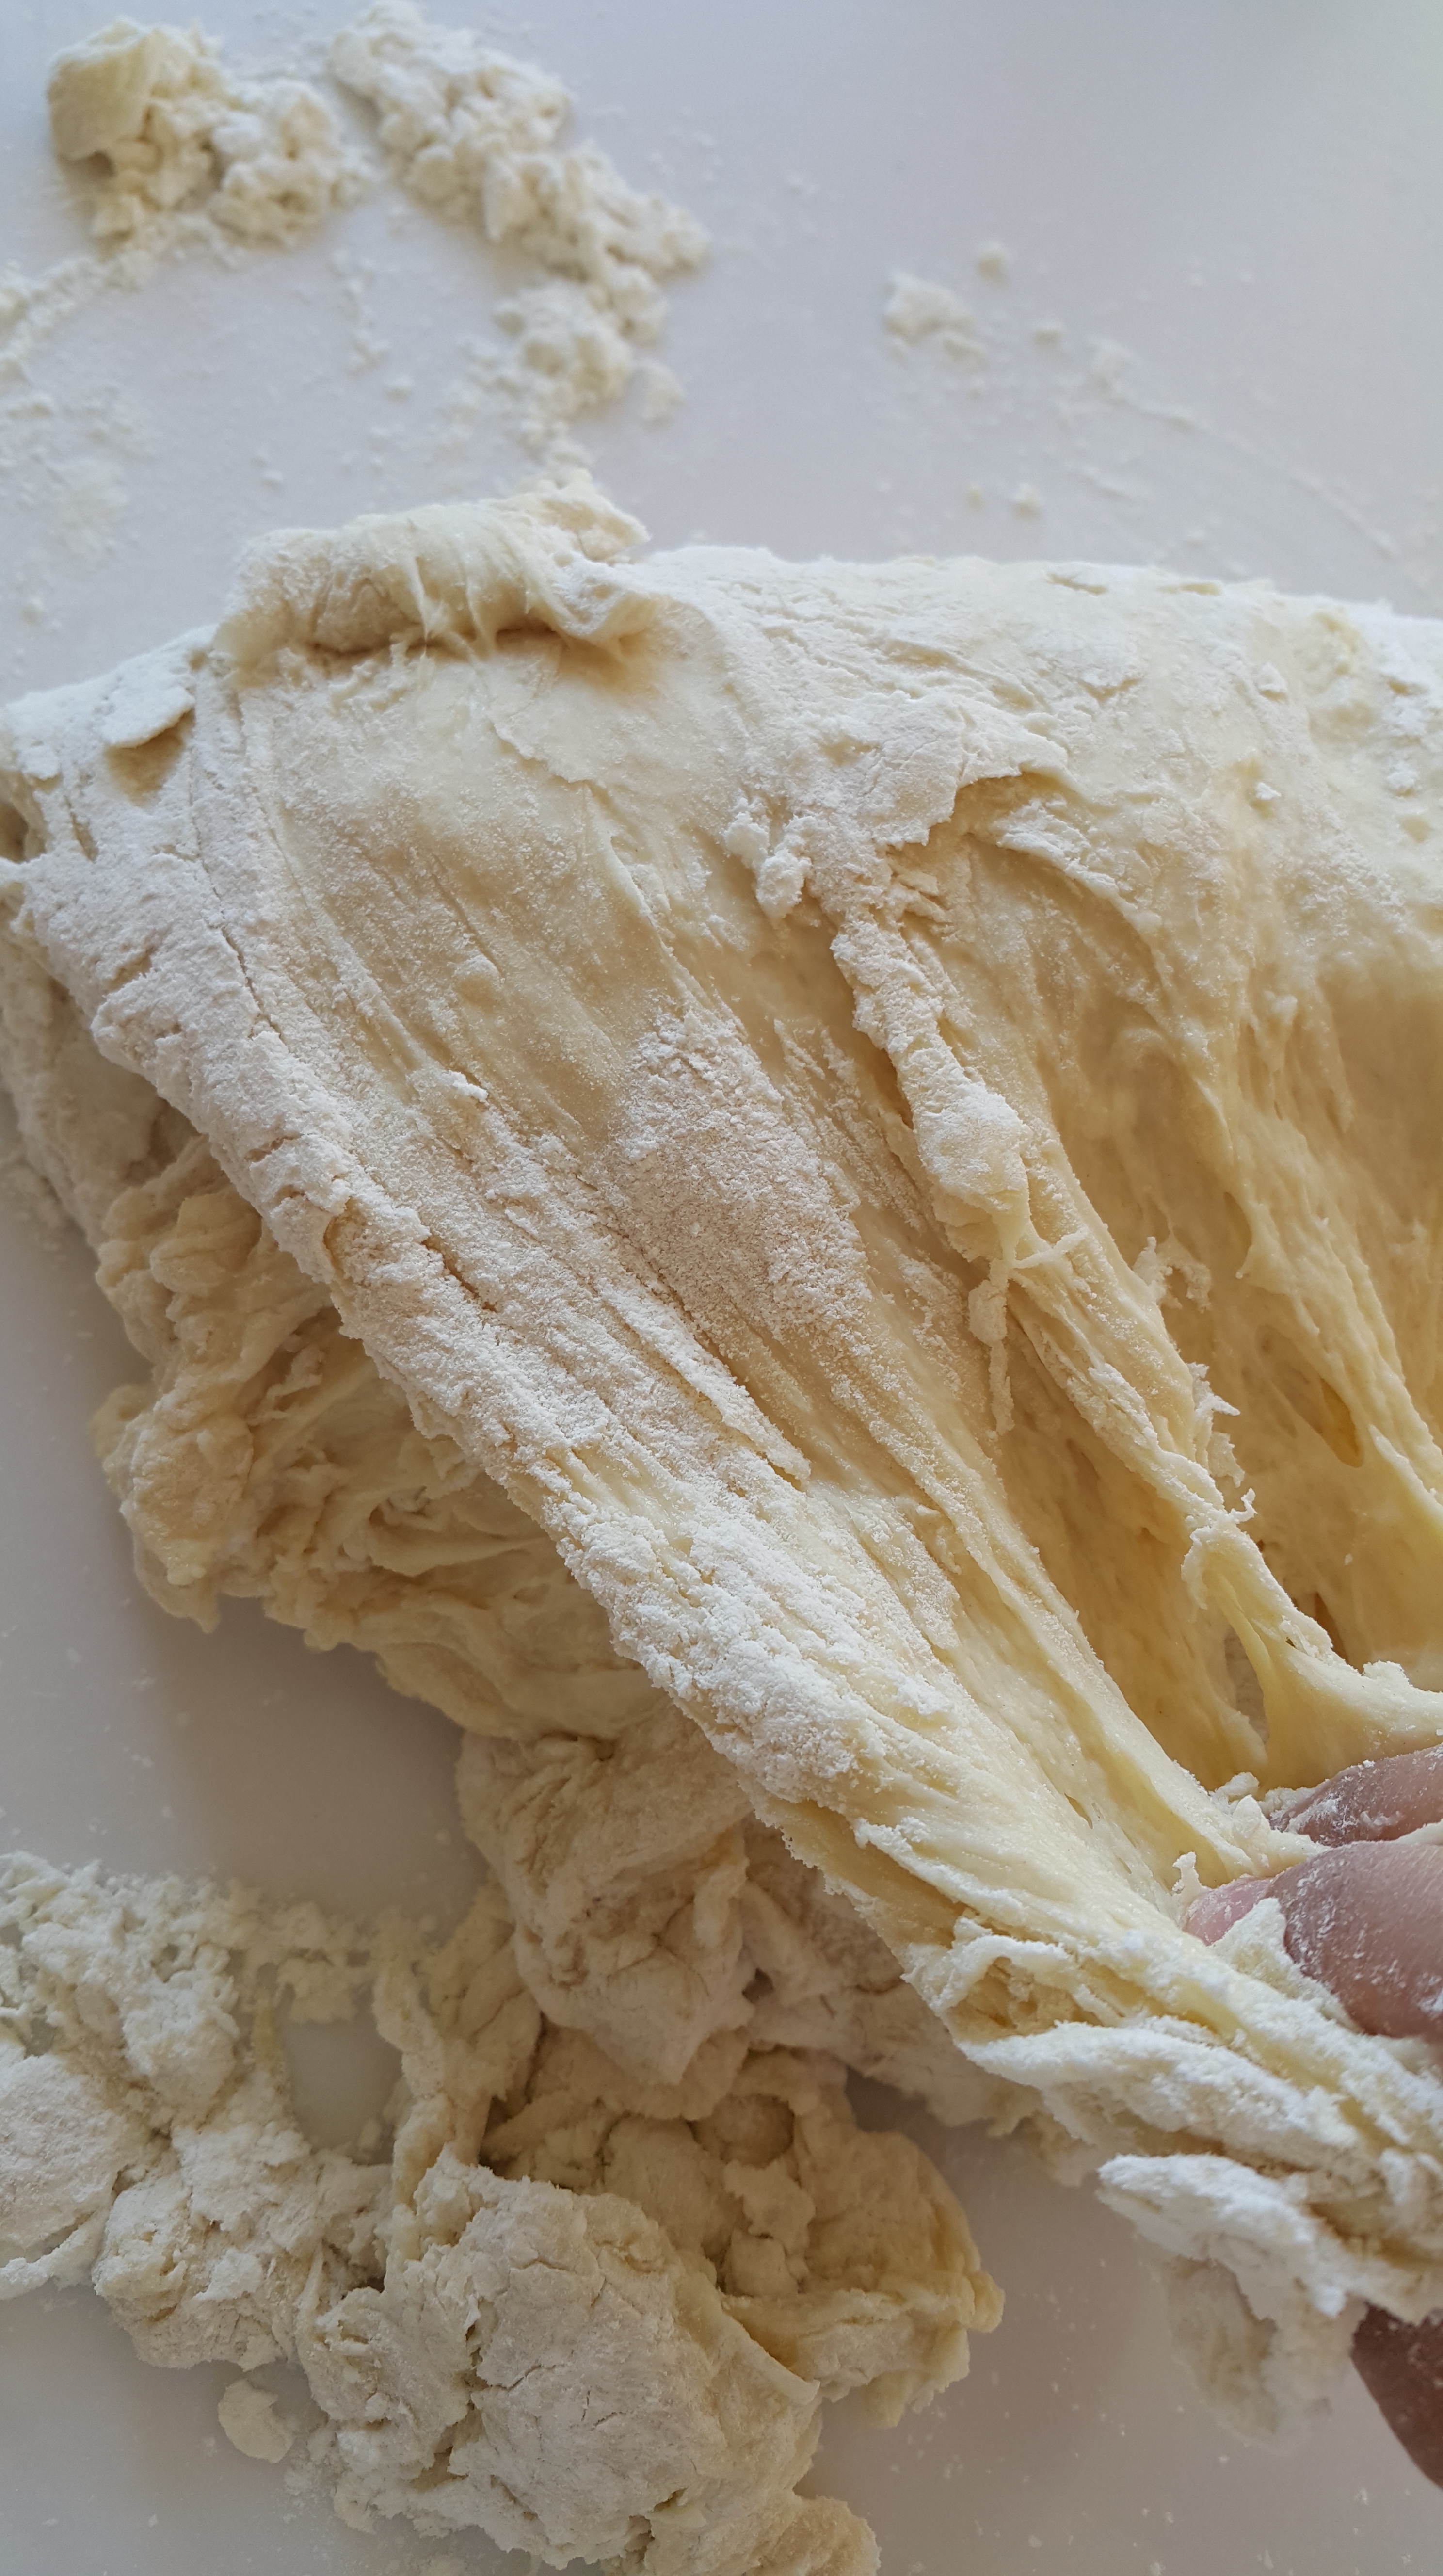
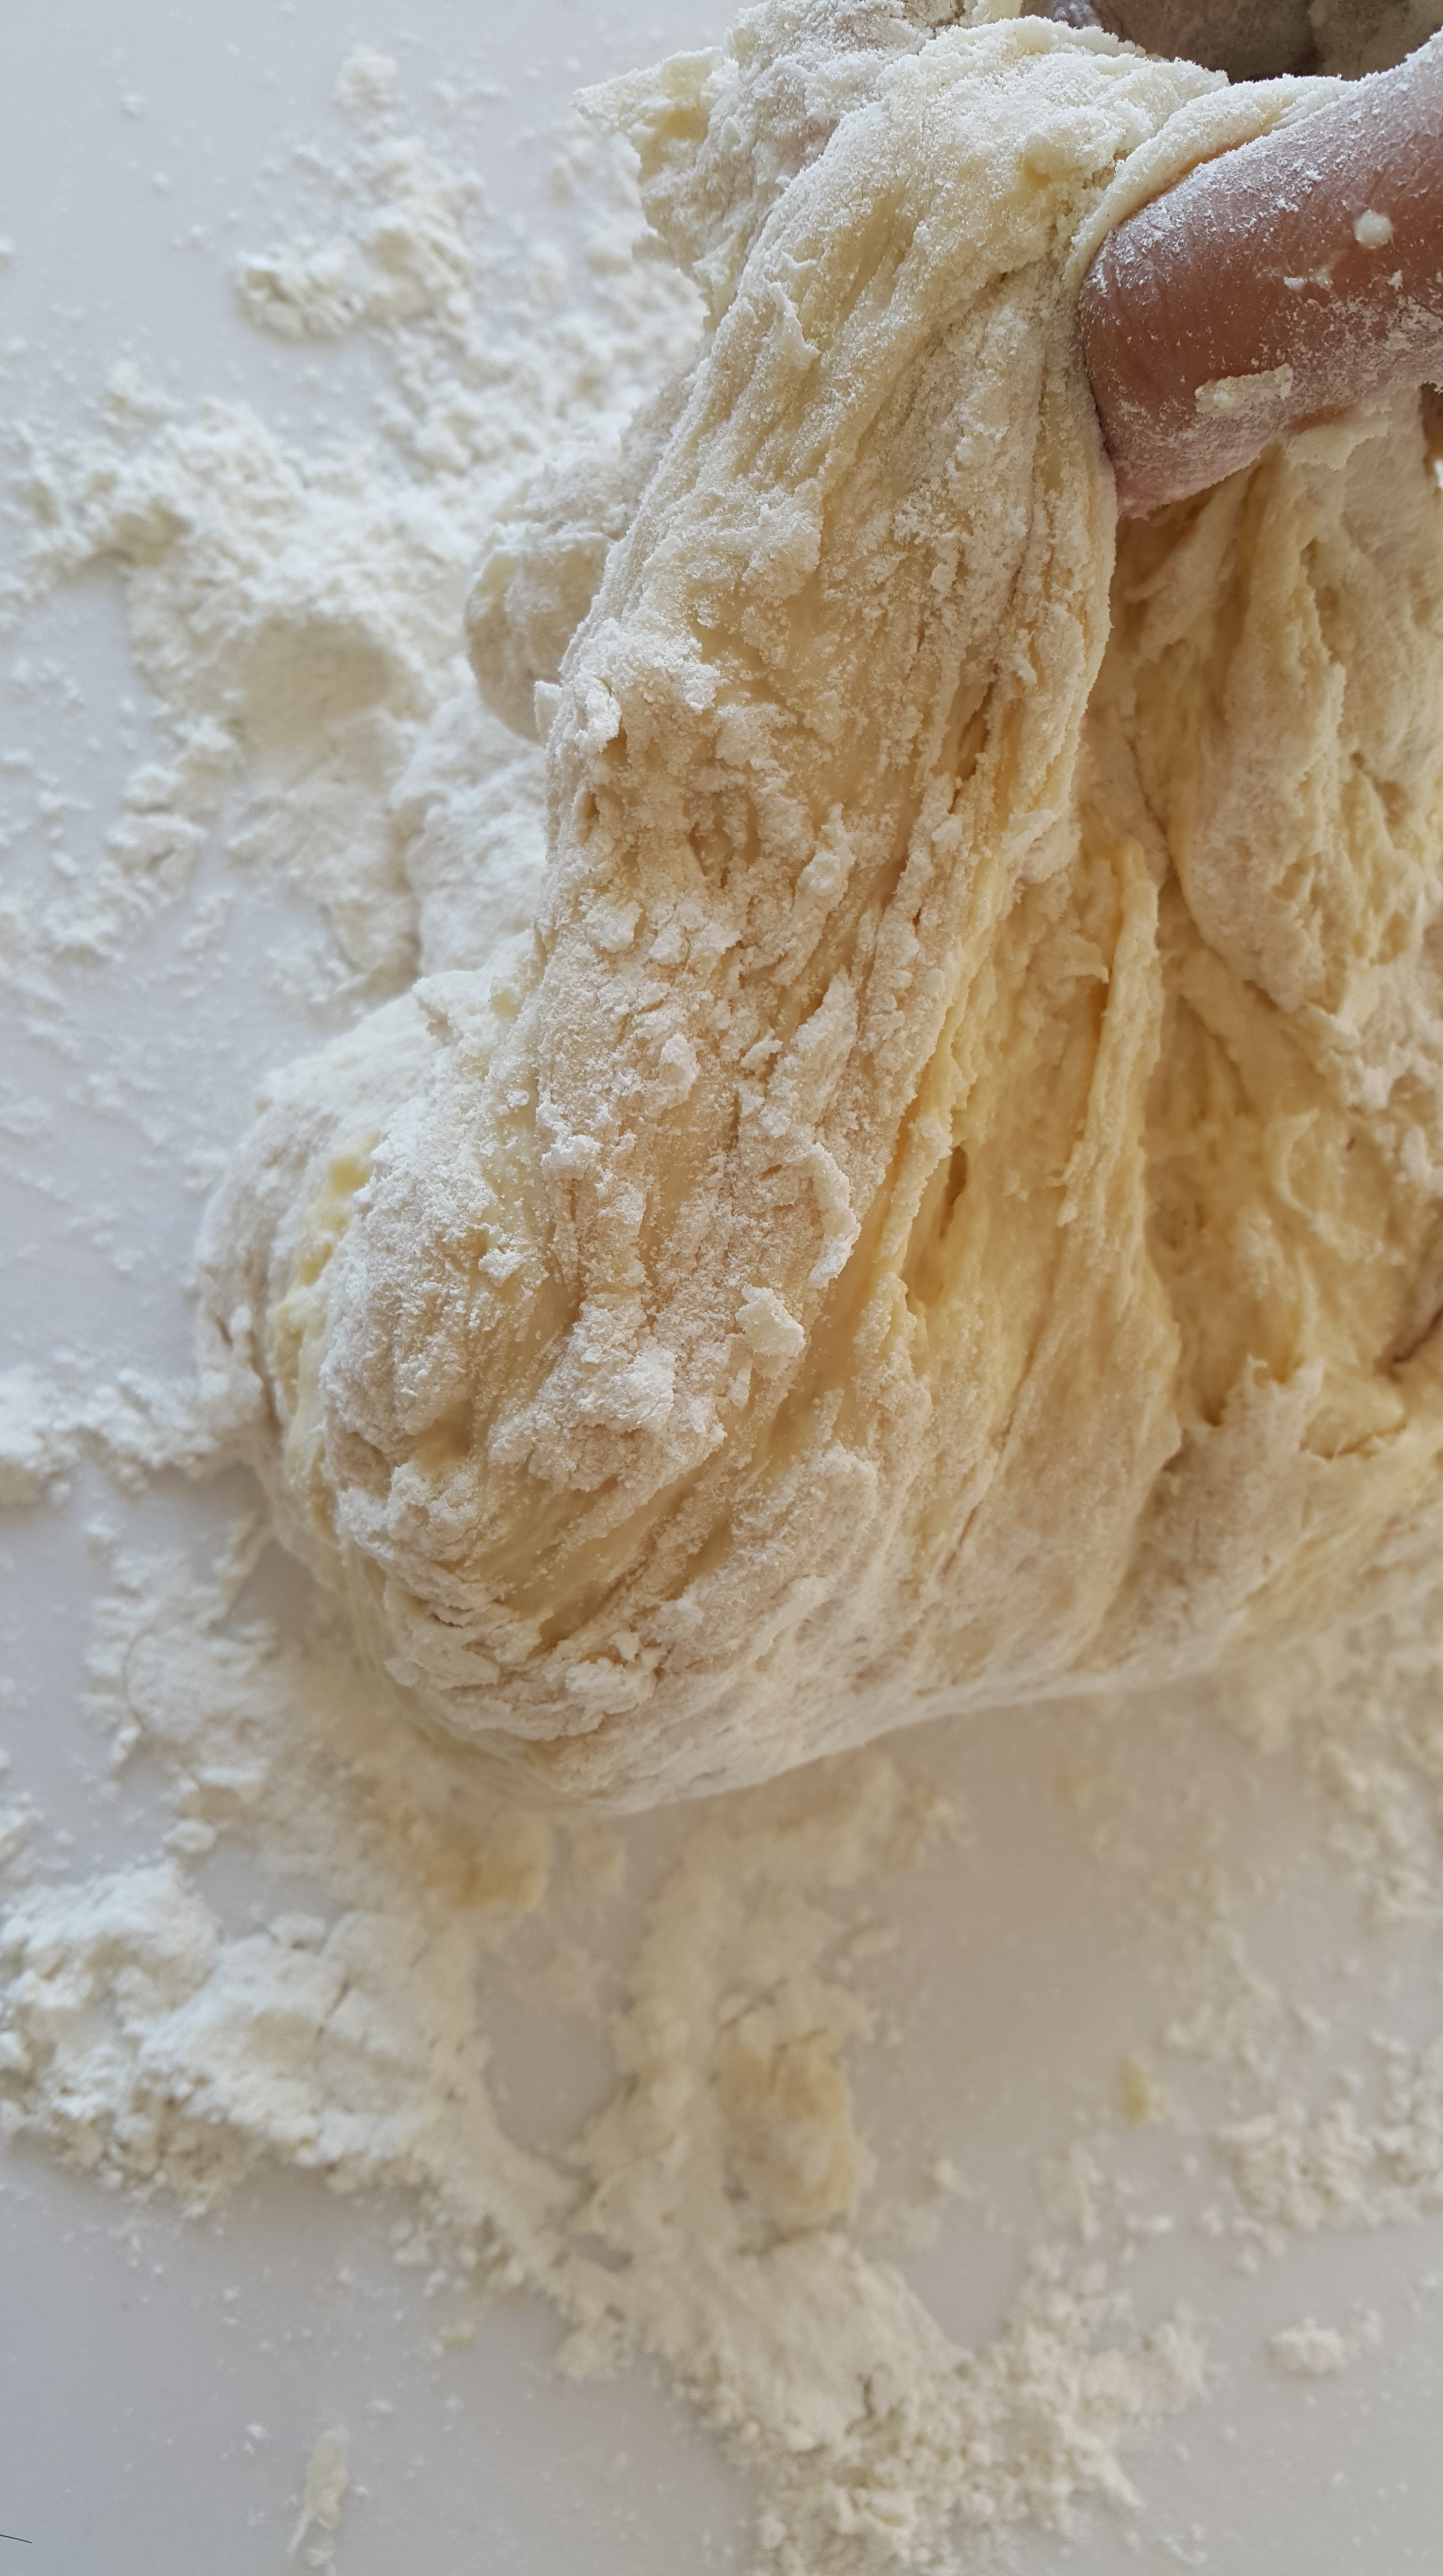
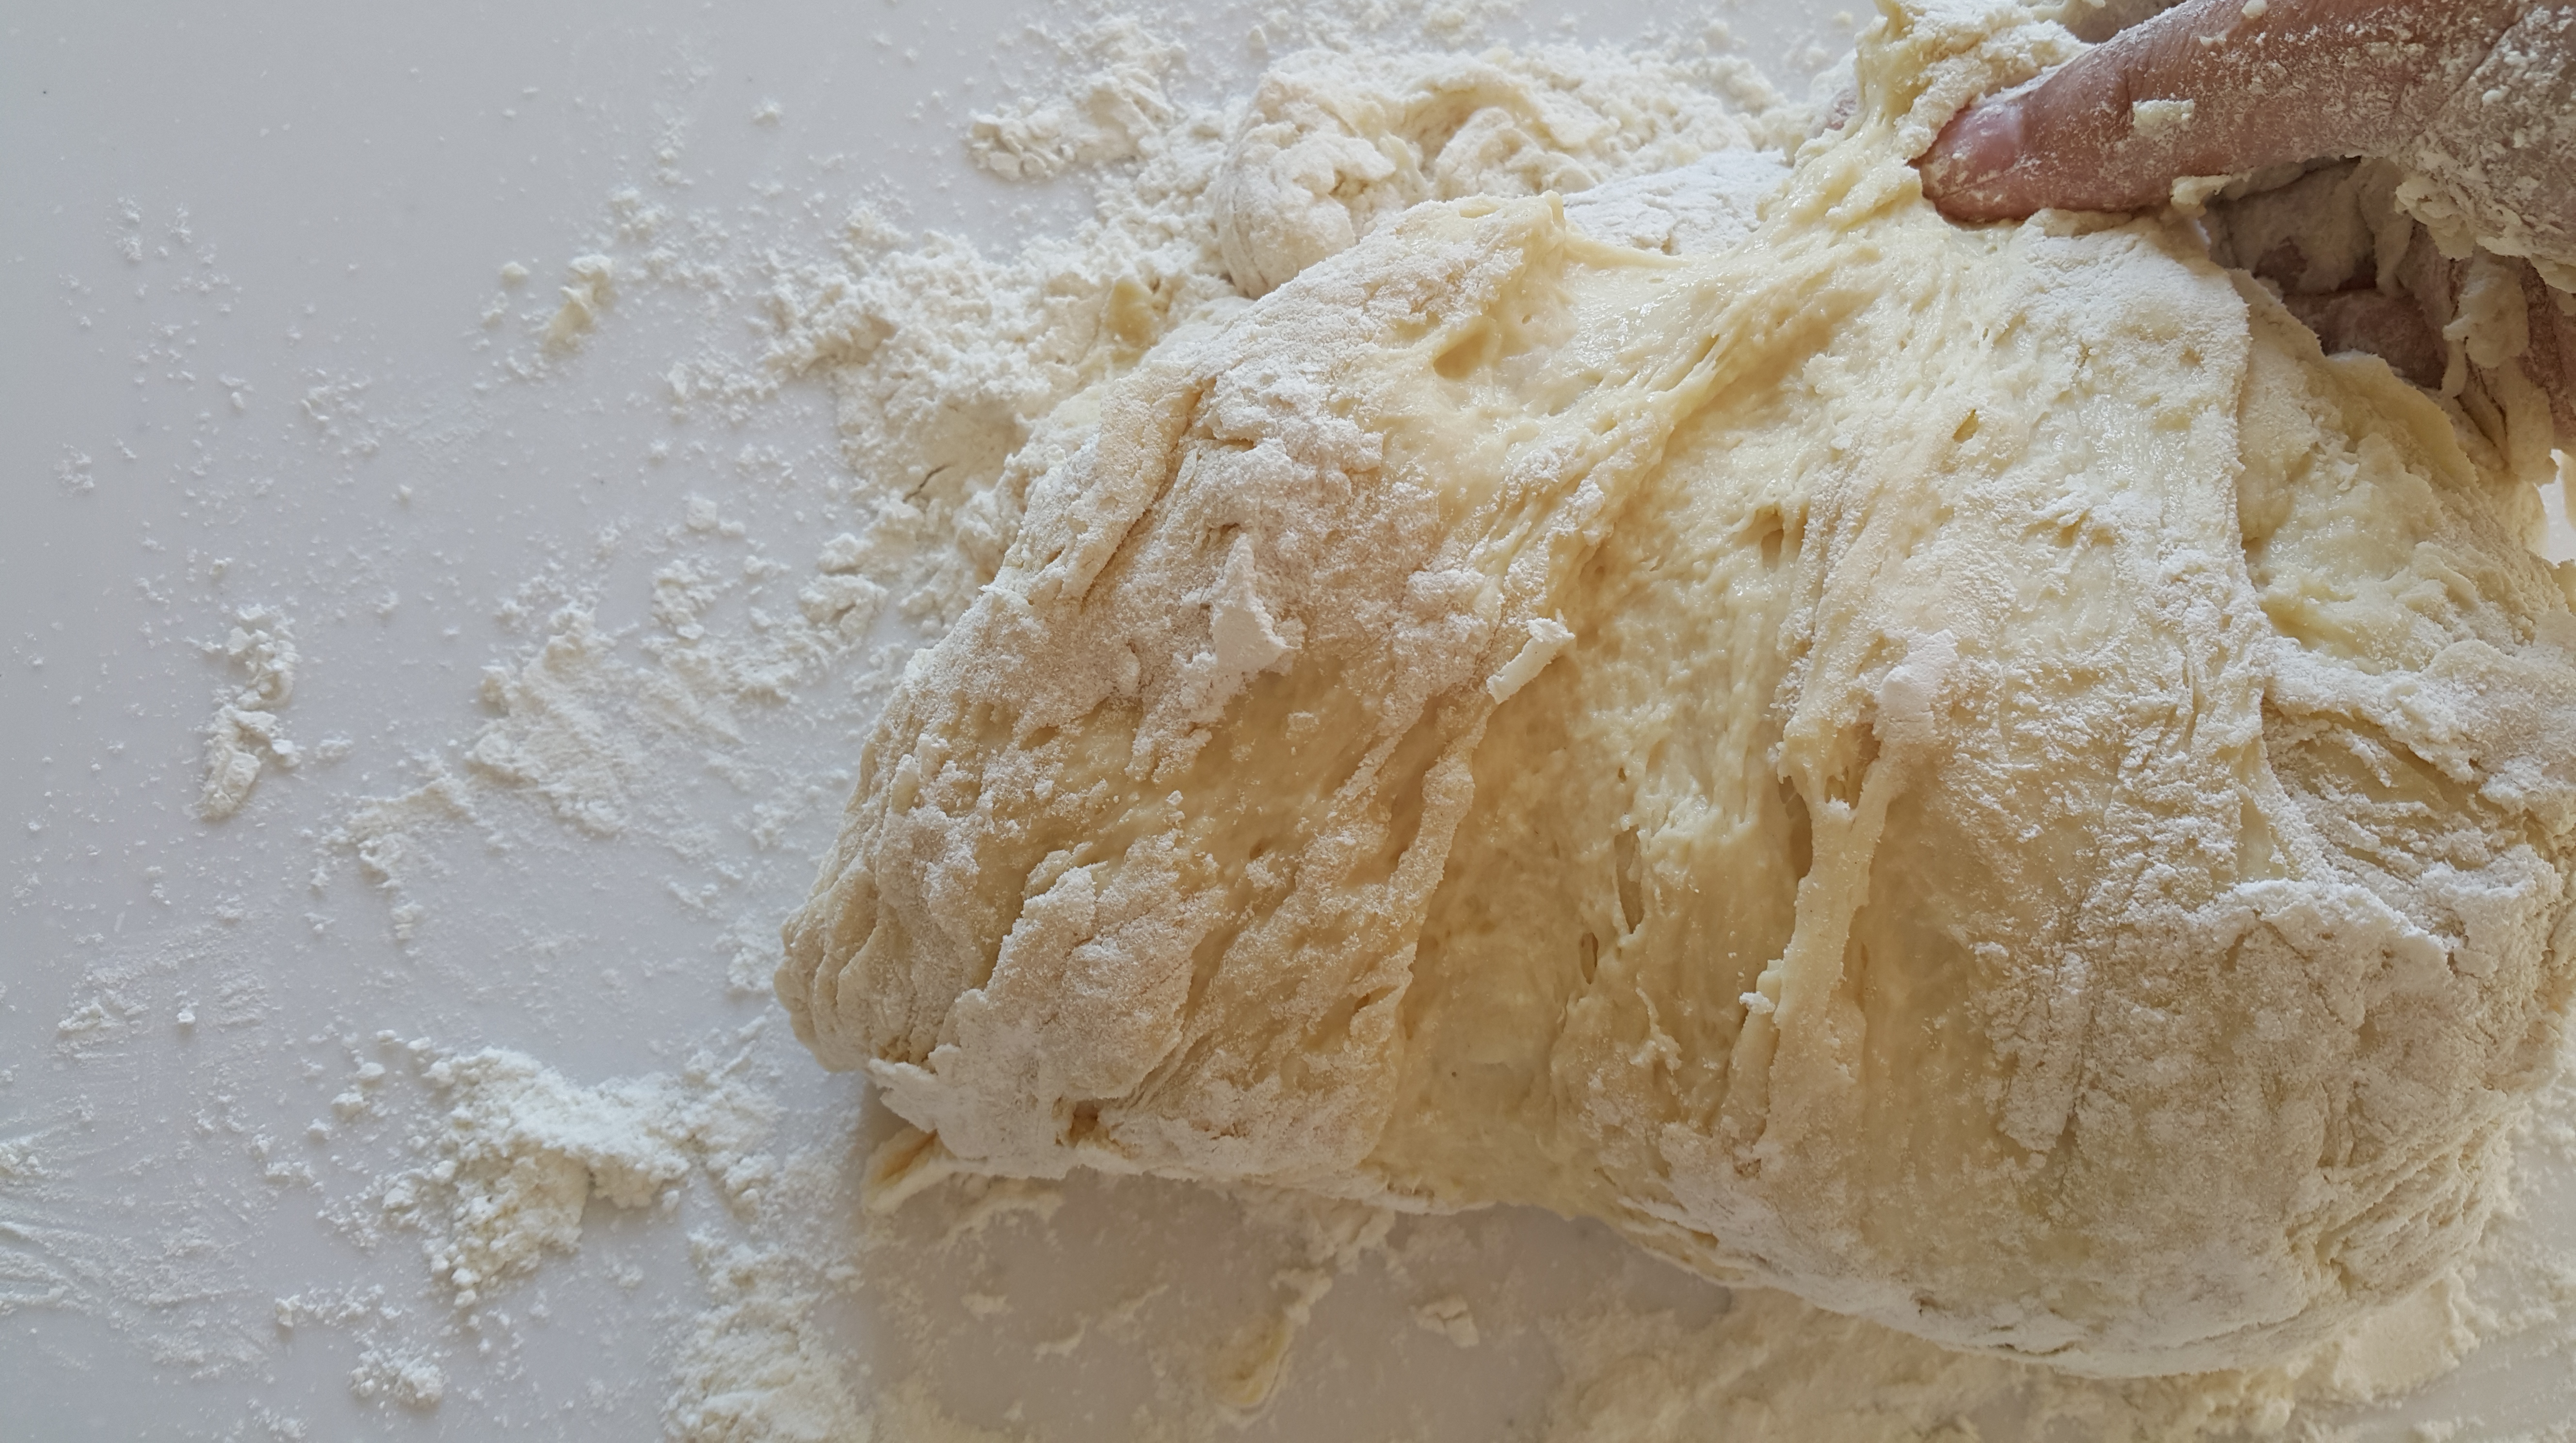
I’ll teach you another kneading technique which has approximately 1837483 different names. Nah, of course it’s not that many- it’s more like 1837482. Call it whatever you want. Some call it the french kneading technique. Some call it air kneading. Some call it slap and fold. I personally like air kneading the best, because it sounds like you can bend elements or something. Trippy.
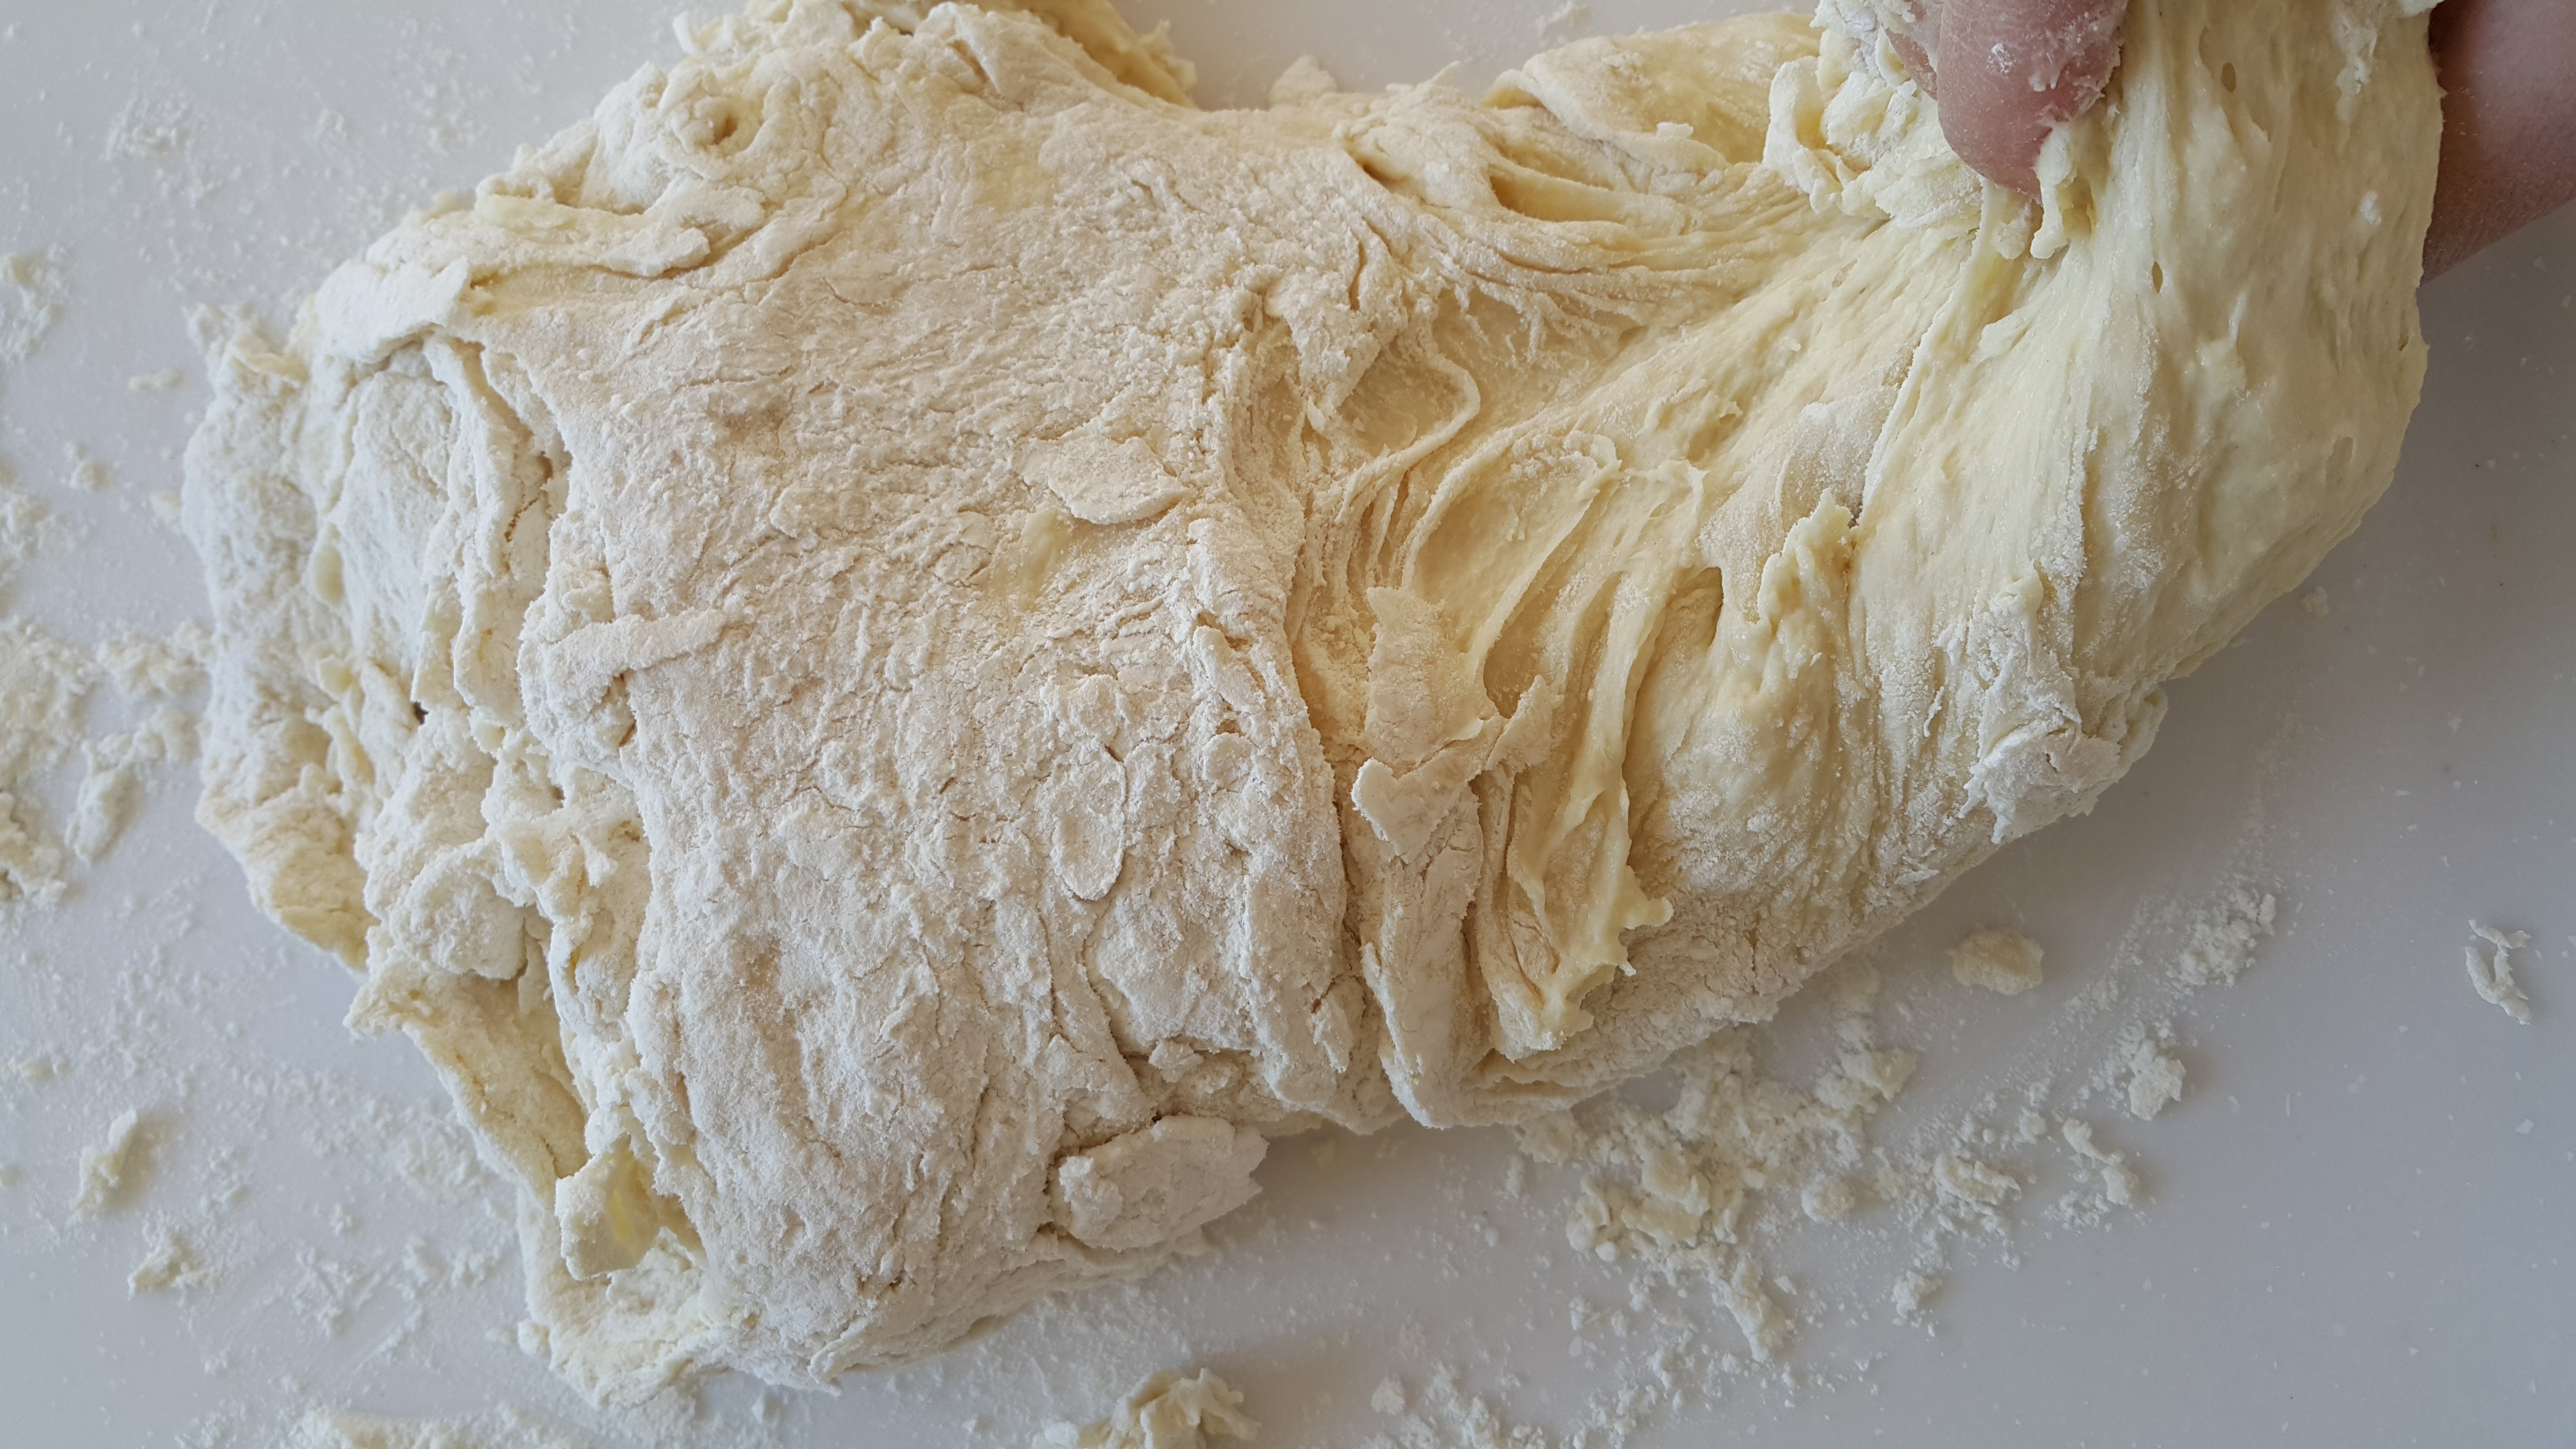
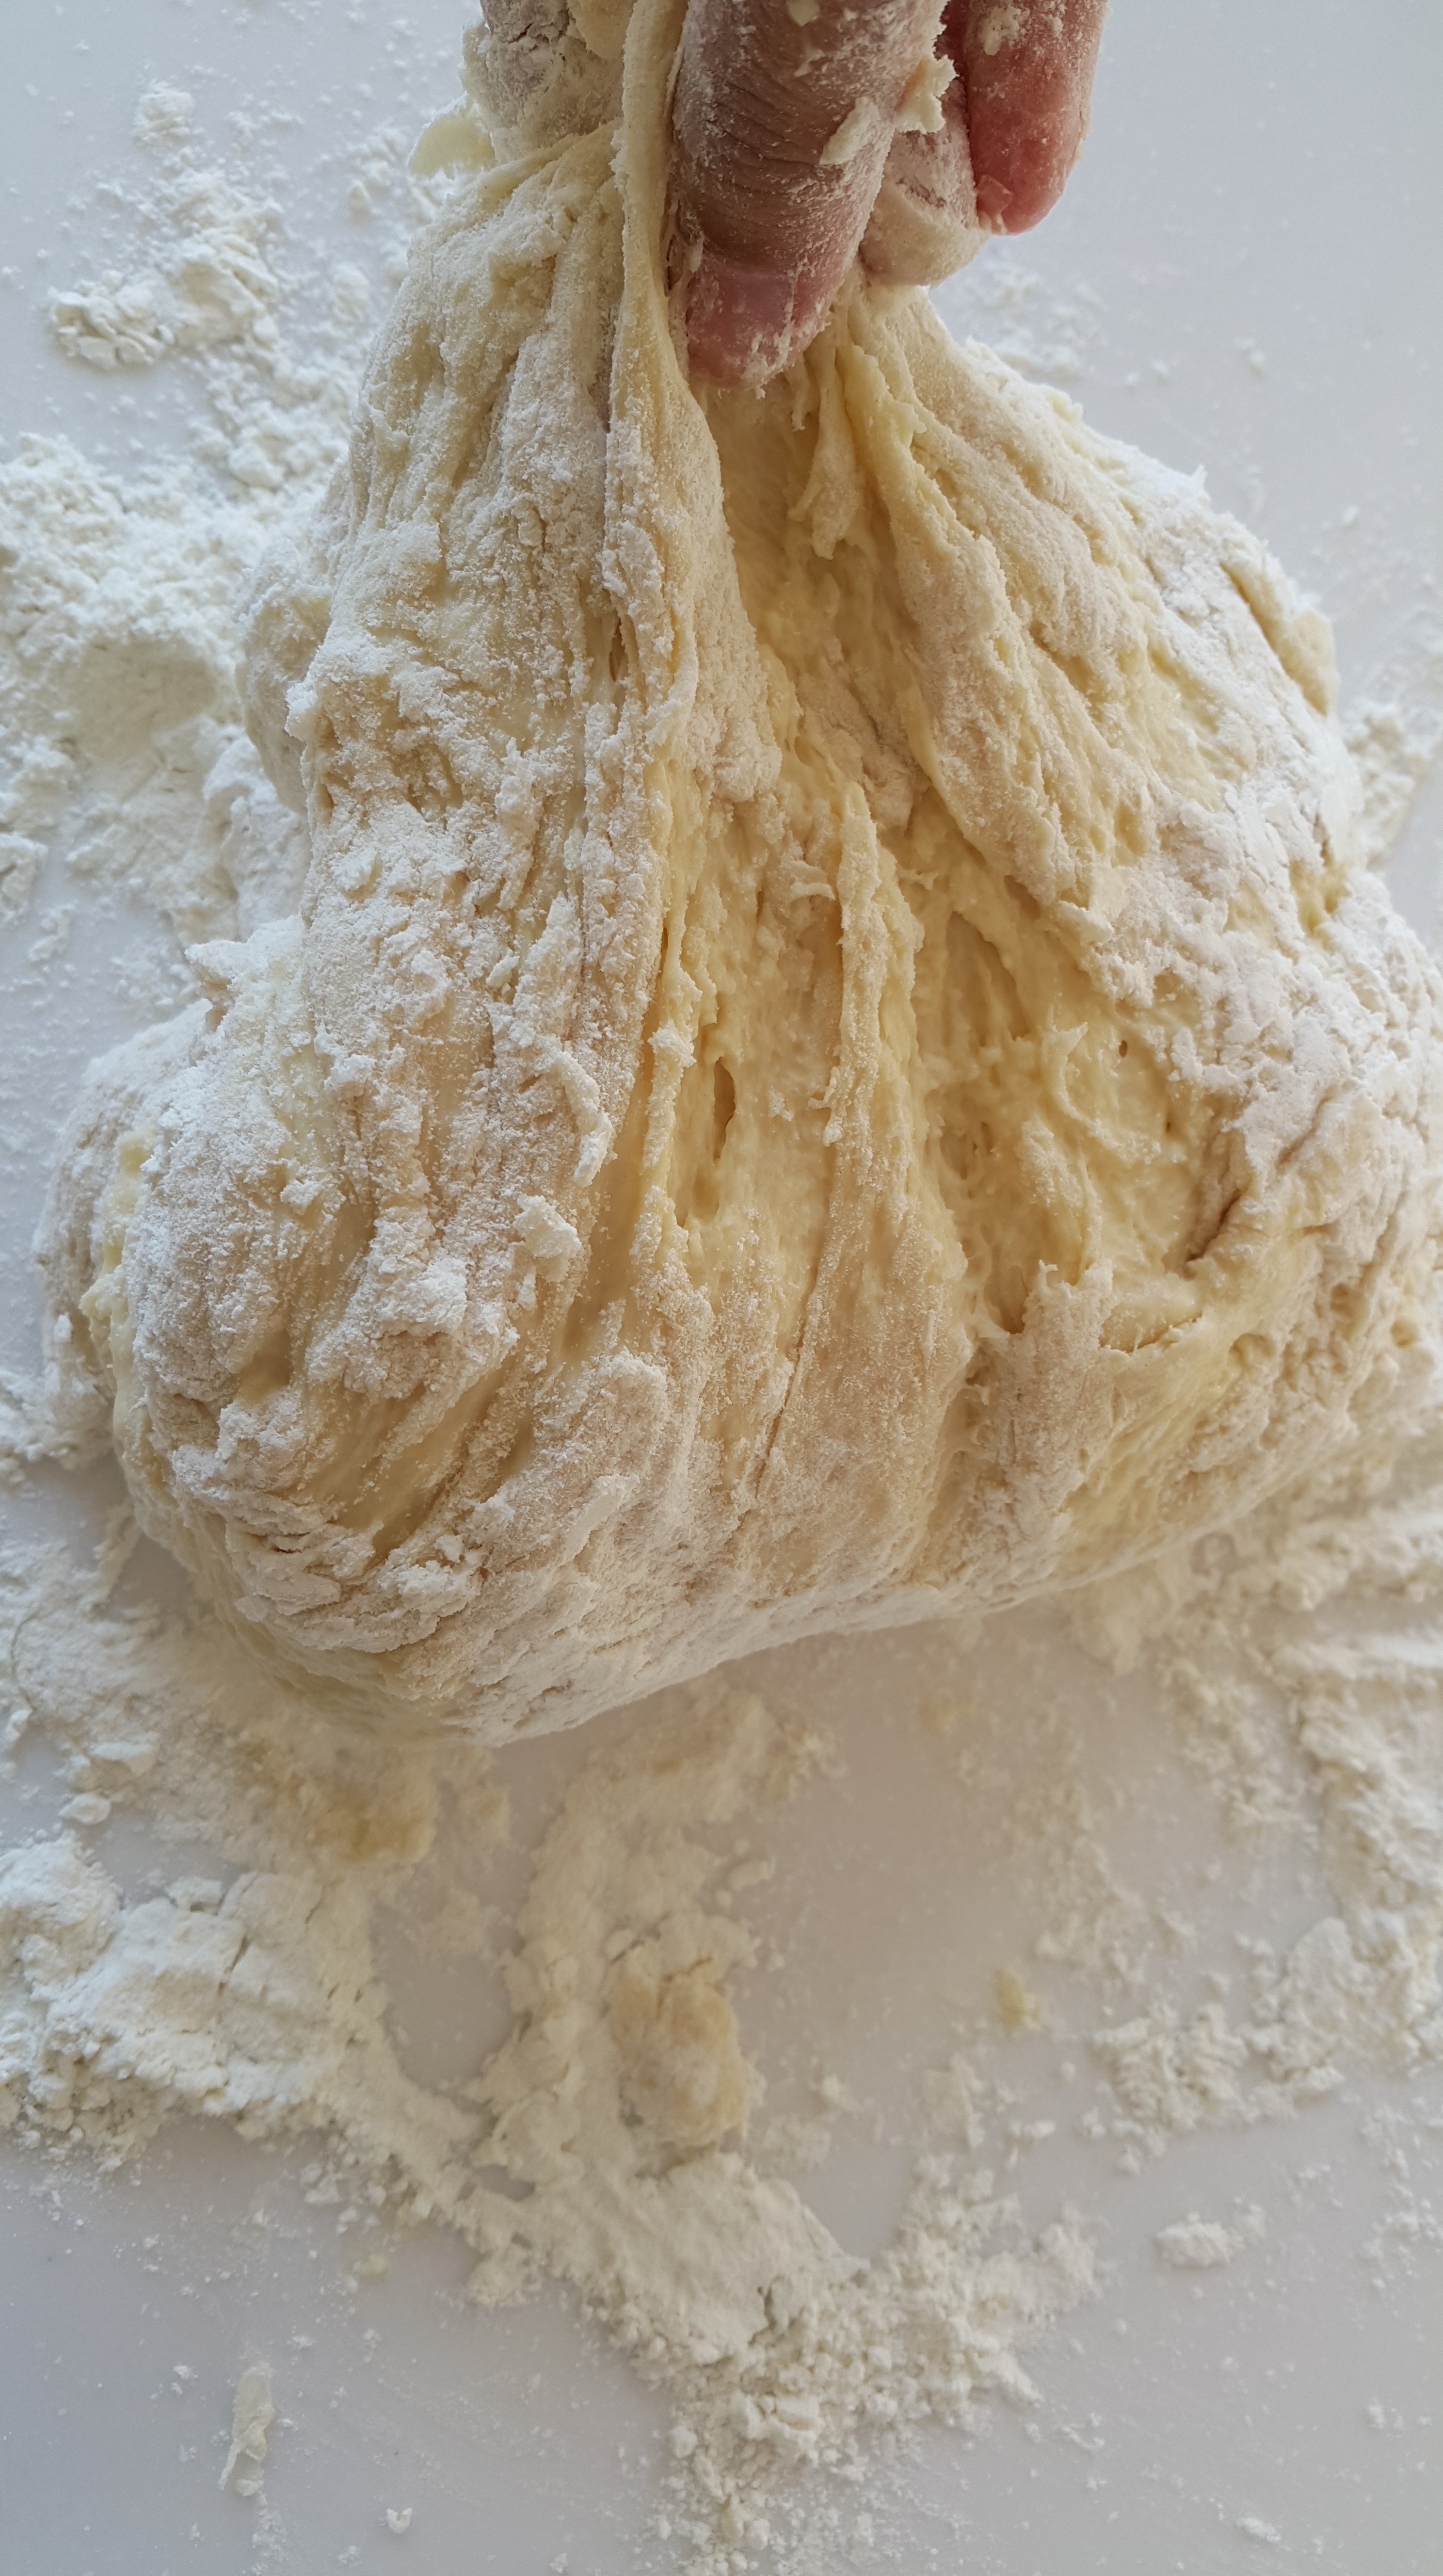
Grab one side of the dough and pull it up. So now you’re holding and dangling the dough, got it? Good. Now slap the dough down on your work surface. Gee, I wonder why it’s called the slap and fold technique. Wherever did that slap come from? Aaand bring the bottom of the dough over to the top, basically folding it. Well done, you’ve just completed a form of air bending. Not really. But I guess you can call it dough bending.
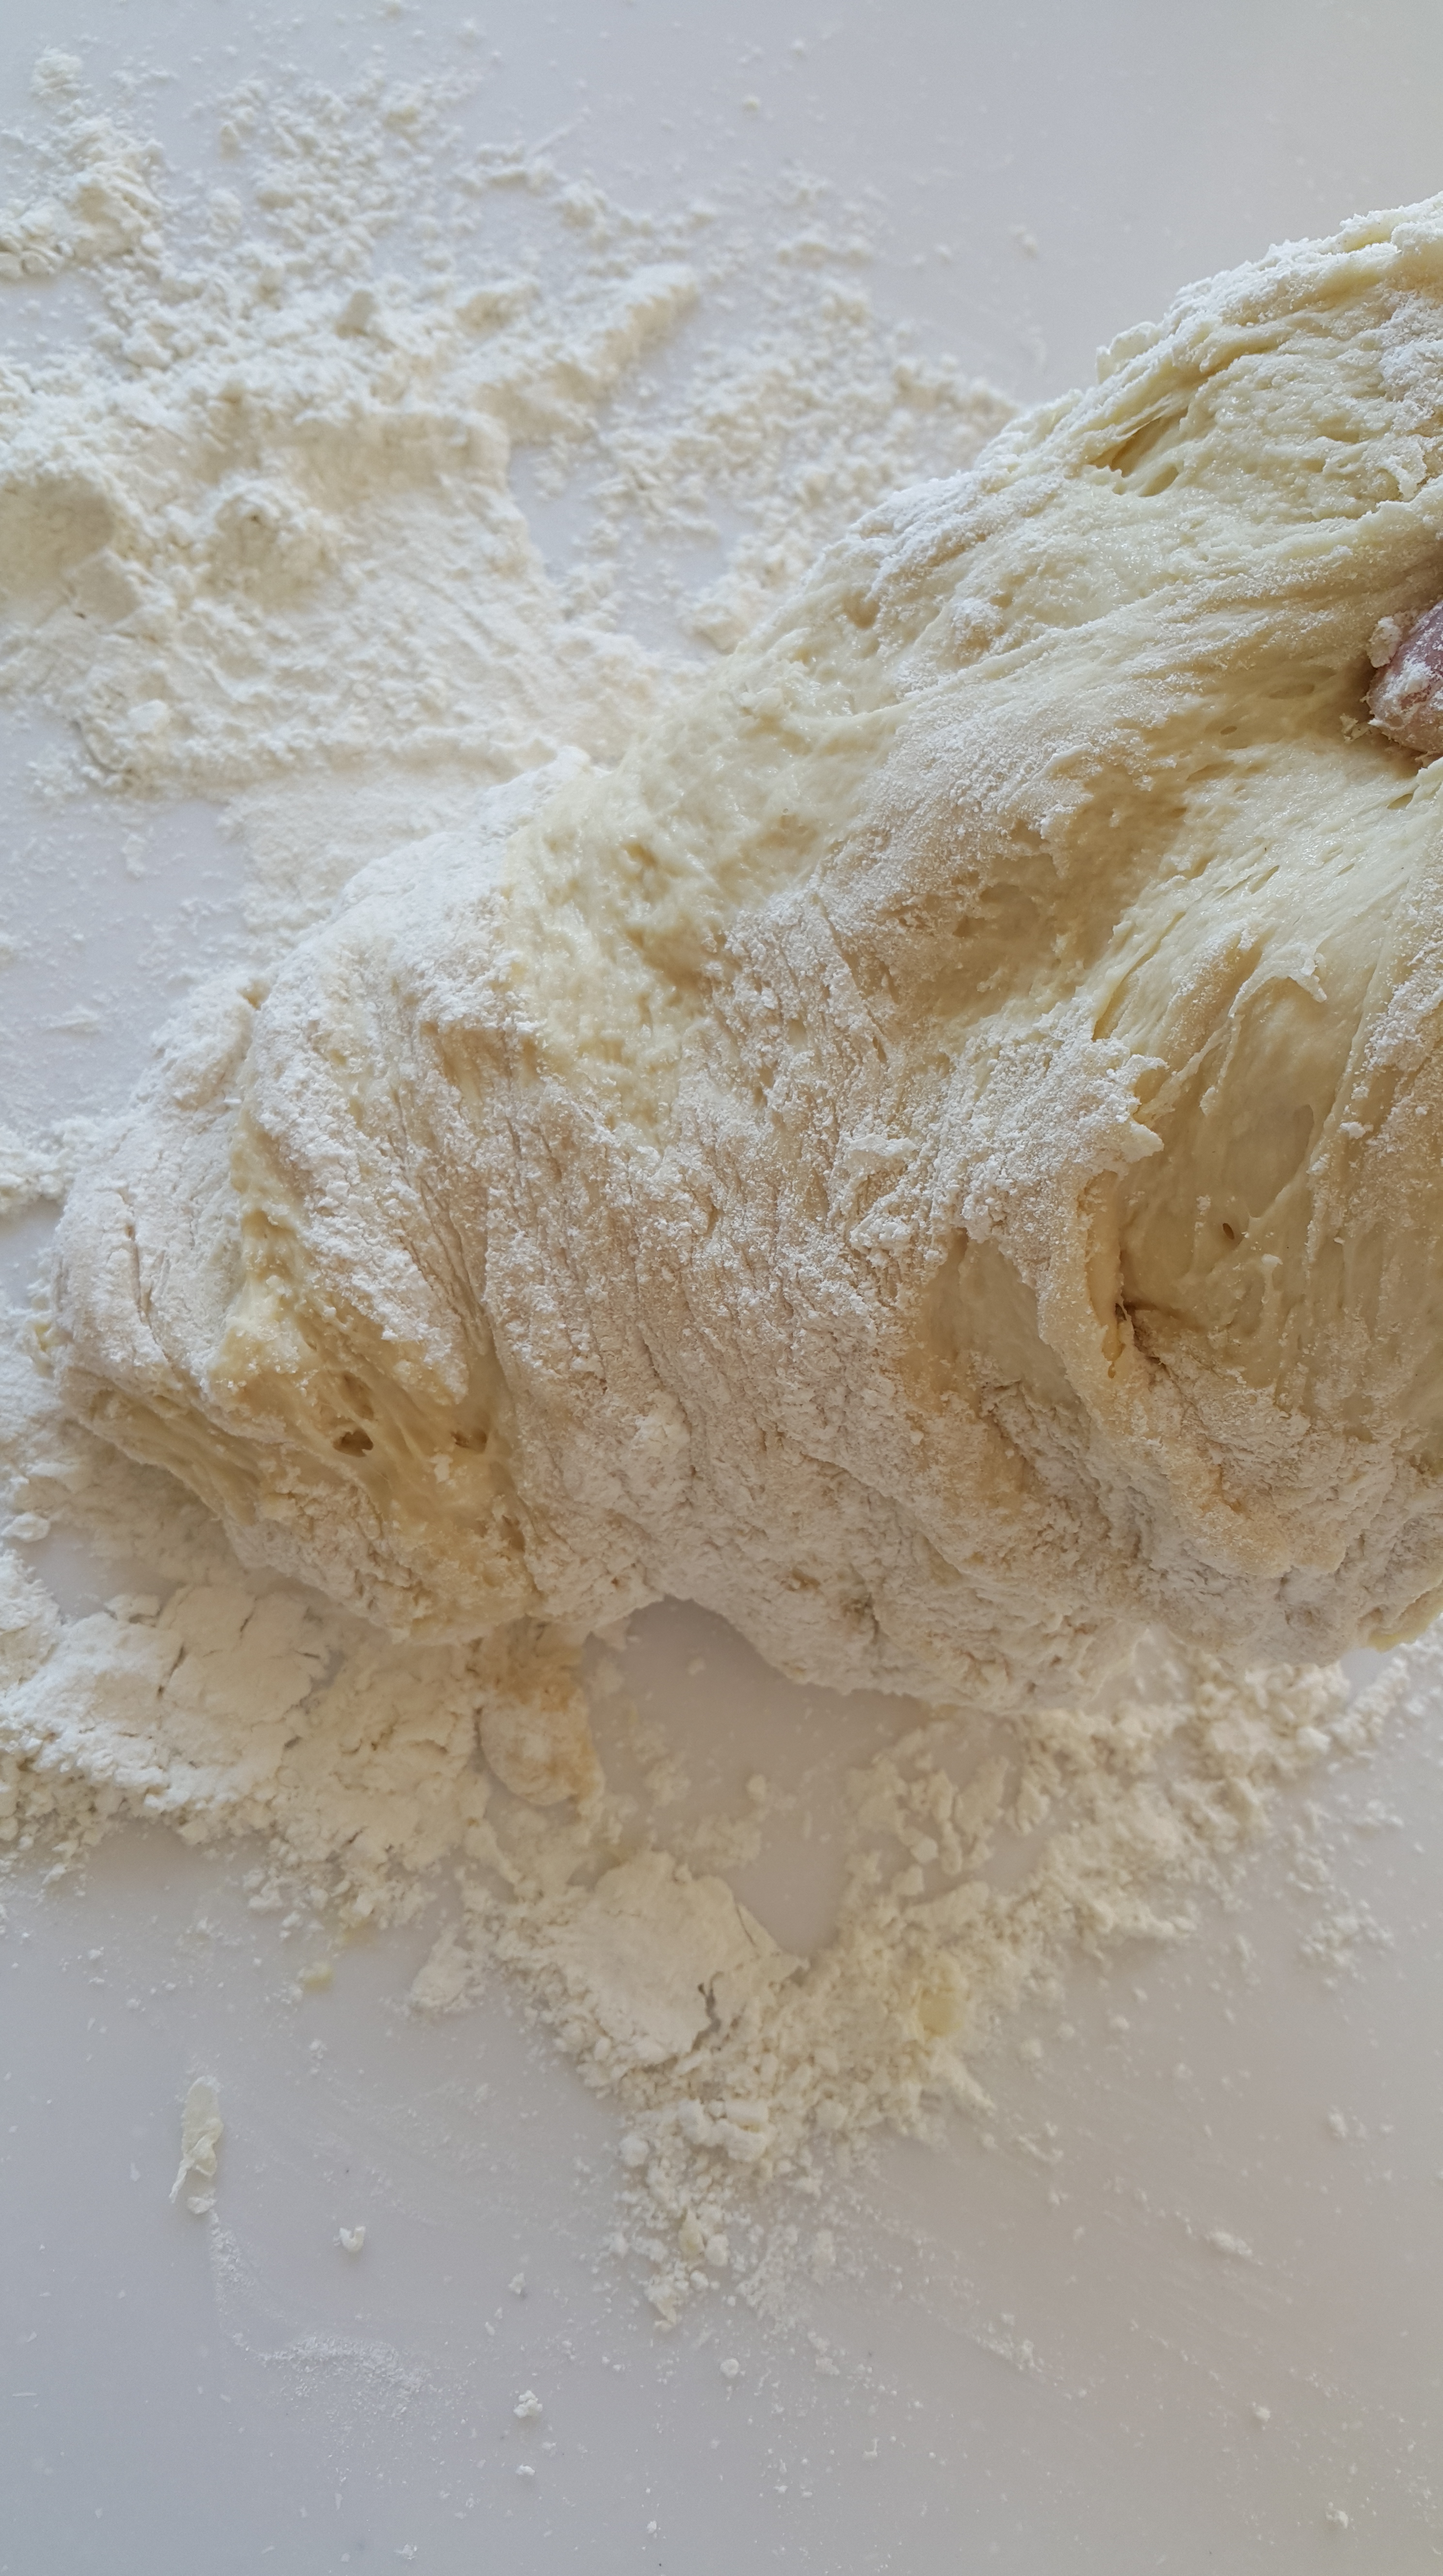
Pull it up…
Slap it down. The louder the slap, the more you’ll scare your sister. But I digress.
Then just fold over. The dough, through its natural momentum, will probably roll forward by itself. Even if only a little. It’s eager, you see.

Repeat.
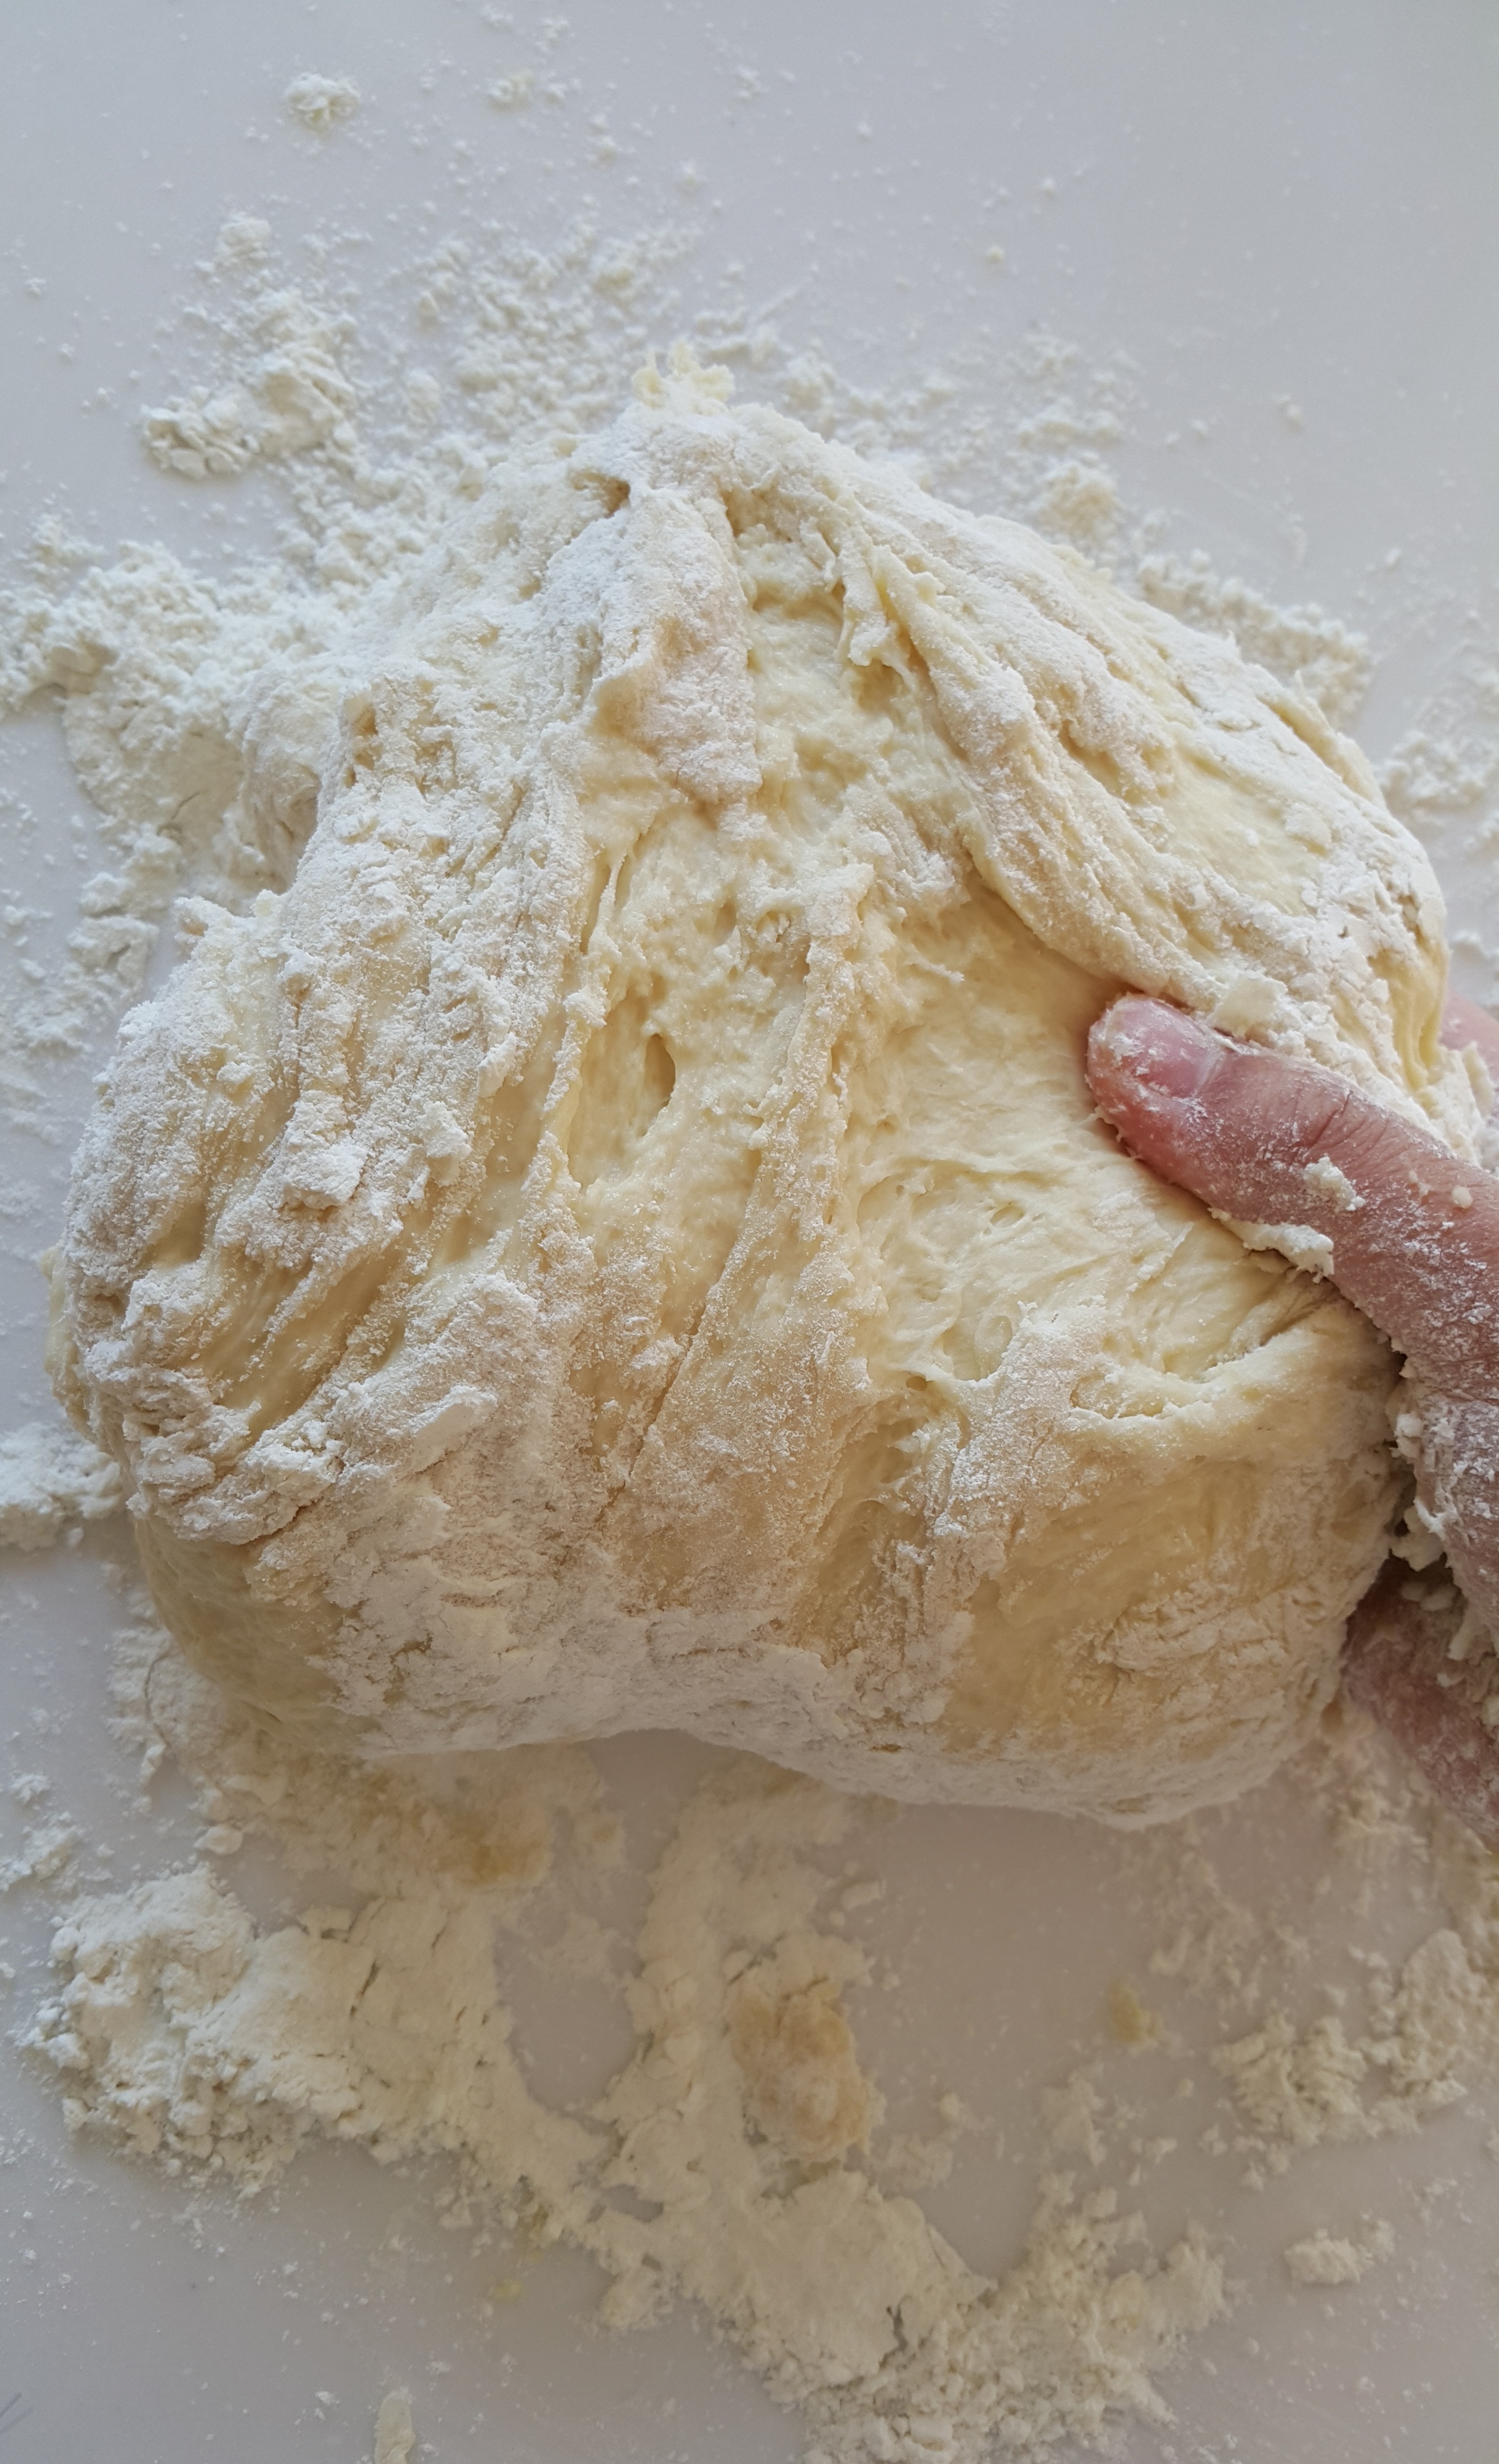
Have fun with the kneading. It’s a great stress reliever. Shape the dough into your enemy’s face and punch it. Do whatever. Kneading is to develop the gluten in the dough- you can do that by working the dough in any way, by stretching, pulling, rolling… There is no set way to knead.

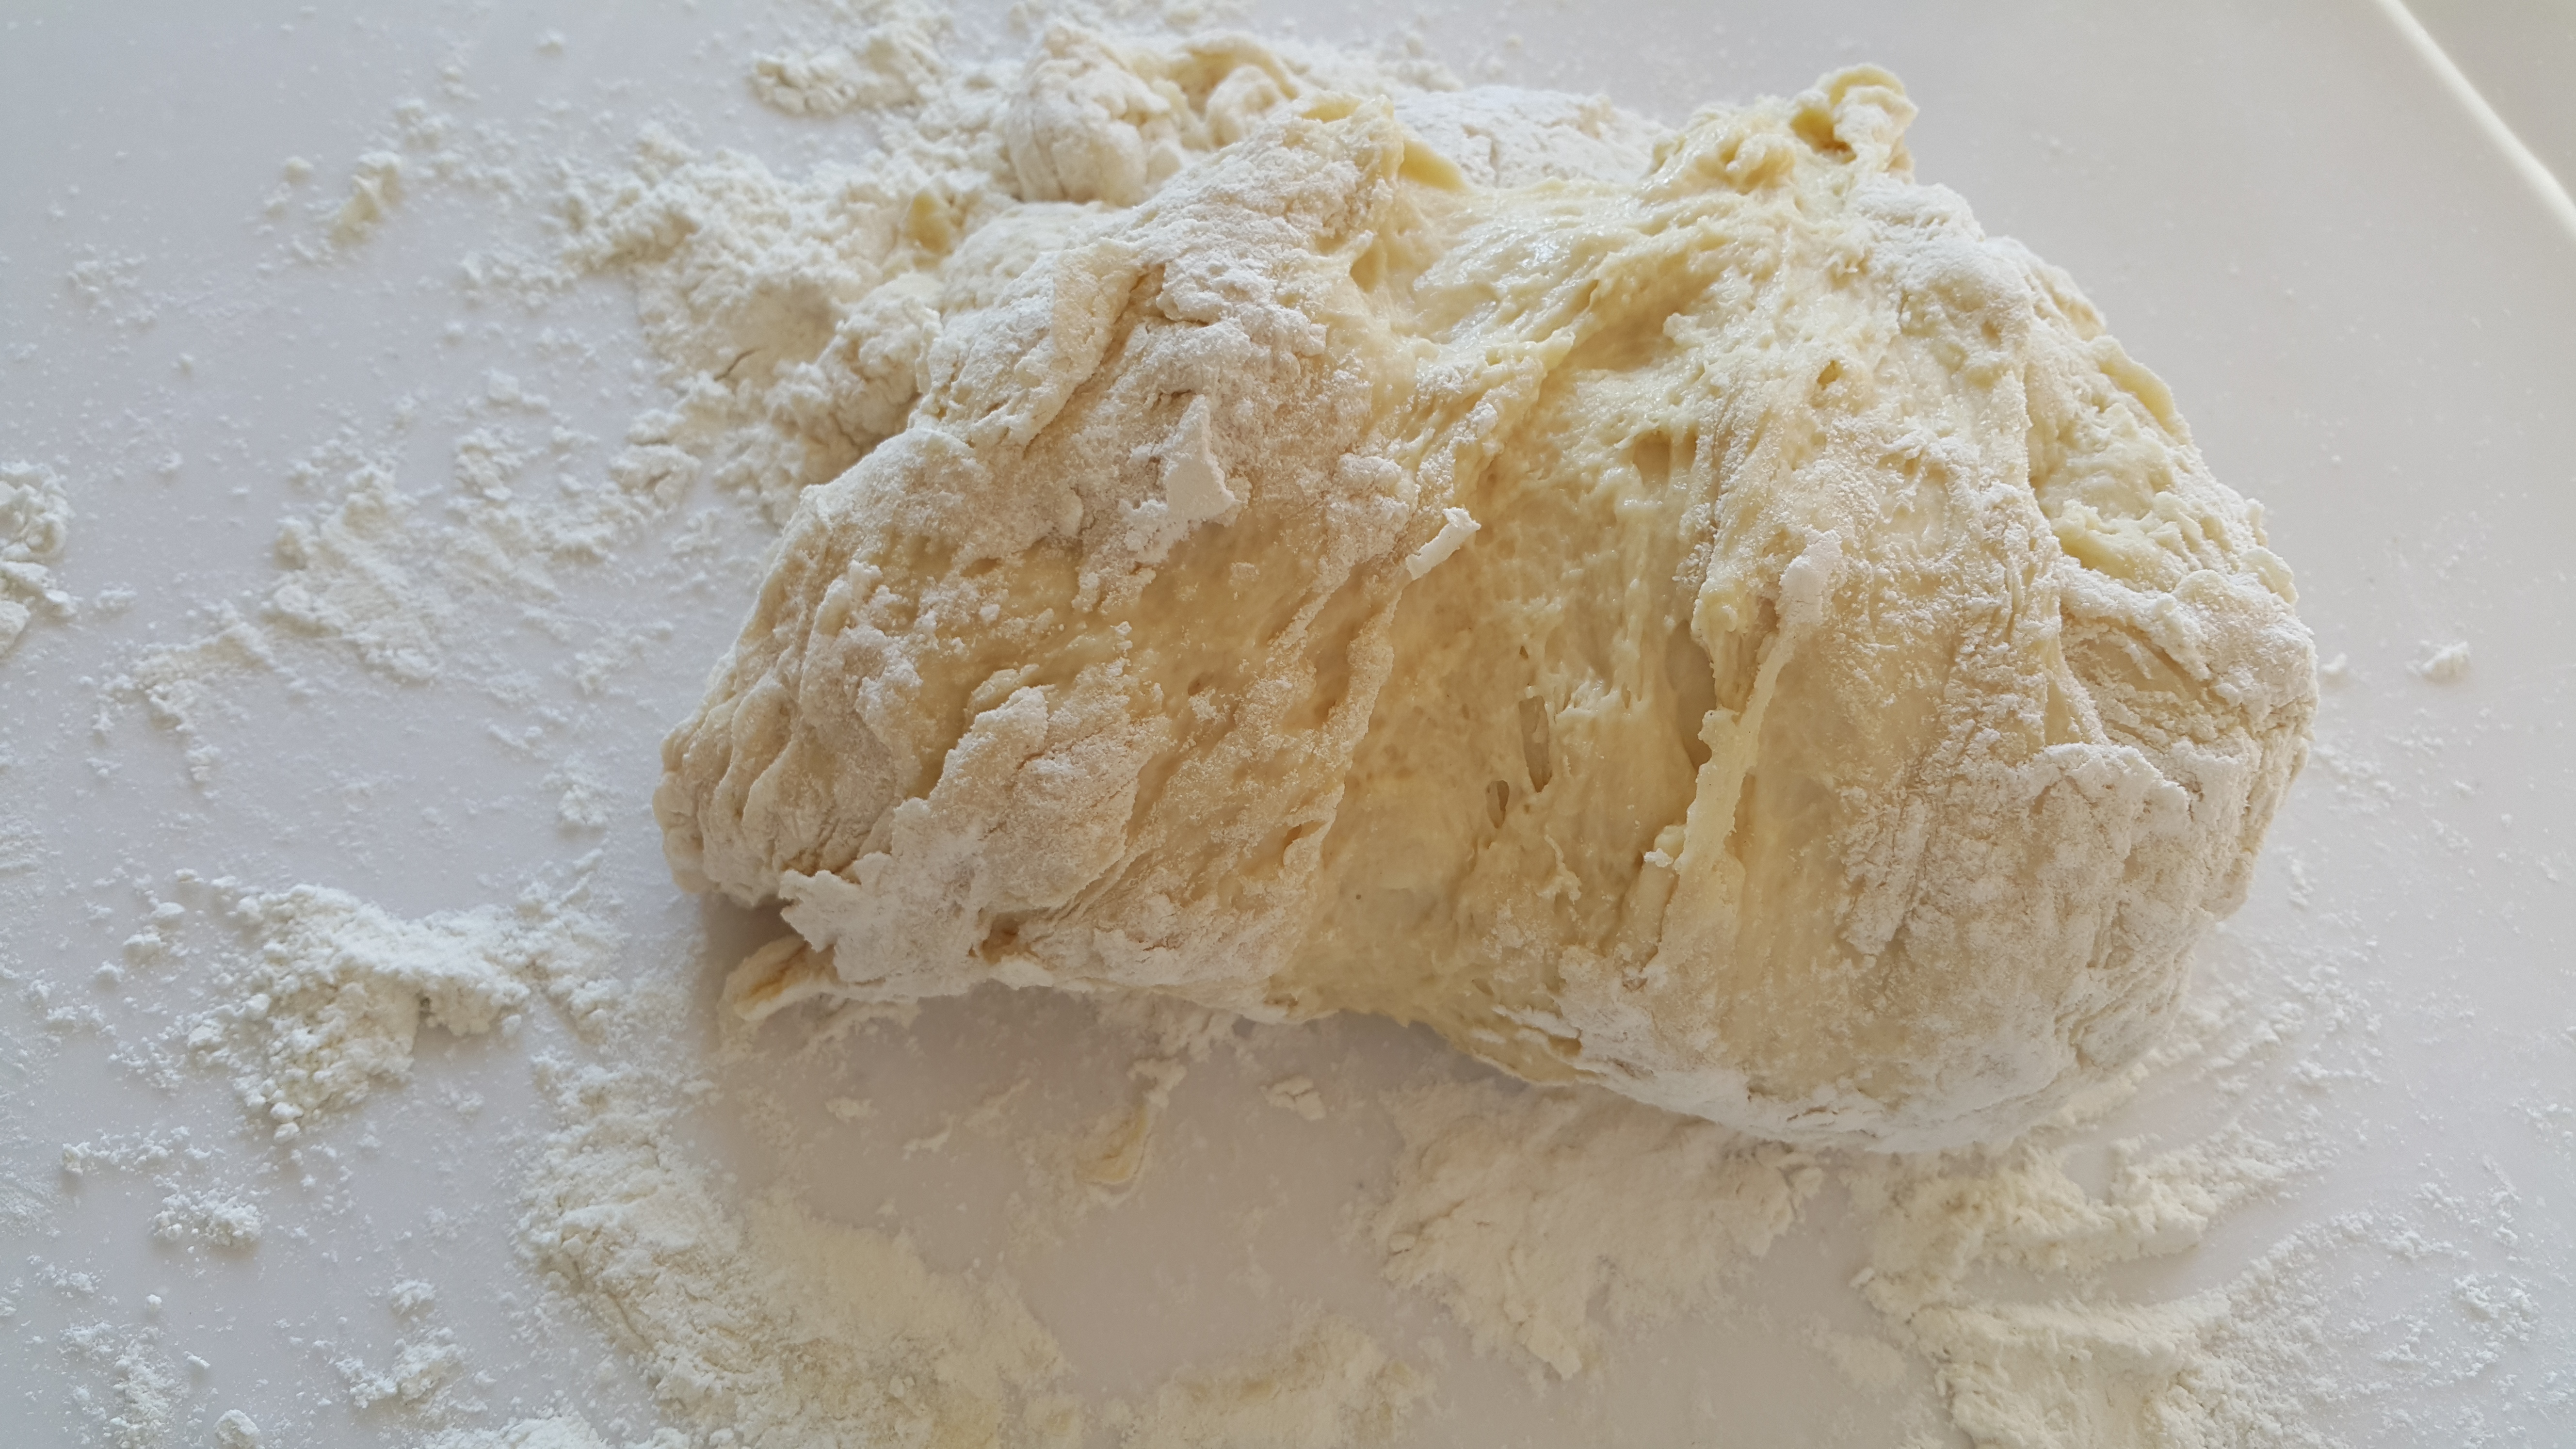
There we go. Much smoother. It’s not fully kneaded yet, there’s still the butter to add. The reason we add the butter after kneading the dough for a bit, is so we give the gluten a chance to develop first, before the fat interferes with the gluten strands. A nifty trick.
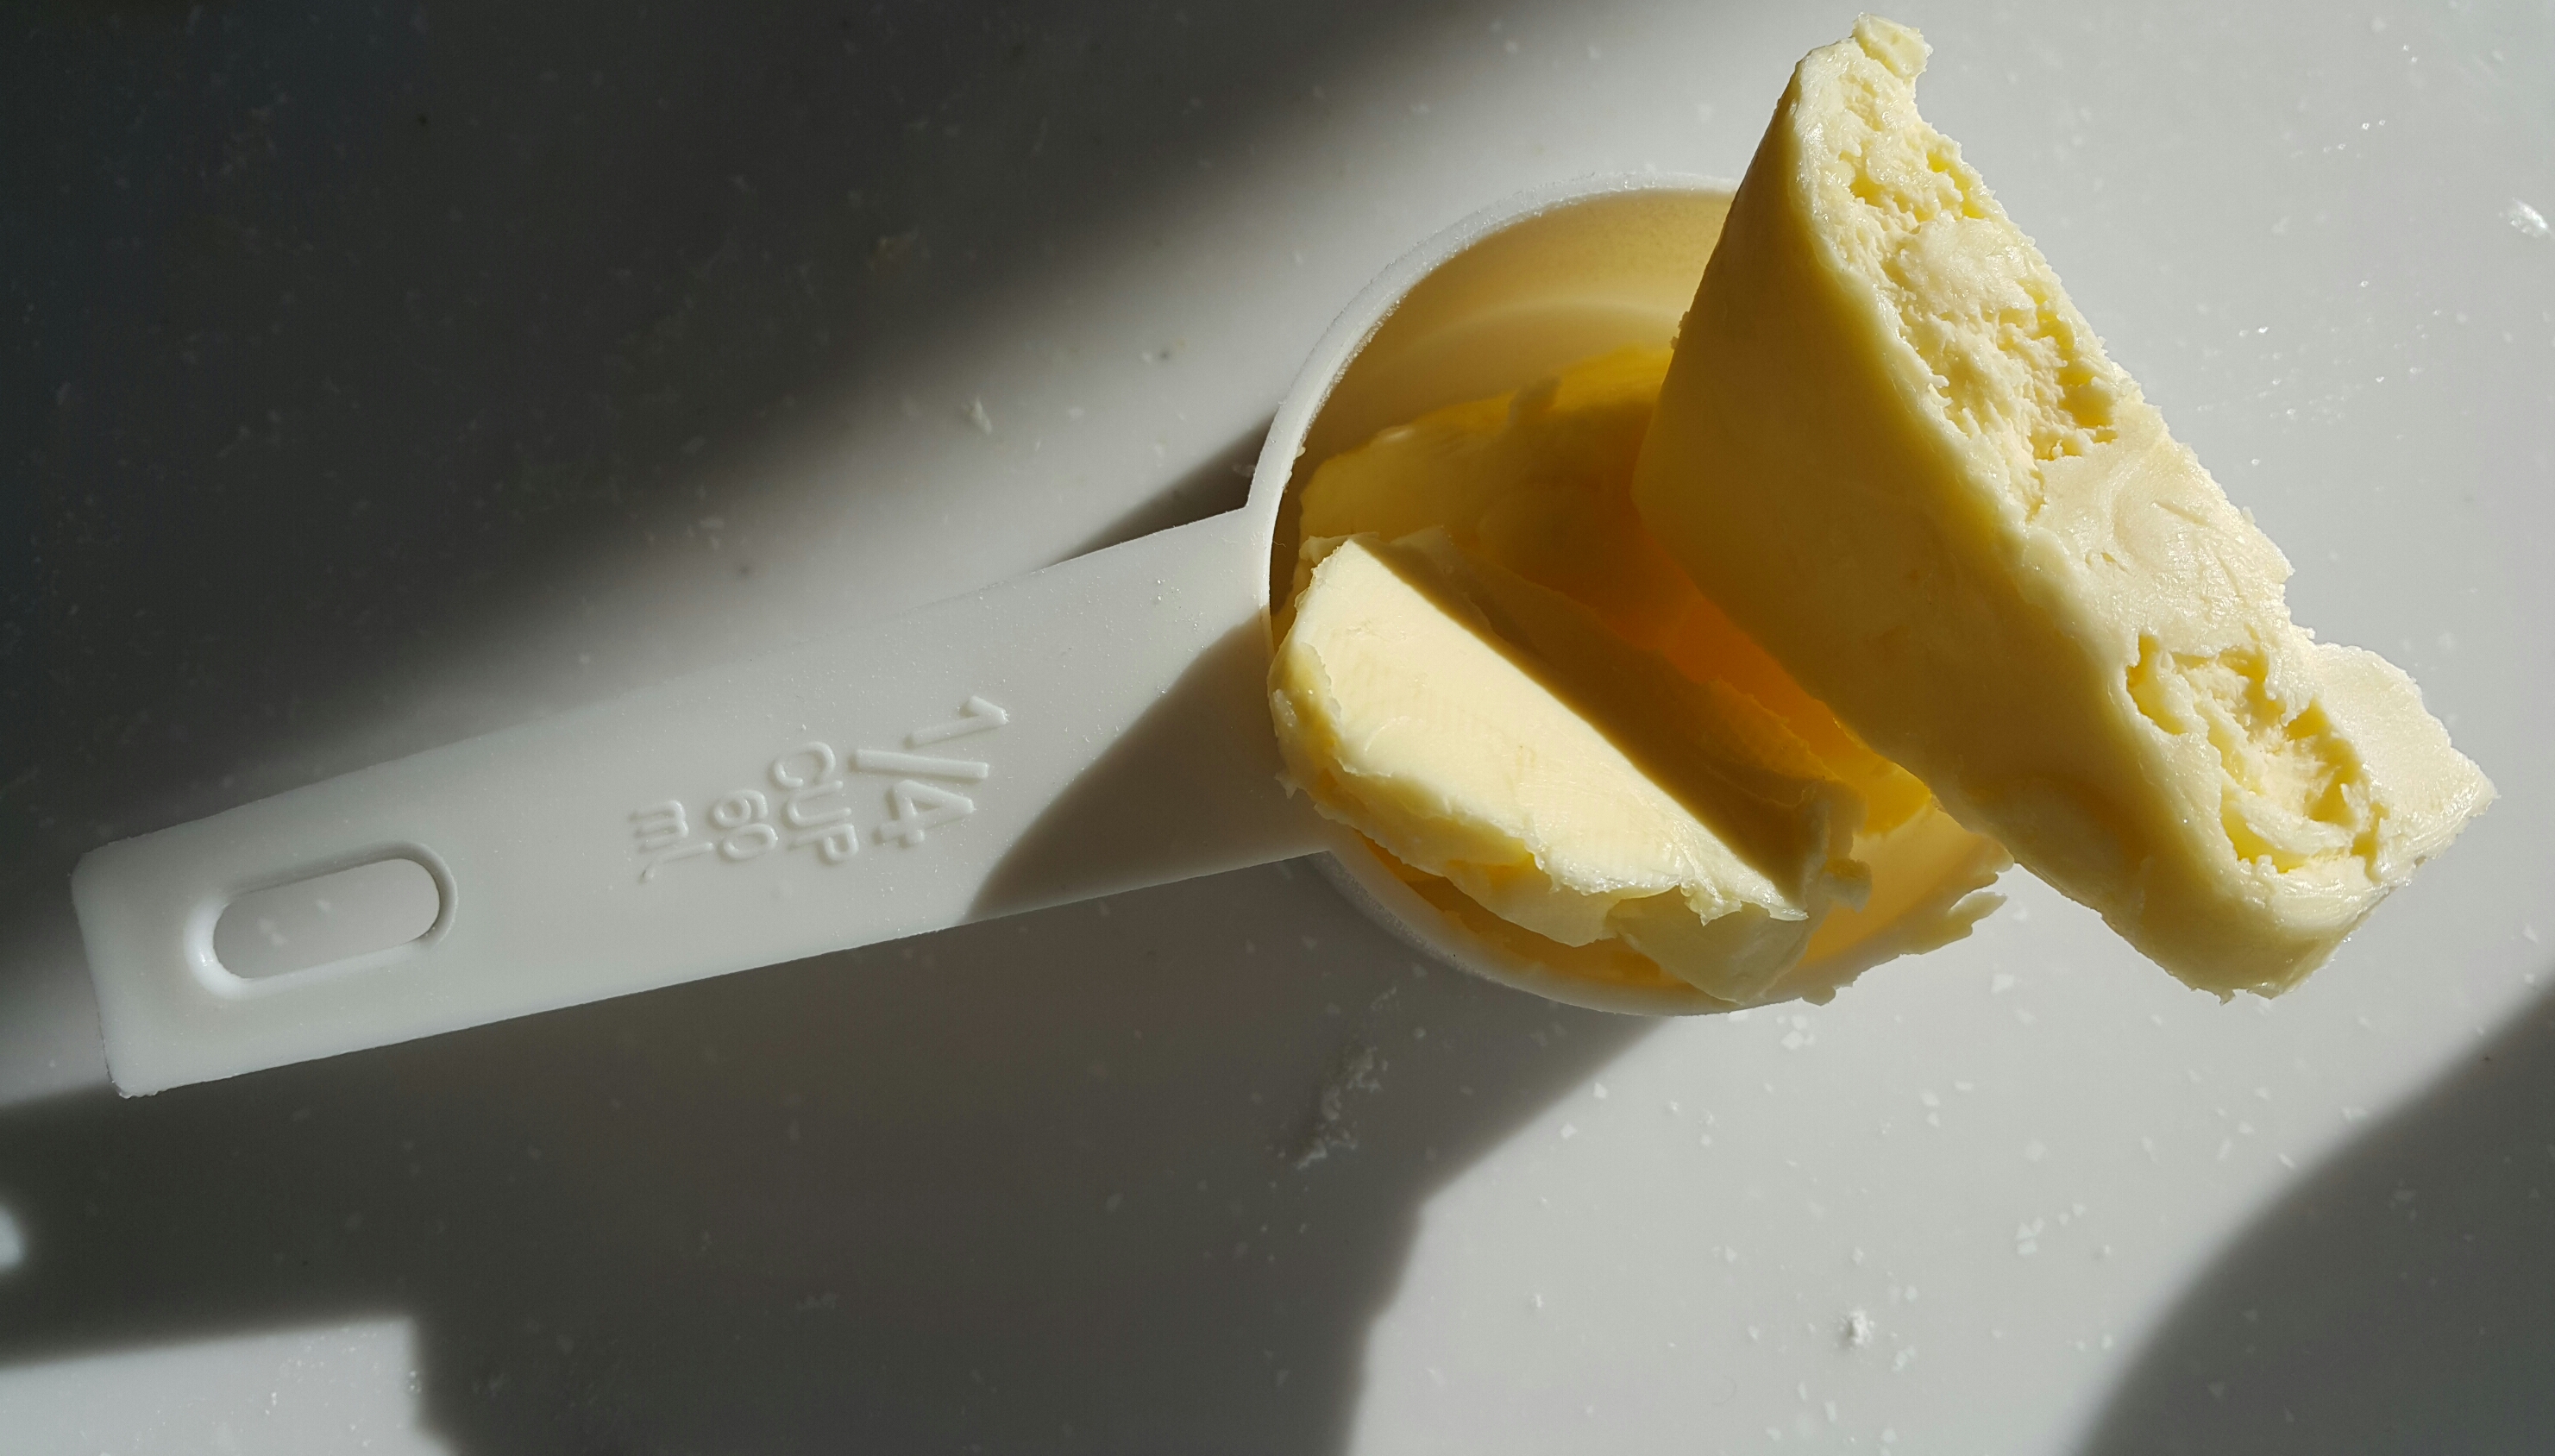
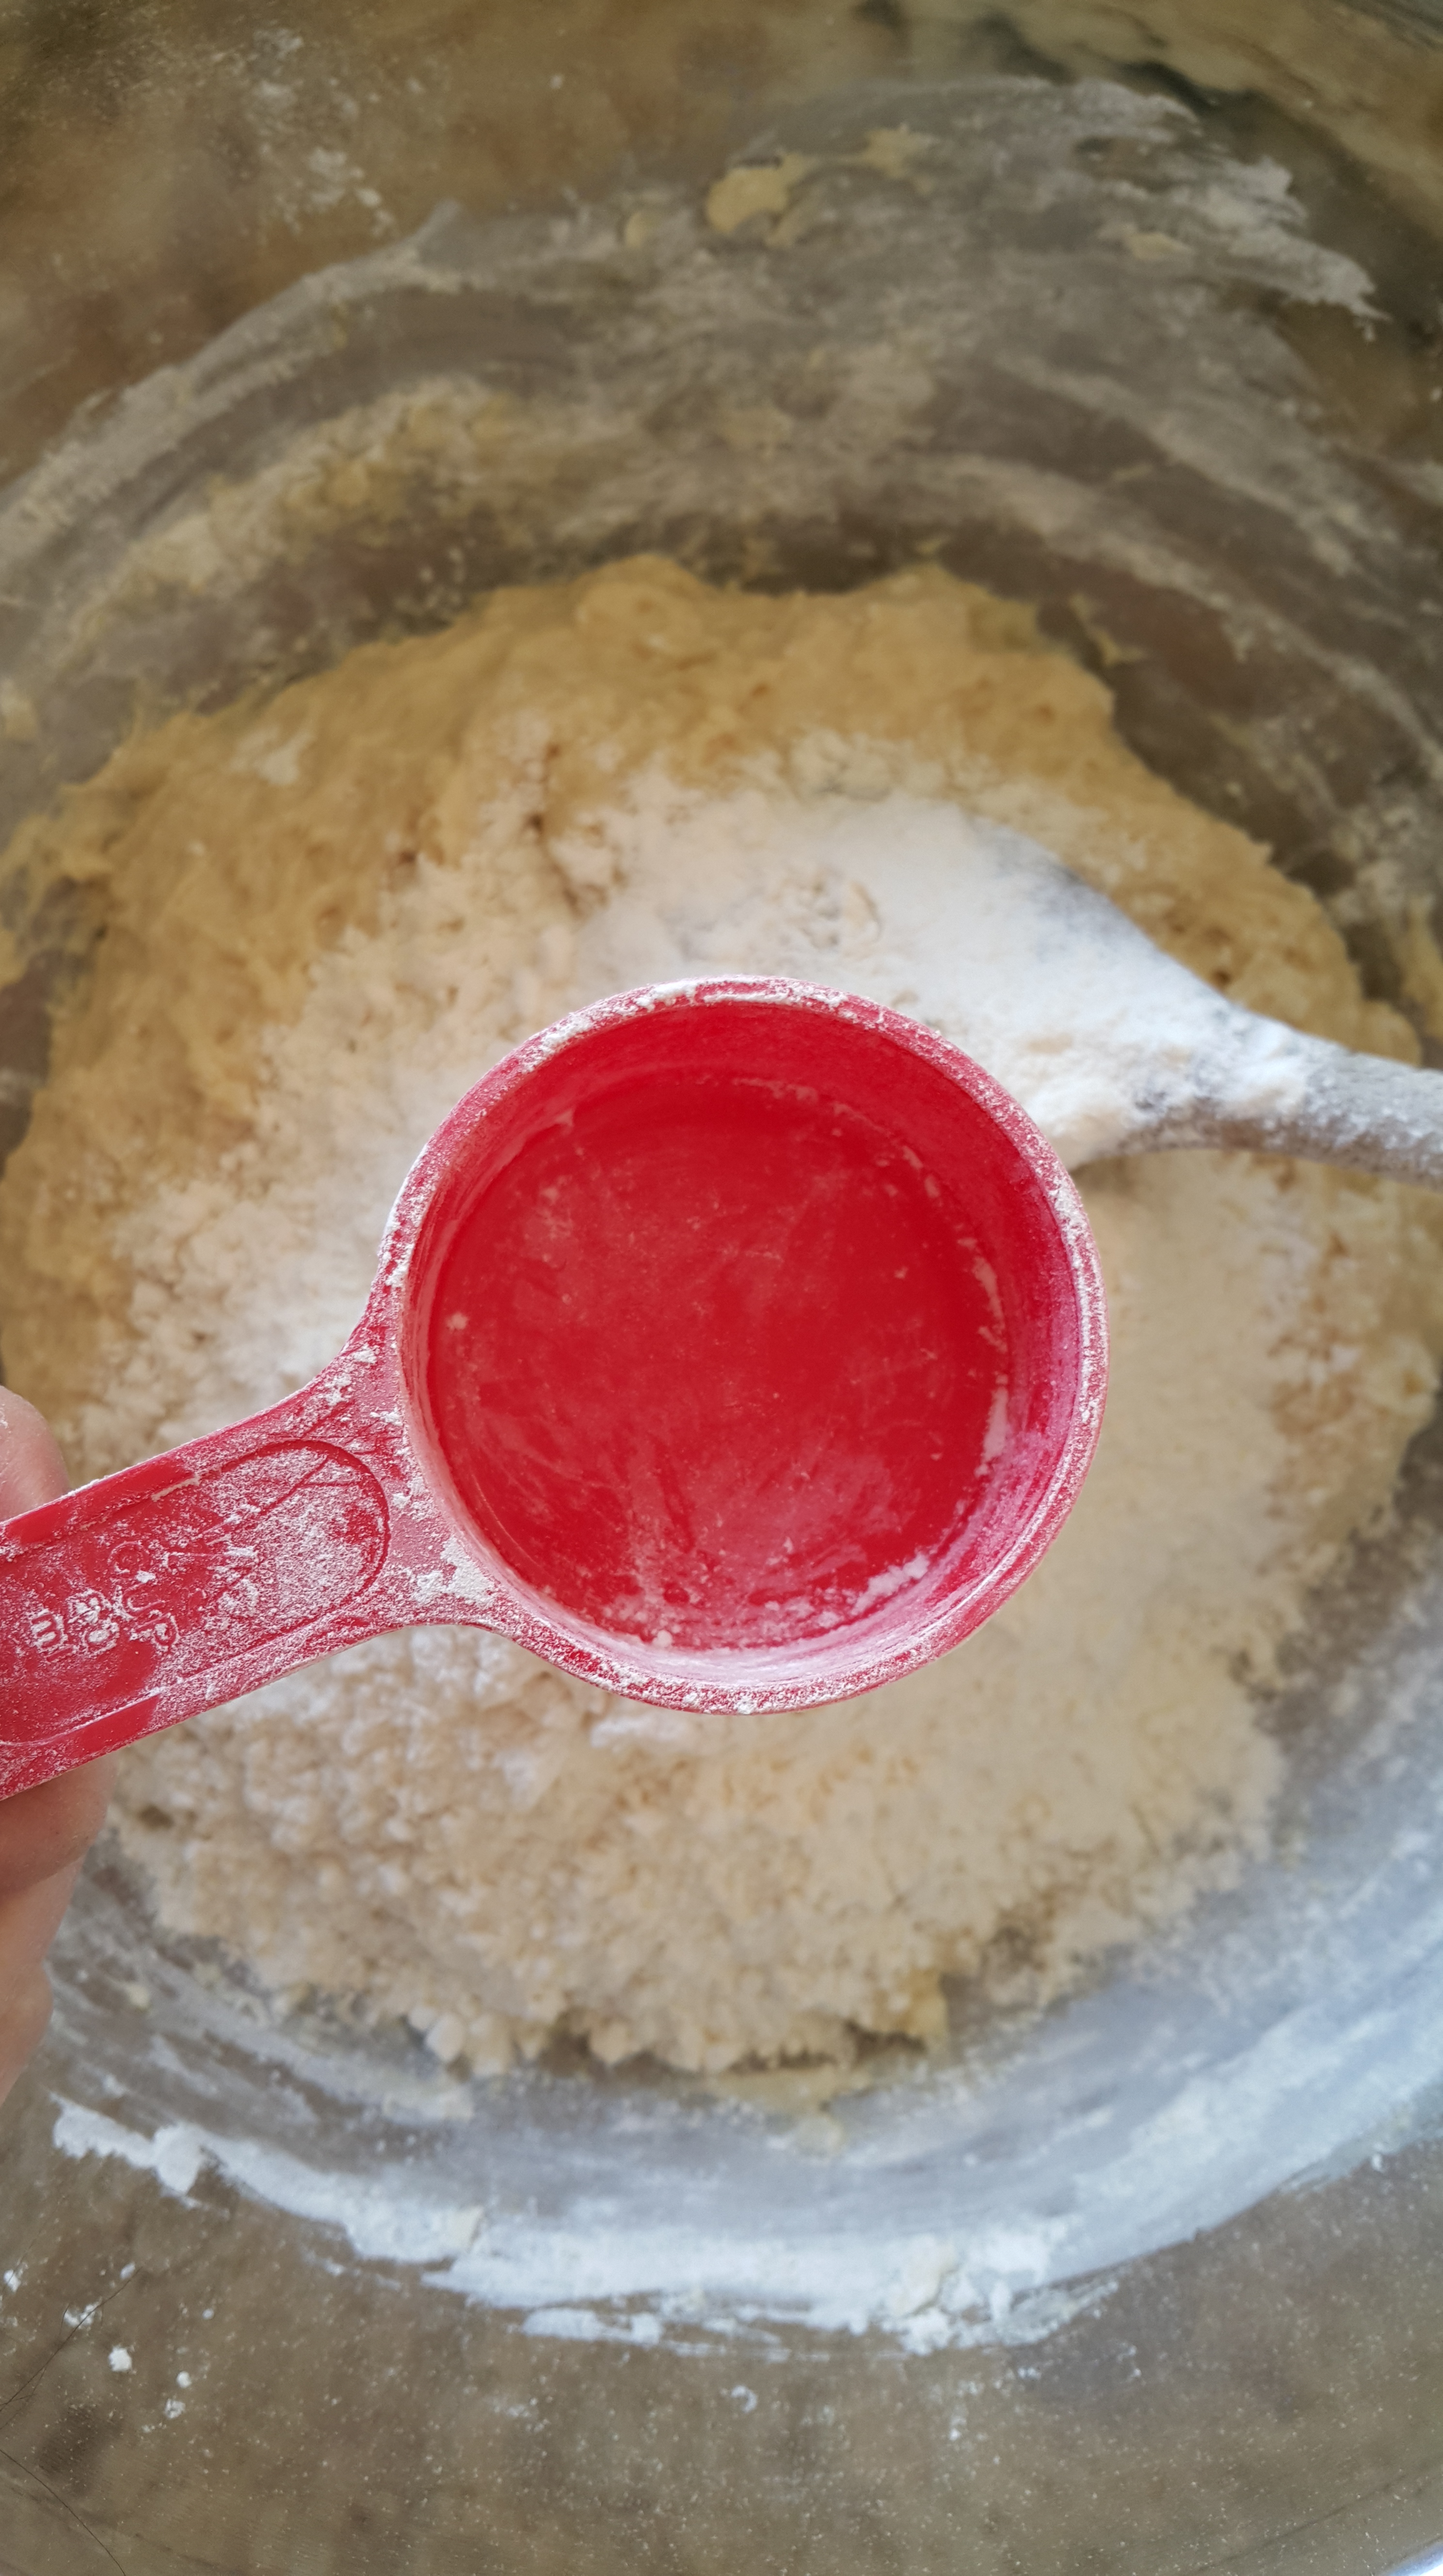
Look, modern art! Not really. The sunlight decided to coddle the butter in its very own spotlight. Notice my very precise measurement of butter. Don’t be like me. Since it’s winter, I had to soften the butter in the microwave for a bit.
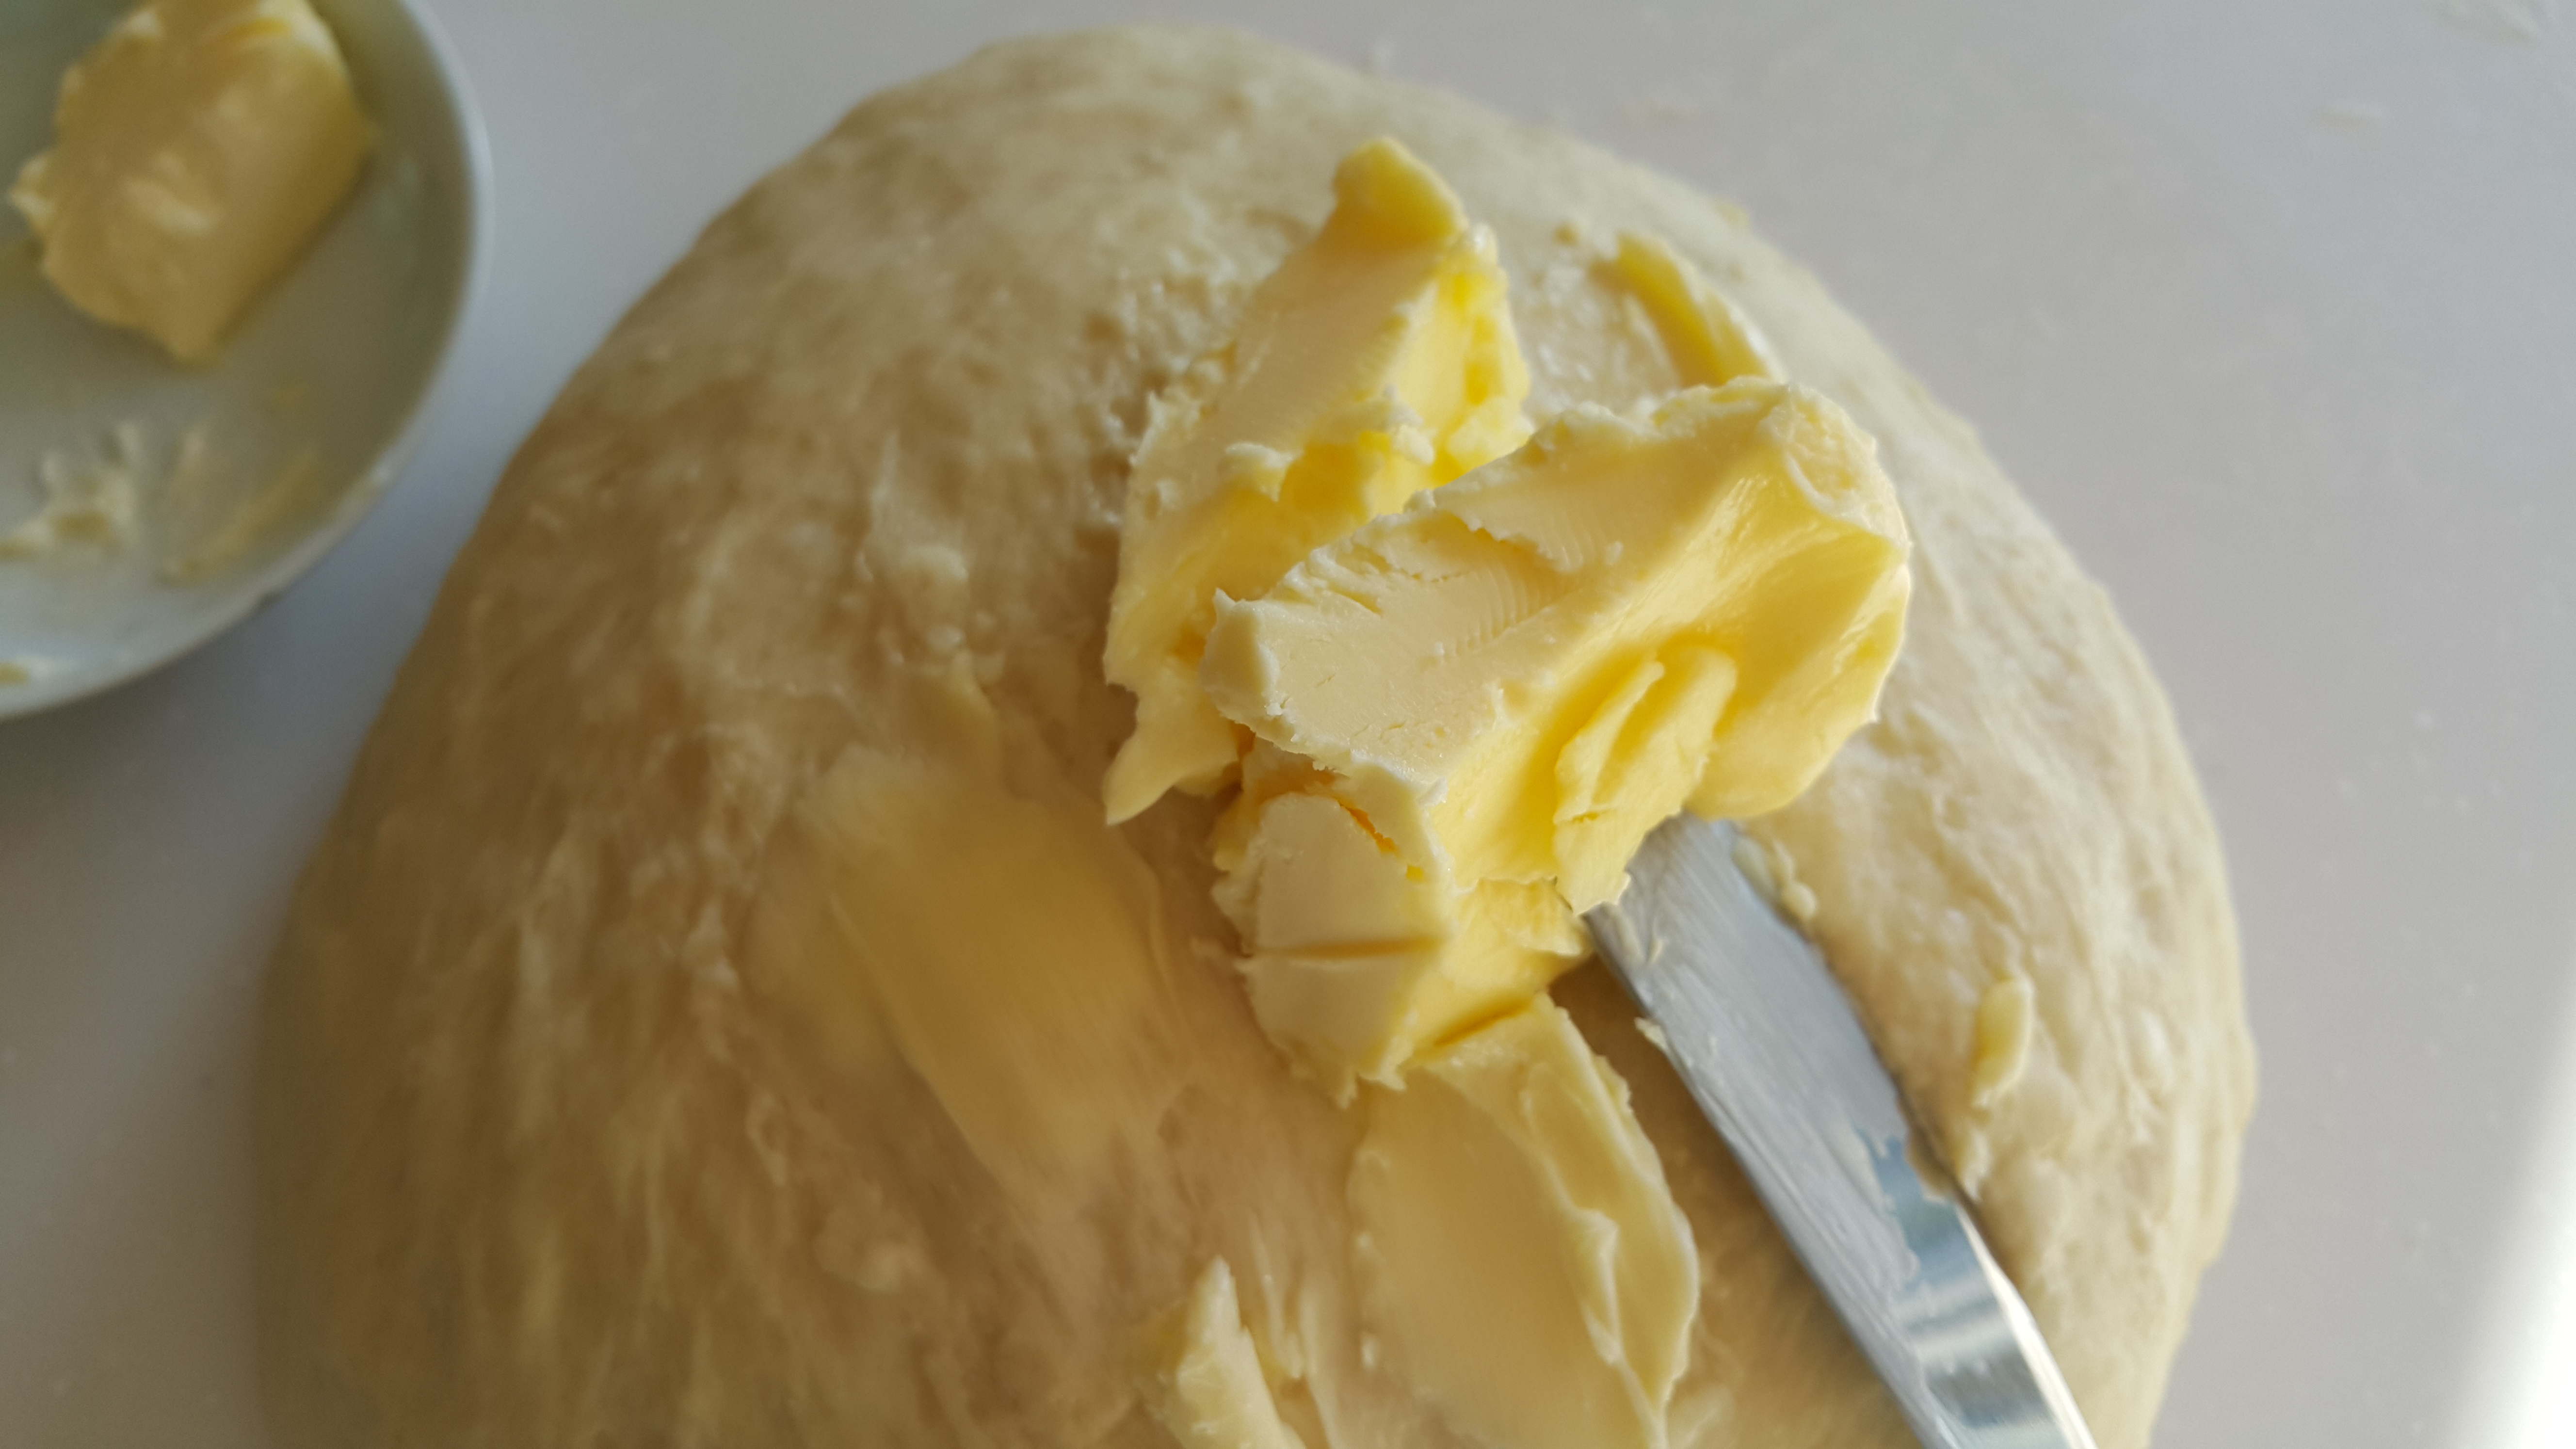
Butter up your unbaked bread. You’re still buttering bread, but it’s just in a different state. Enjoy this part a lot. Perhaps way too much, but hey, I’ll be the last person to judge you. Then go ahead and wonder why butter smells so divine.
At this point you want to knead until the butter is fully incorporated. It’s difficult. The dough will act weird and become all mushy, then ropey, but keep persevering and you’ll be rewarded with a smooth mass you’ll feel the urge to poke. The butter will make odd noises, and you’ll laugh if you’re like me, before you realise you’re laughing at butter.
Normally I use the windowpane test to test if a dough is kneaded enough. You don’t knead (did I just…) that here. If it’s smooth, elastic, soft, and pliable, then it’s done. It shouldn’t be overly sticky or dry but tacky.
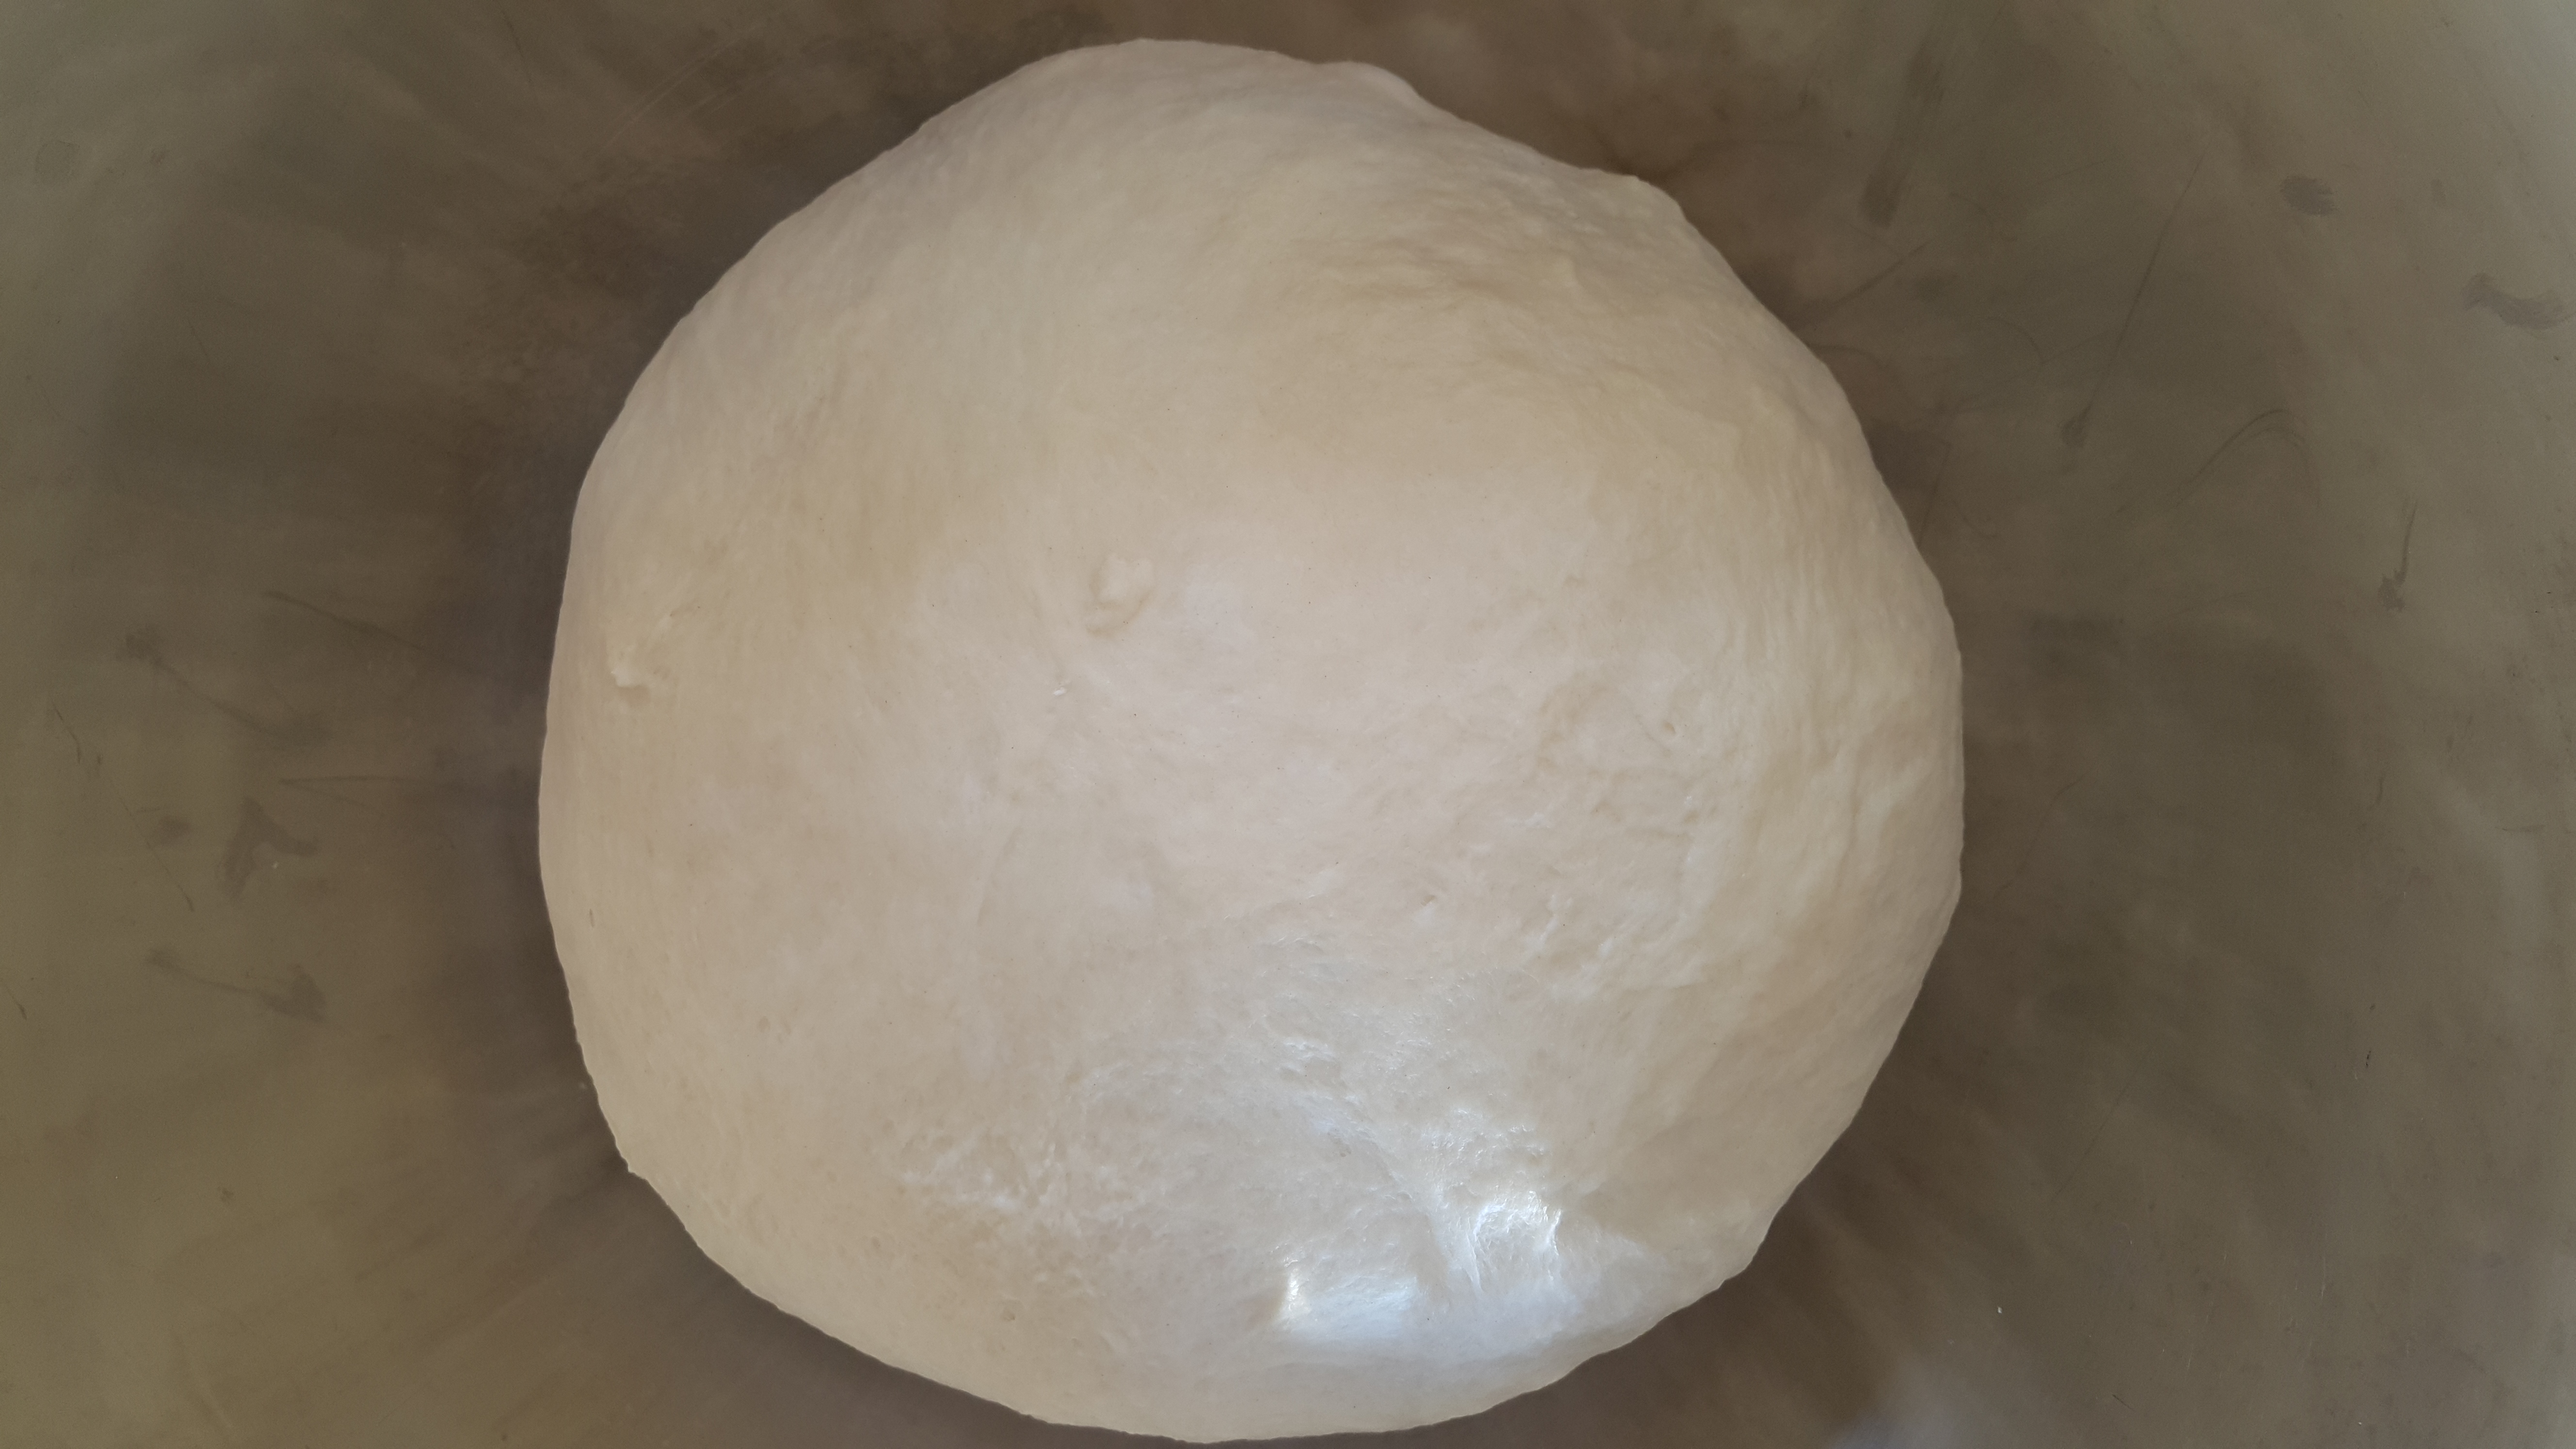
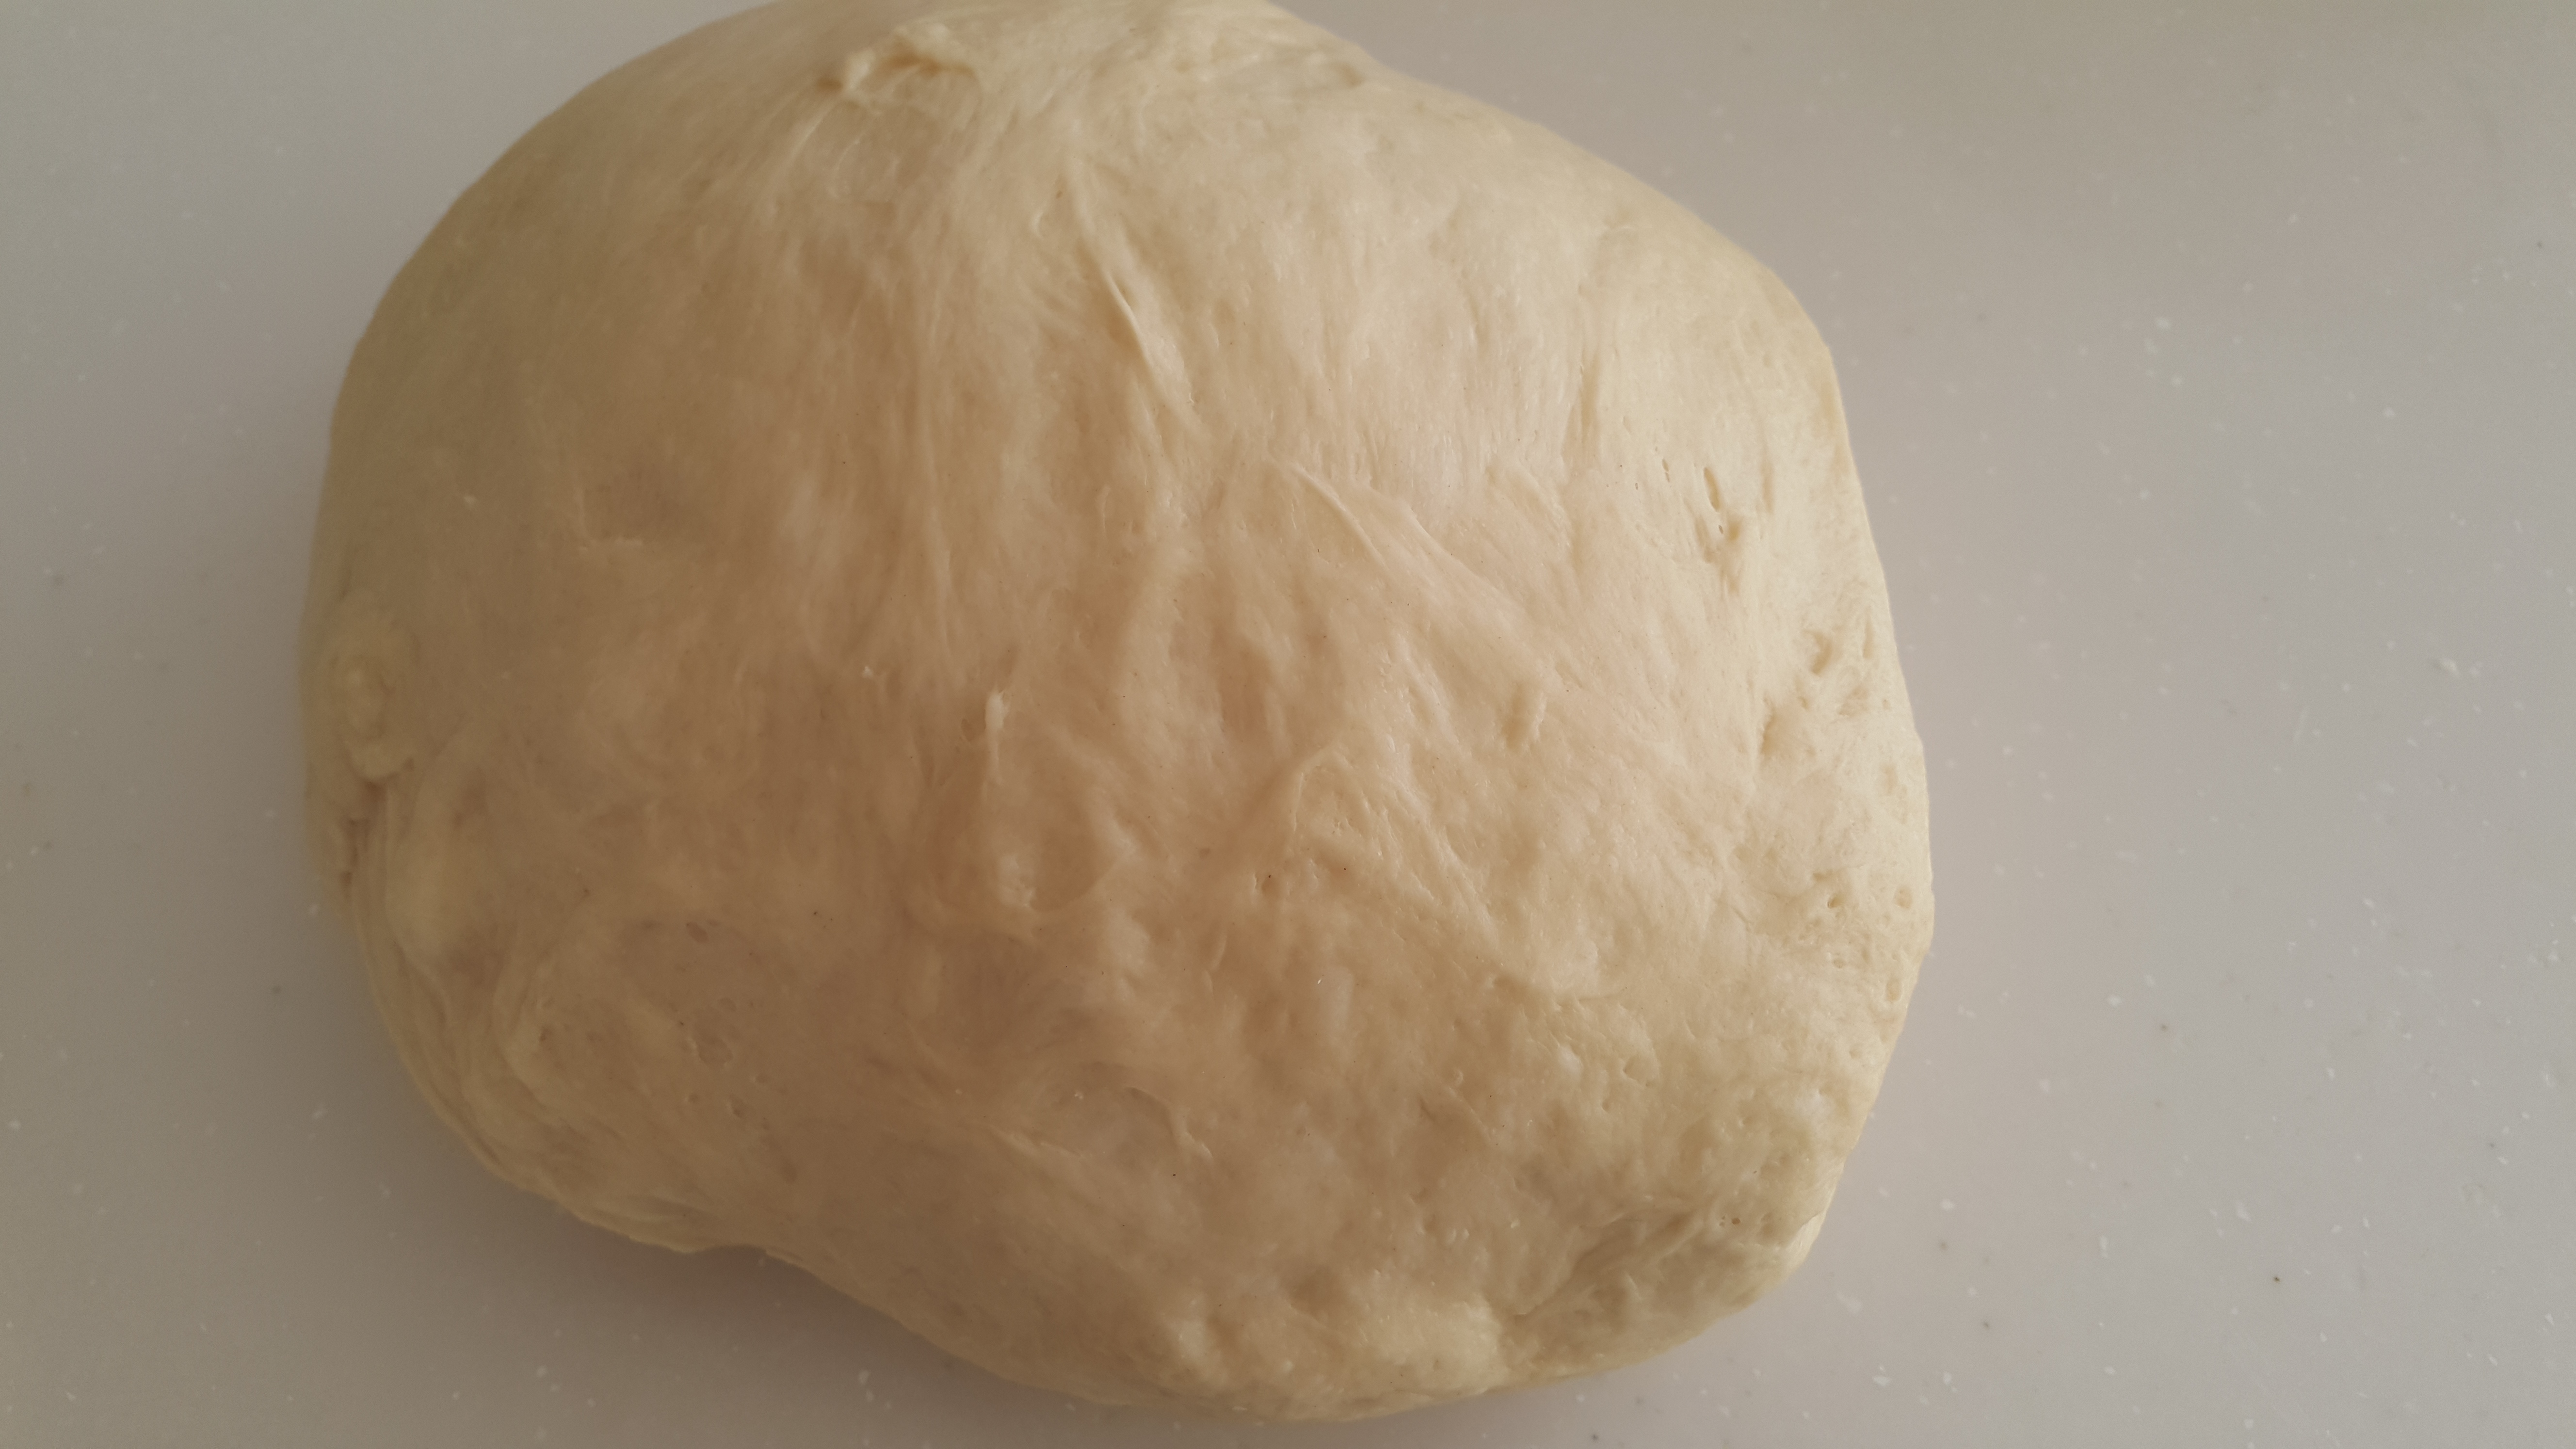
Shape it into a ball, plop it into a bowl, cover, and try hard to ignore it for the next hour or so. It’s gotta rise. Note that rising times will vary depending on a few factors, but mainly temperature. The hotter it is, the faster it’ll rise. And so… how do you tell when it’s finished rising?
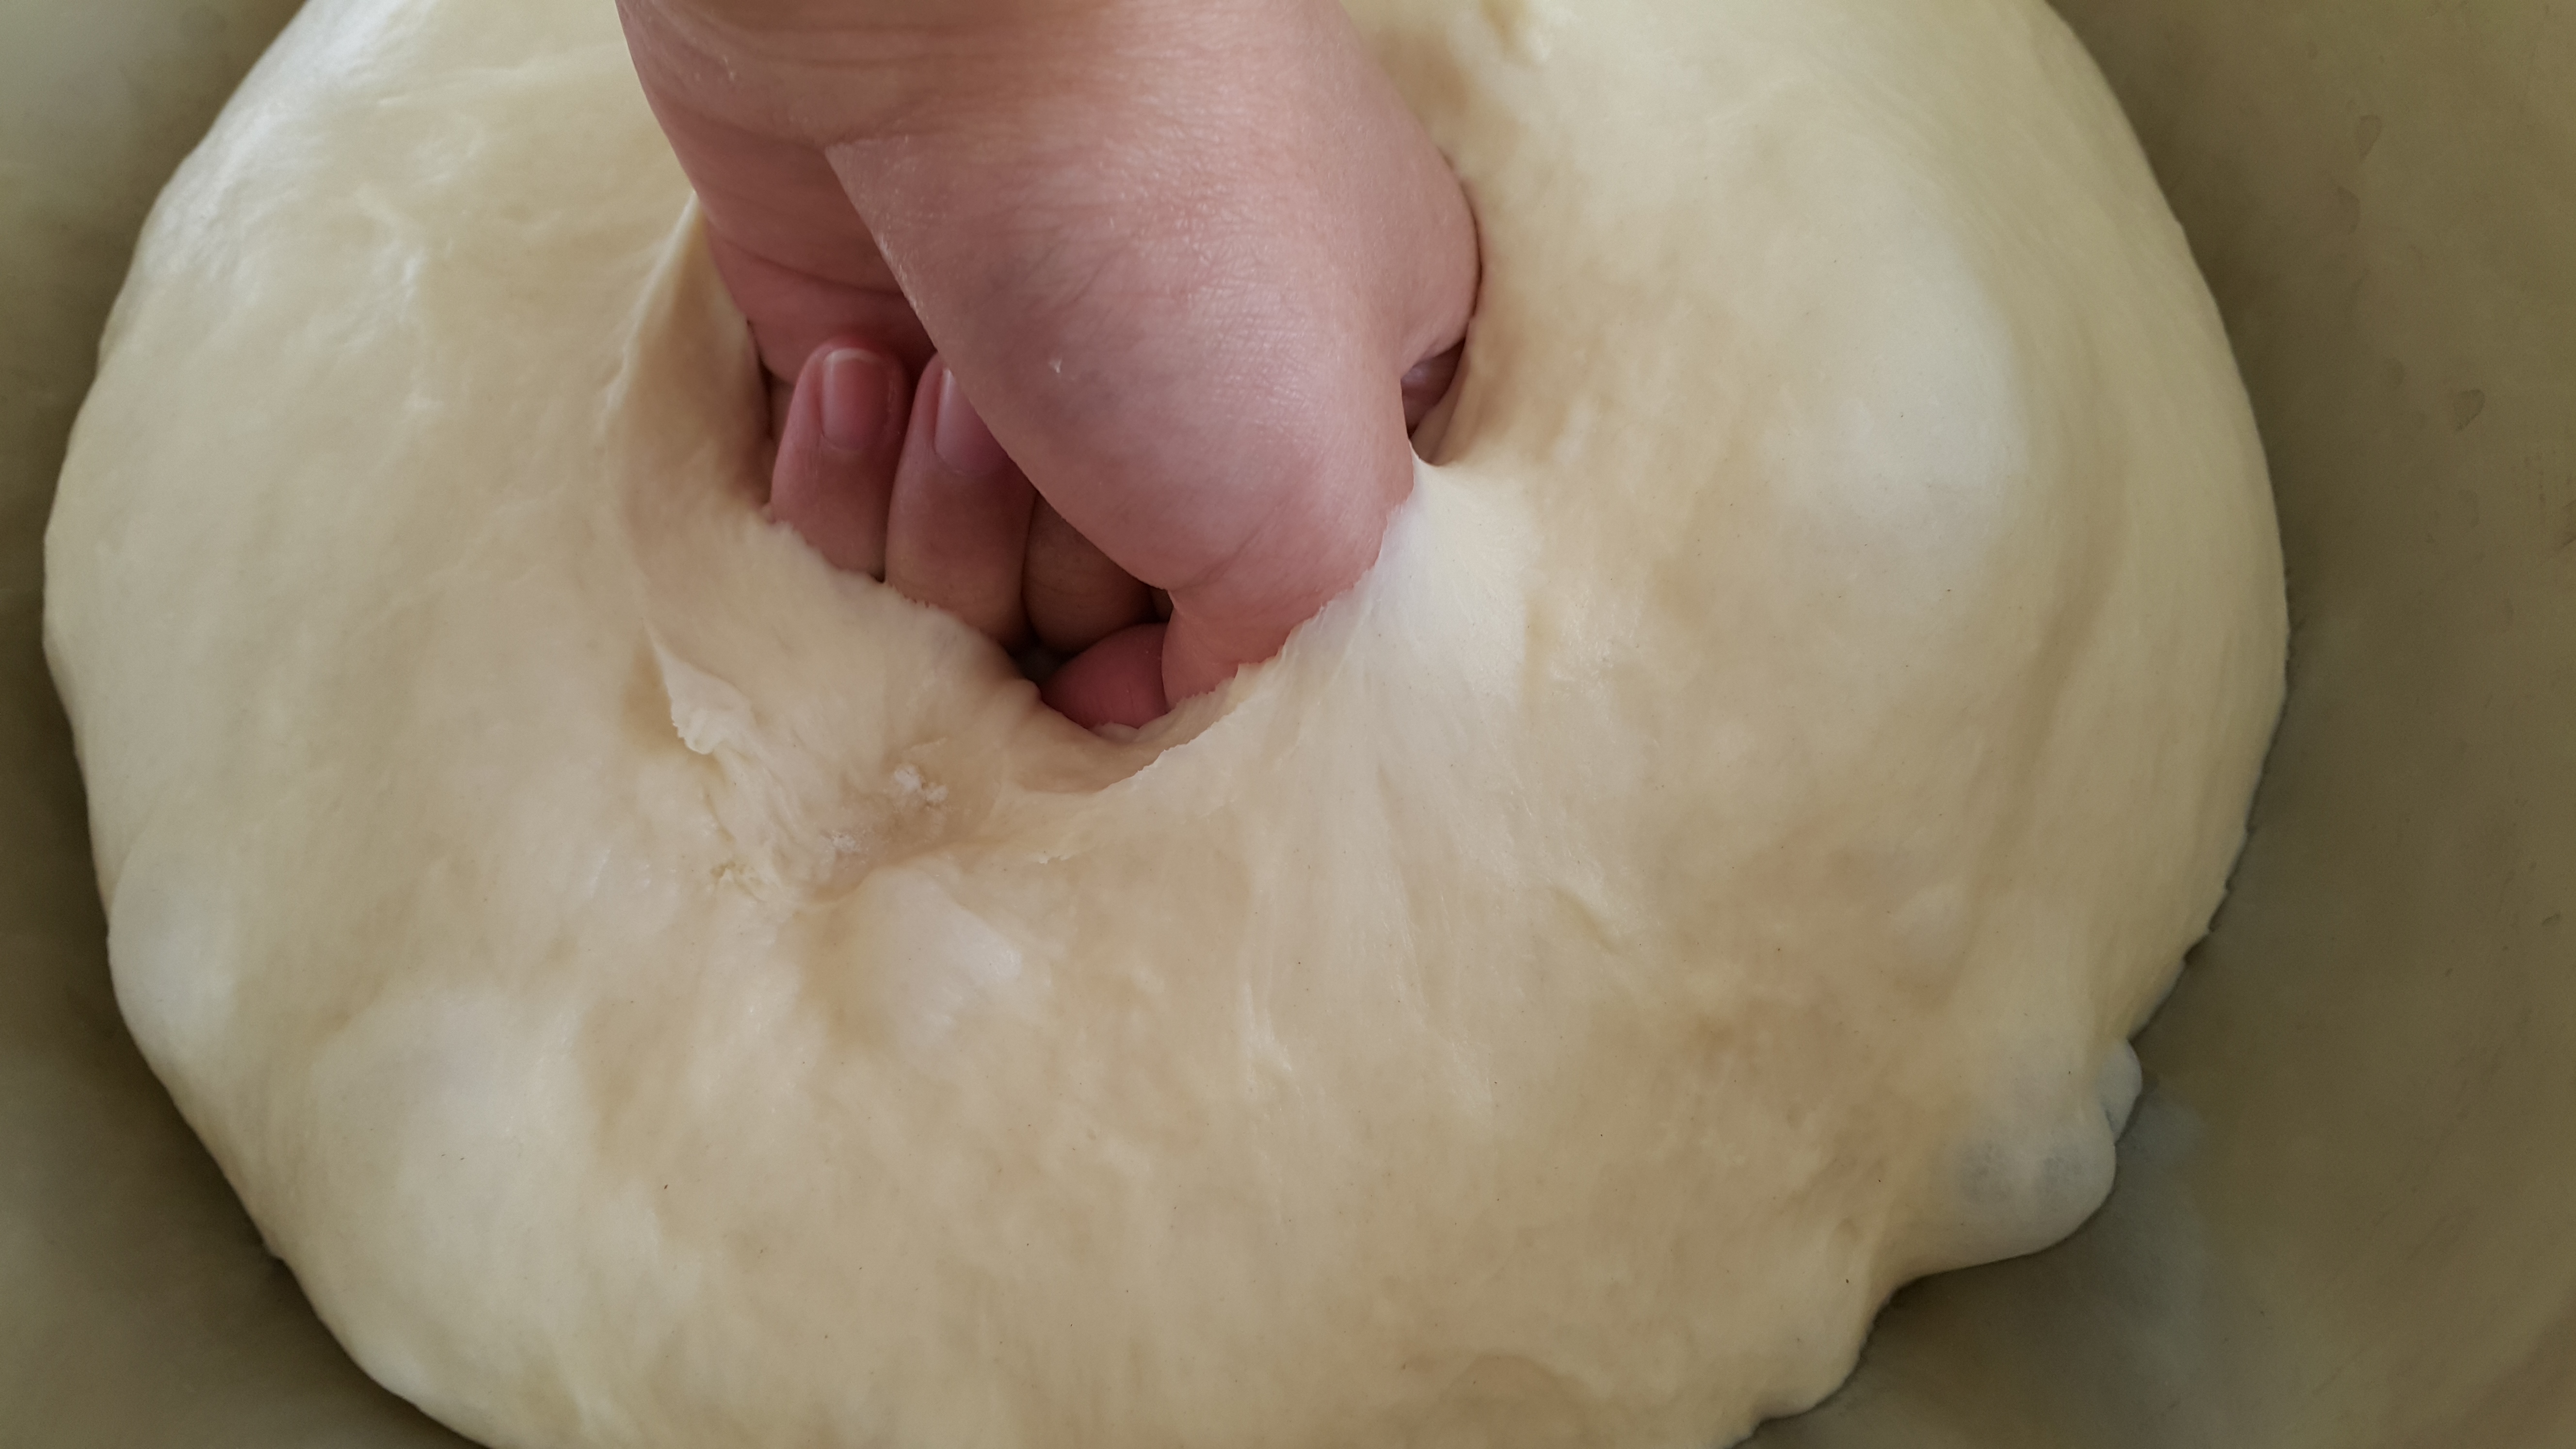
Simple. Poke it.
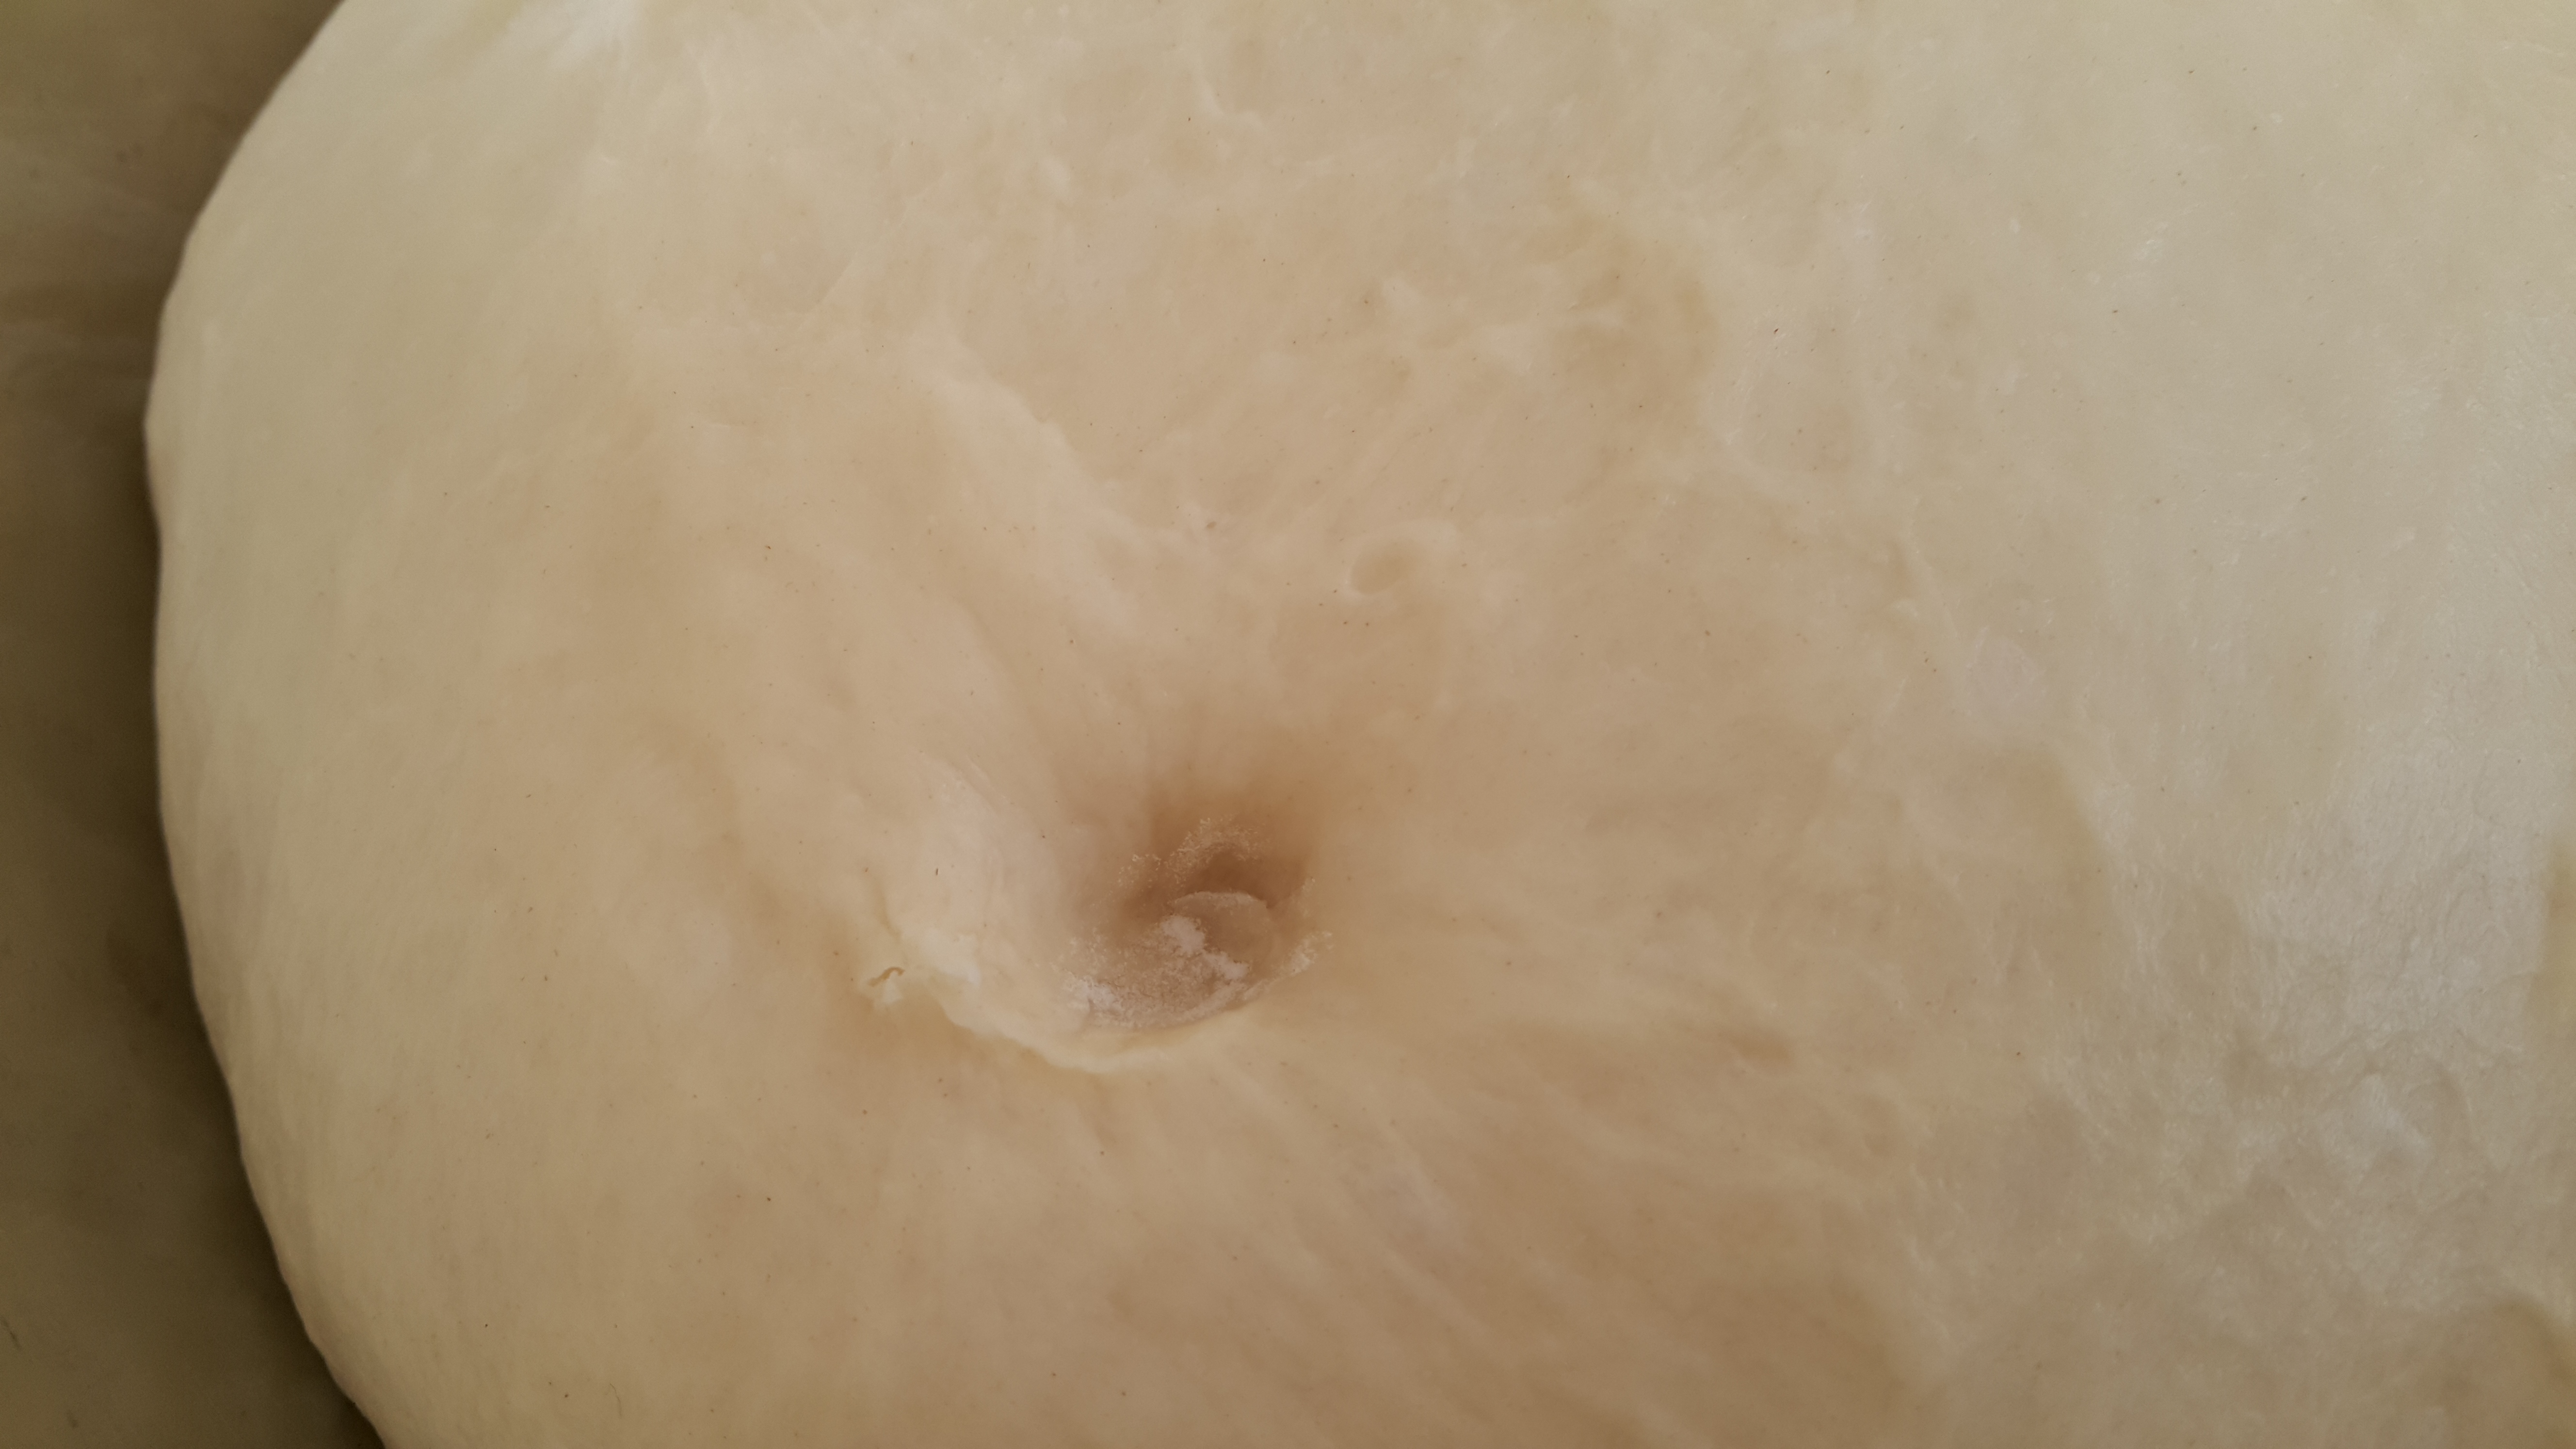
If the indent stays and doesn’t fill in, it’s ready! Get out your fist…
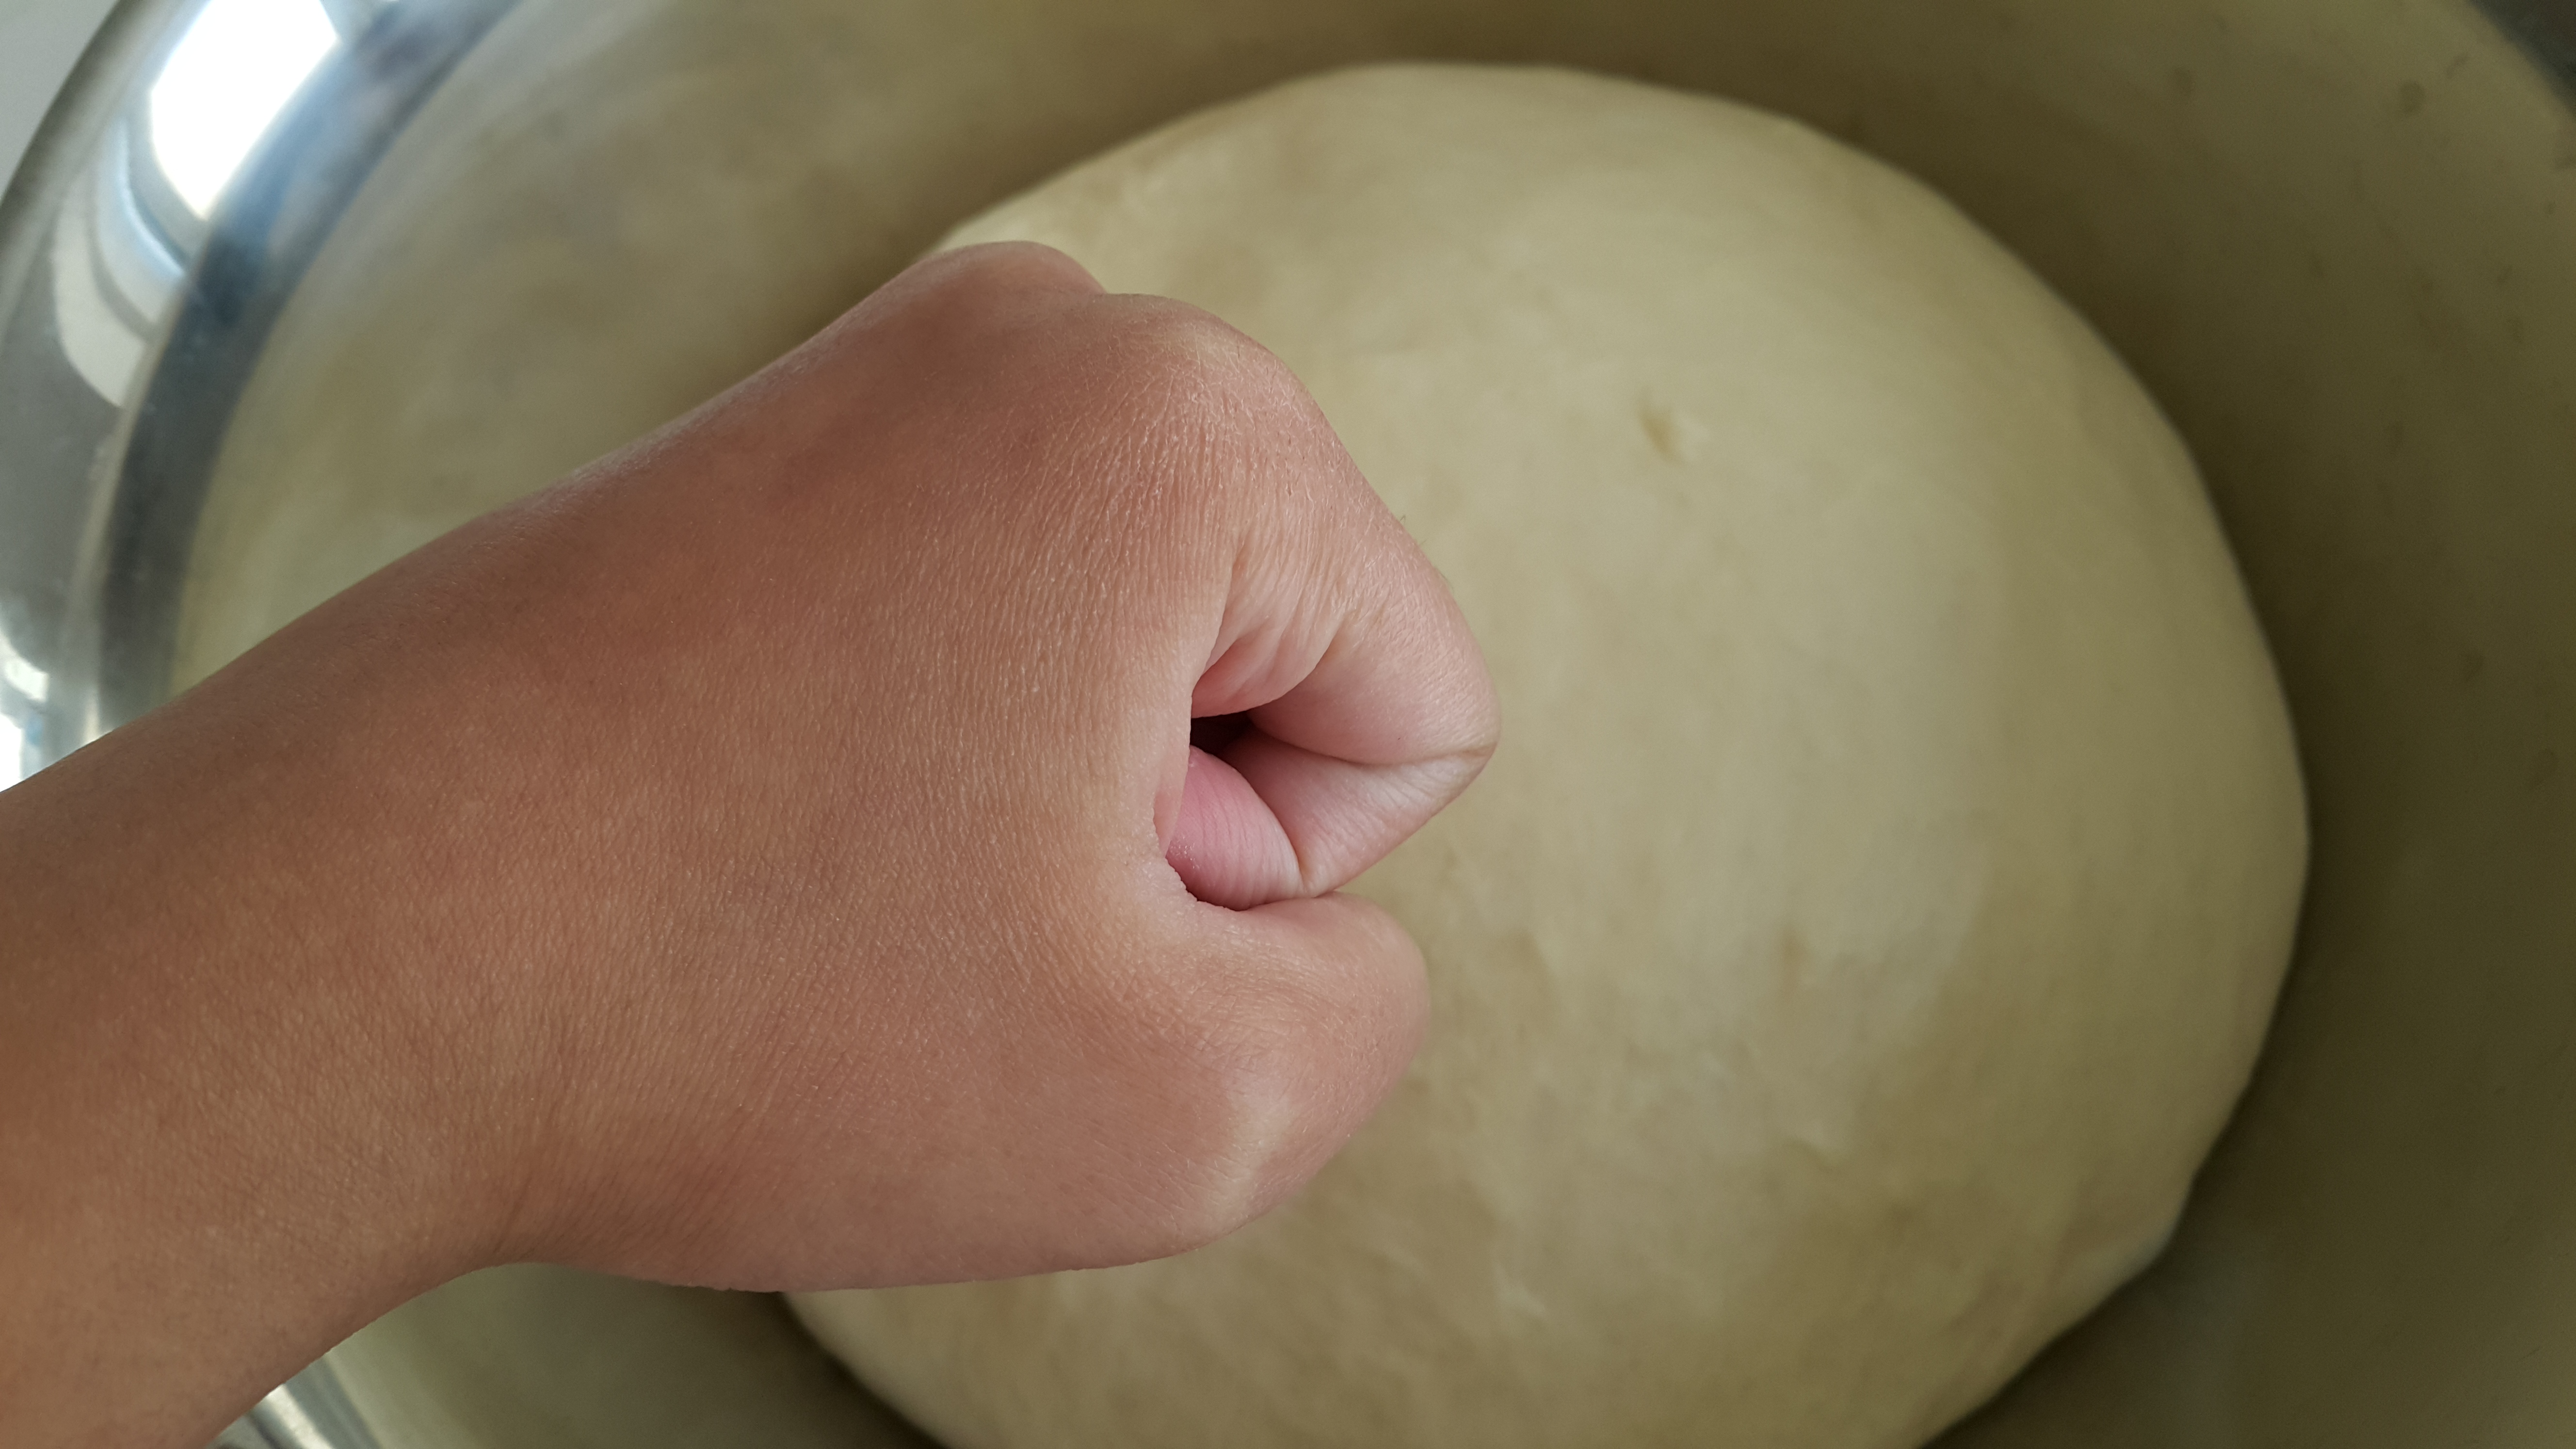
And really go for it.
Ahhh… hear that? It’s the sound of air escaping and your tension melting.
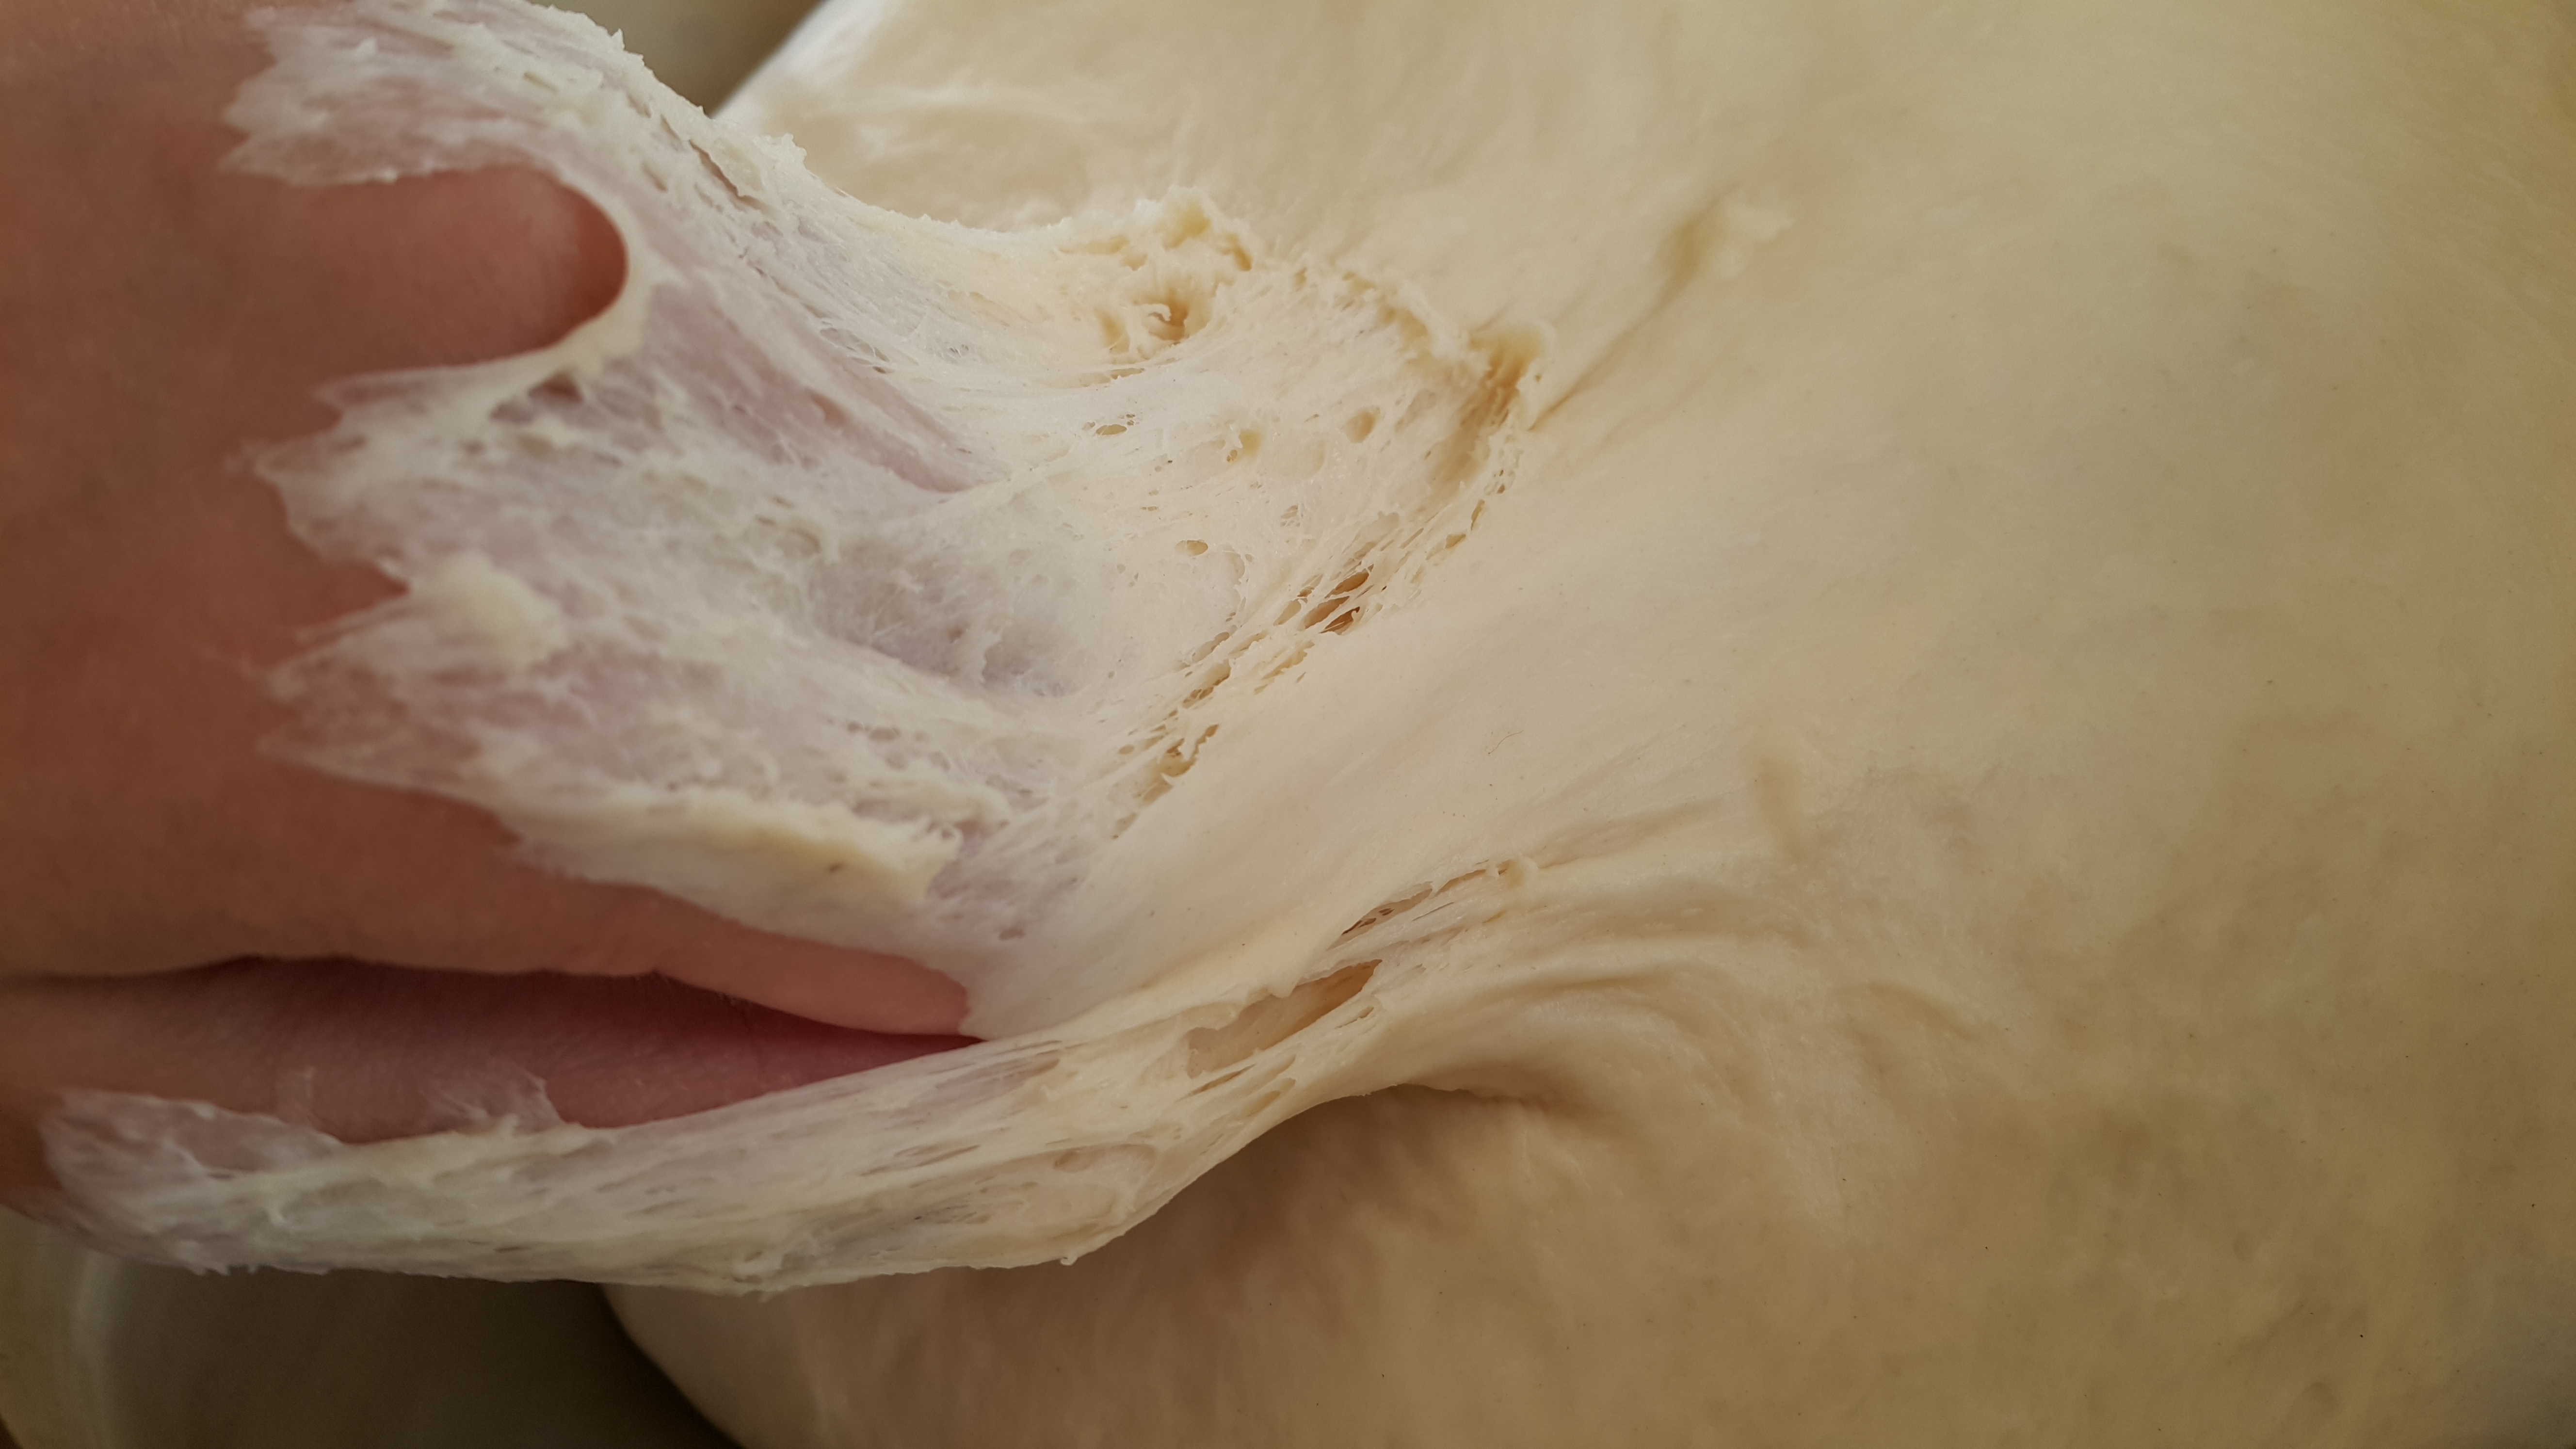
Yes, this’ll happen, but it’s not much of a problem.
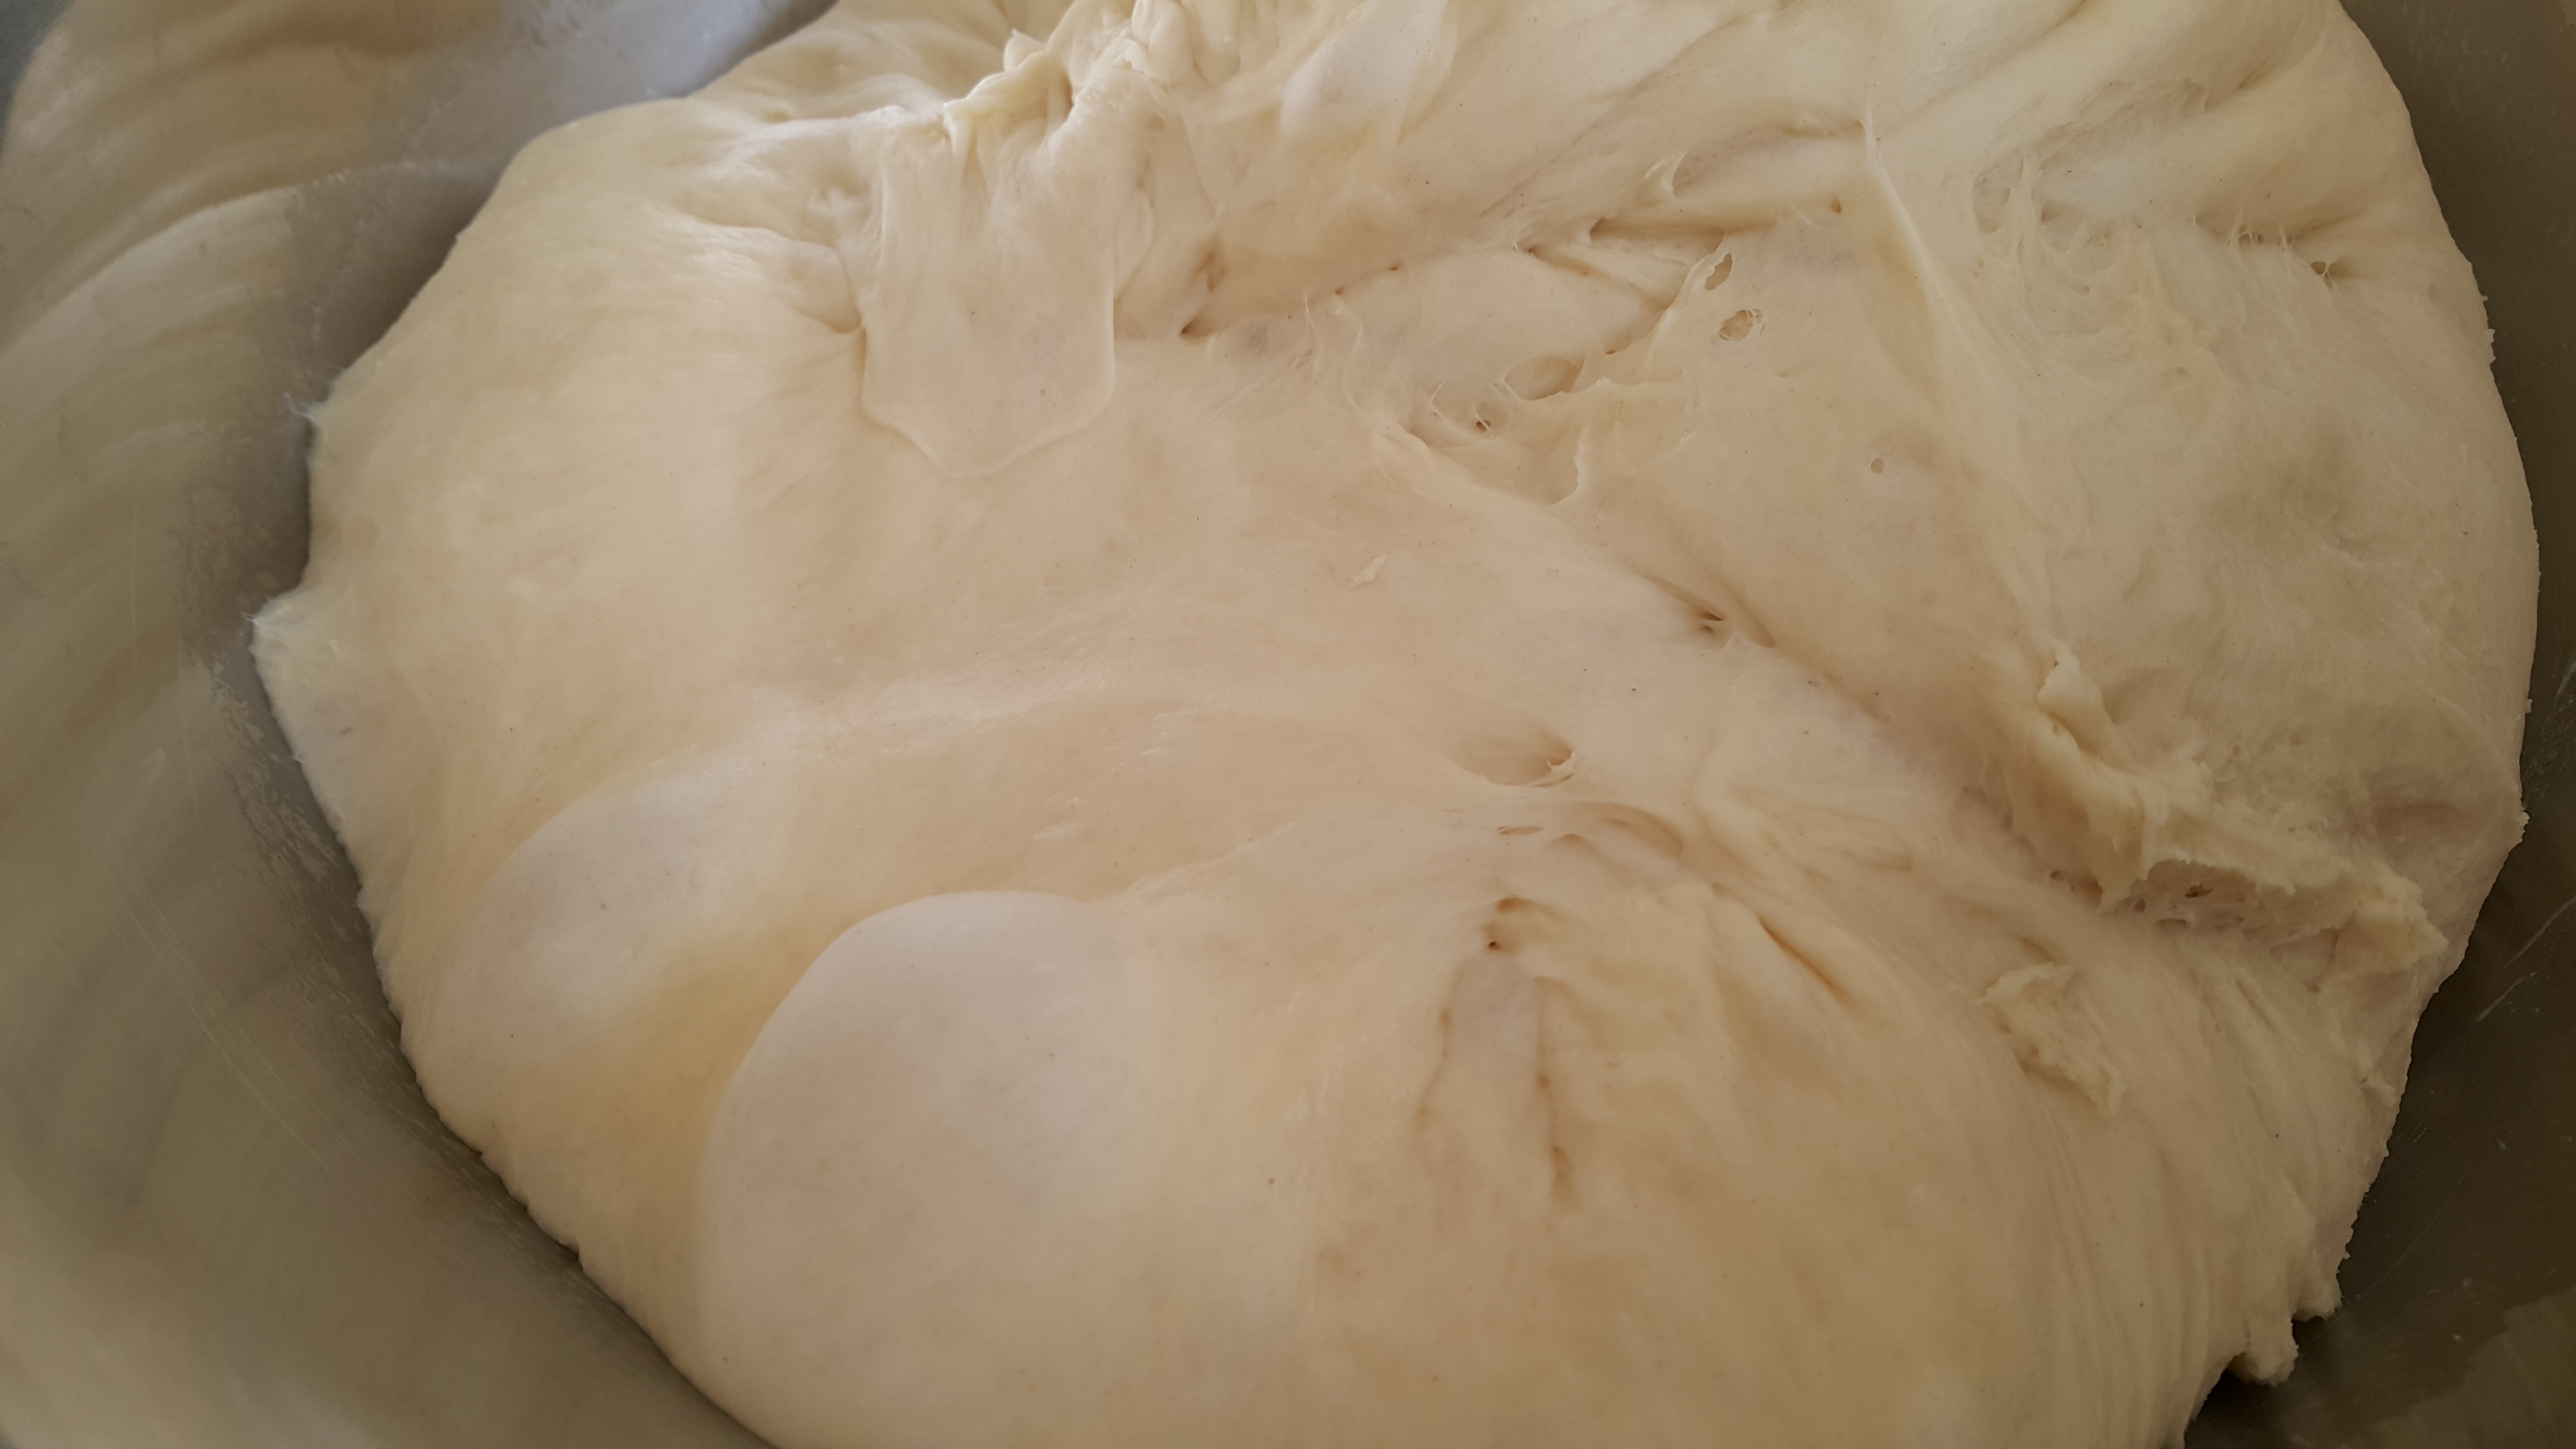
Take a moment to appreciate the giant bubbles. Then turn out the dough, and knead for a little bit to get out that gas.
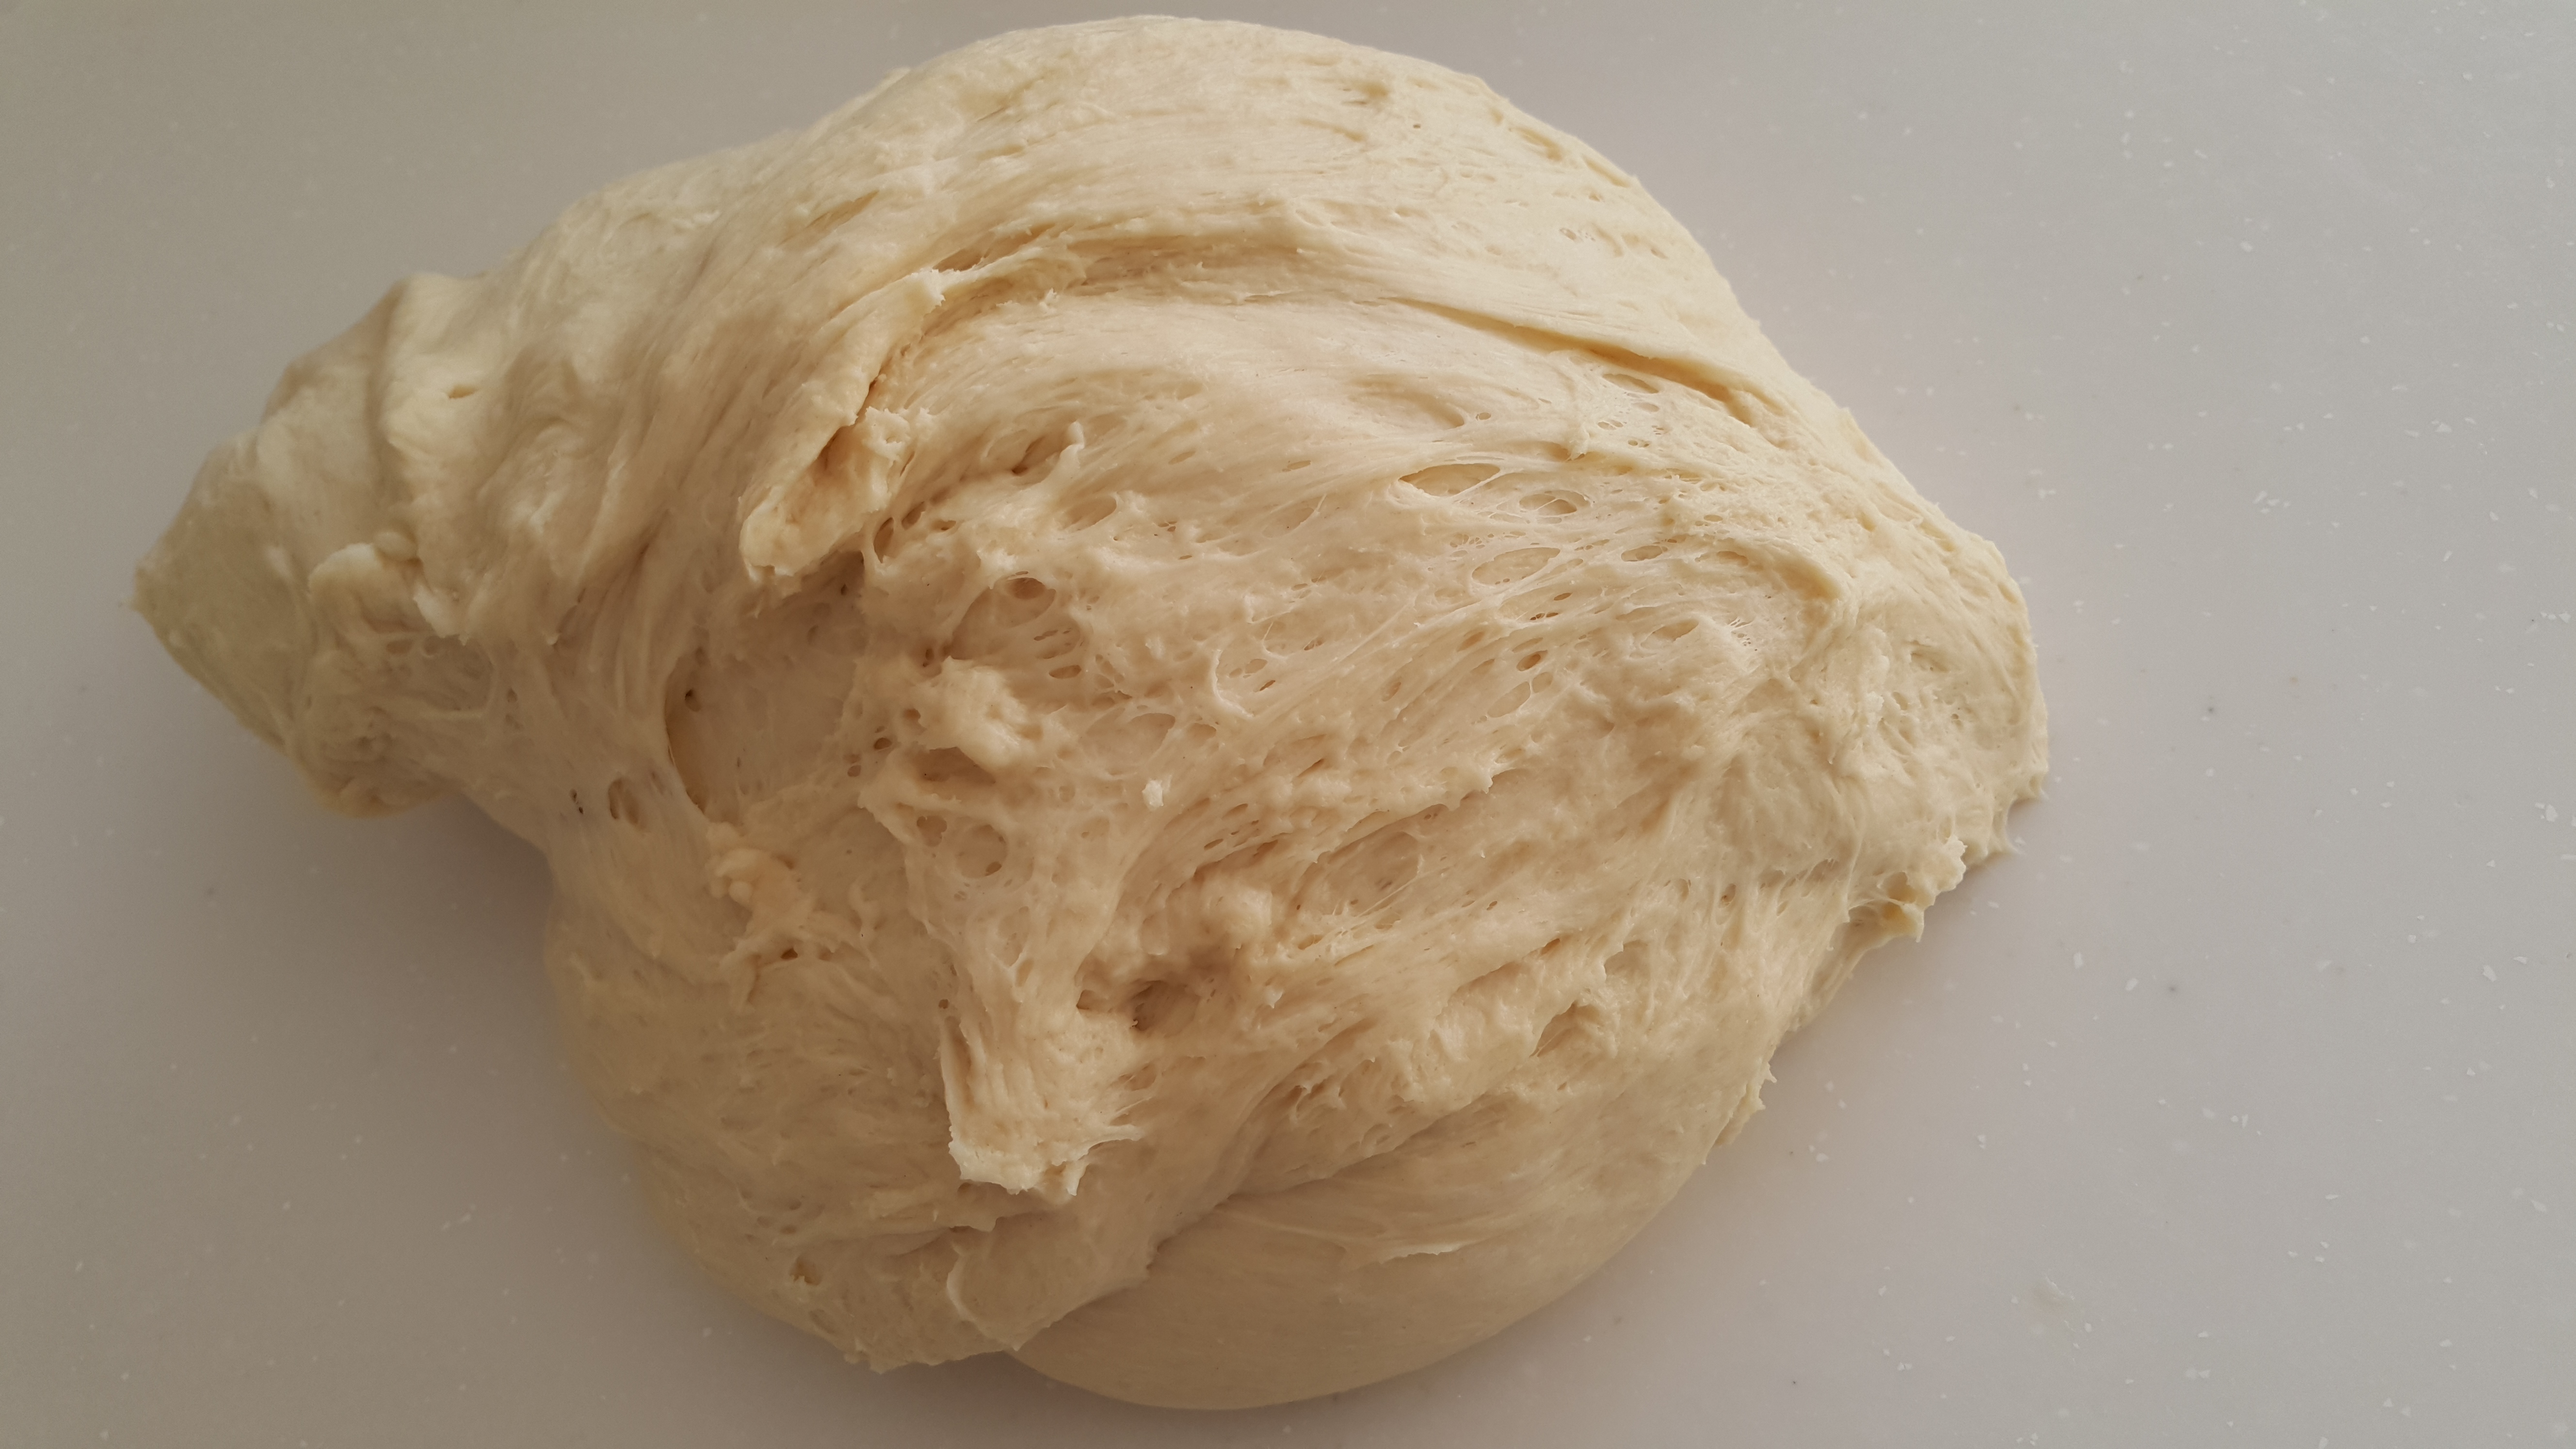

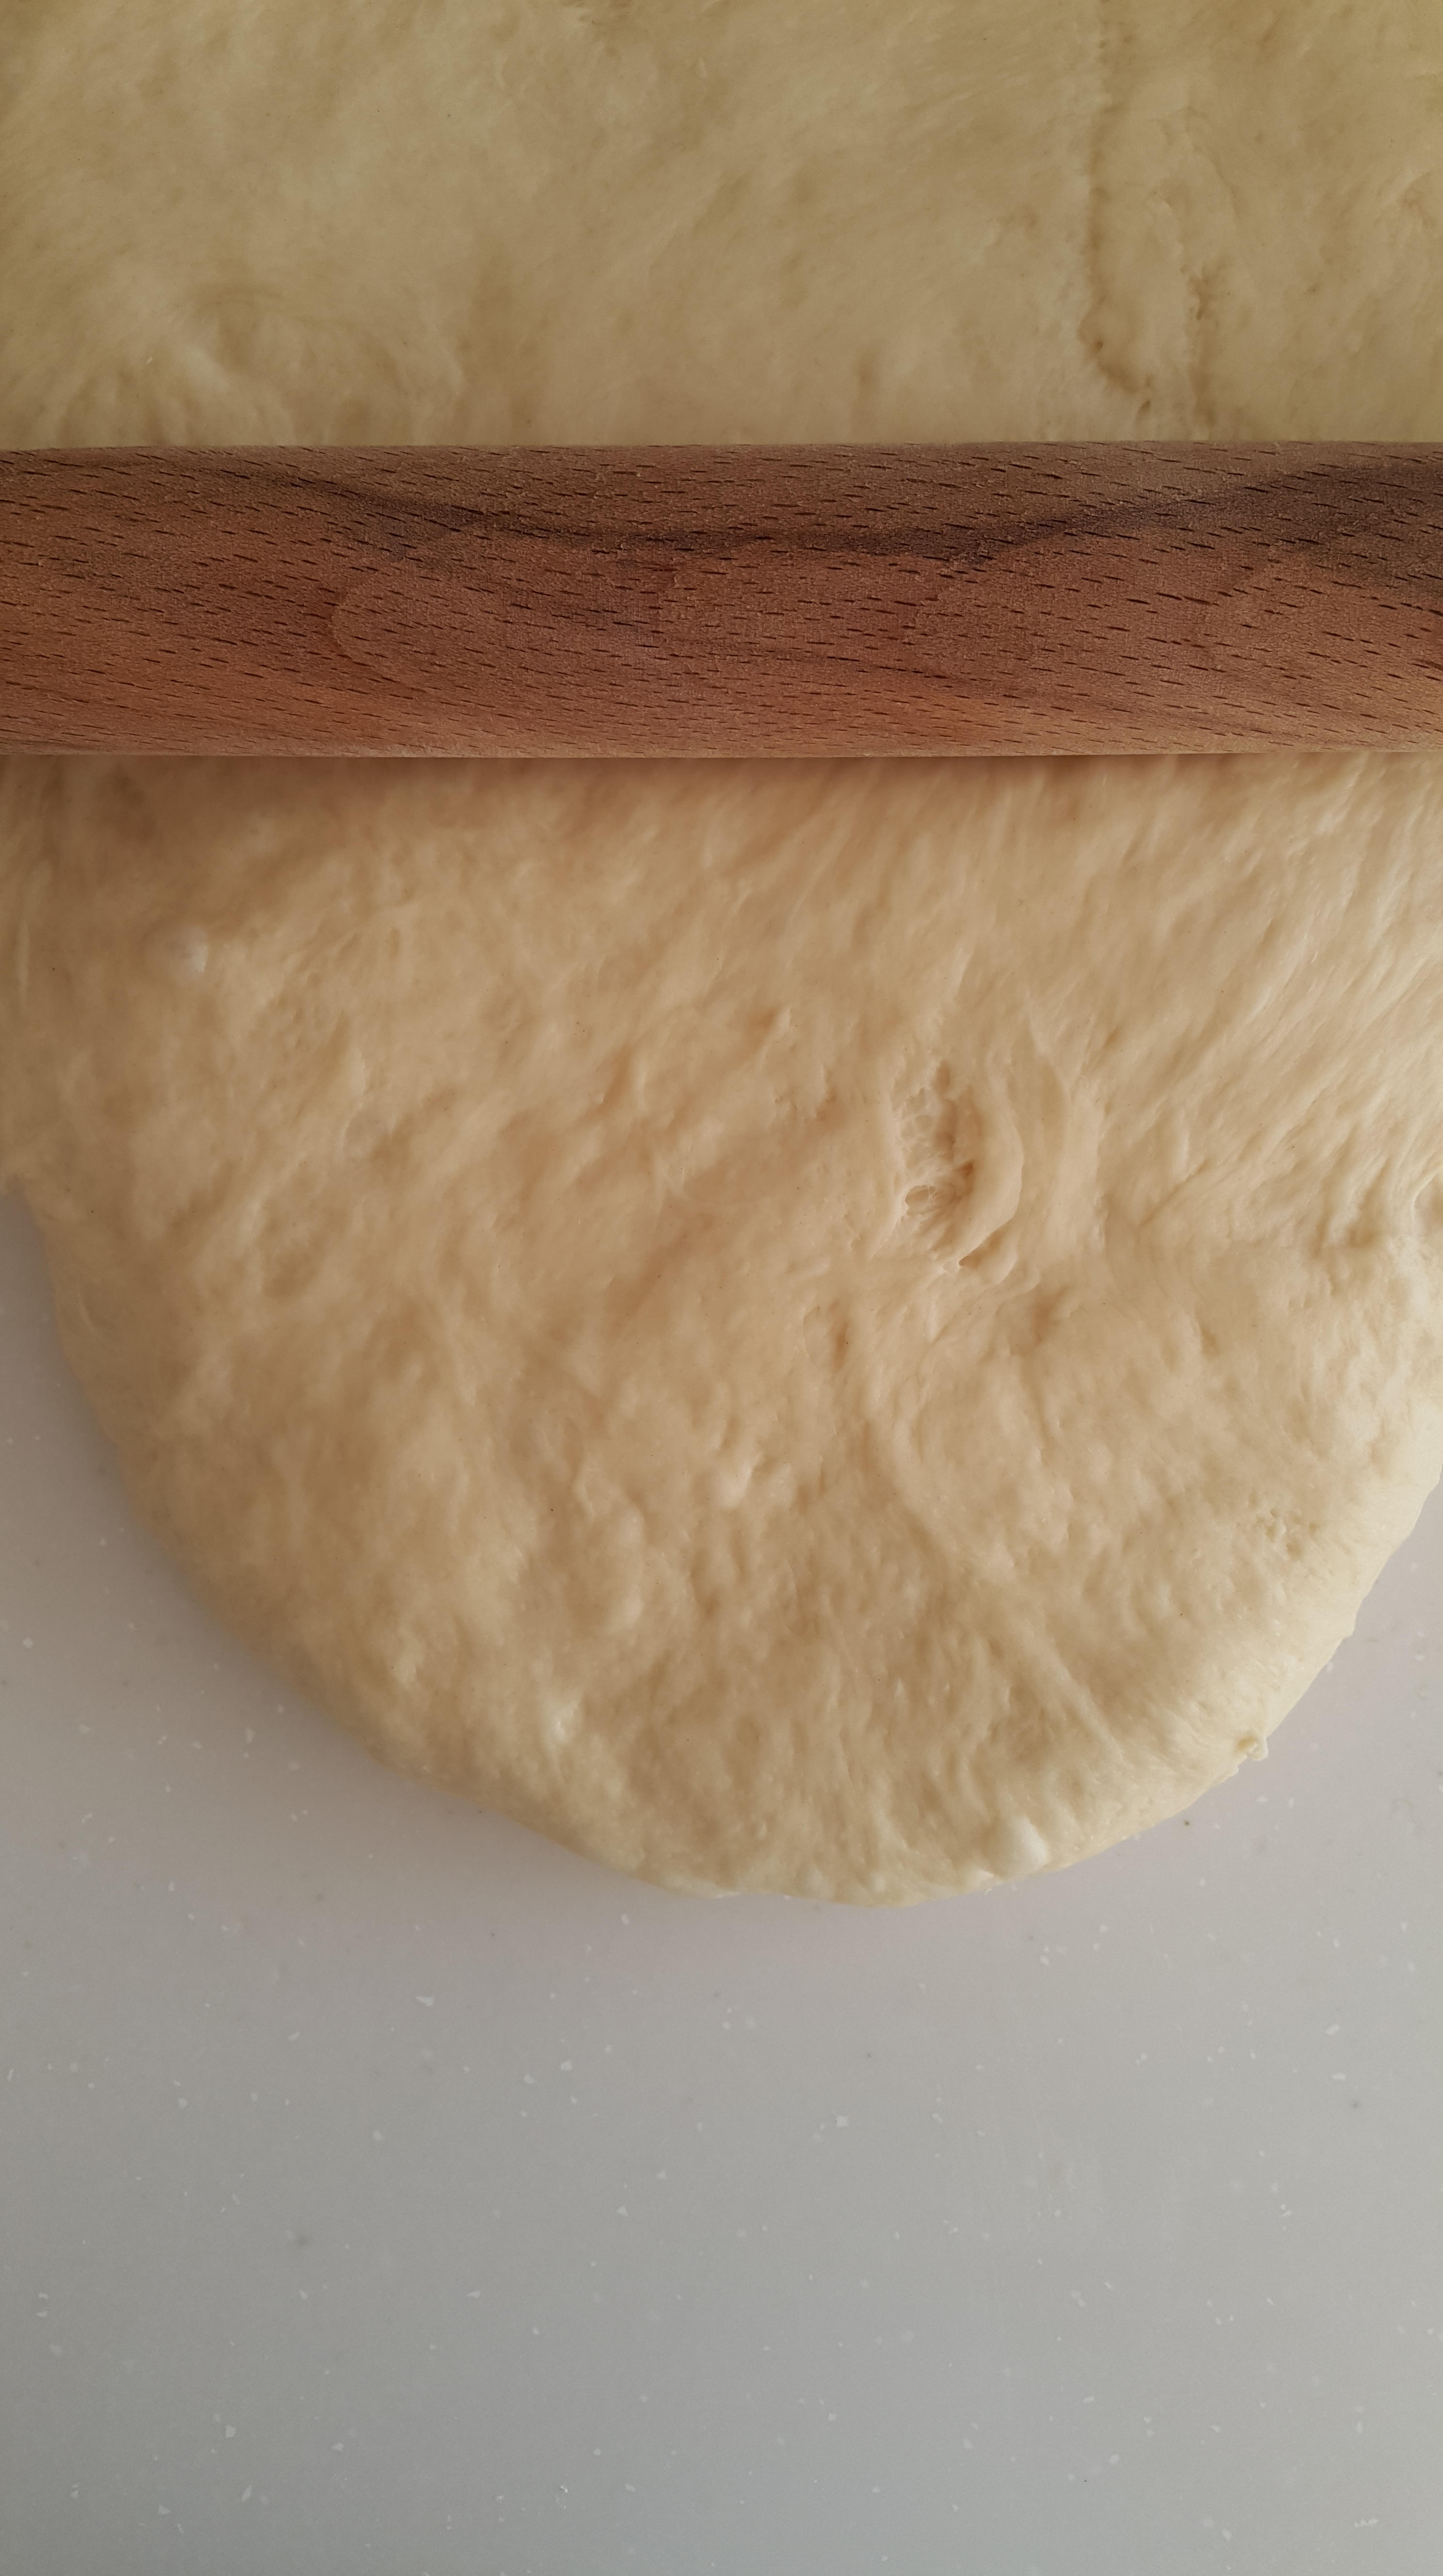
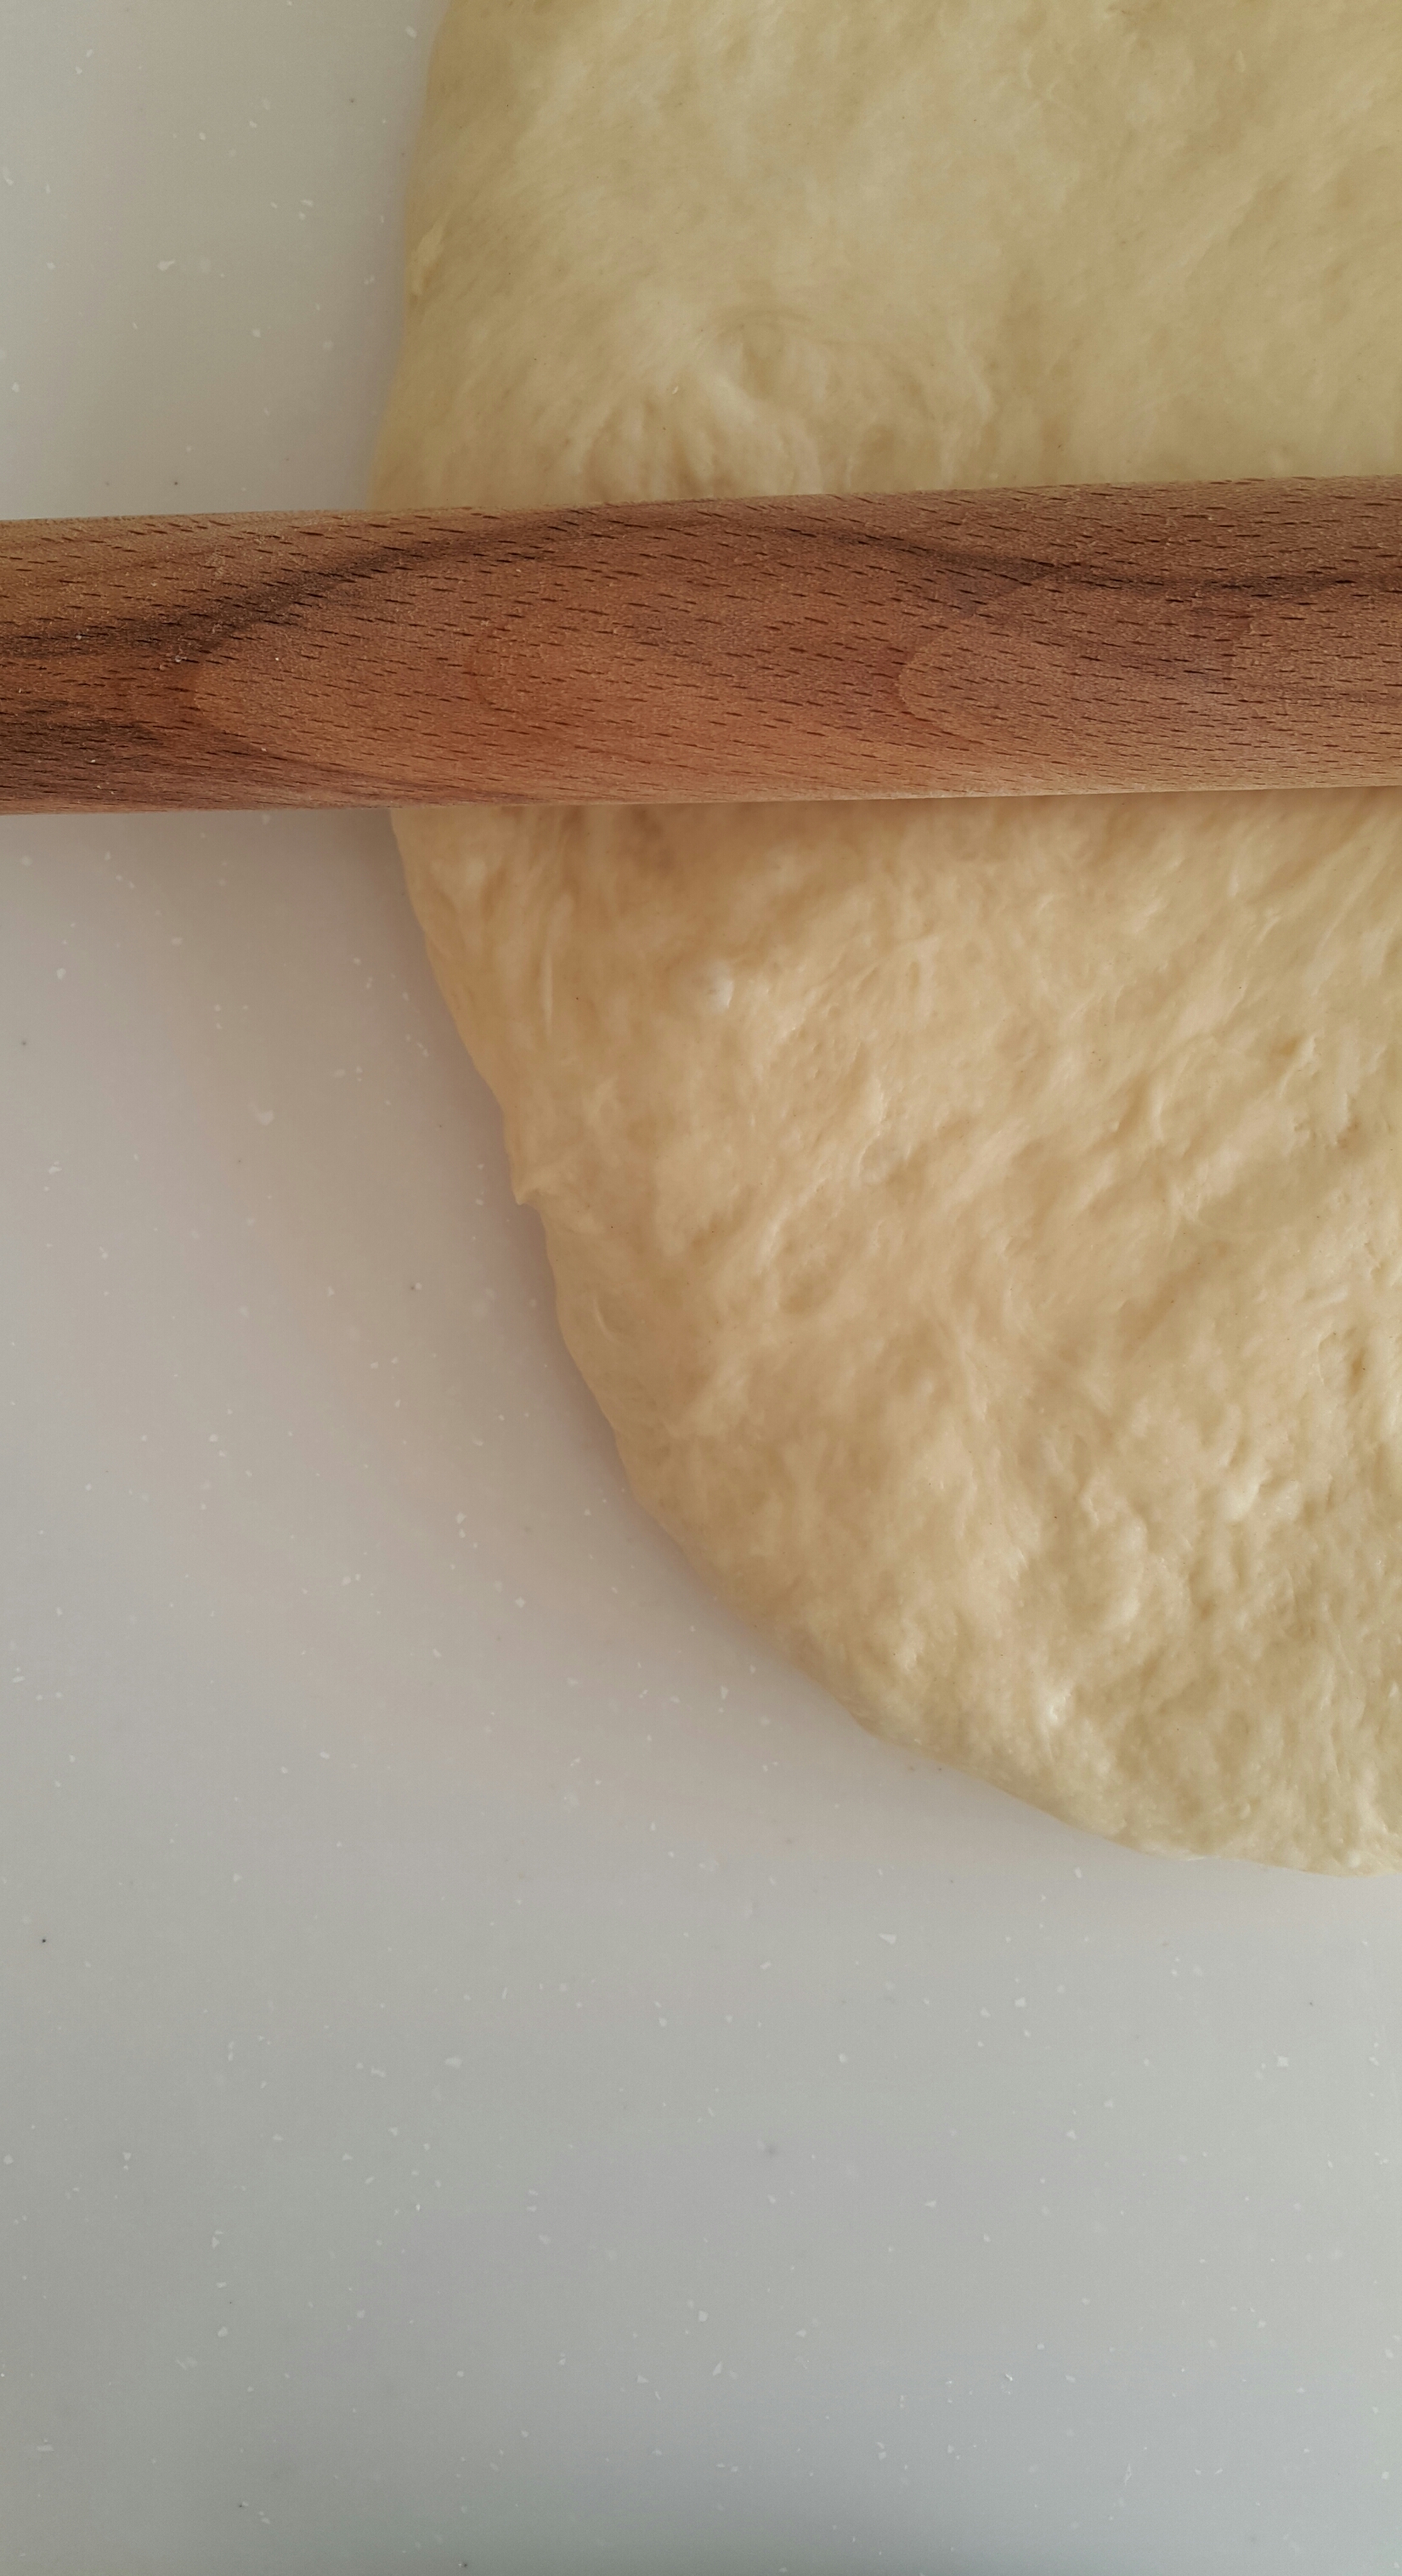
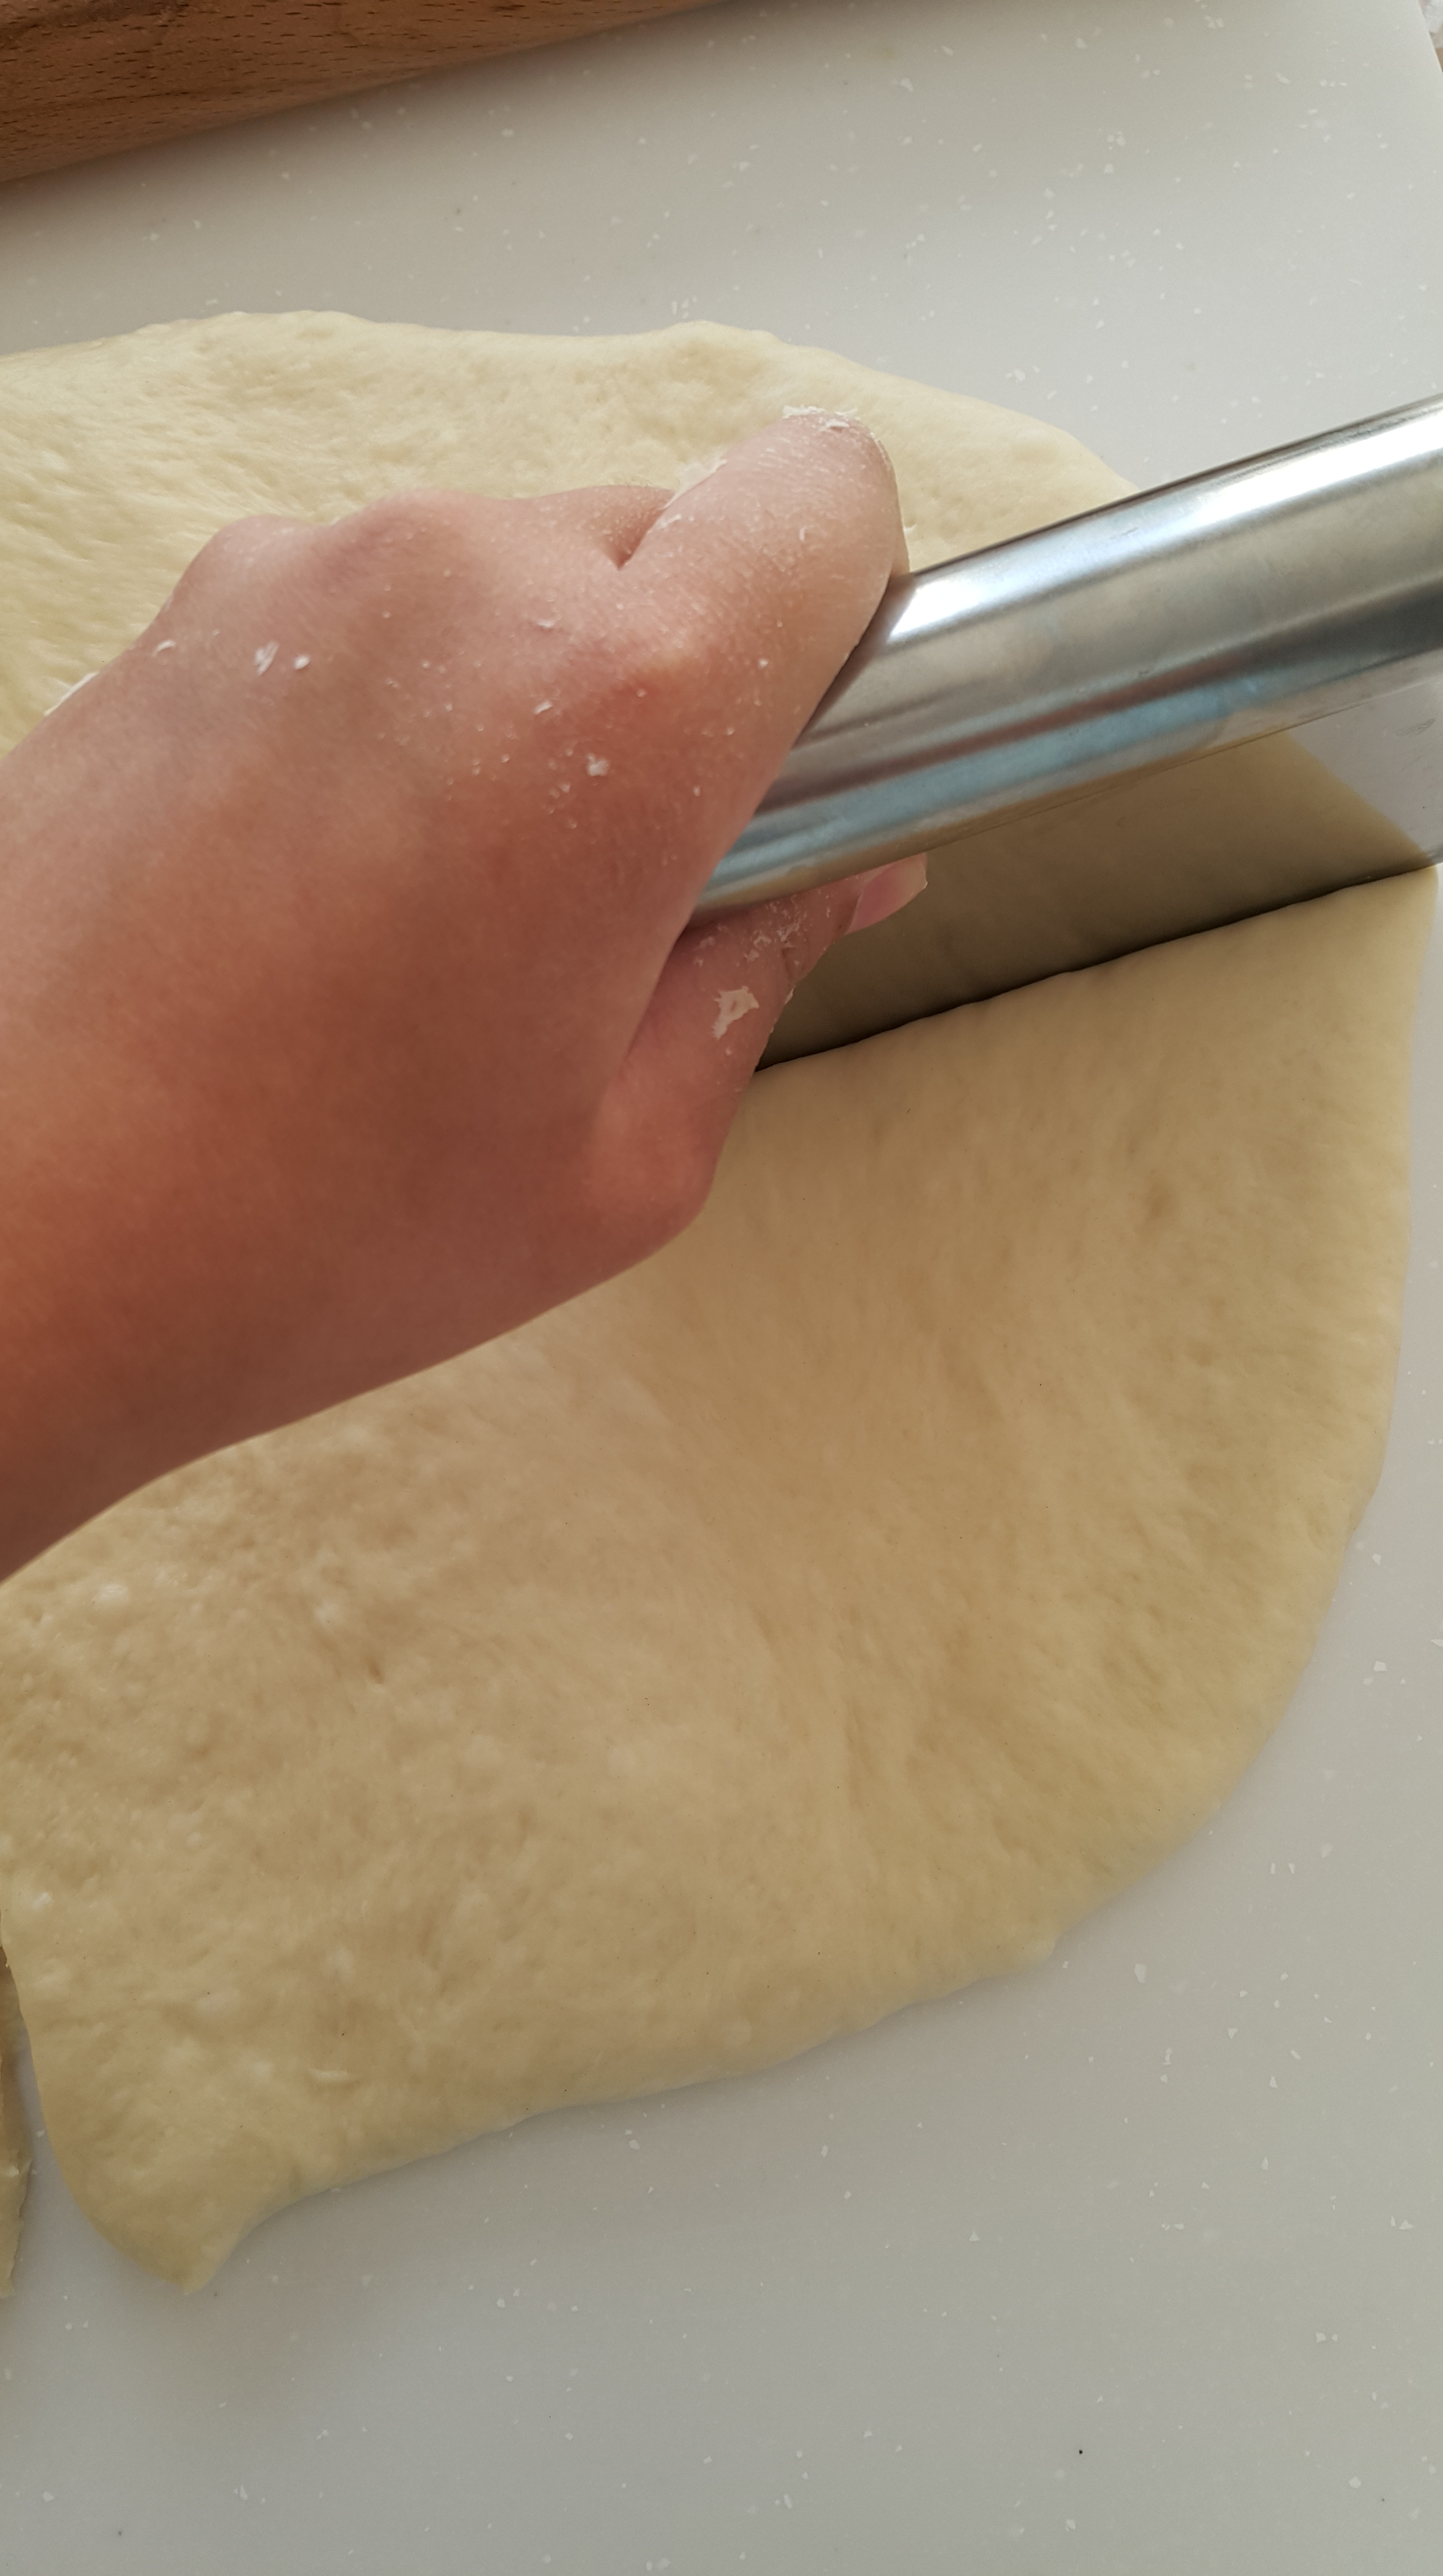
That’s more like it. Now roll it into a rectangle. It doesn’t have to be perfect.

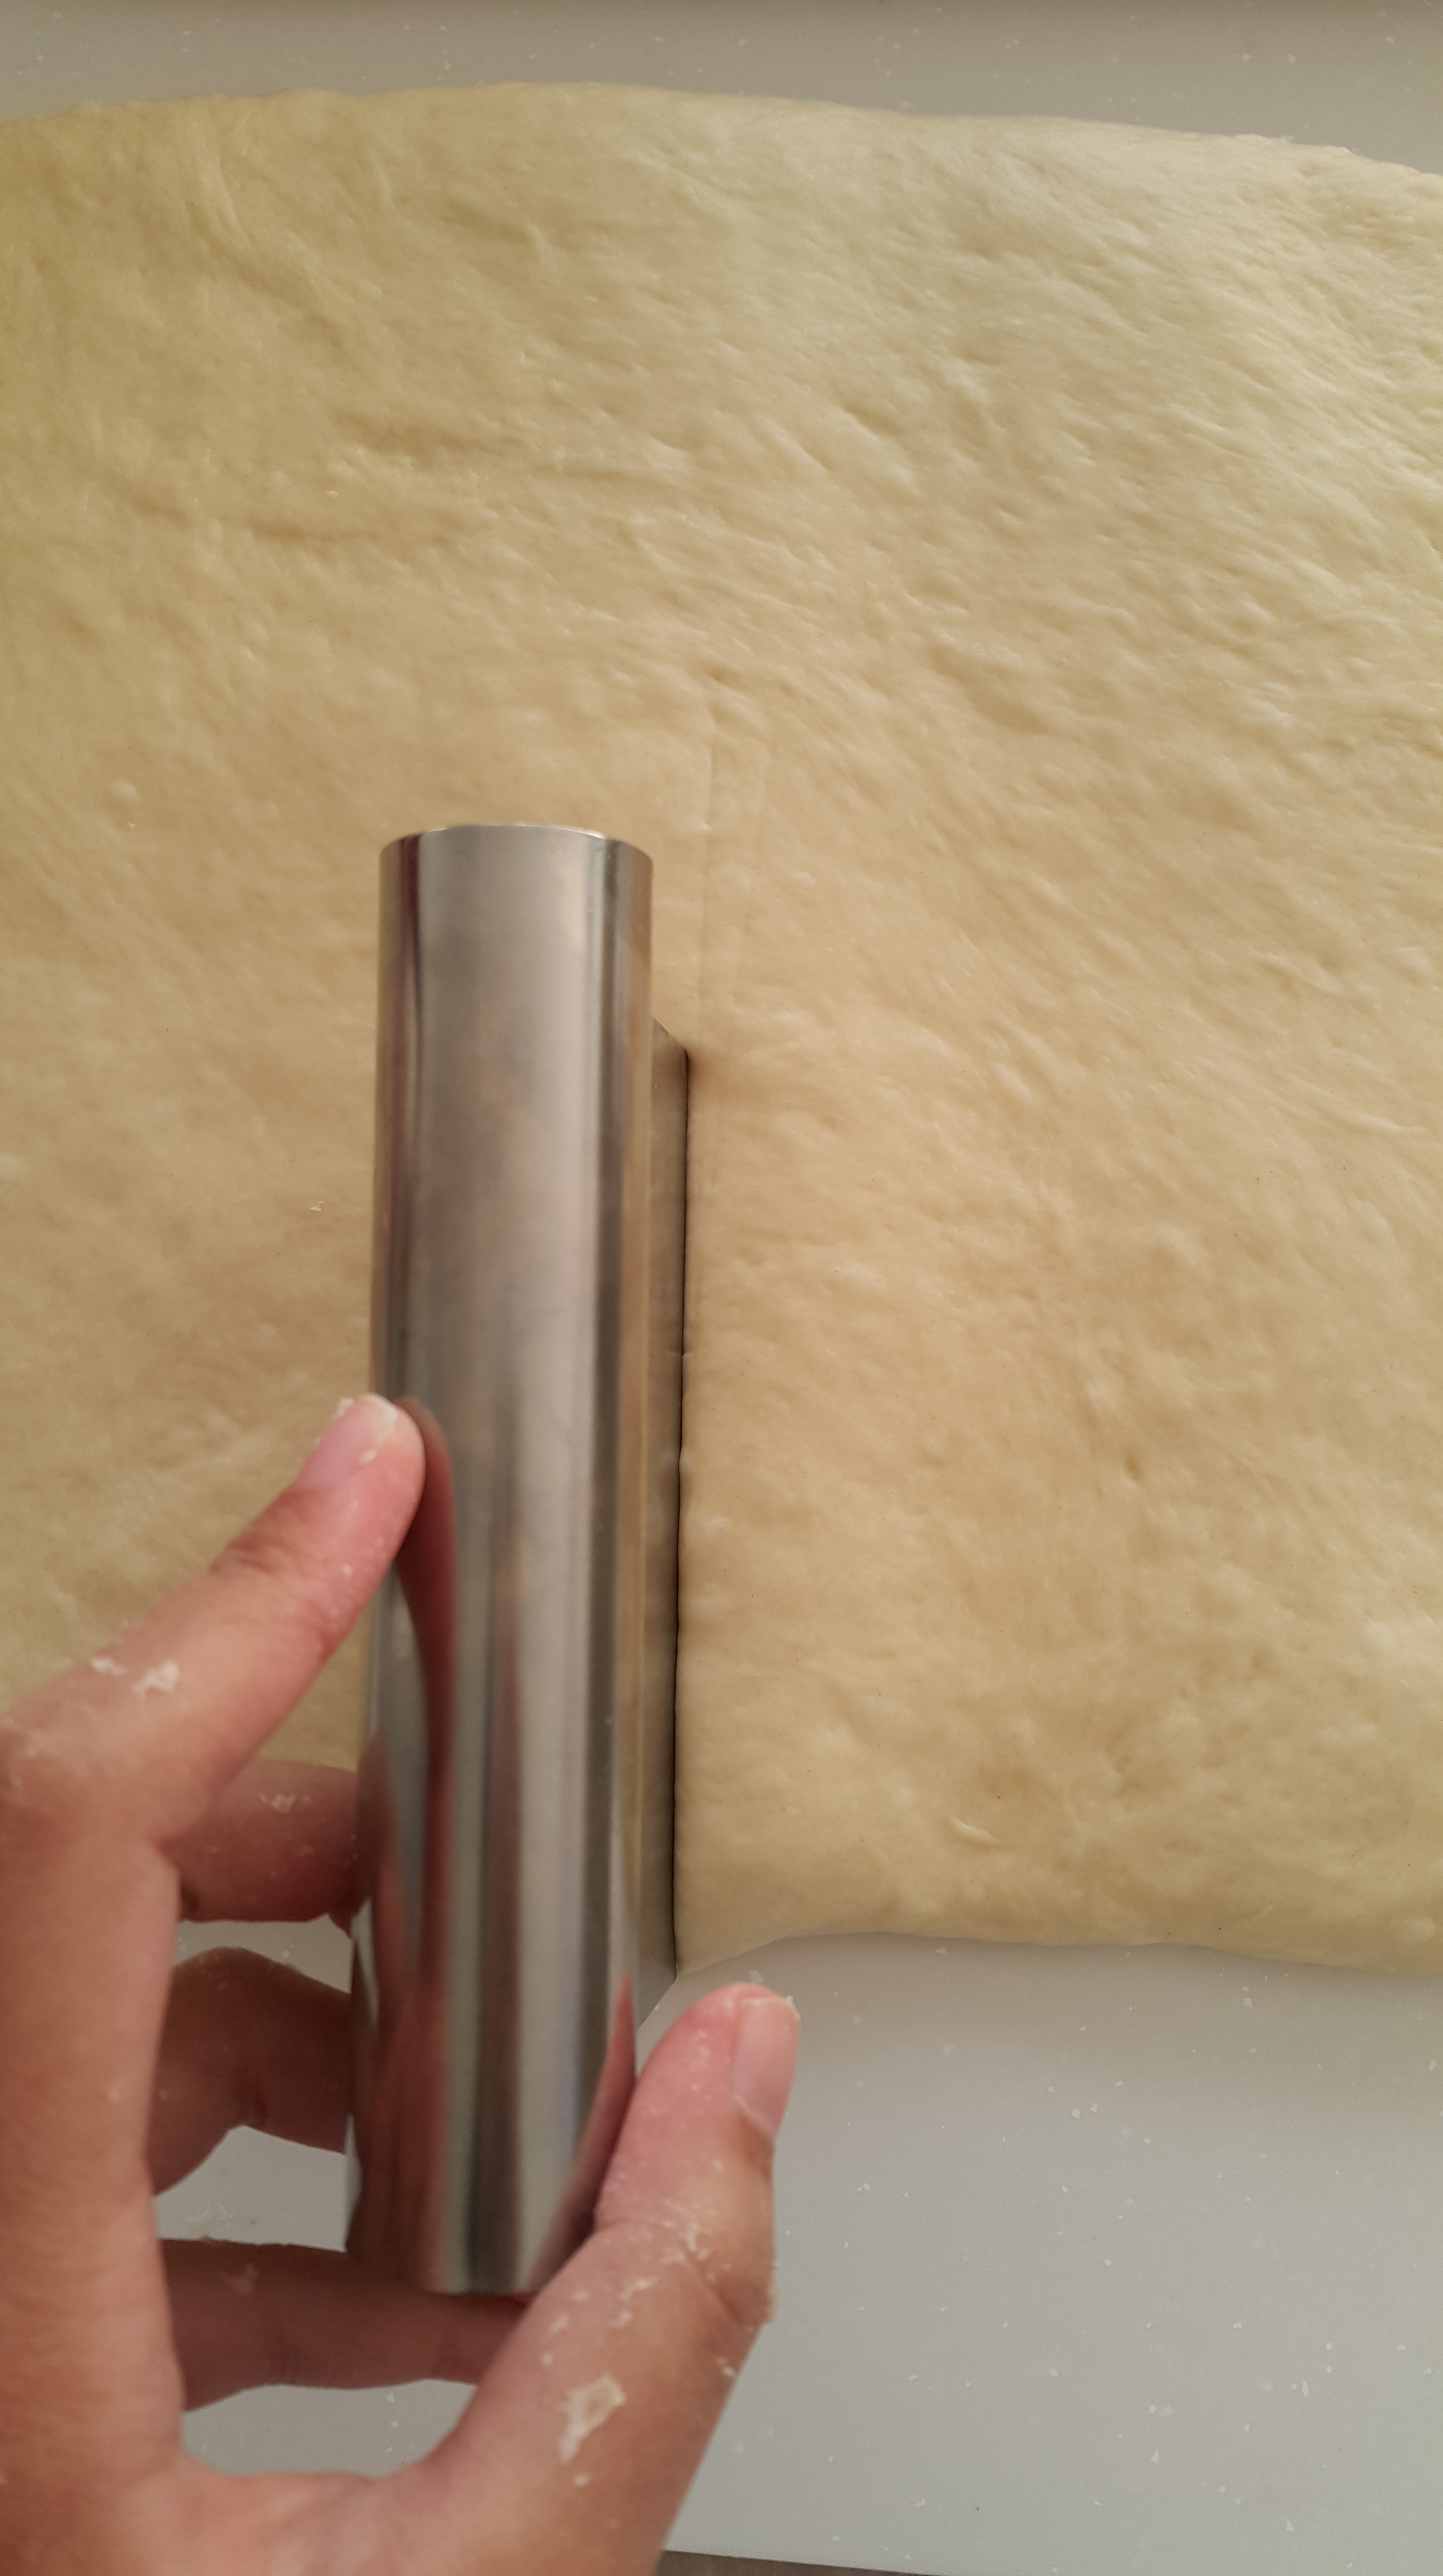
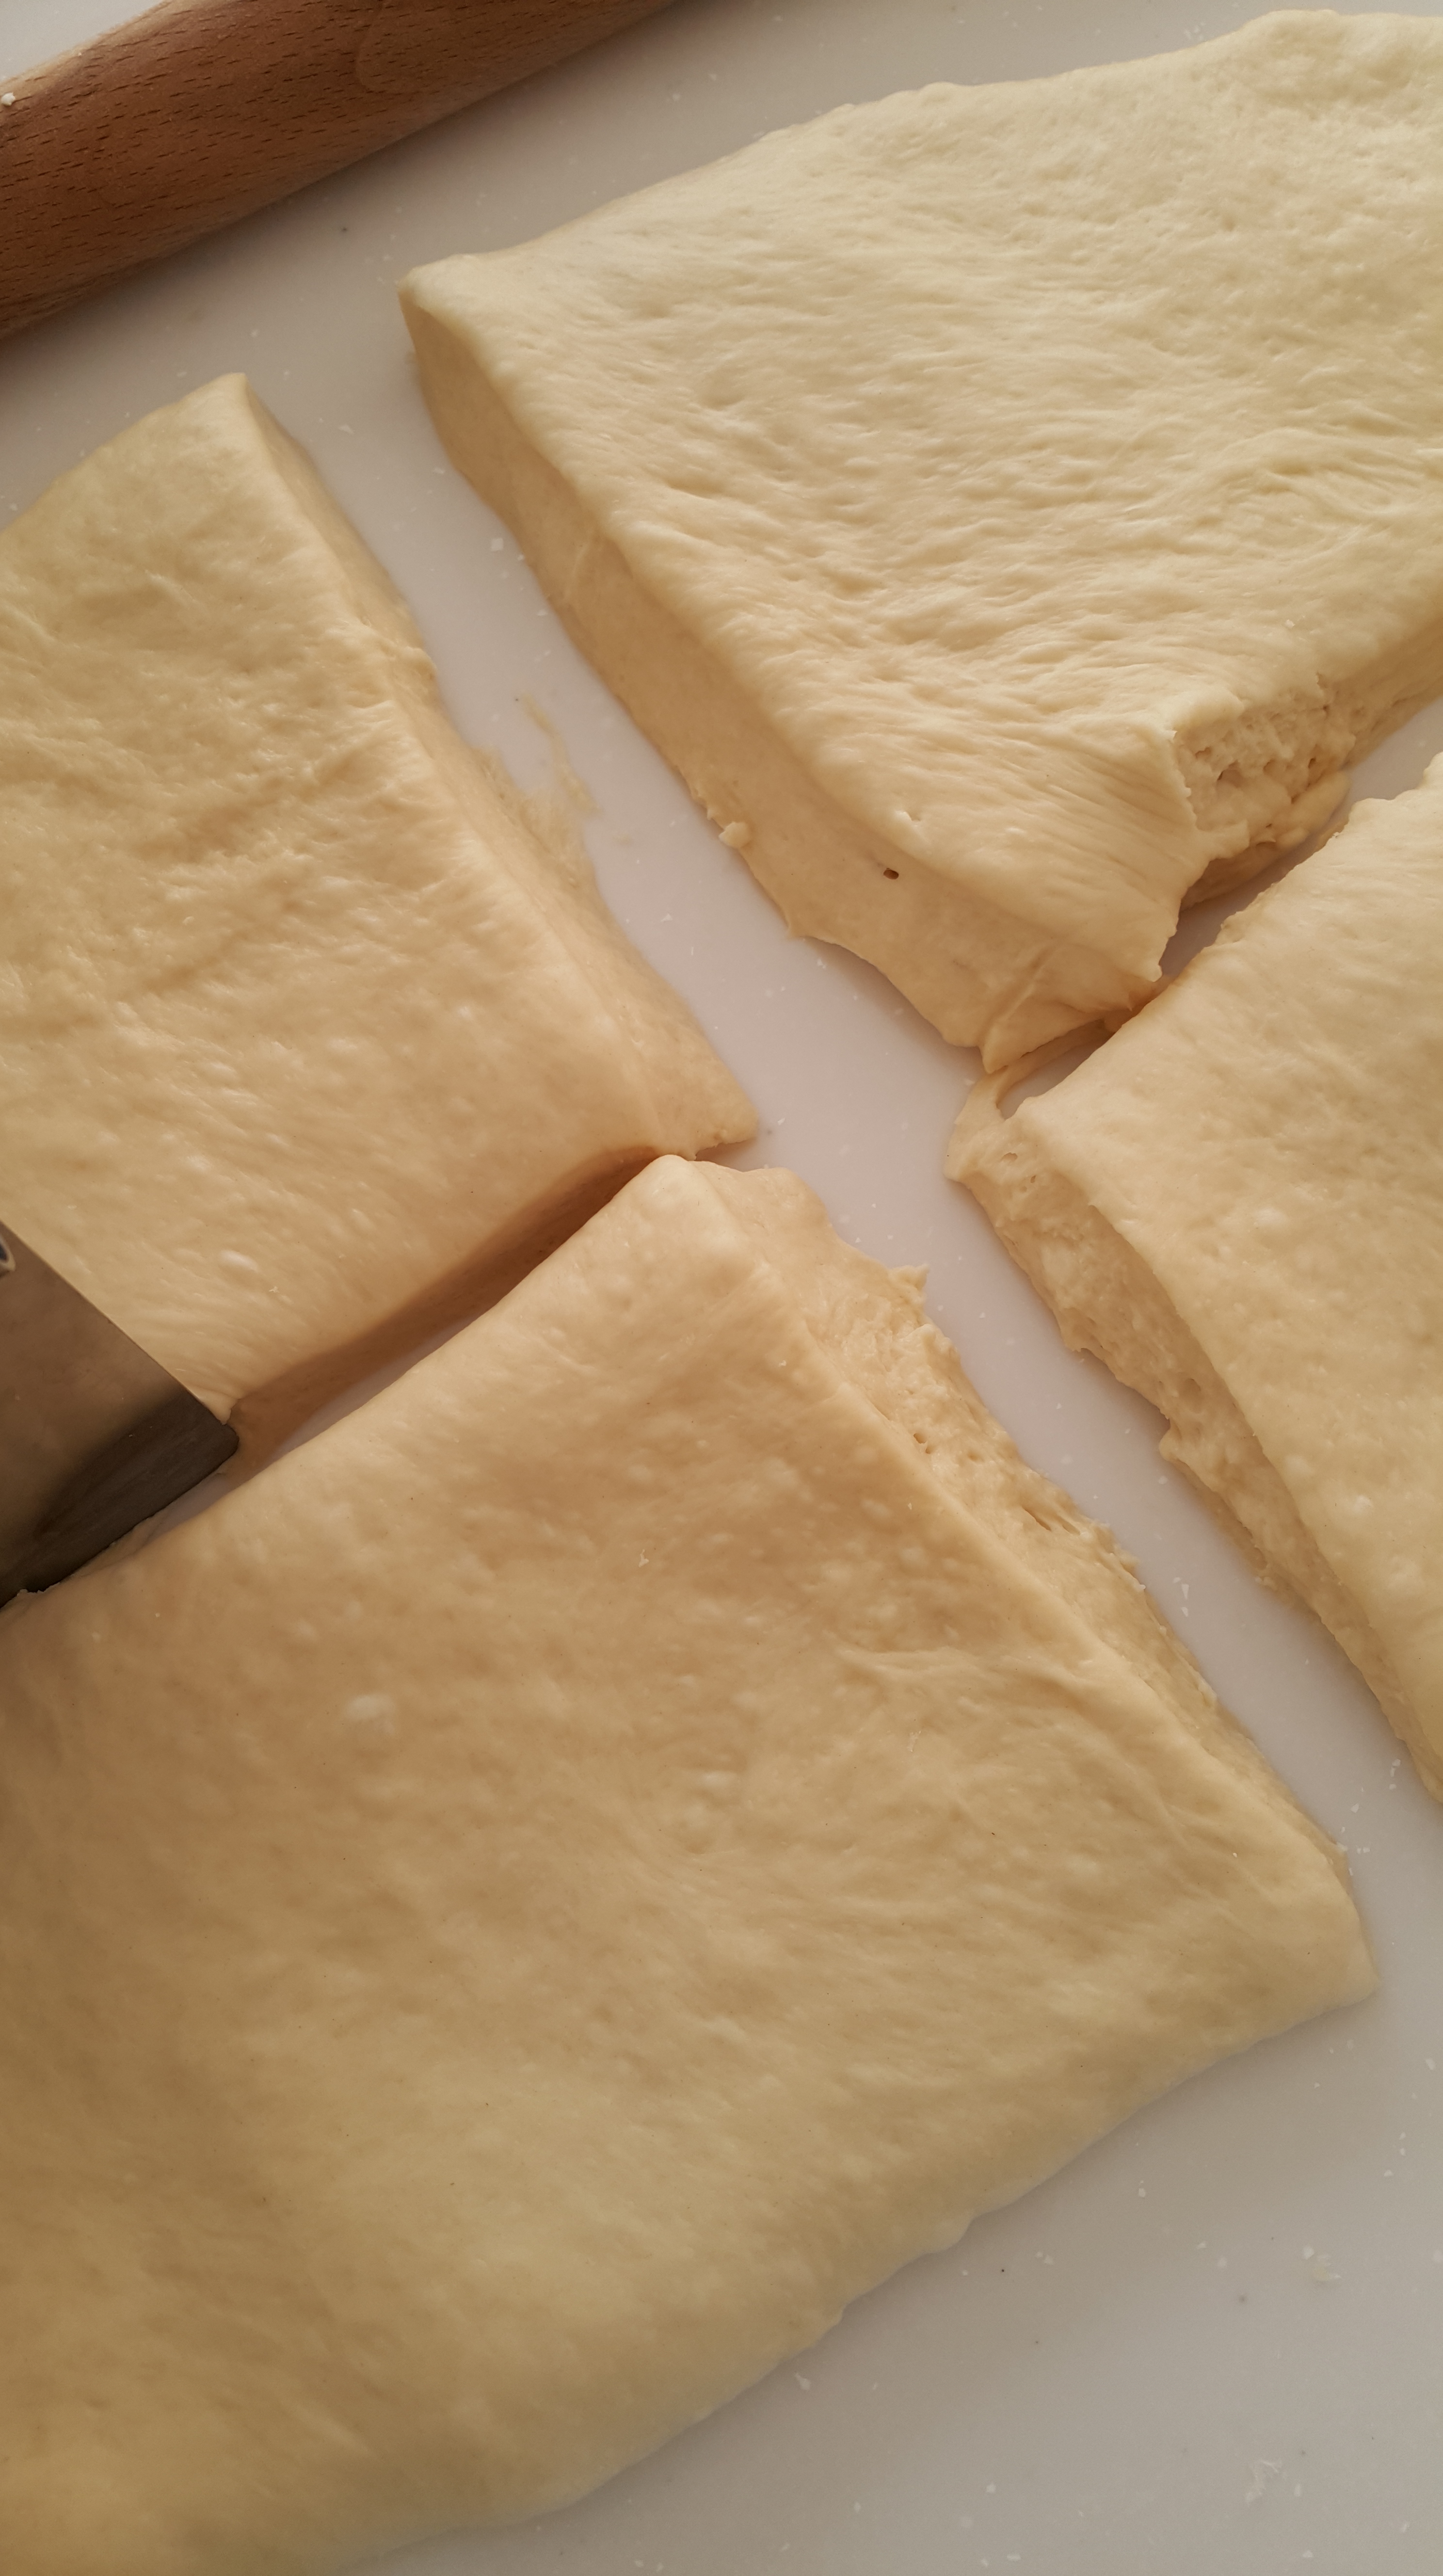
I wanted fairly large rolls, so I made 8 buns out of this batch. You can do it any way you like, but I’m going to show how I shaped the rolls. This is how I split the dough into 8. You can weigh the dough instead, but I didn’t do that as I didn’t want too much fuss.
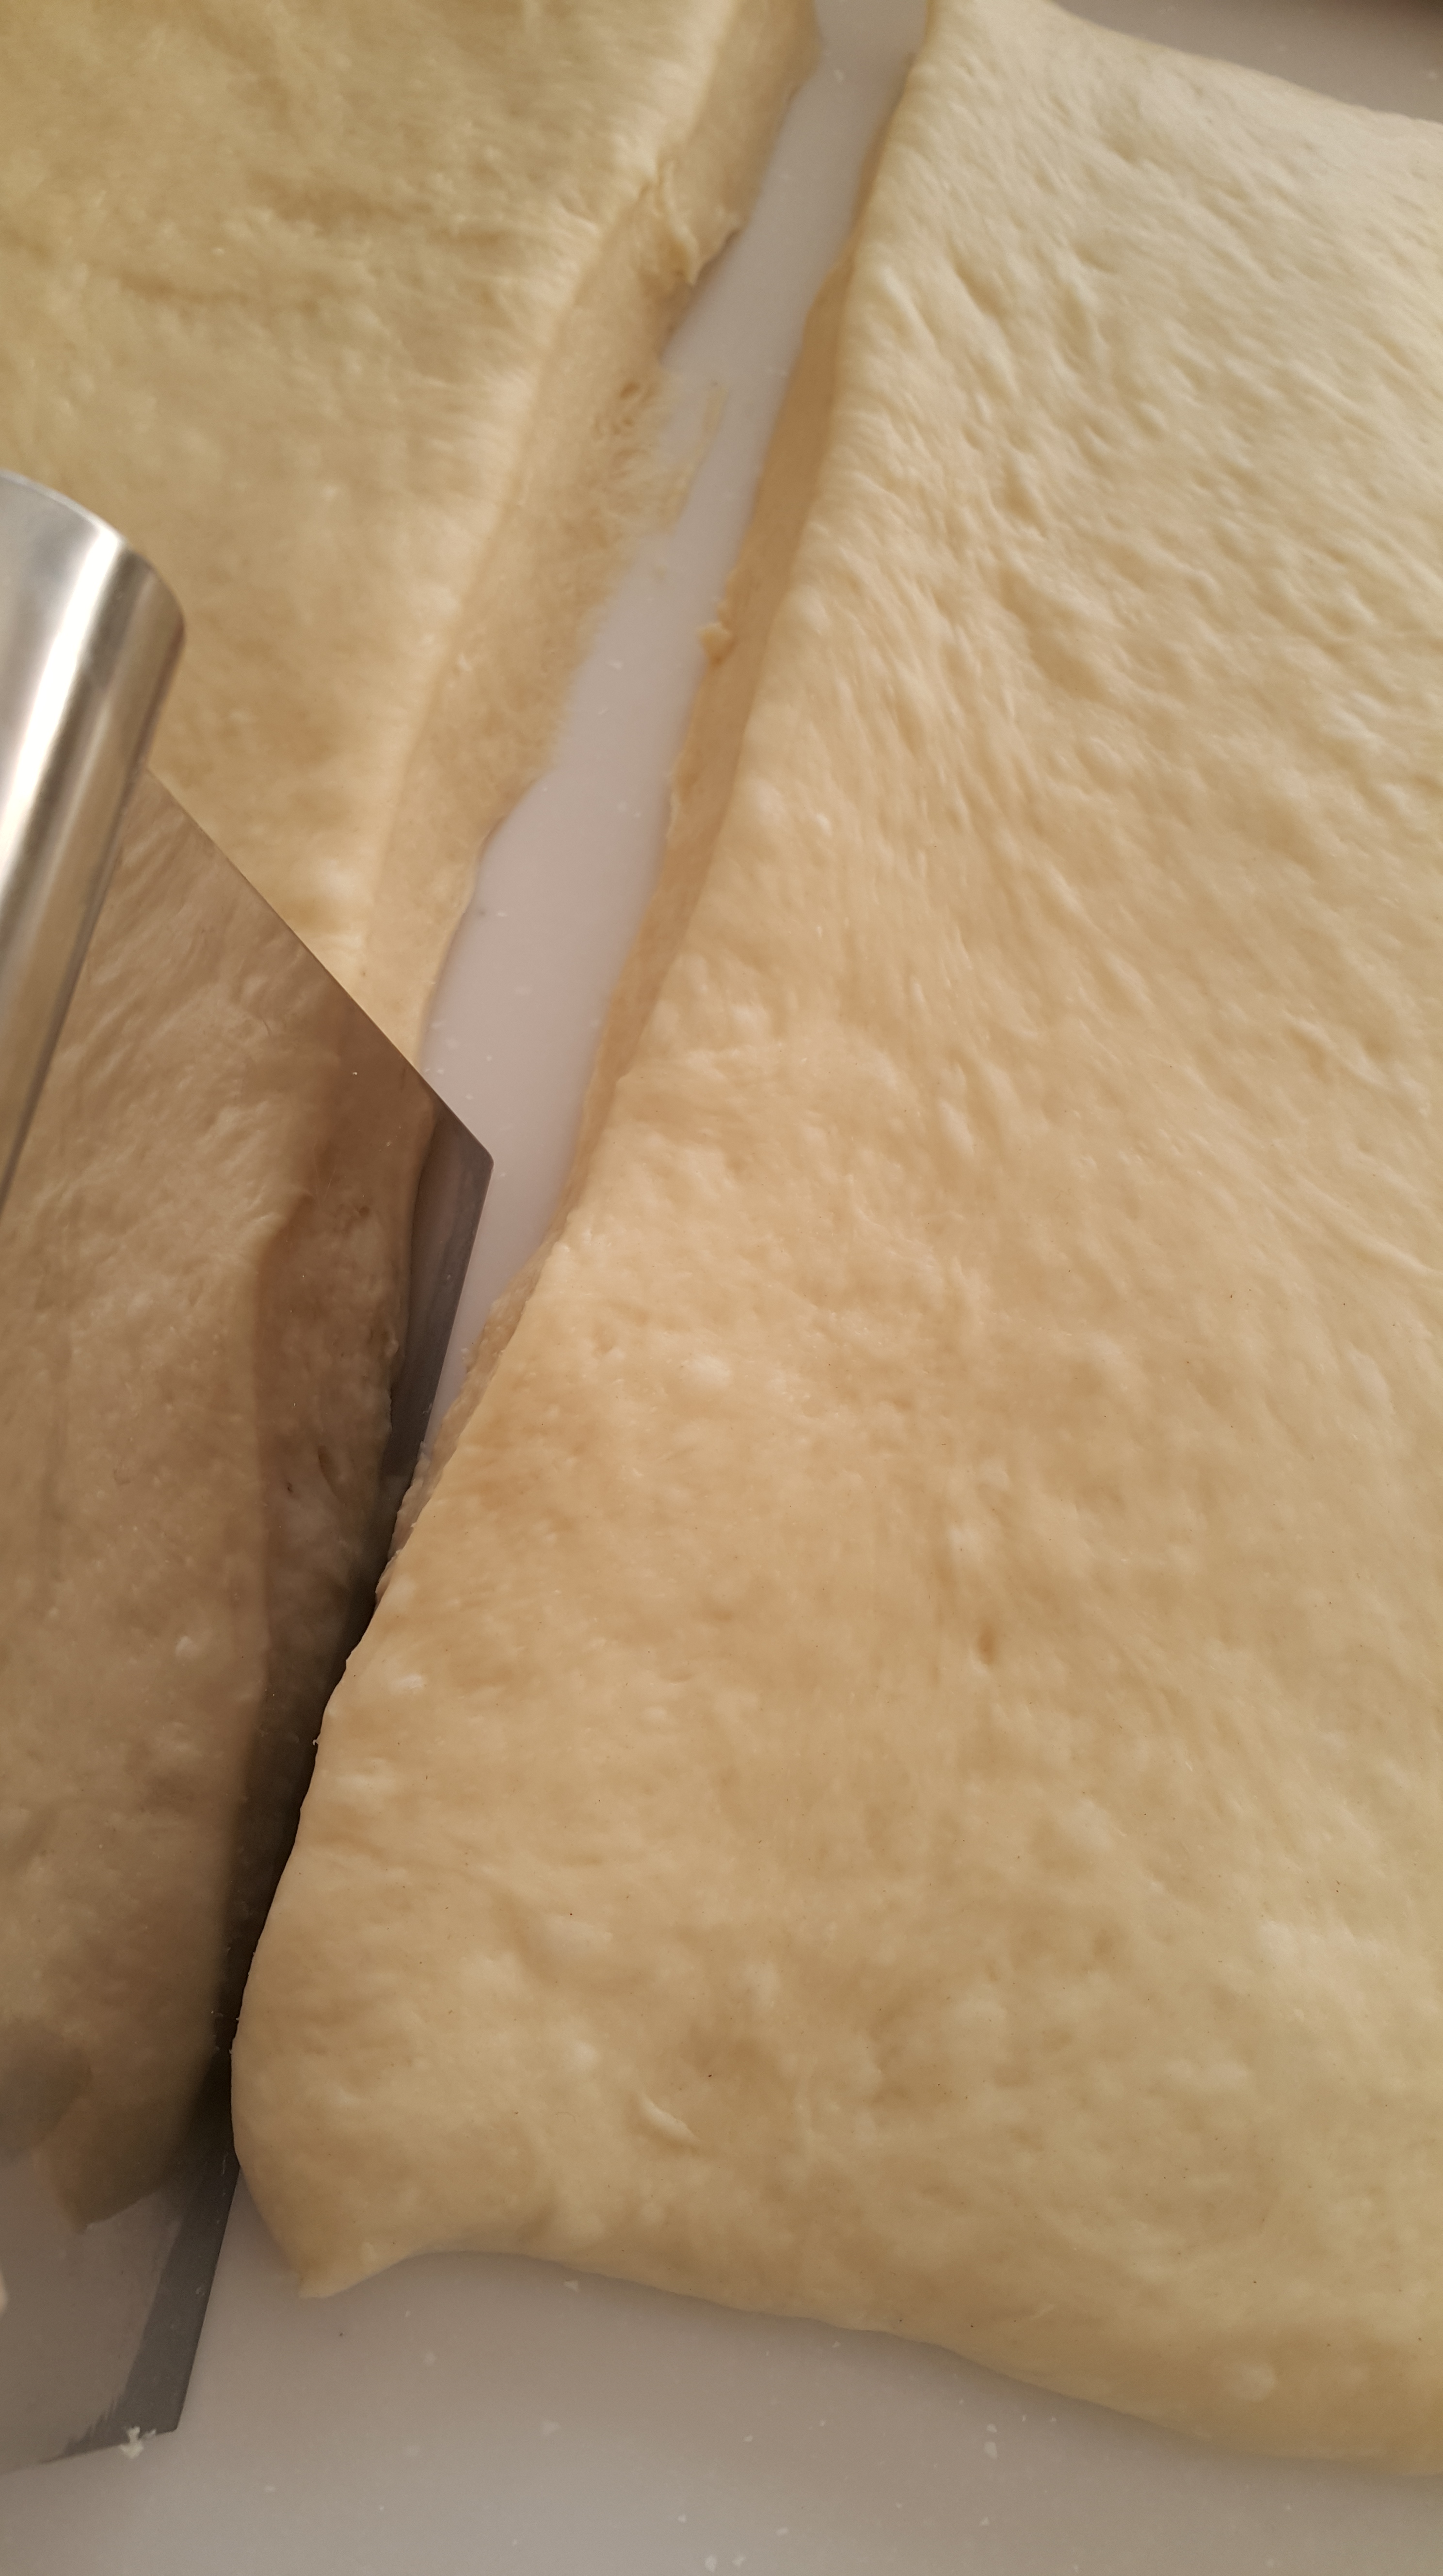
Cut the dough in half. A bench scraper is handy at this point, but any sharp tool will do fine.

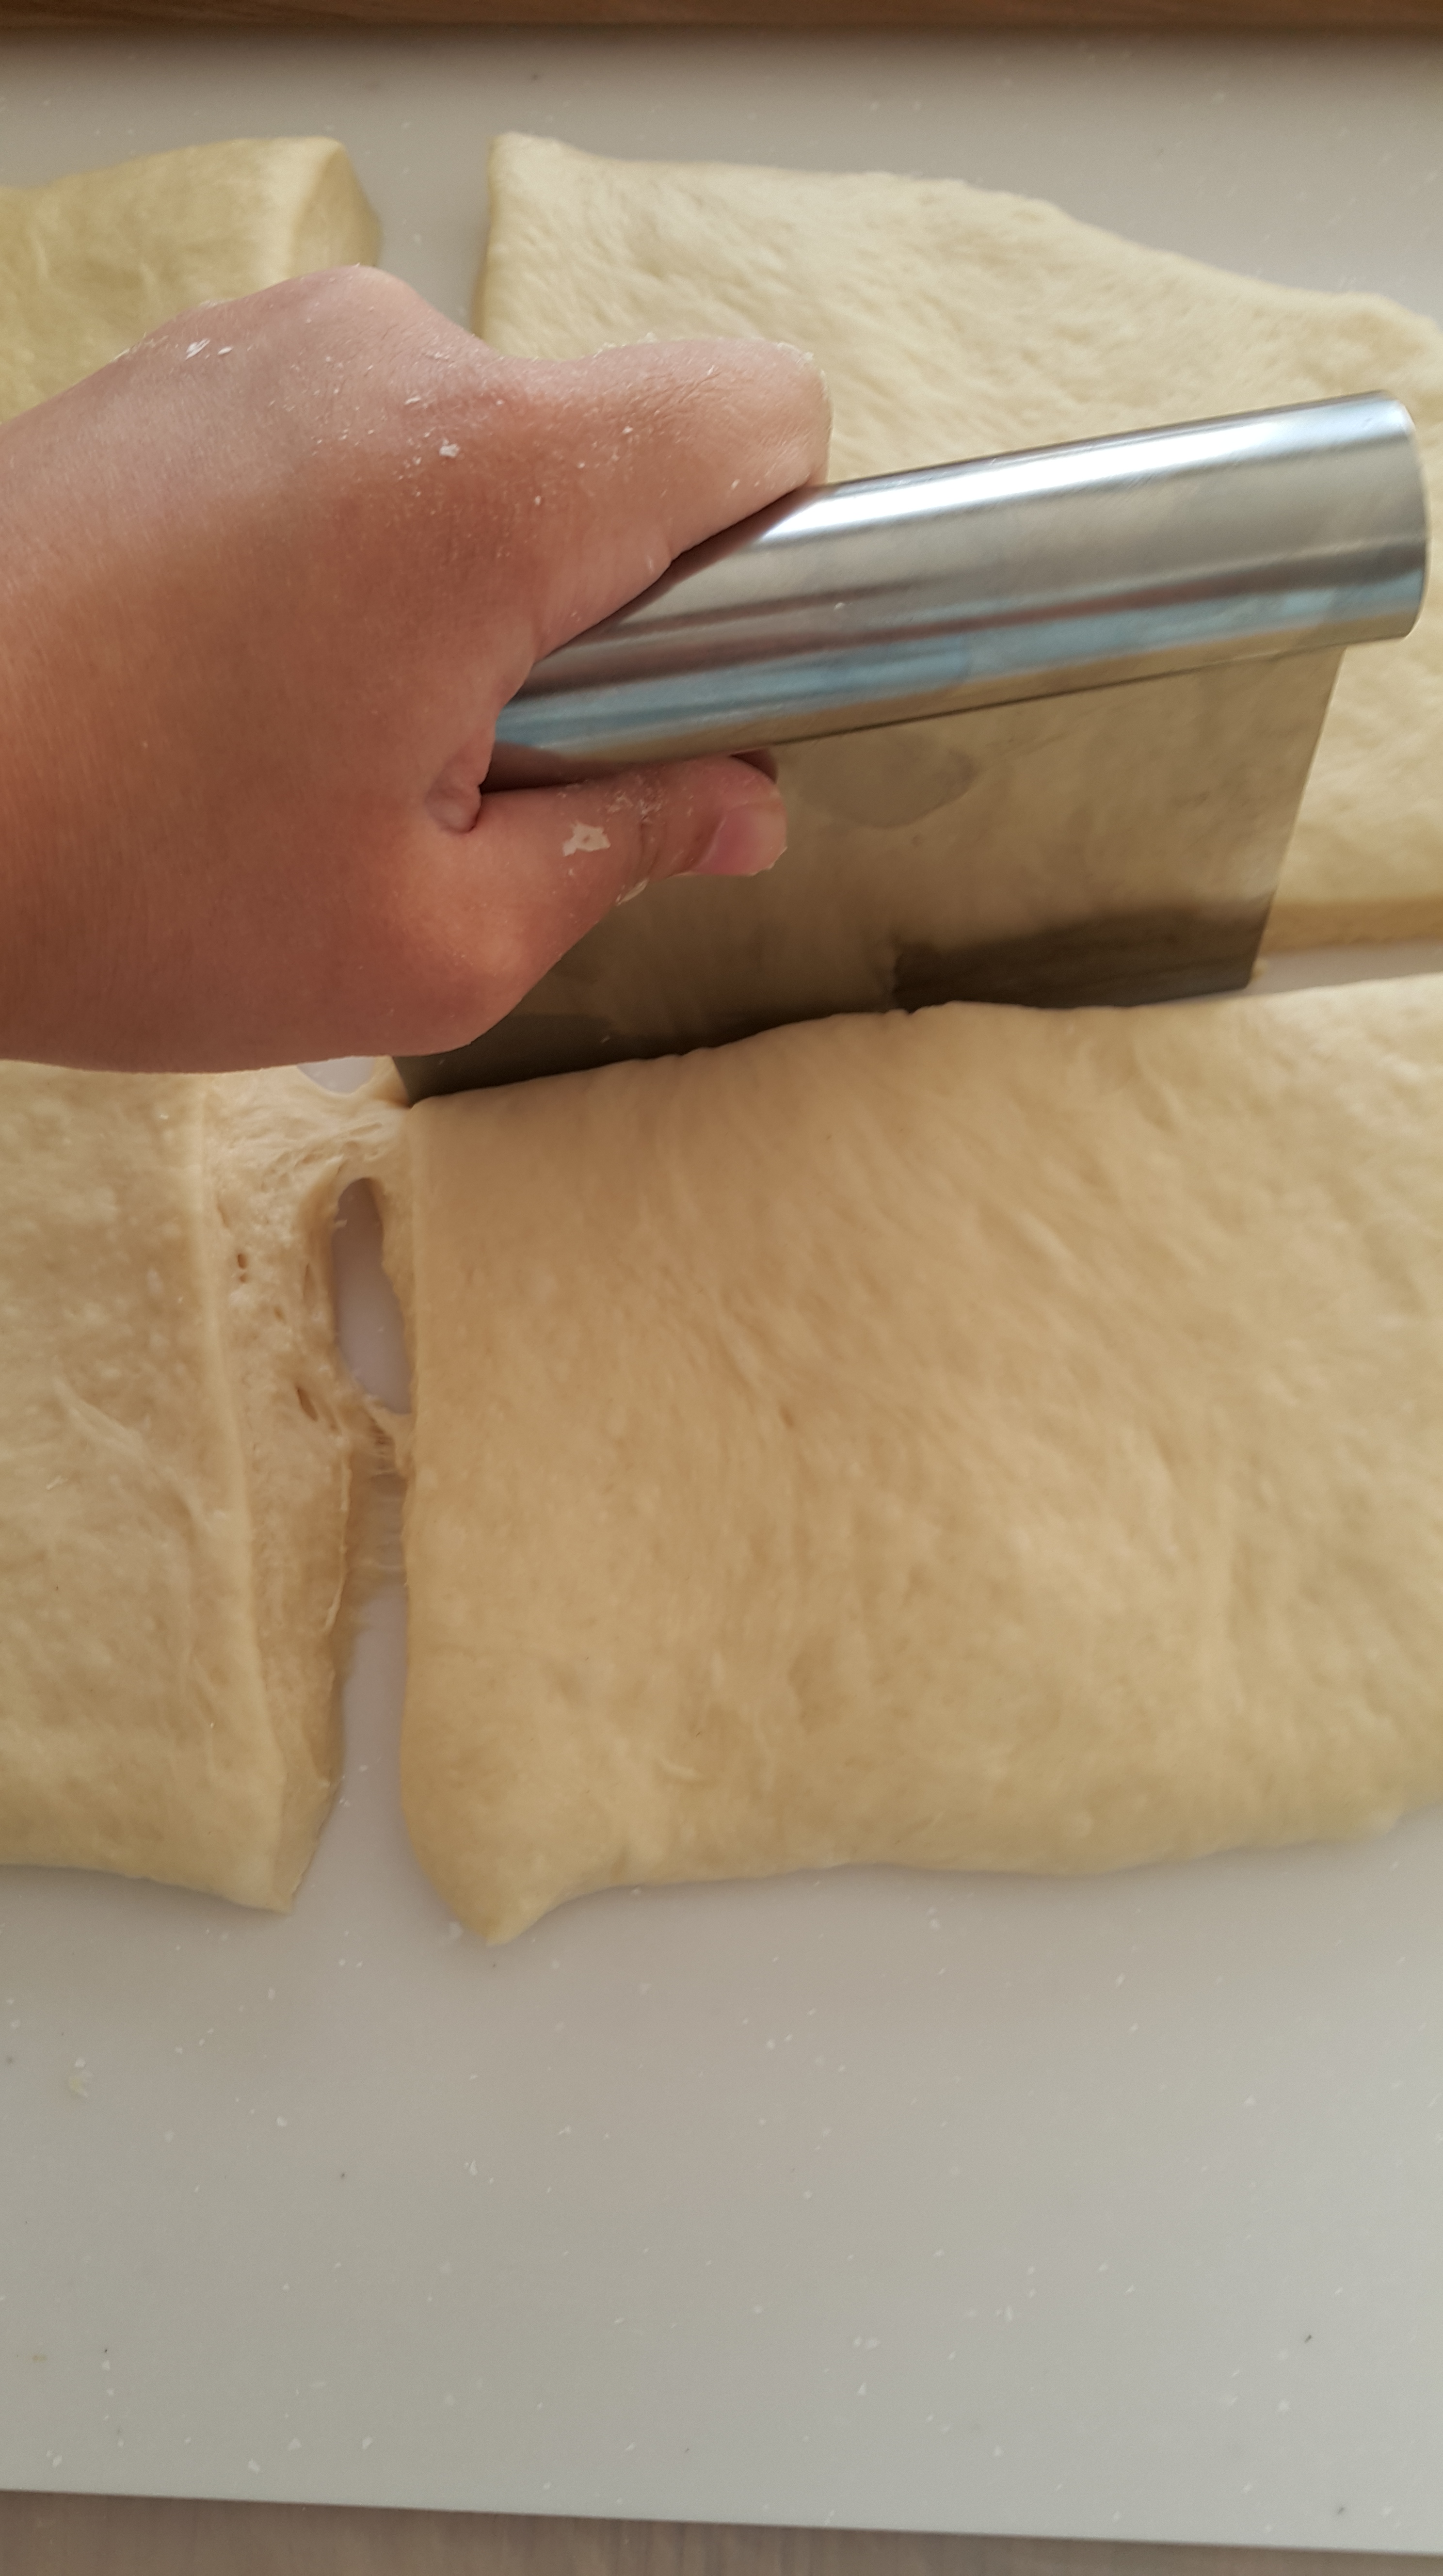
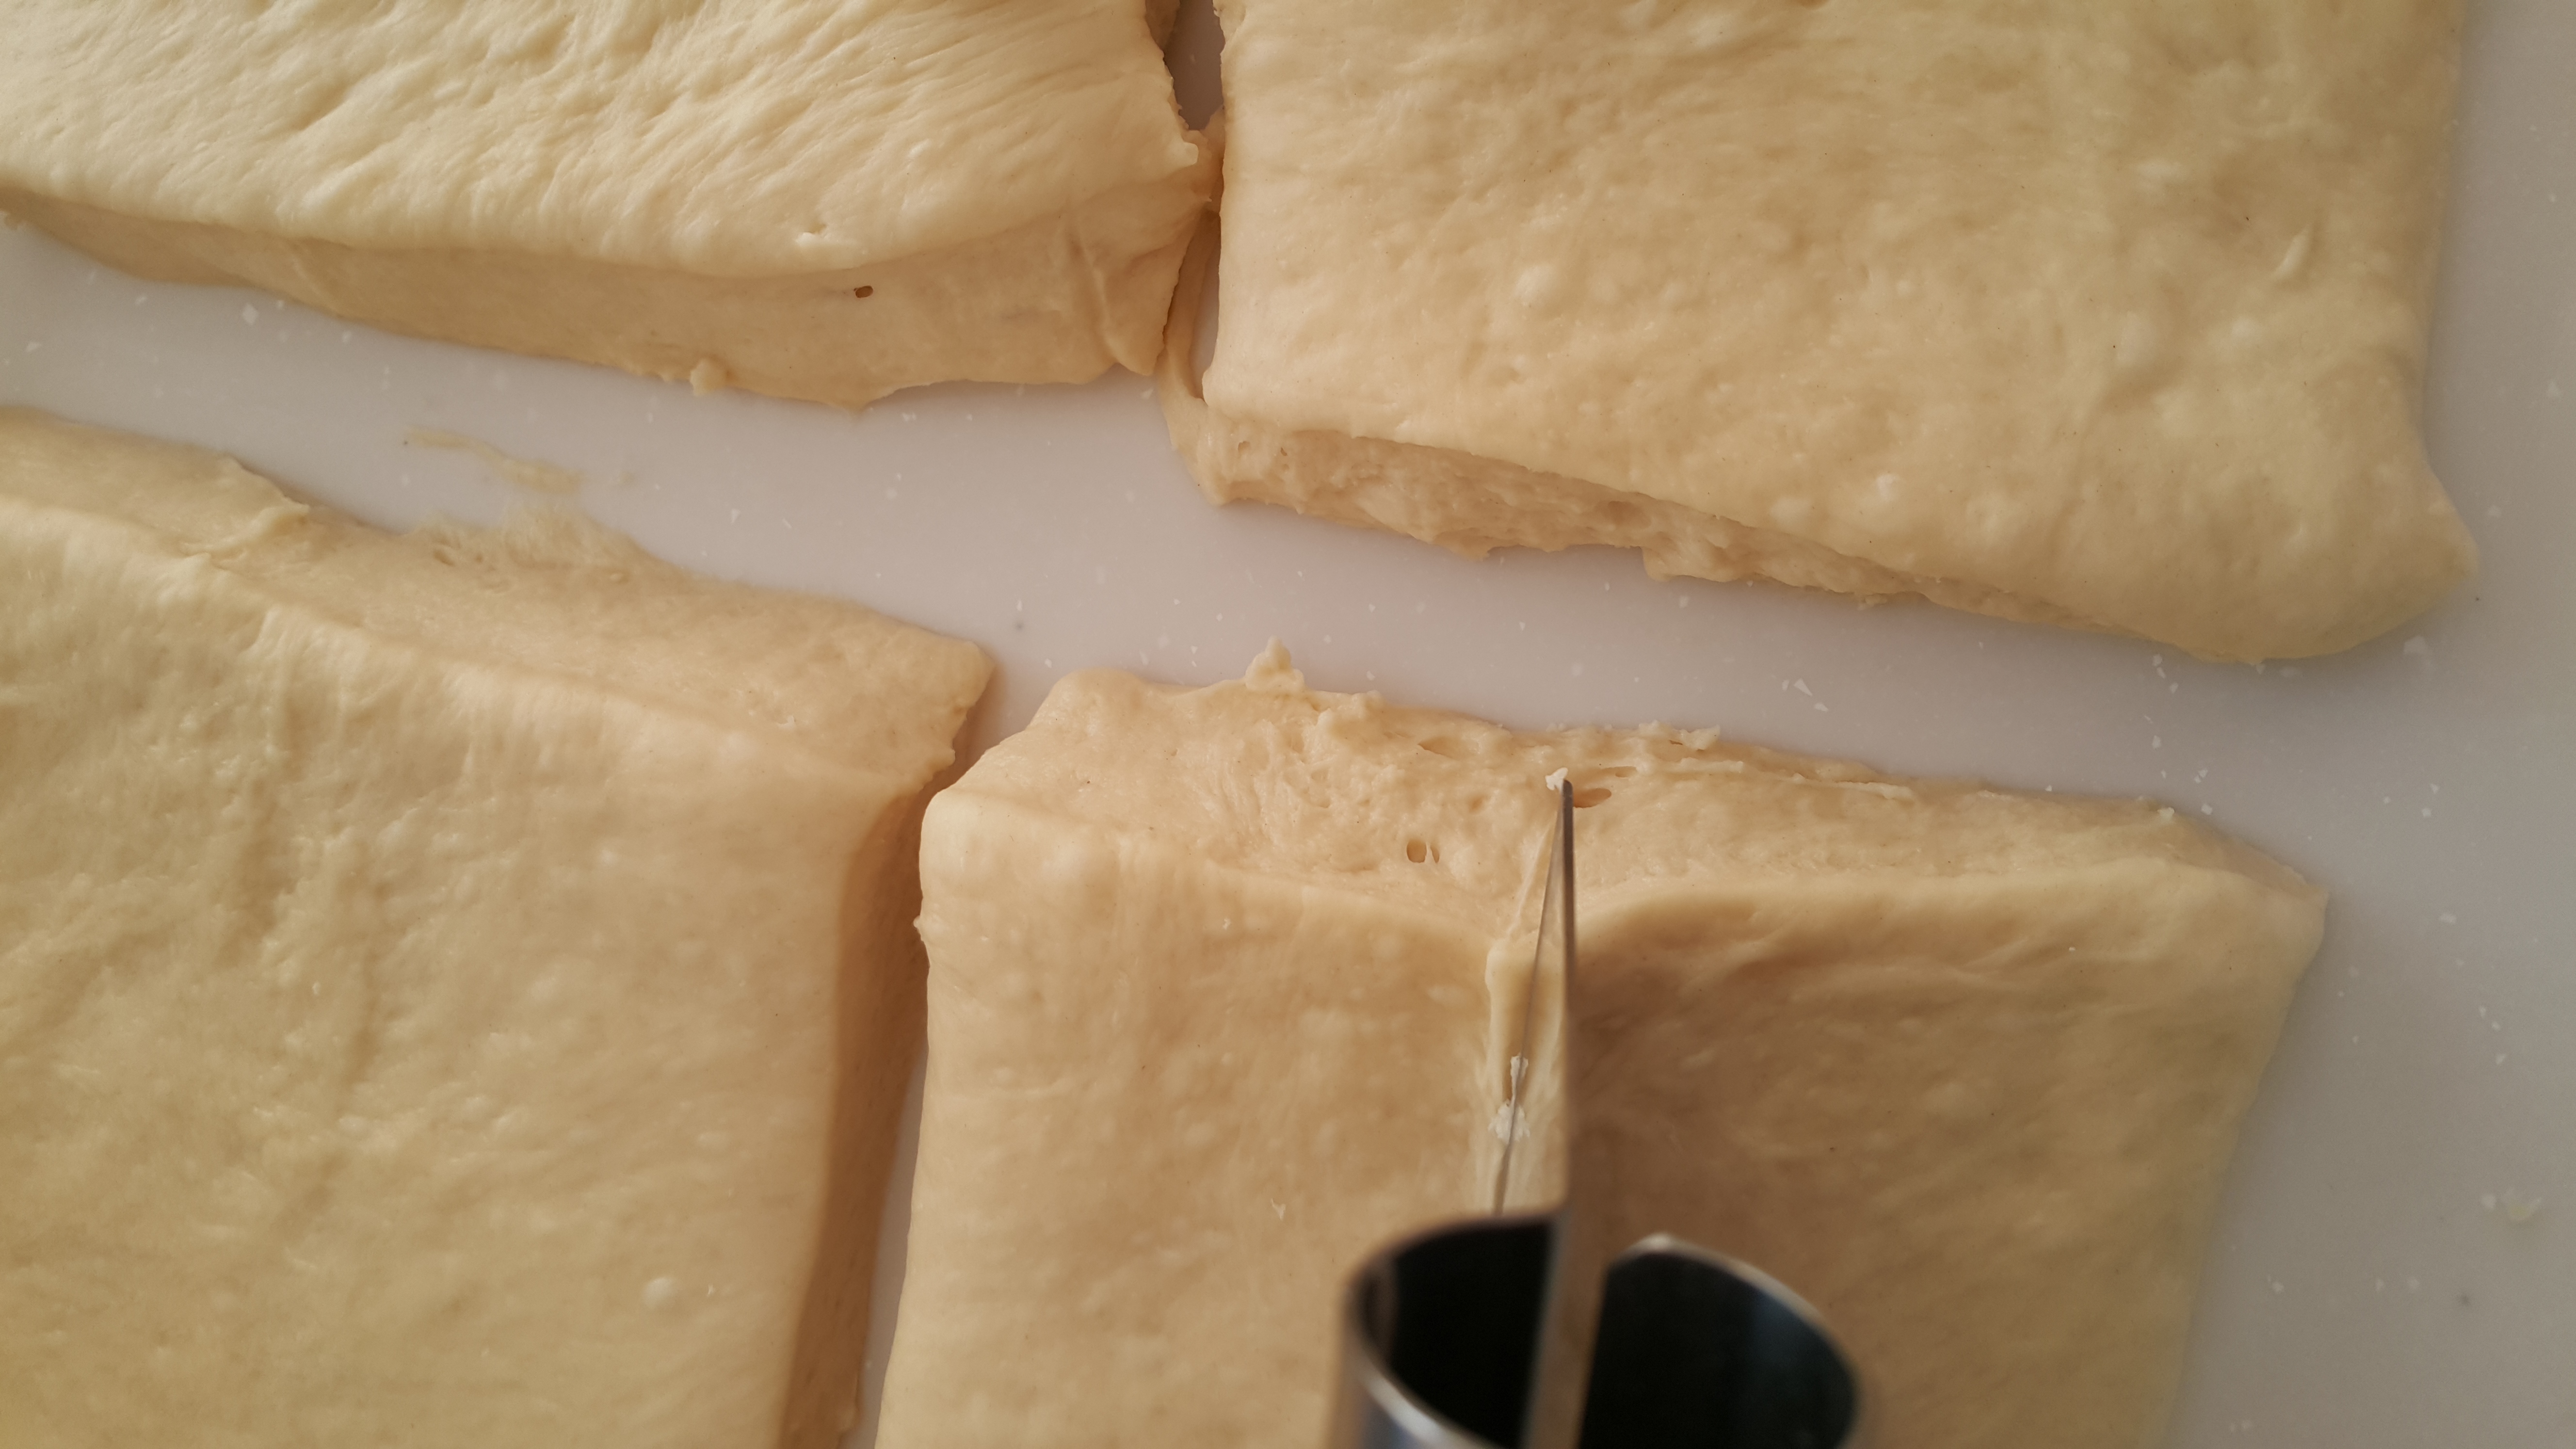
Then cut the two halves into half. So you should end up with four pieces.
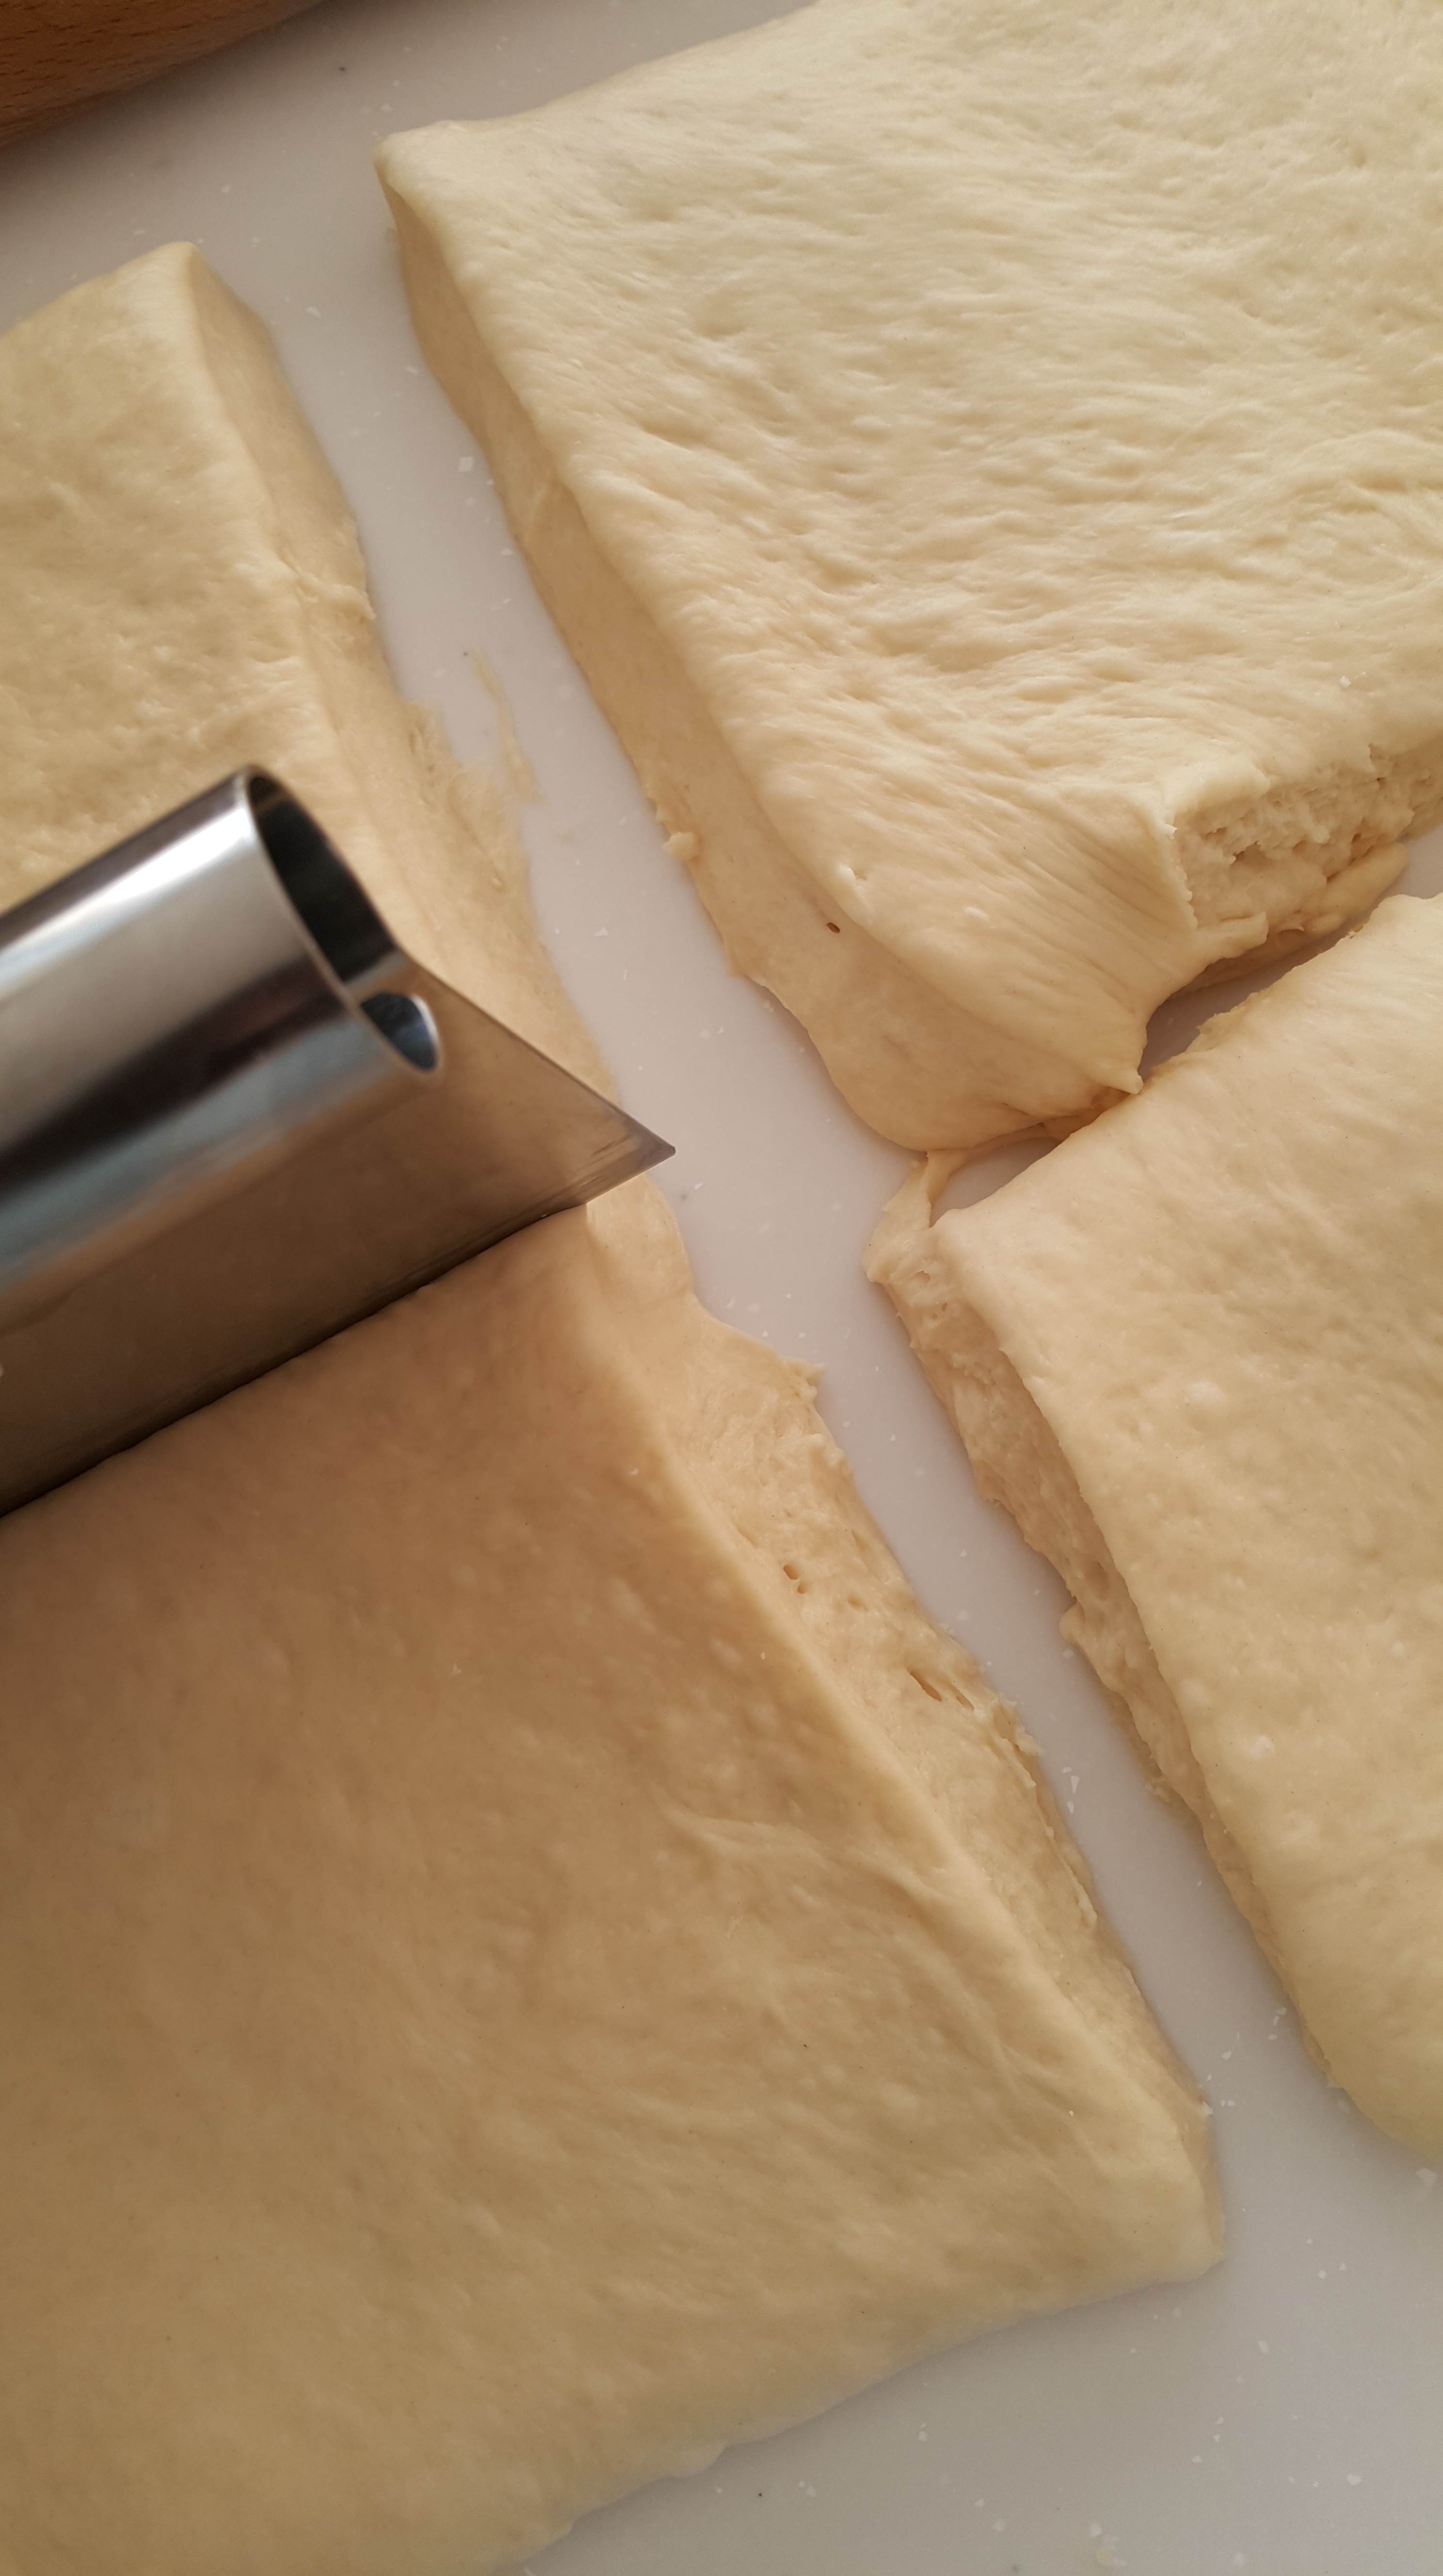
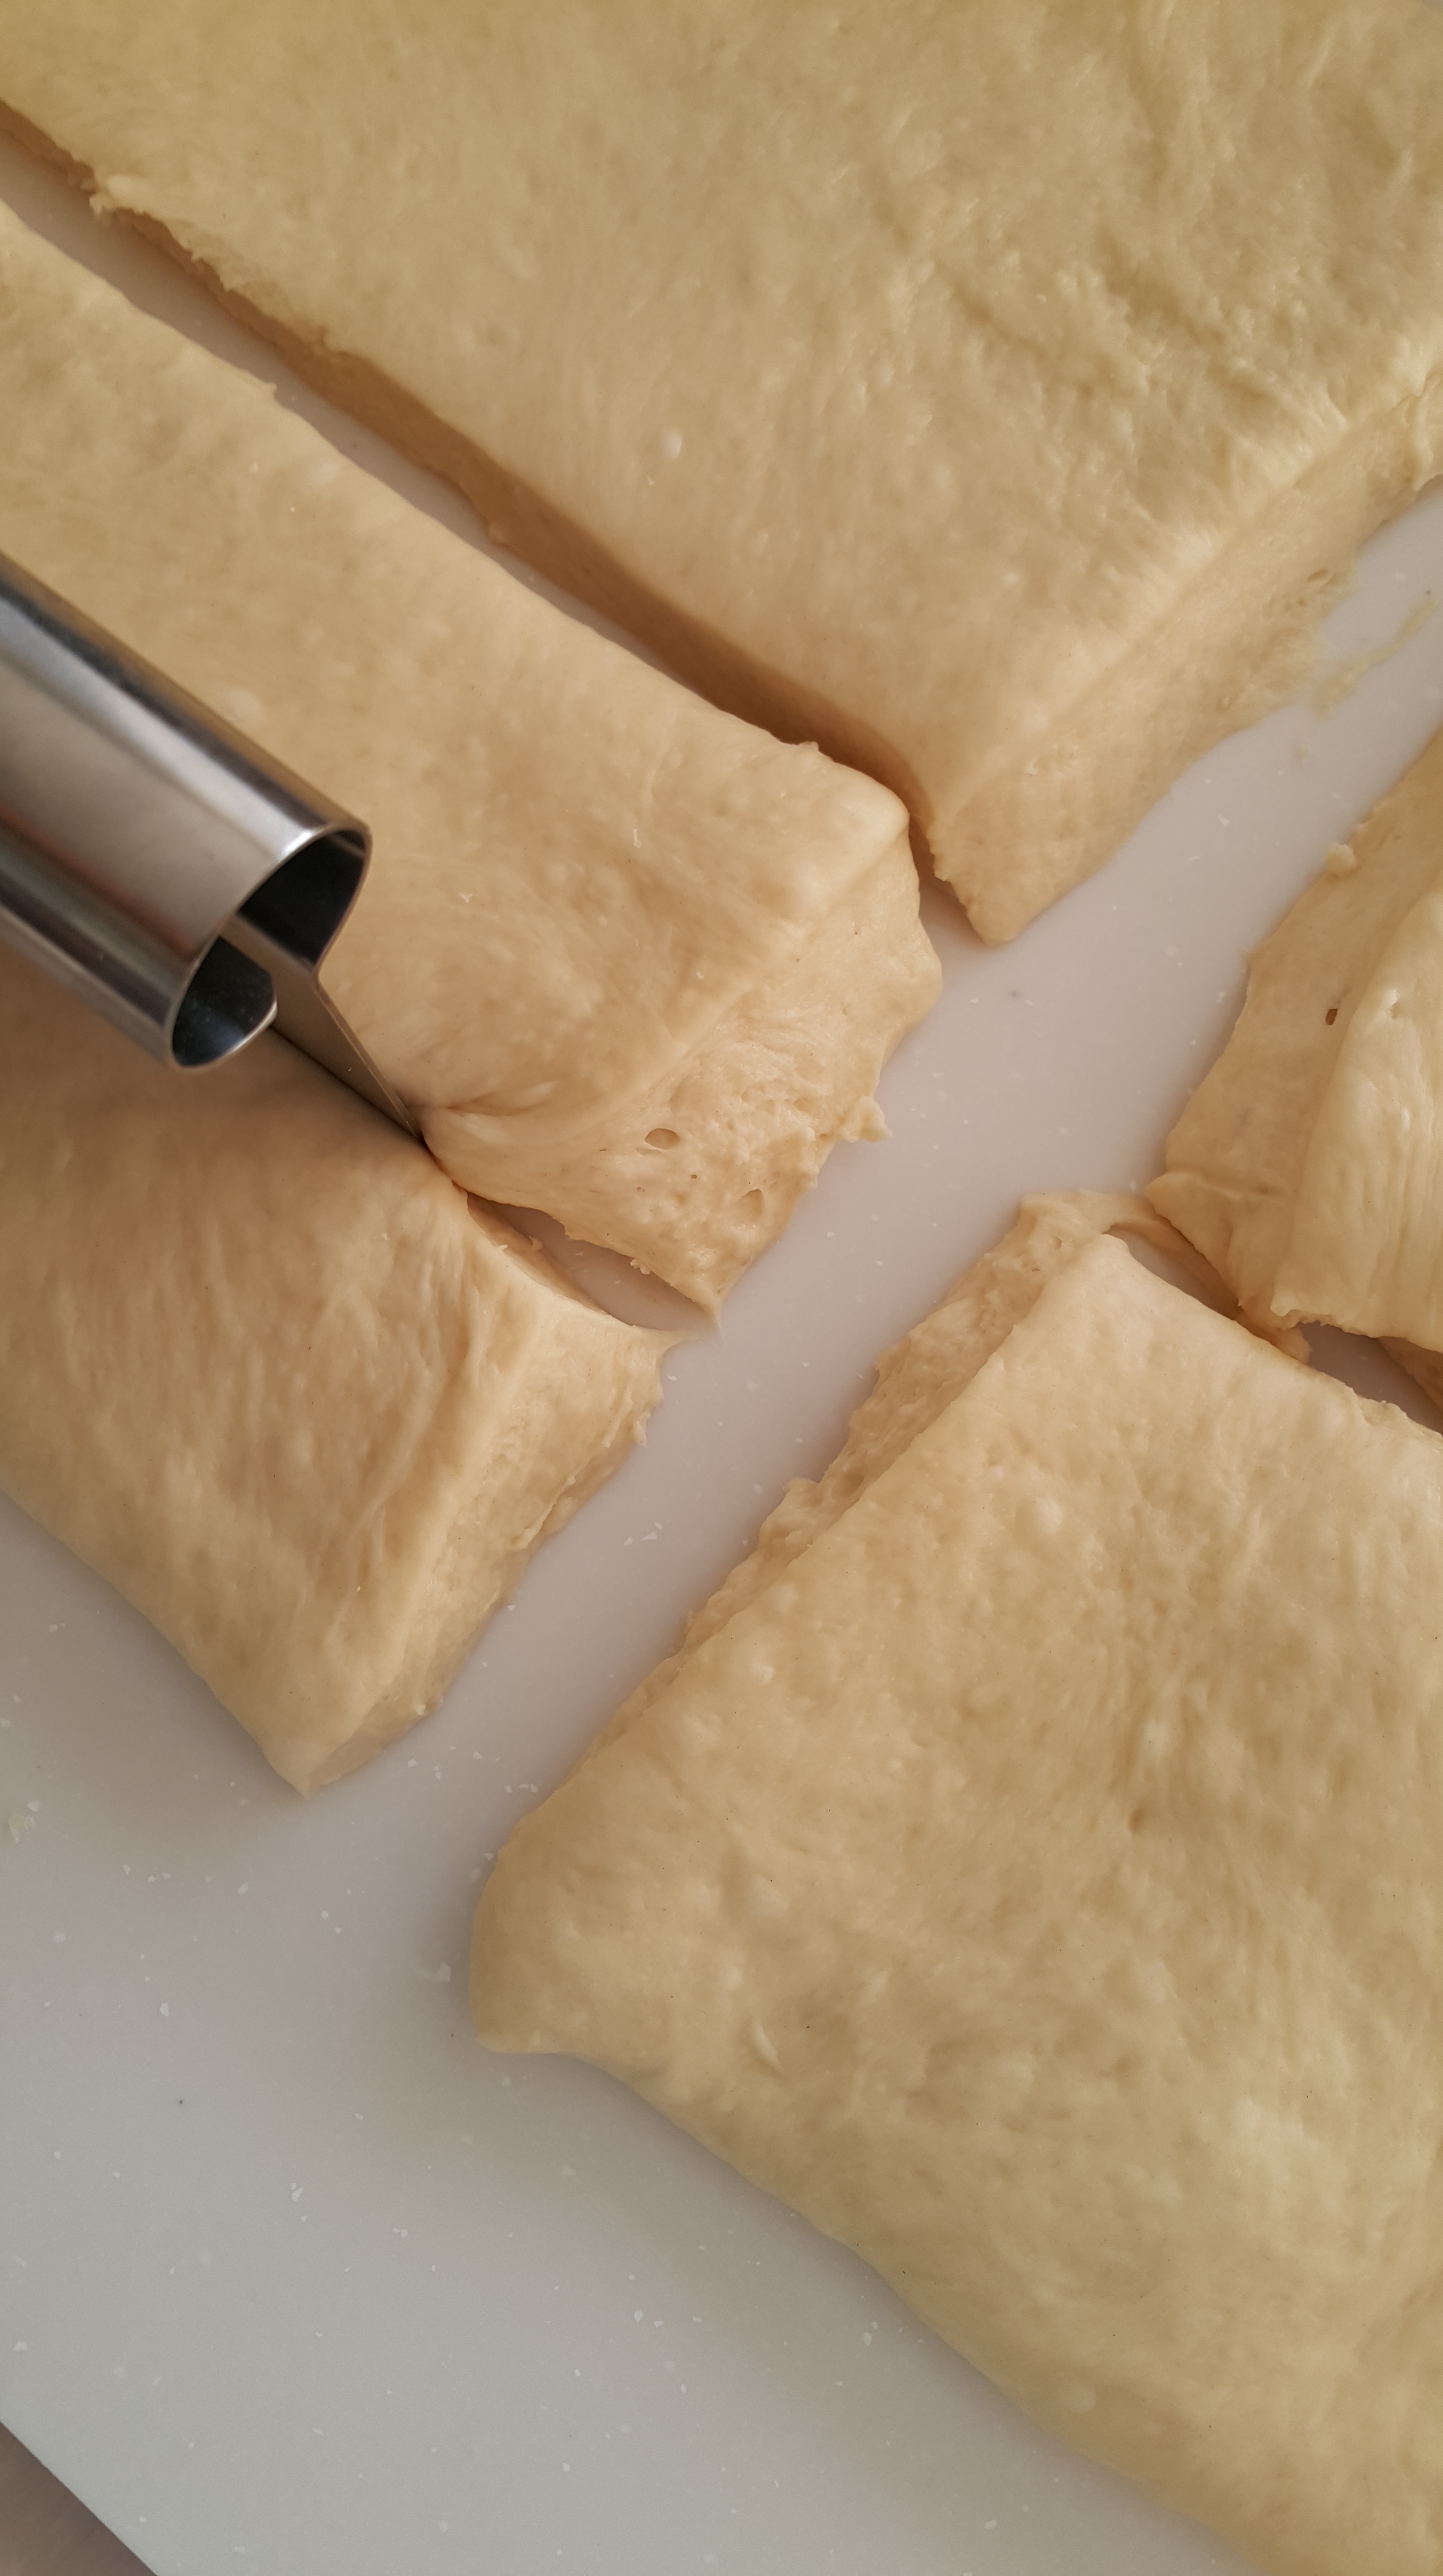
Then cut the four pieces in half.

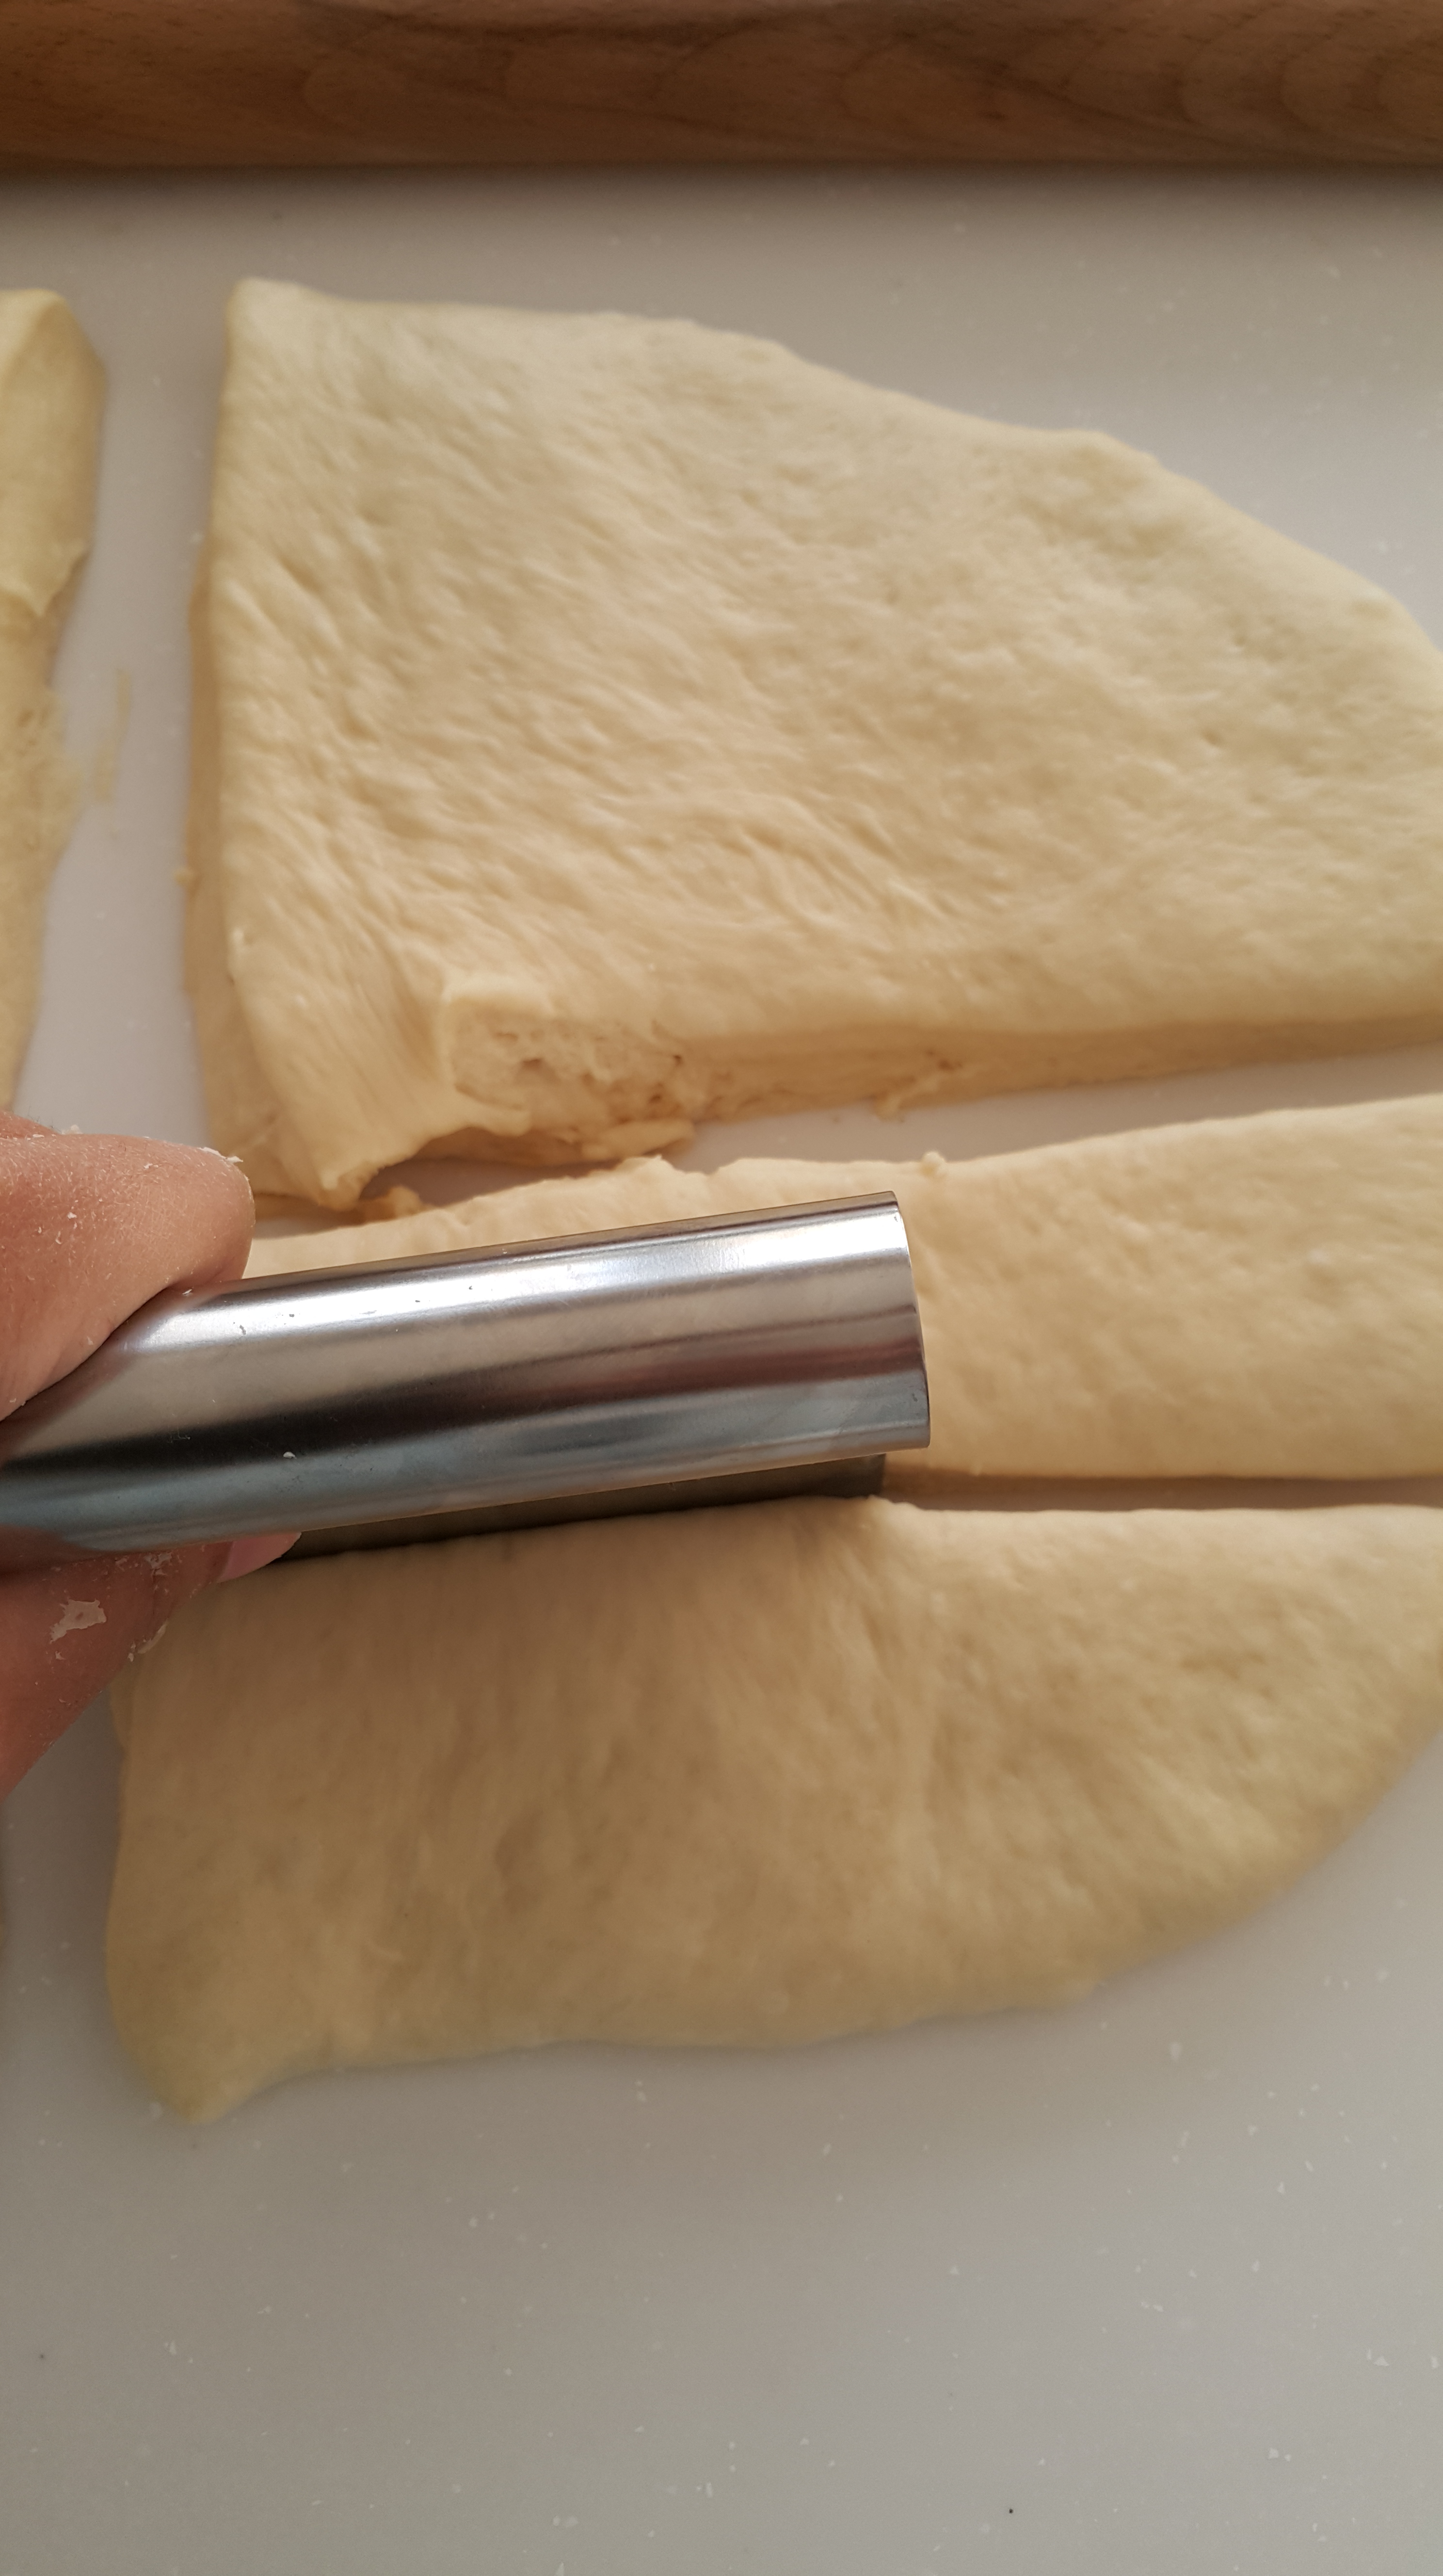
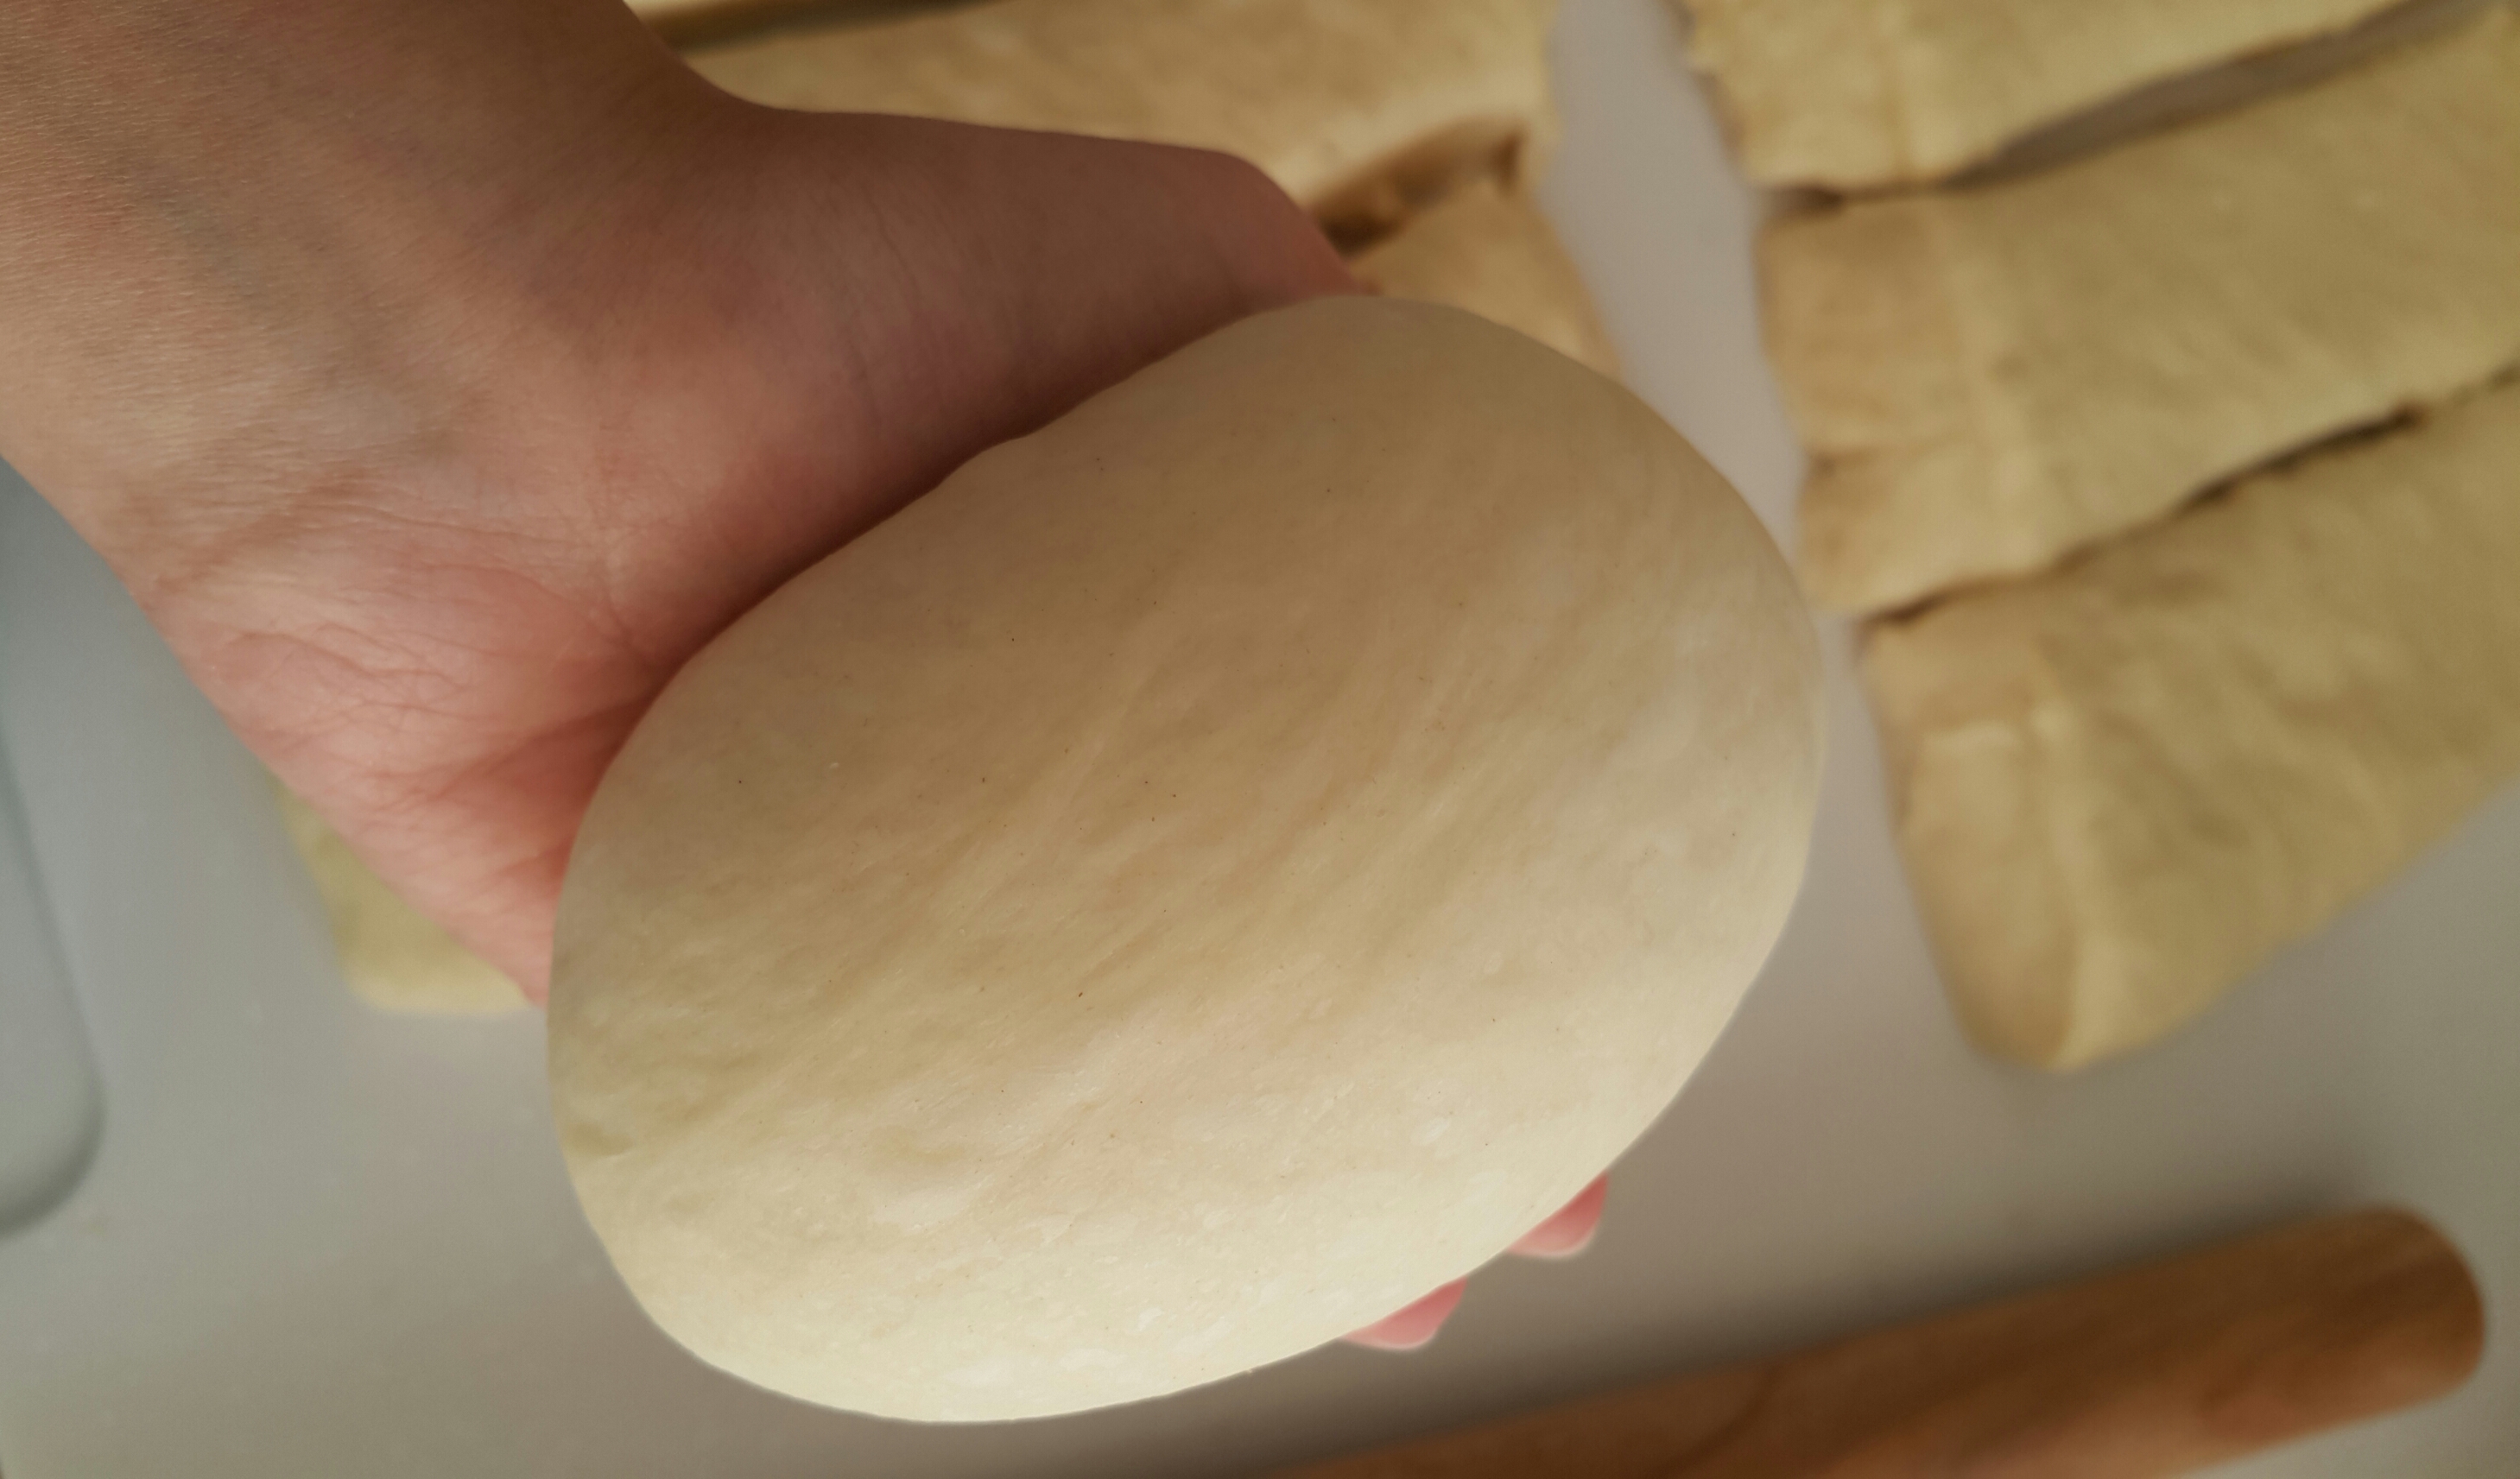
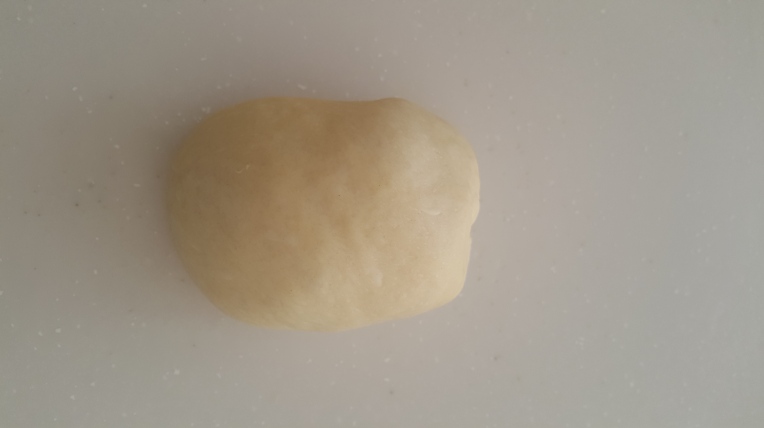
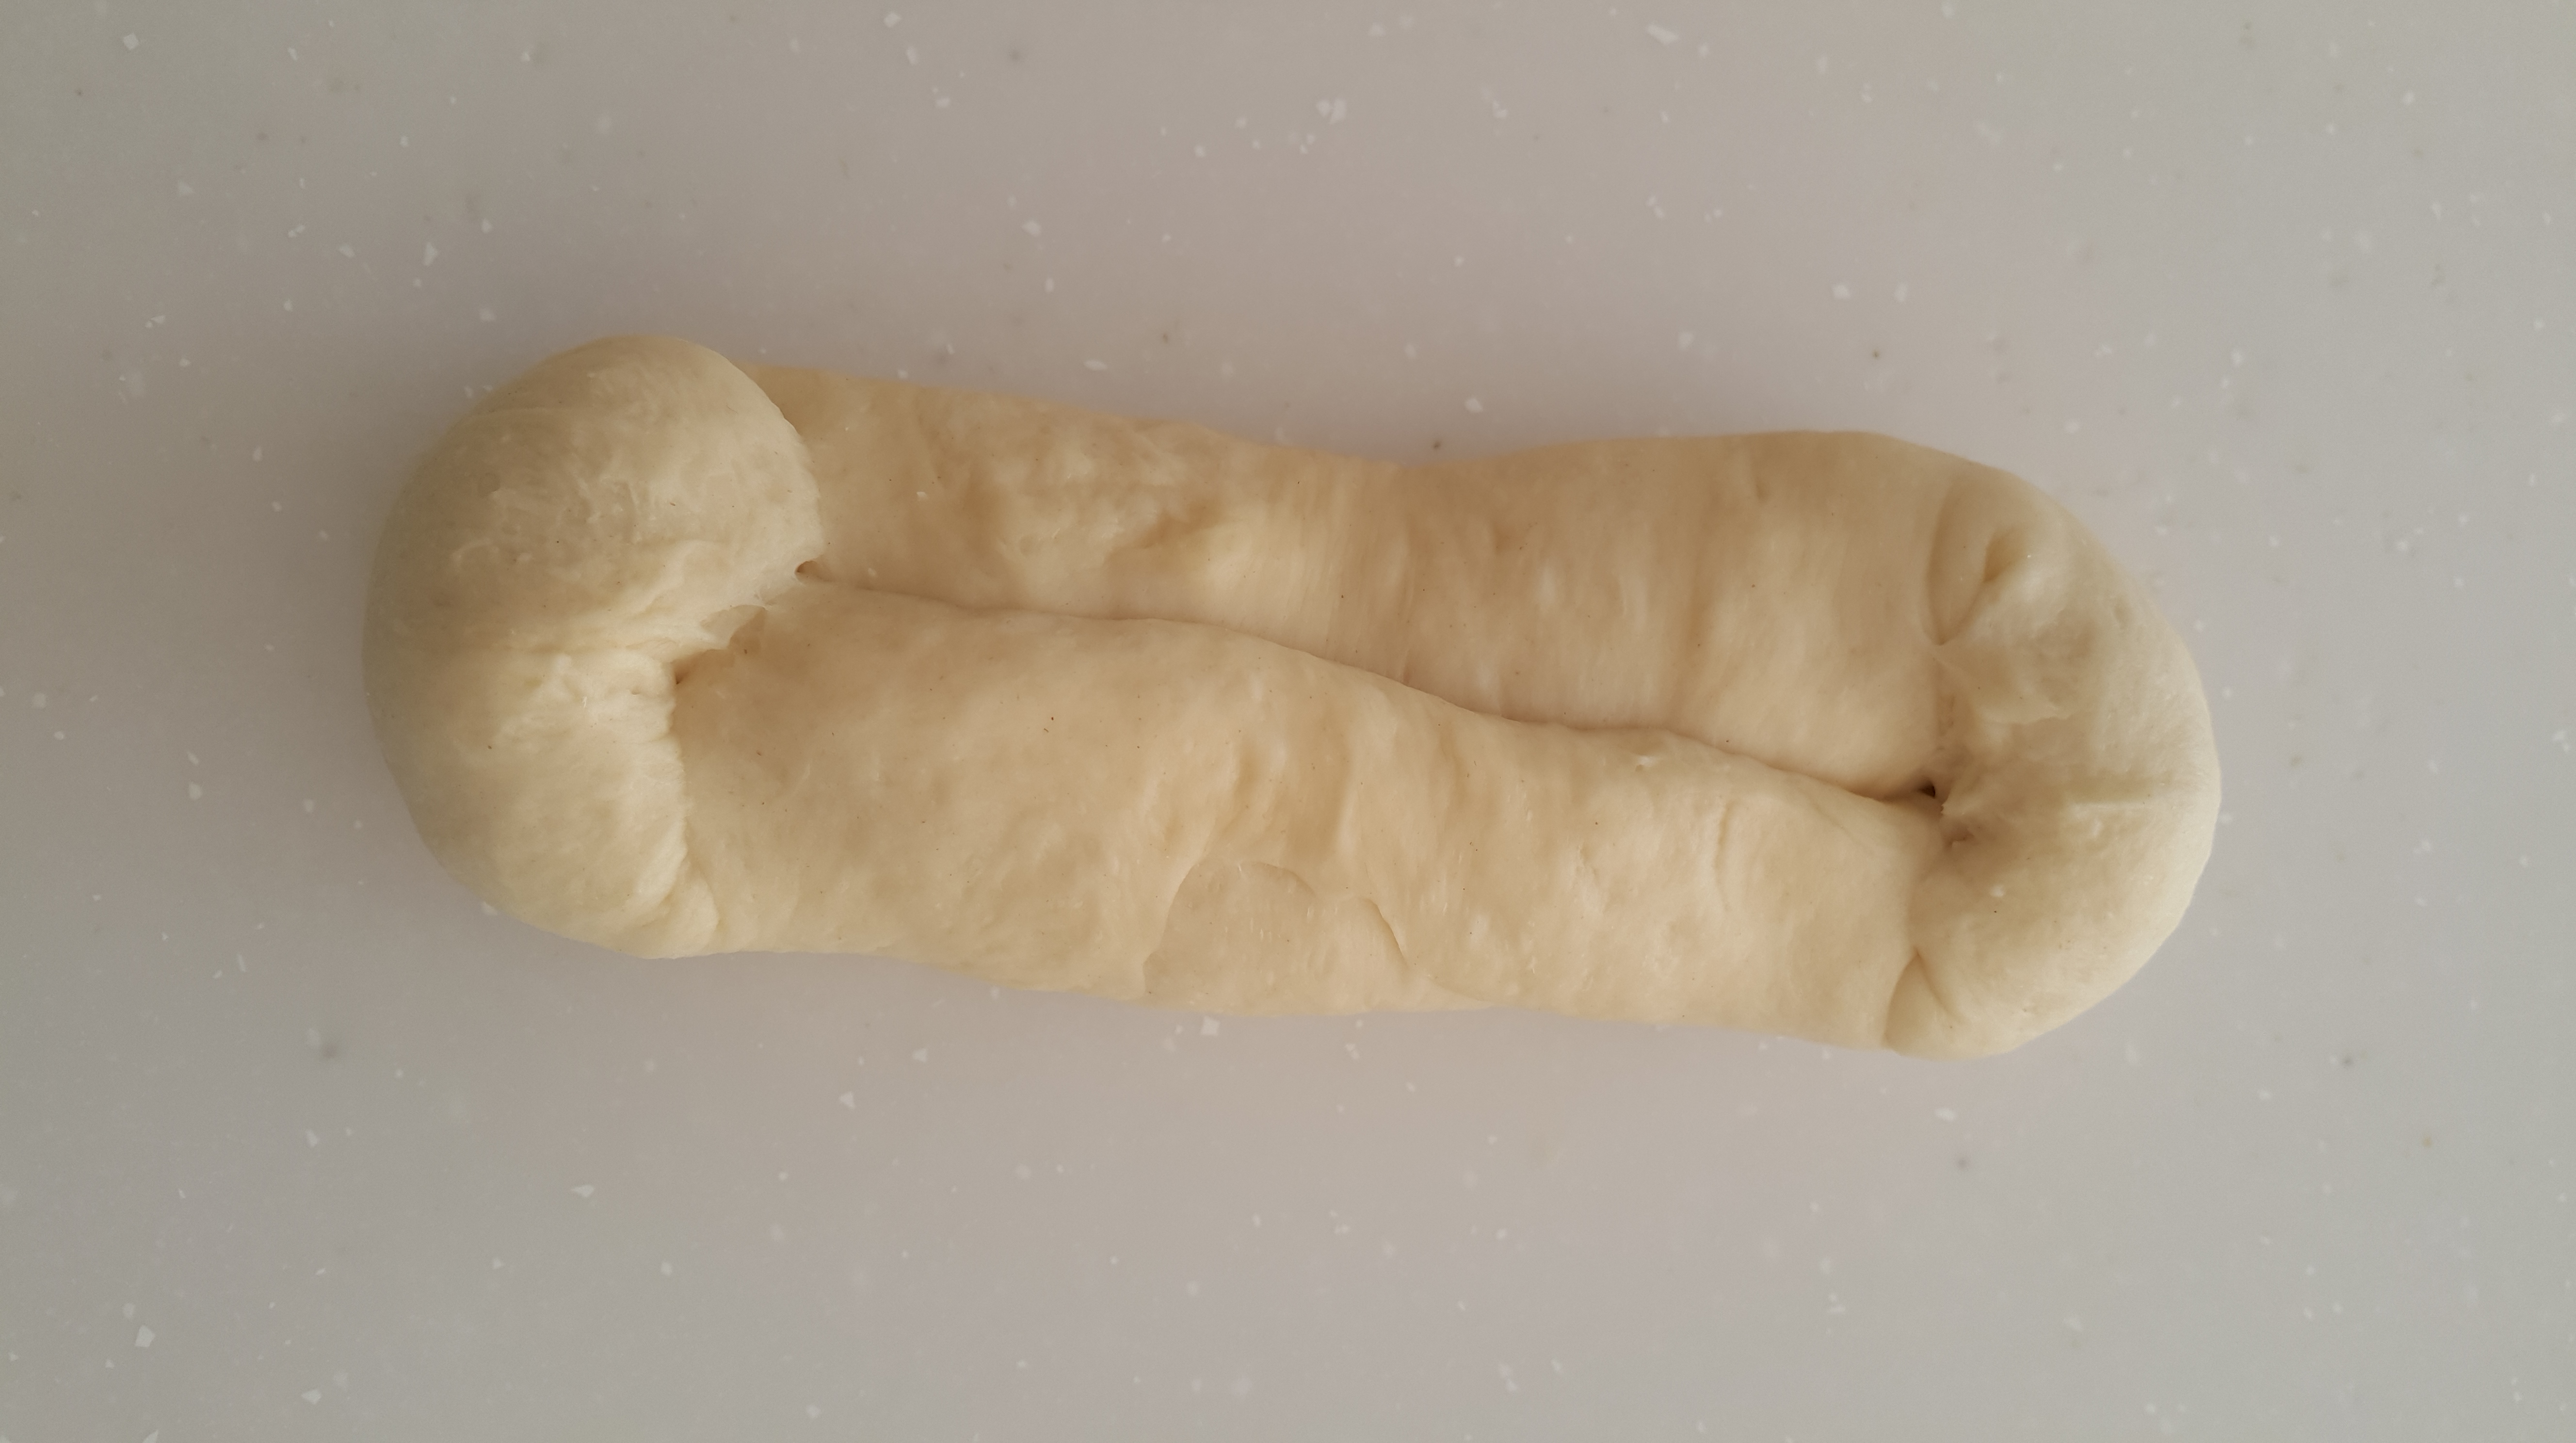
As for how to shape the dough into rolls, first take a piece, and round it into a ball.
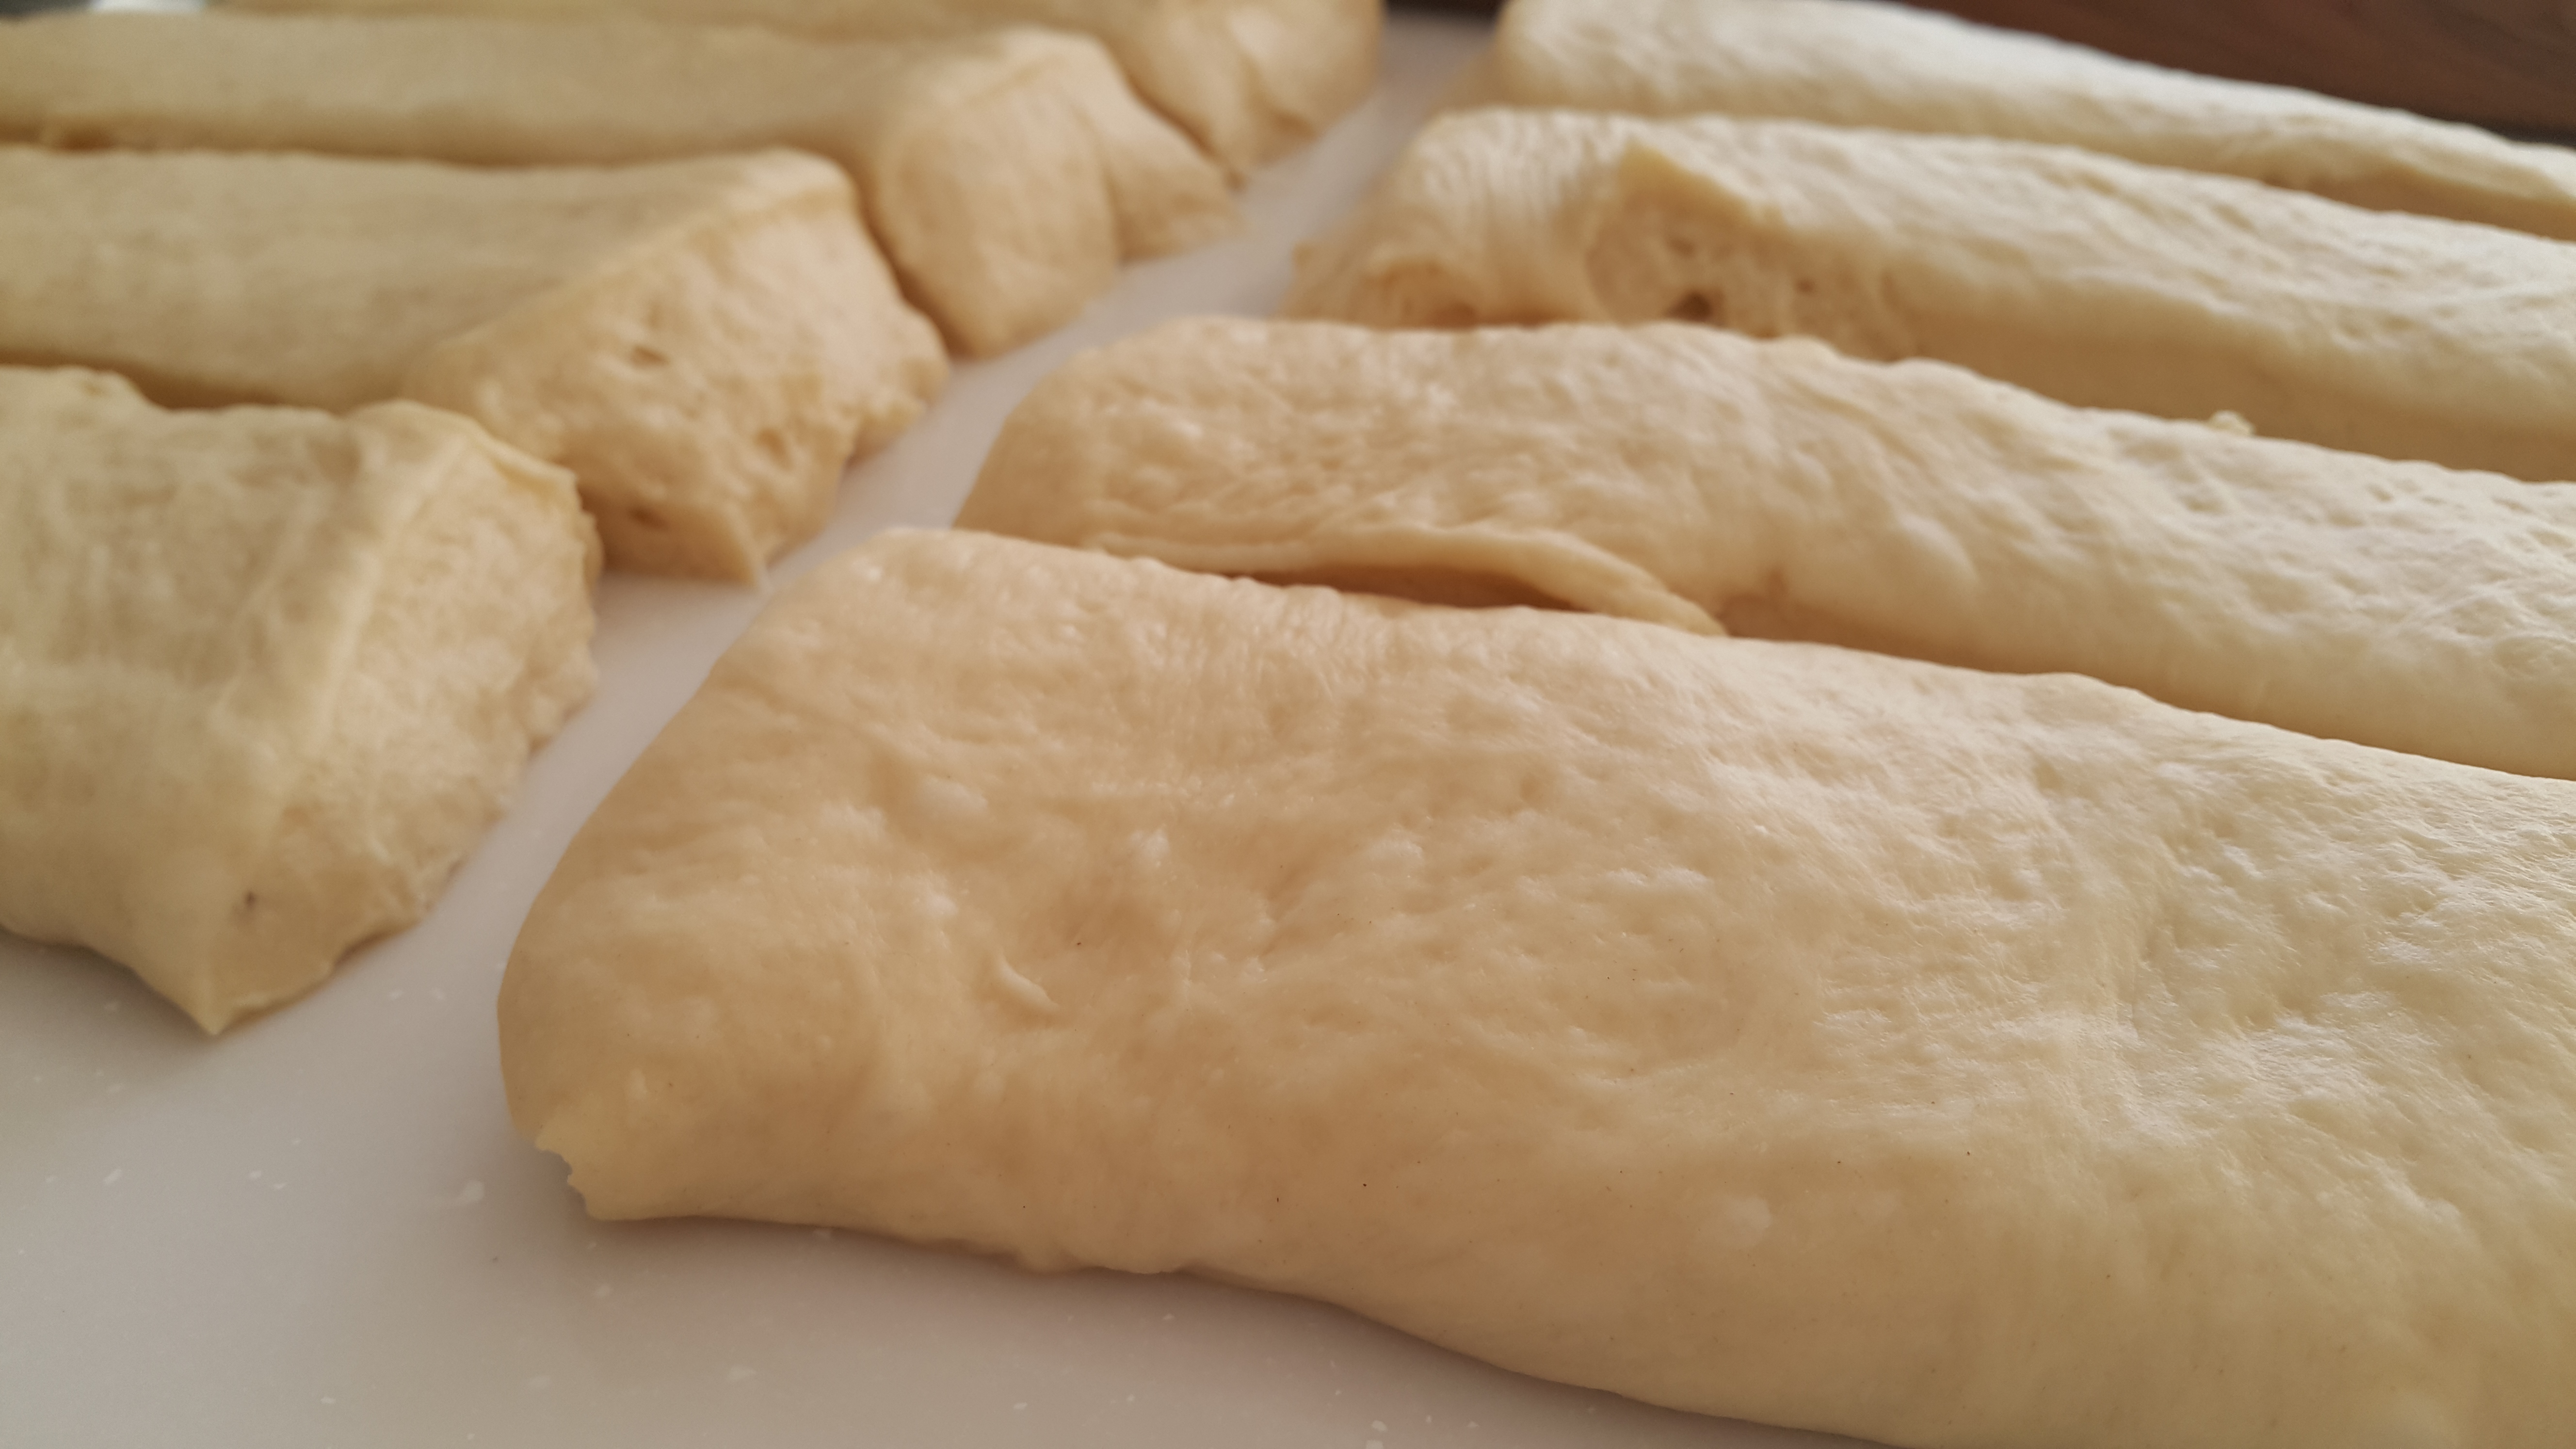
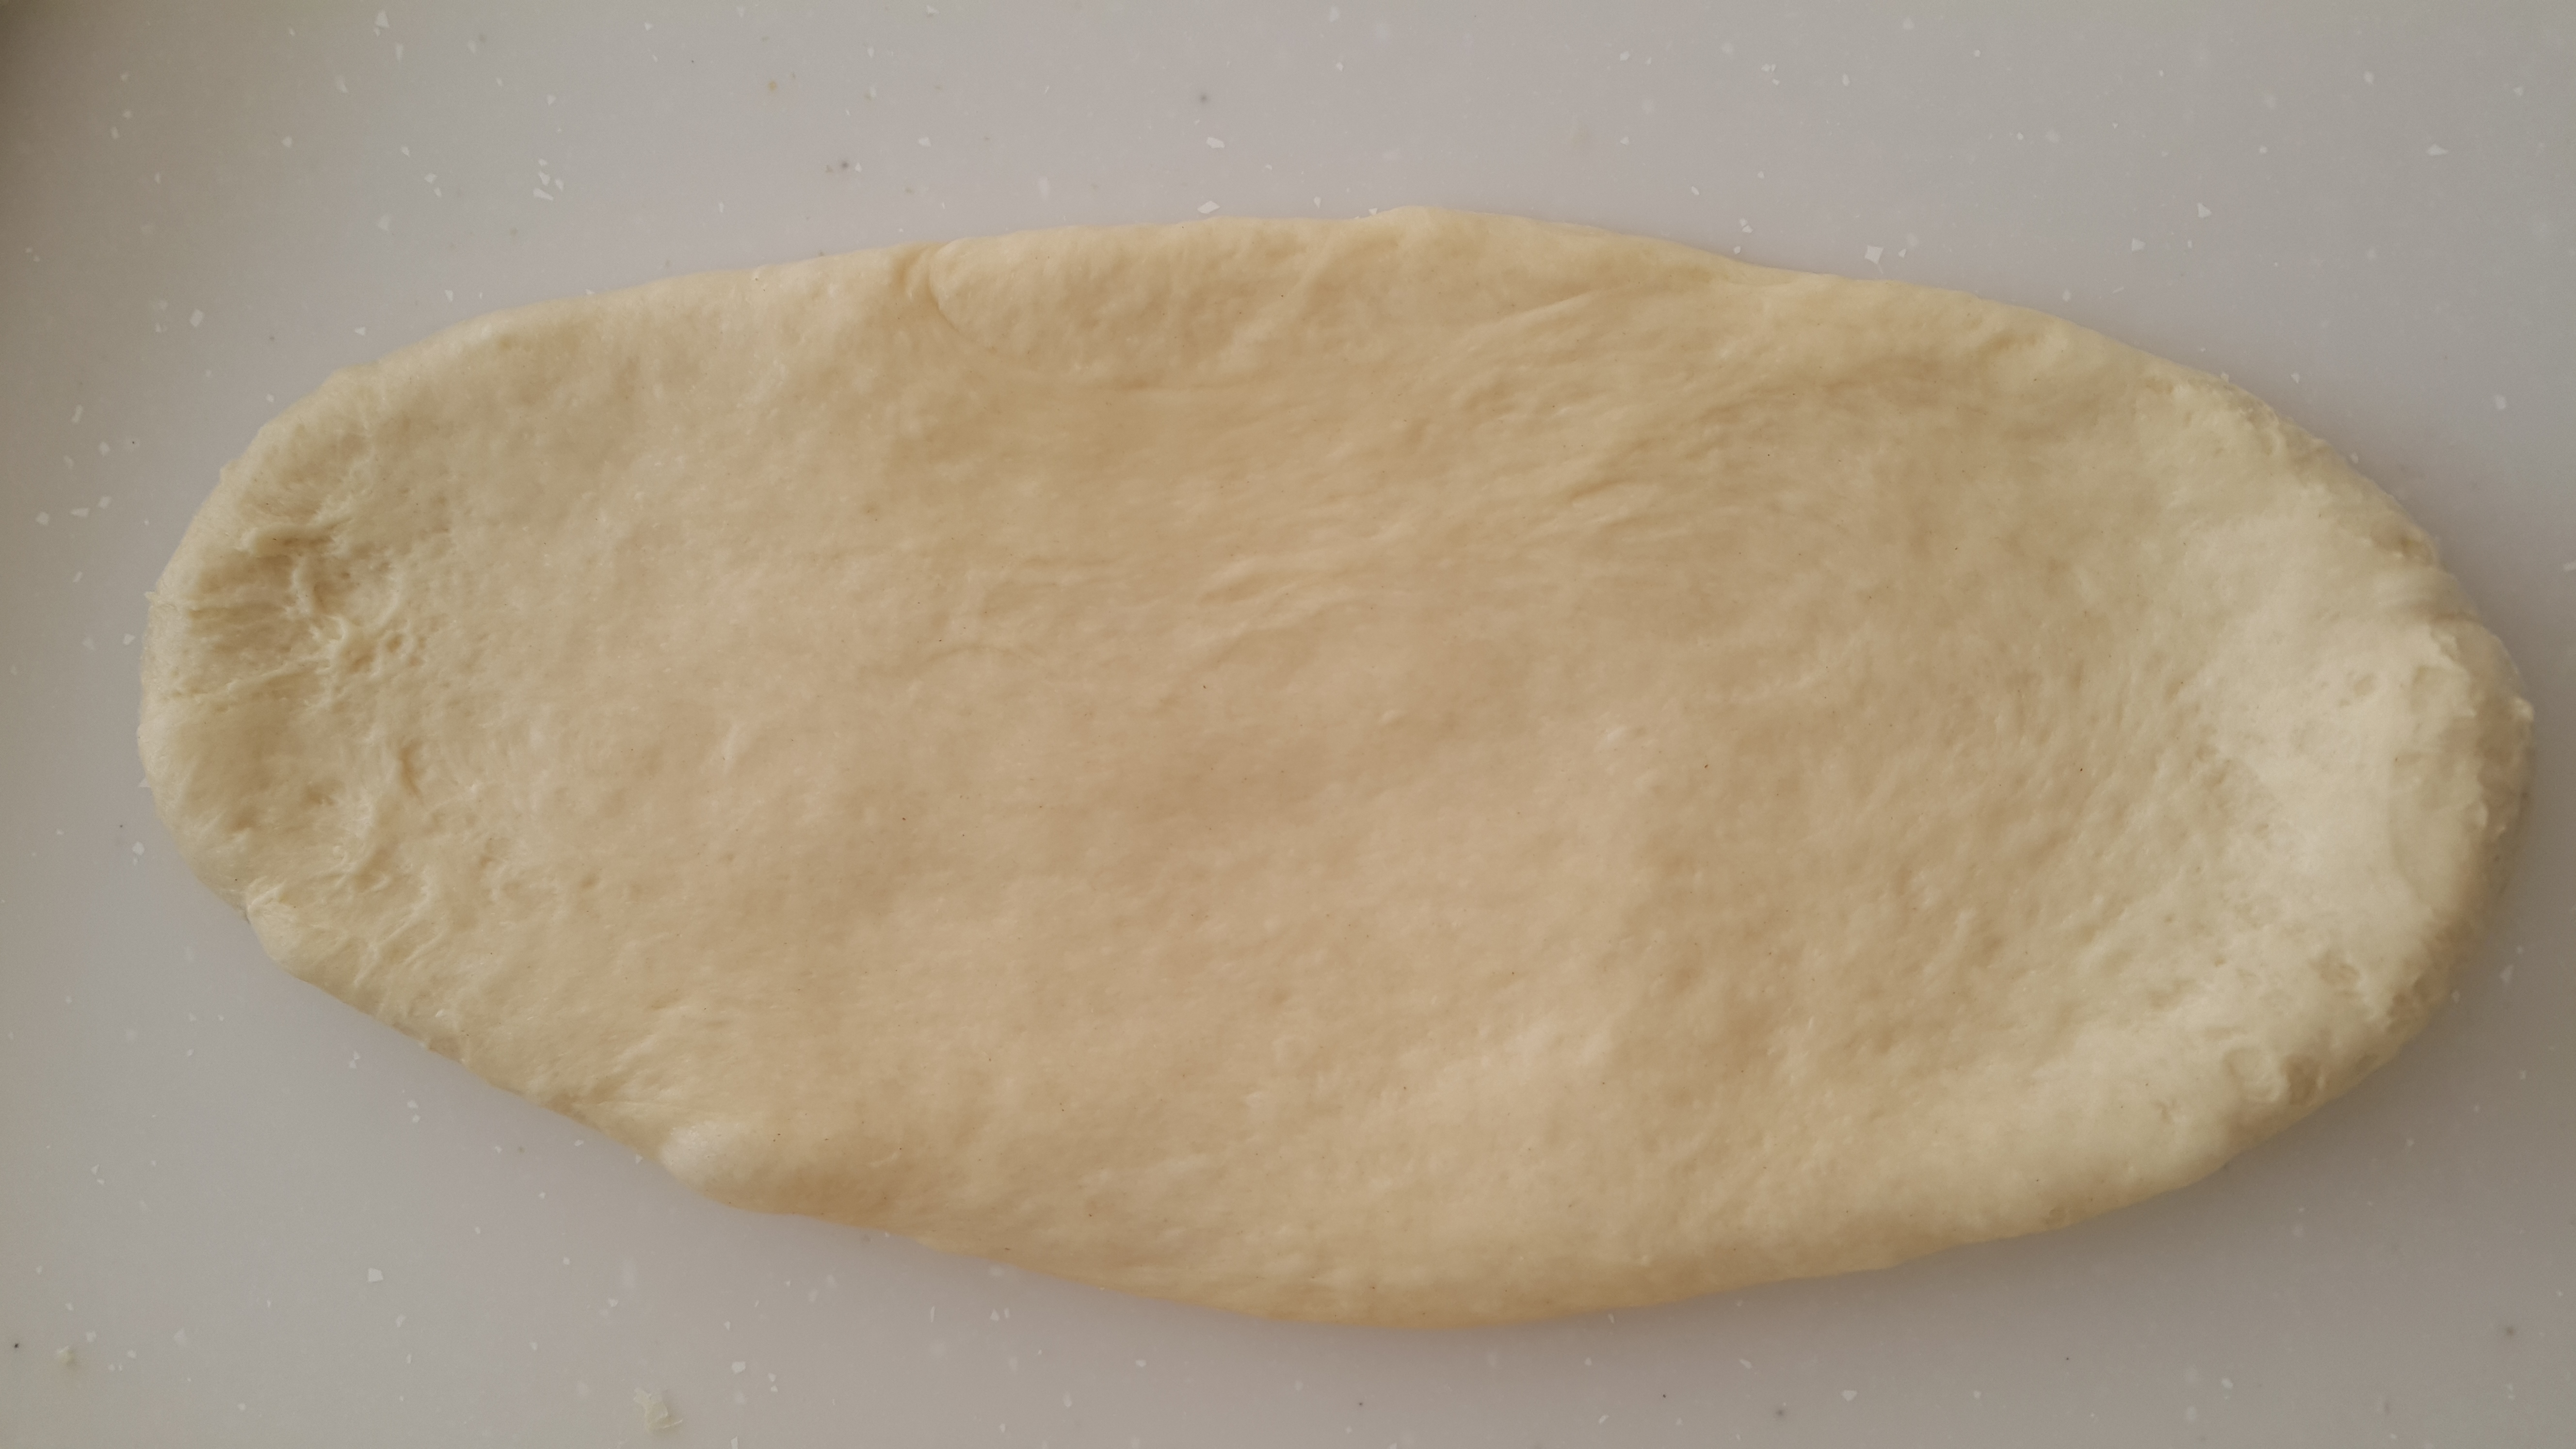
Roll that out into an oval, and starting from the long side, roll it up like a swiss roll. Pinch the seam to seal. Tuck in the ends and pinch to seal.
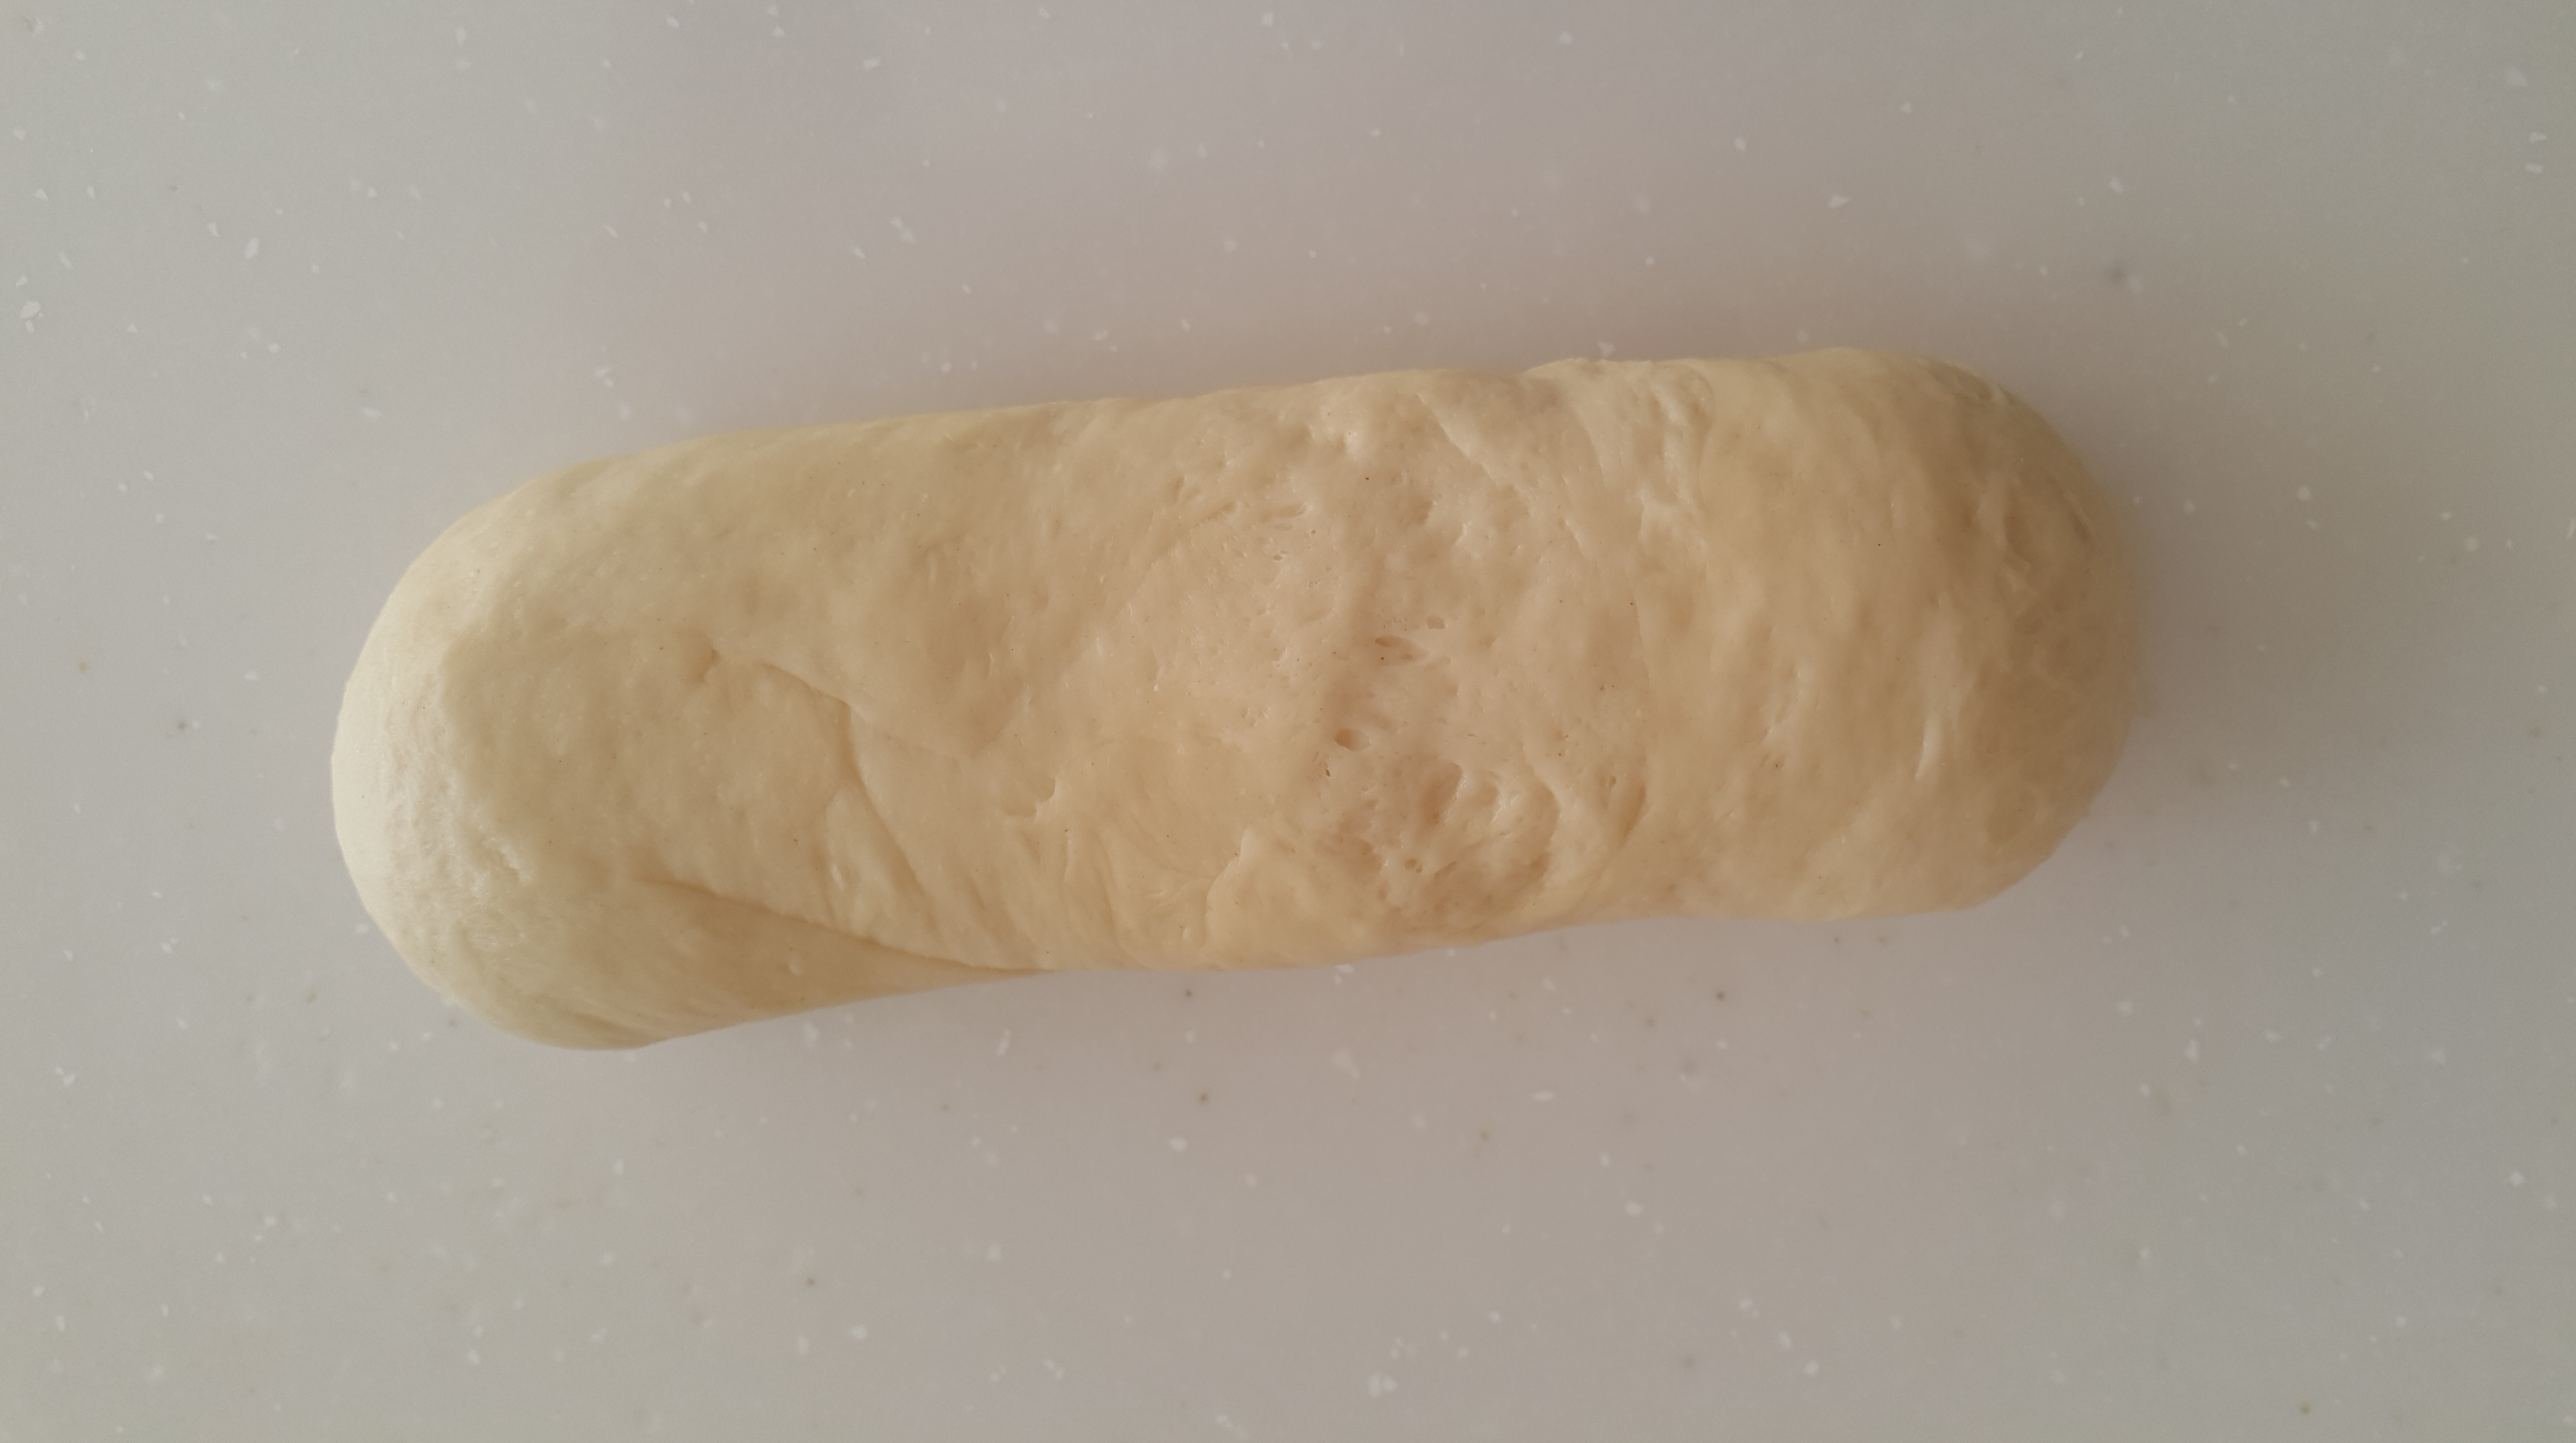
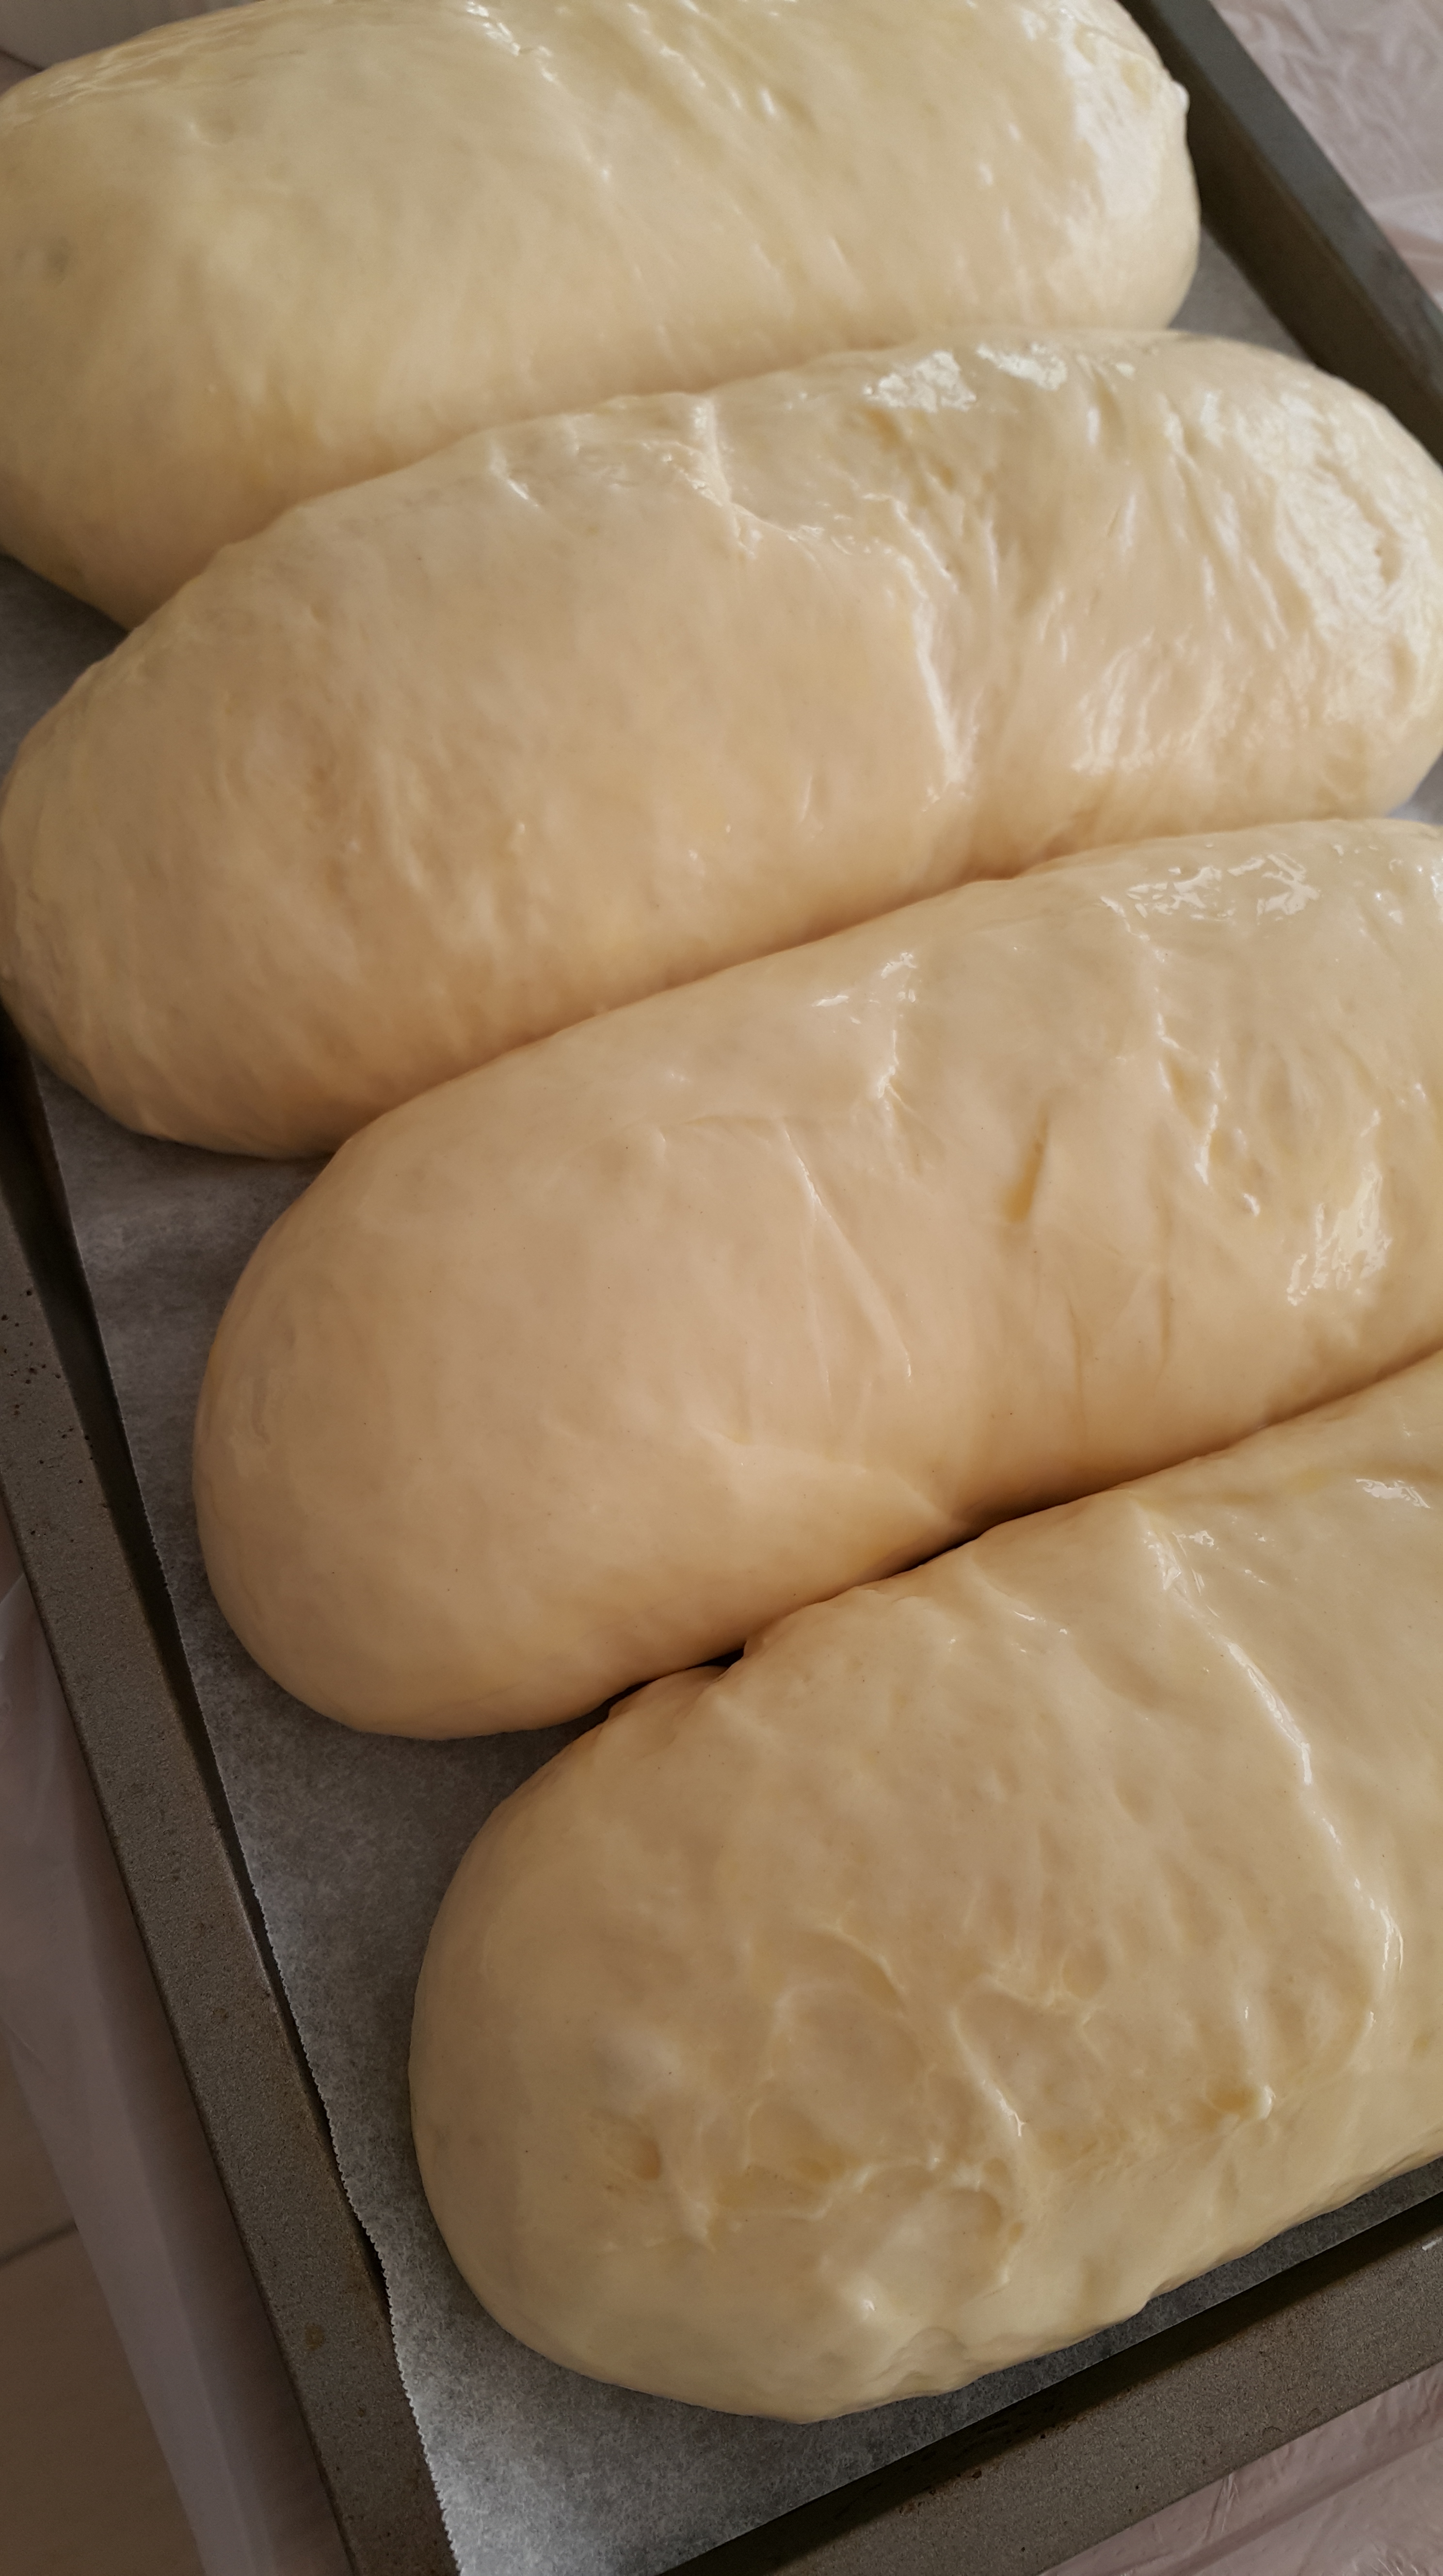
Ta da! A doughy submarine. Arrange the rolls on a baking sheet, which can be lined with parchment paper, greased, or floured well.
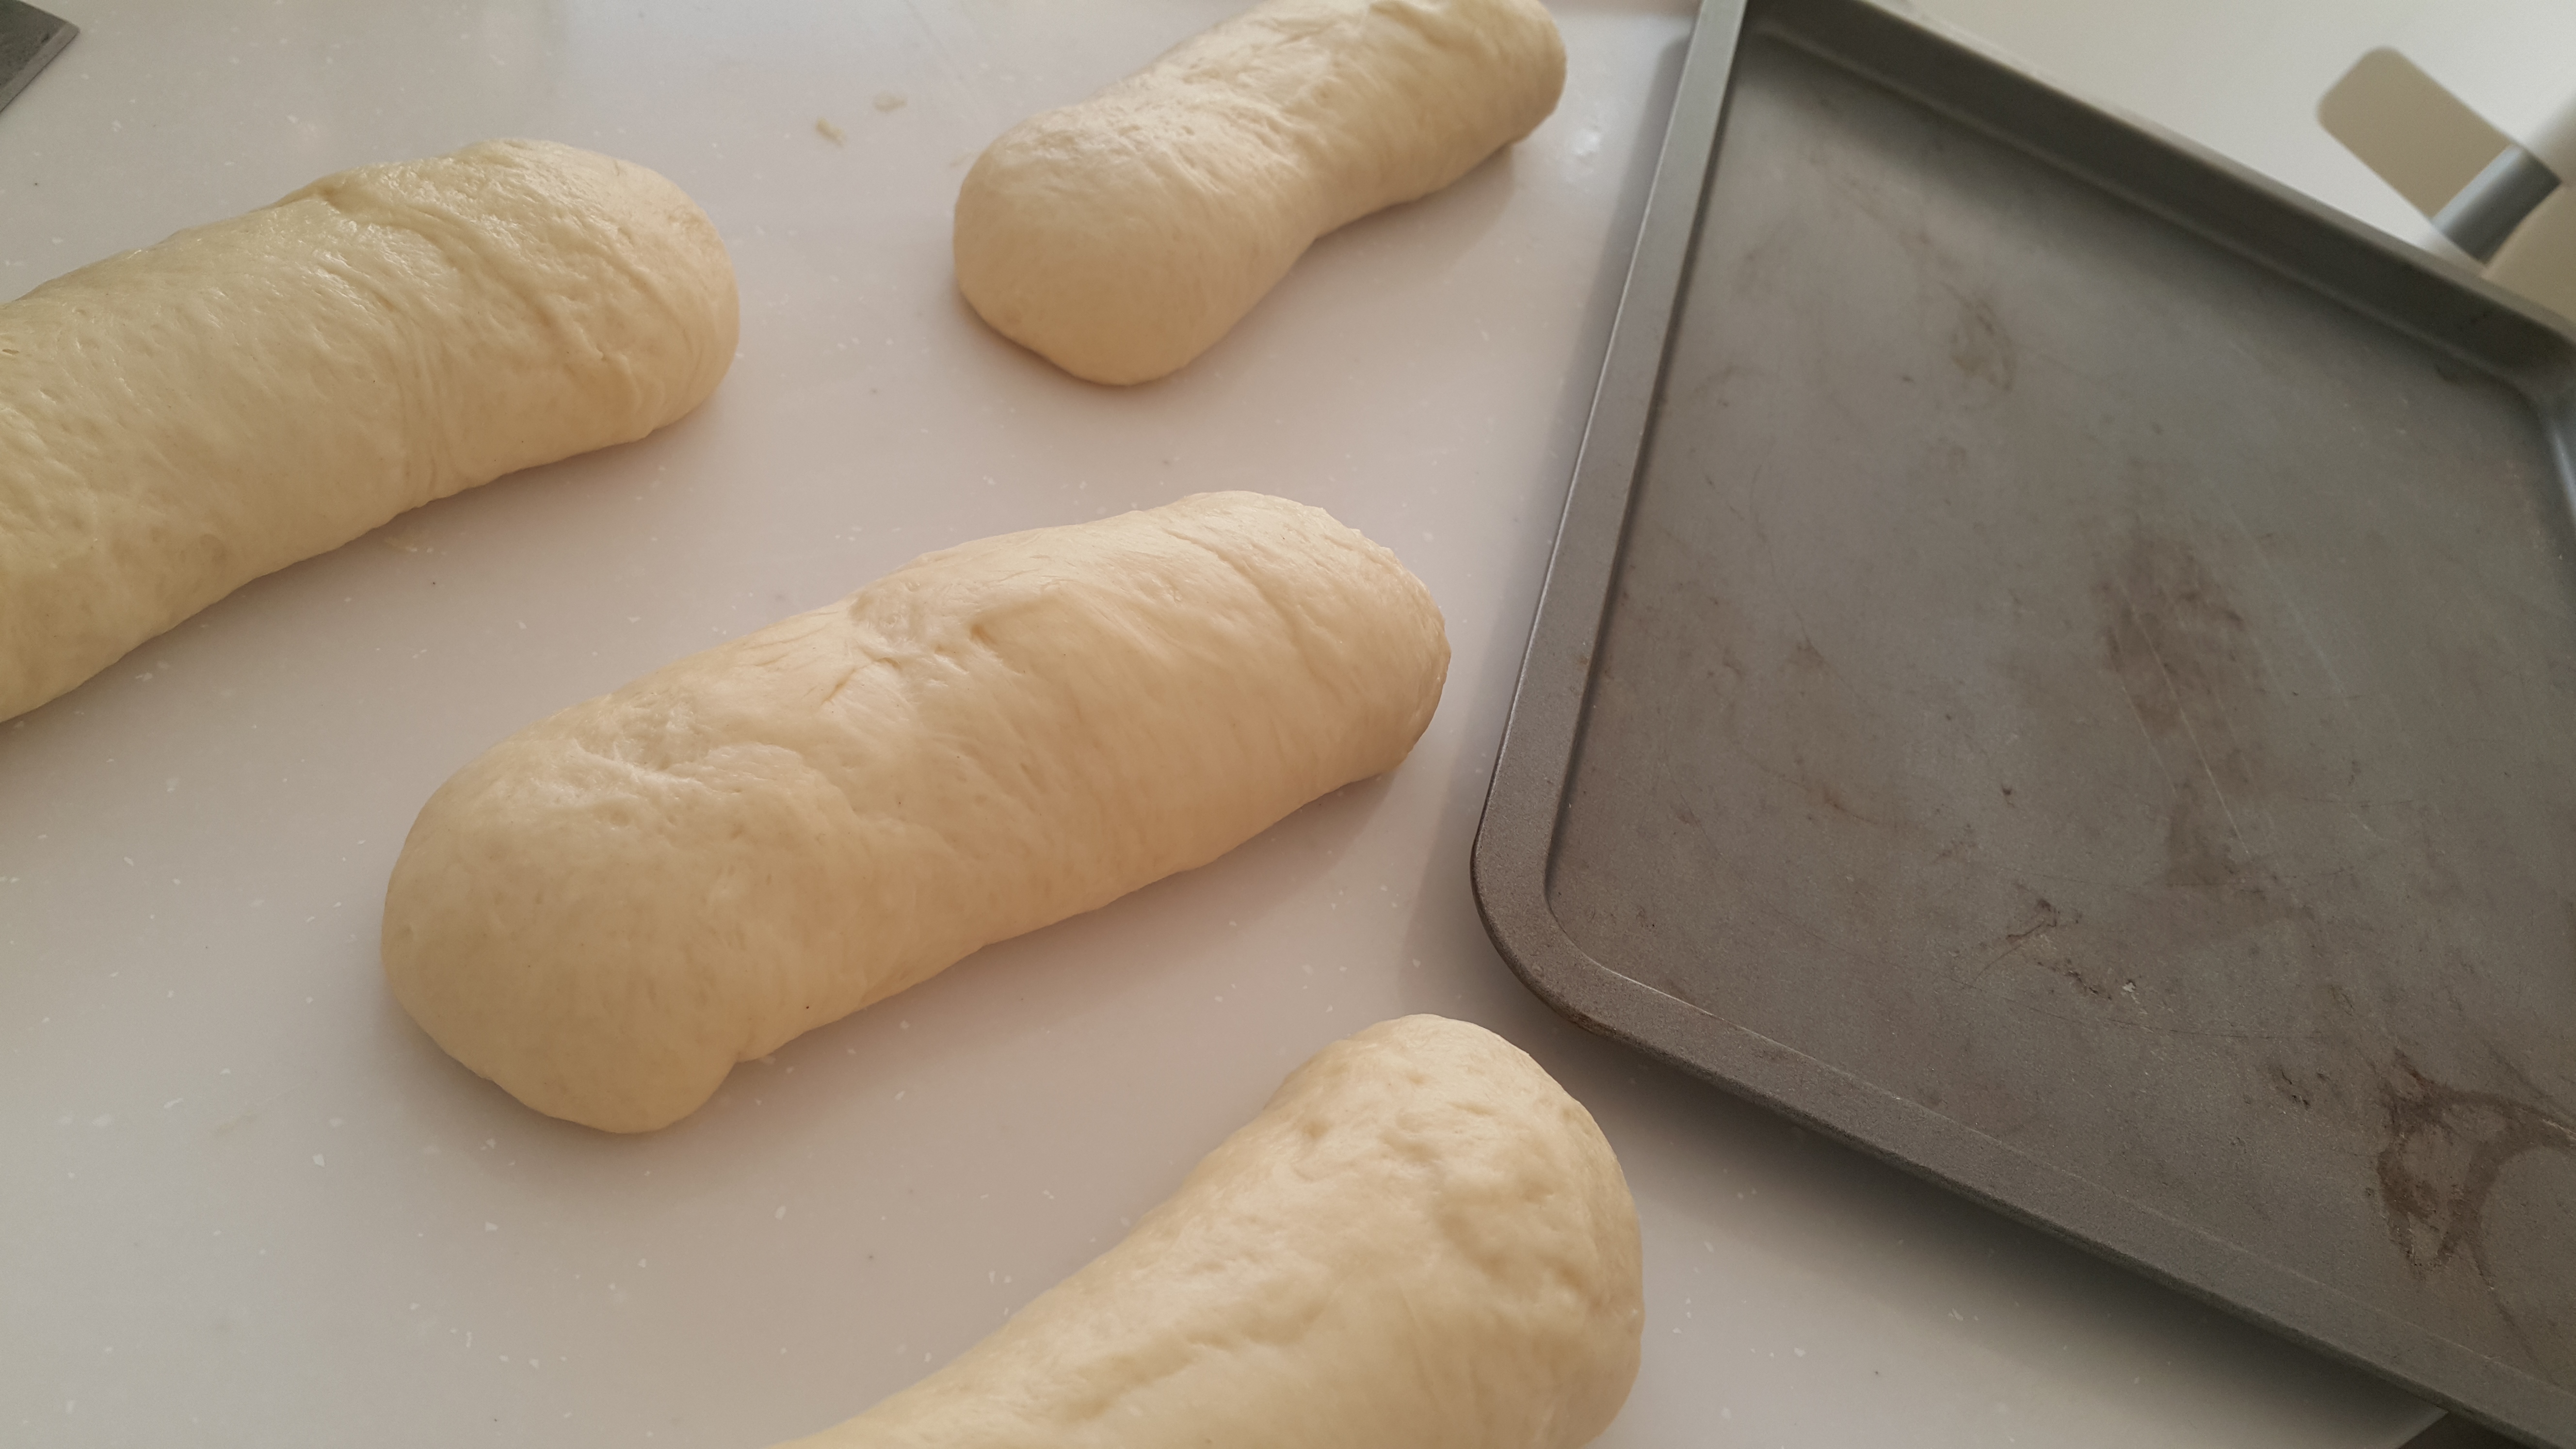
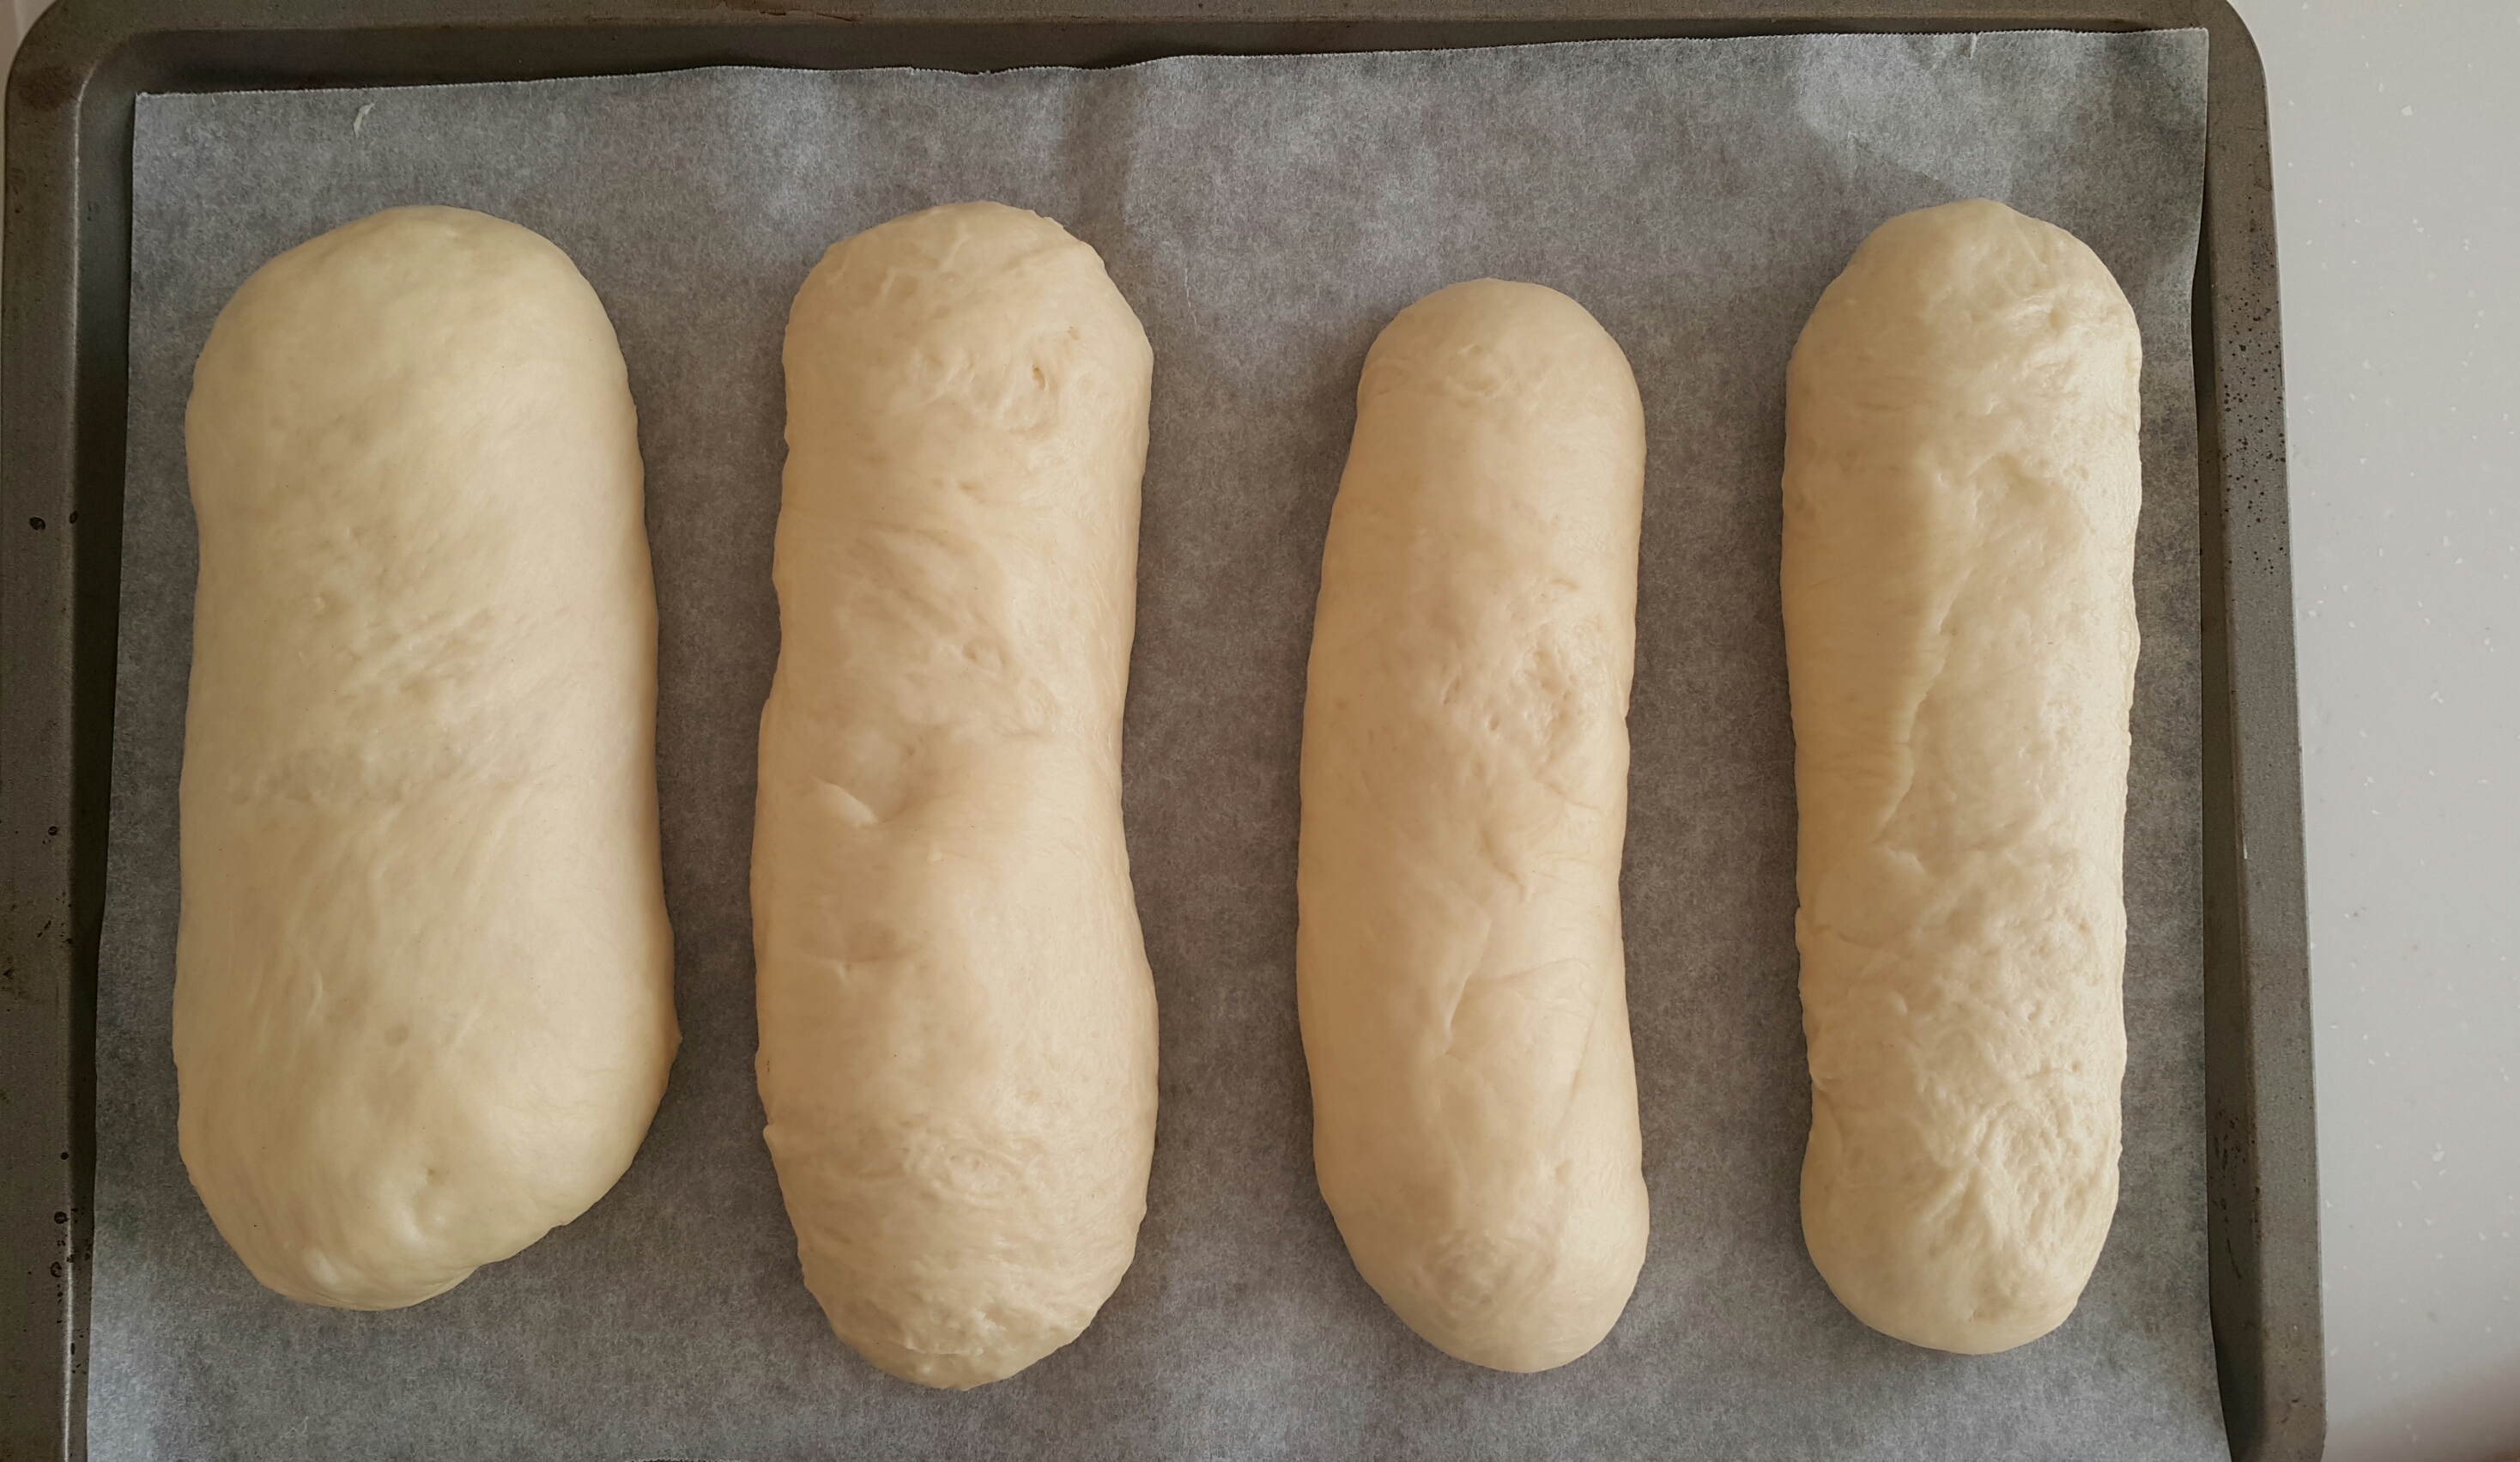
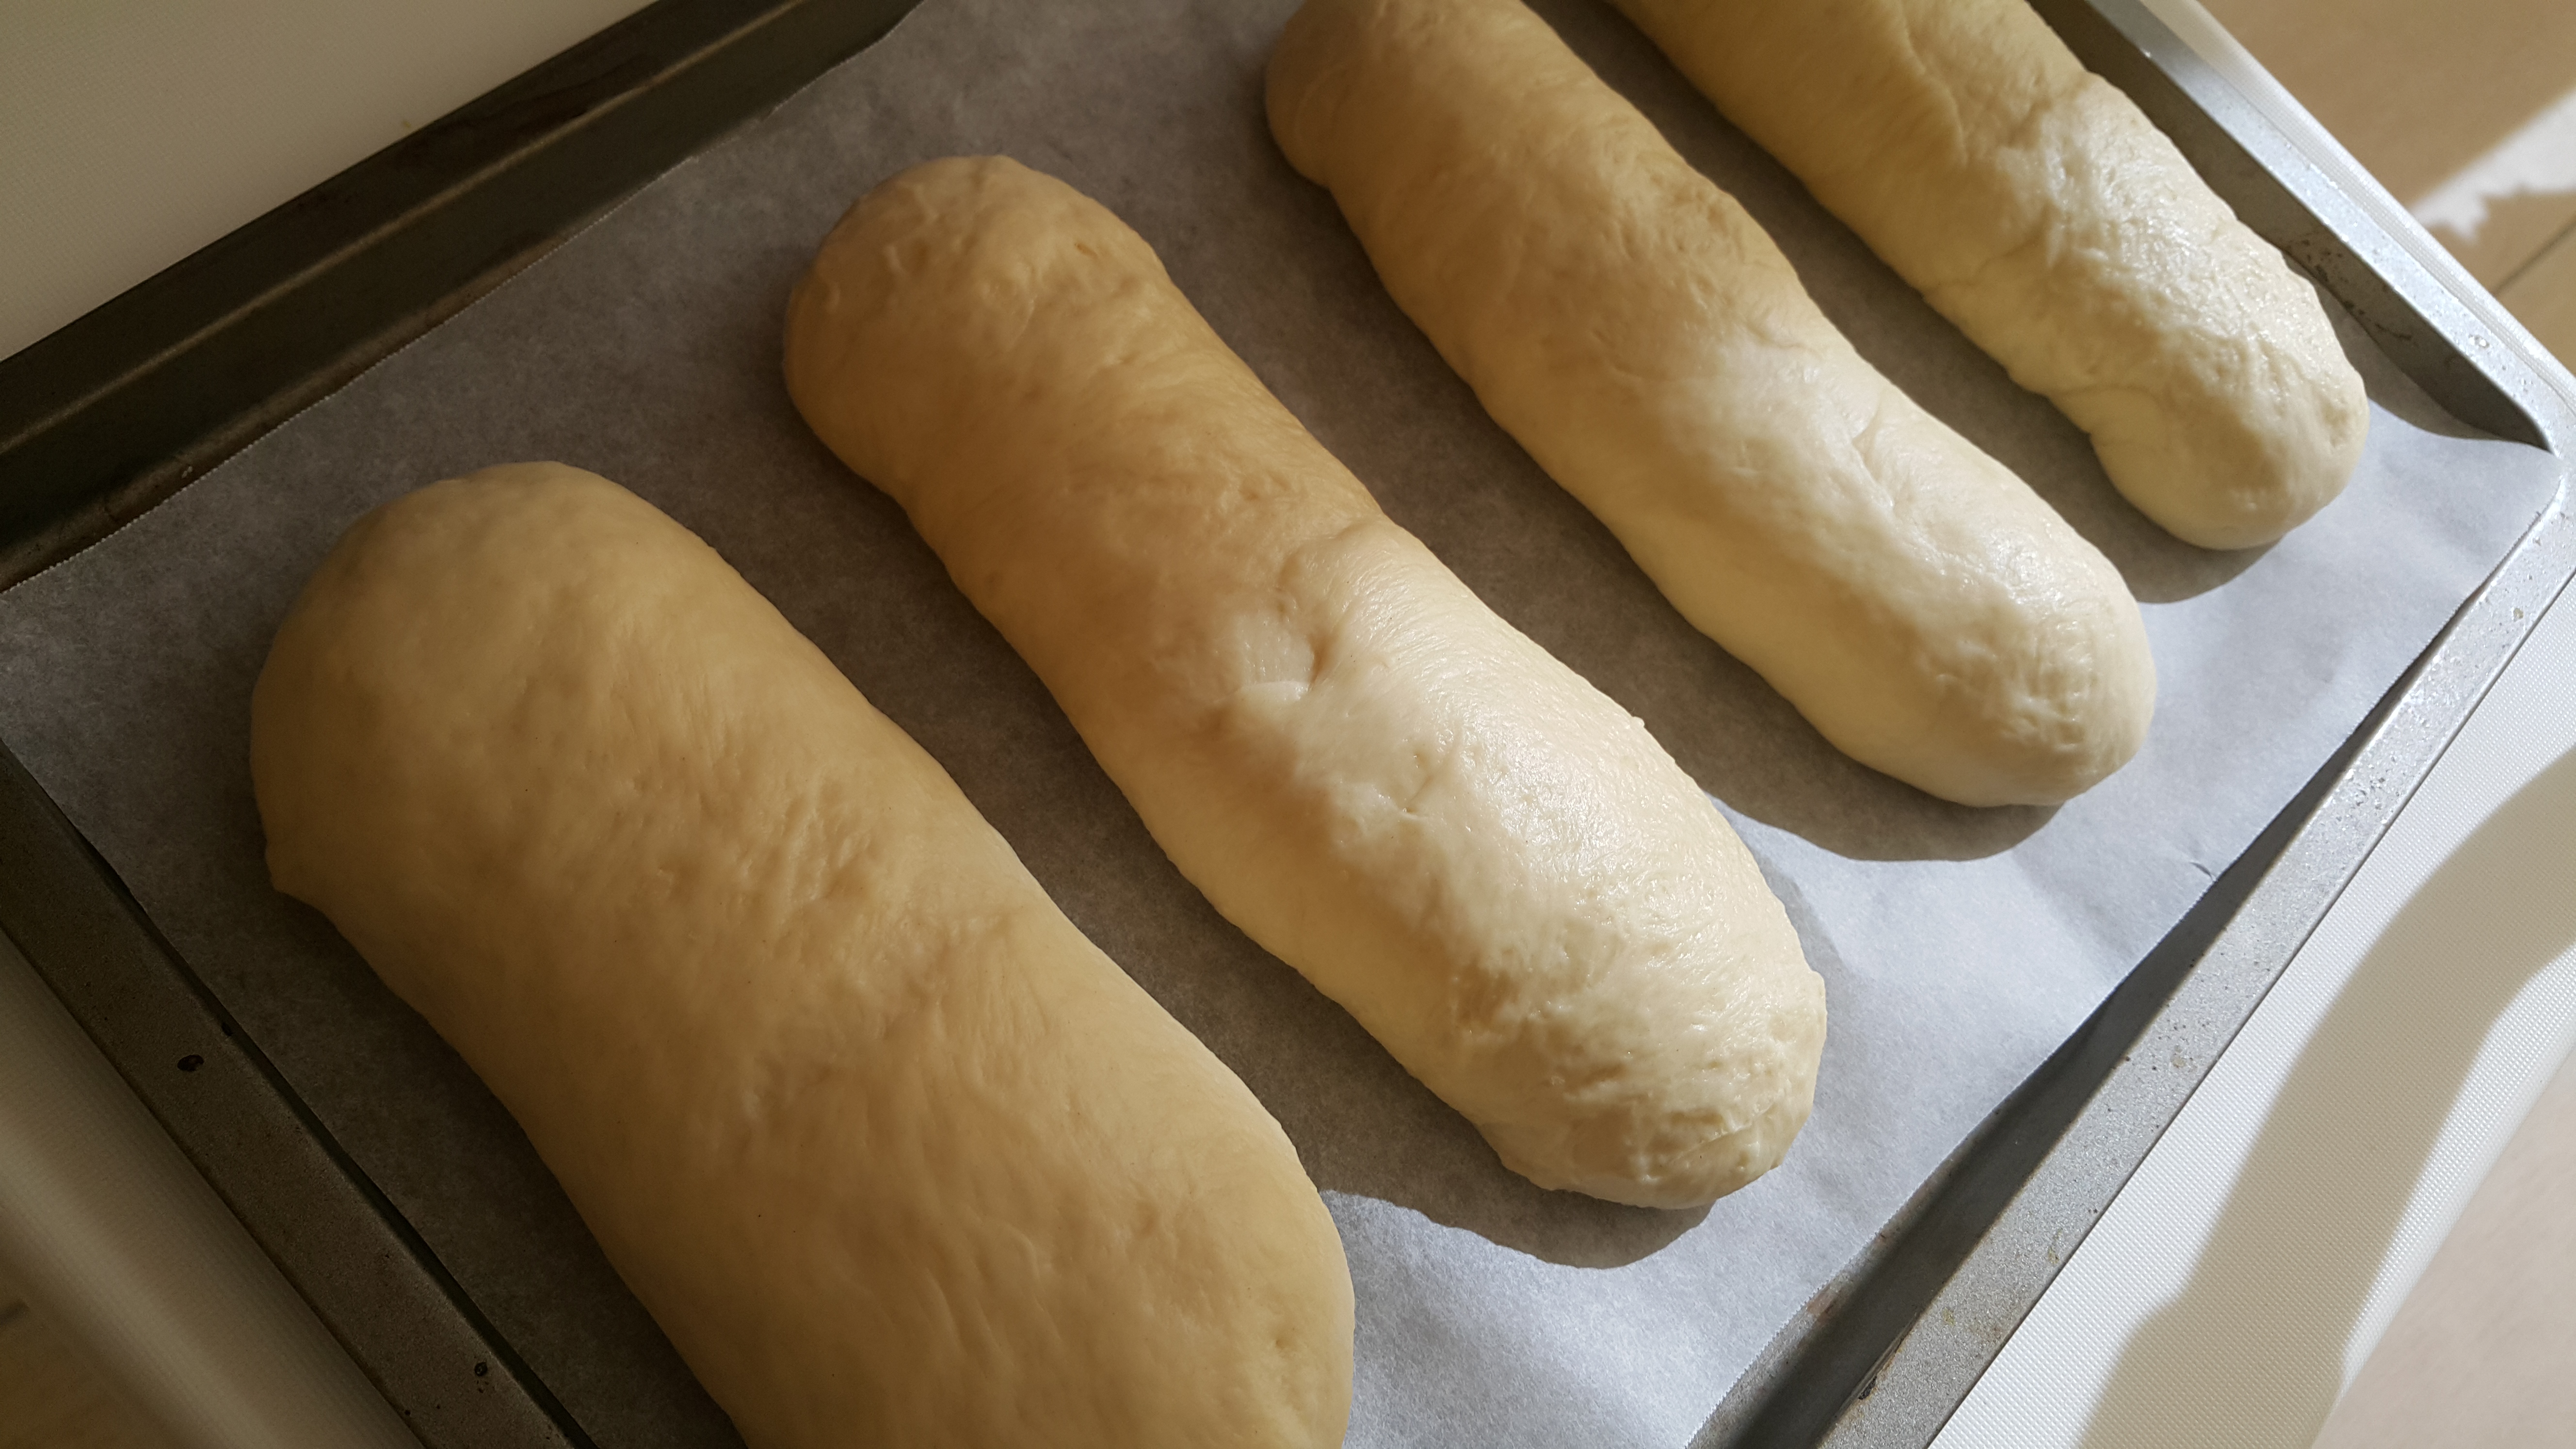
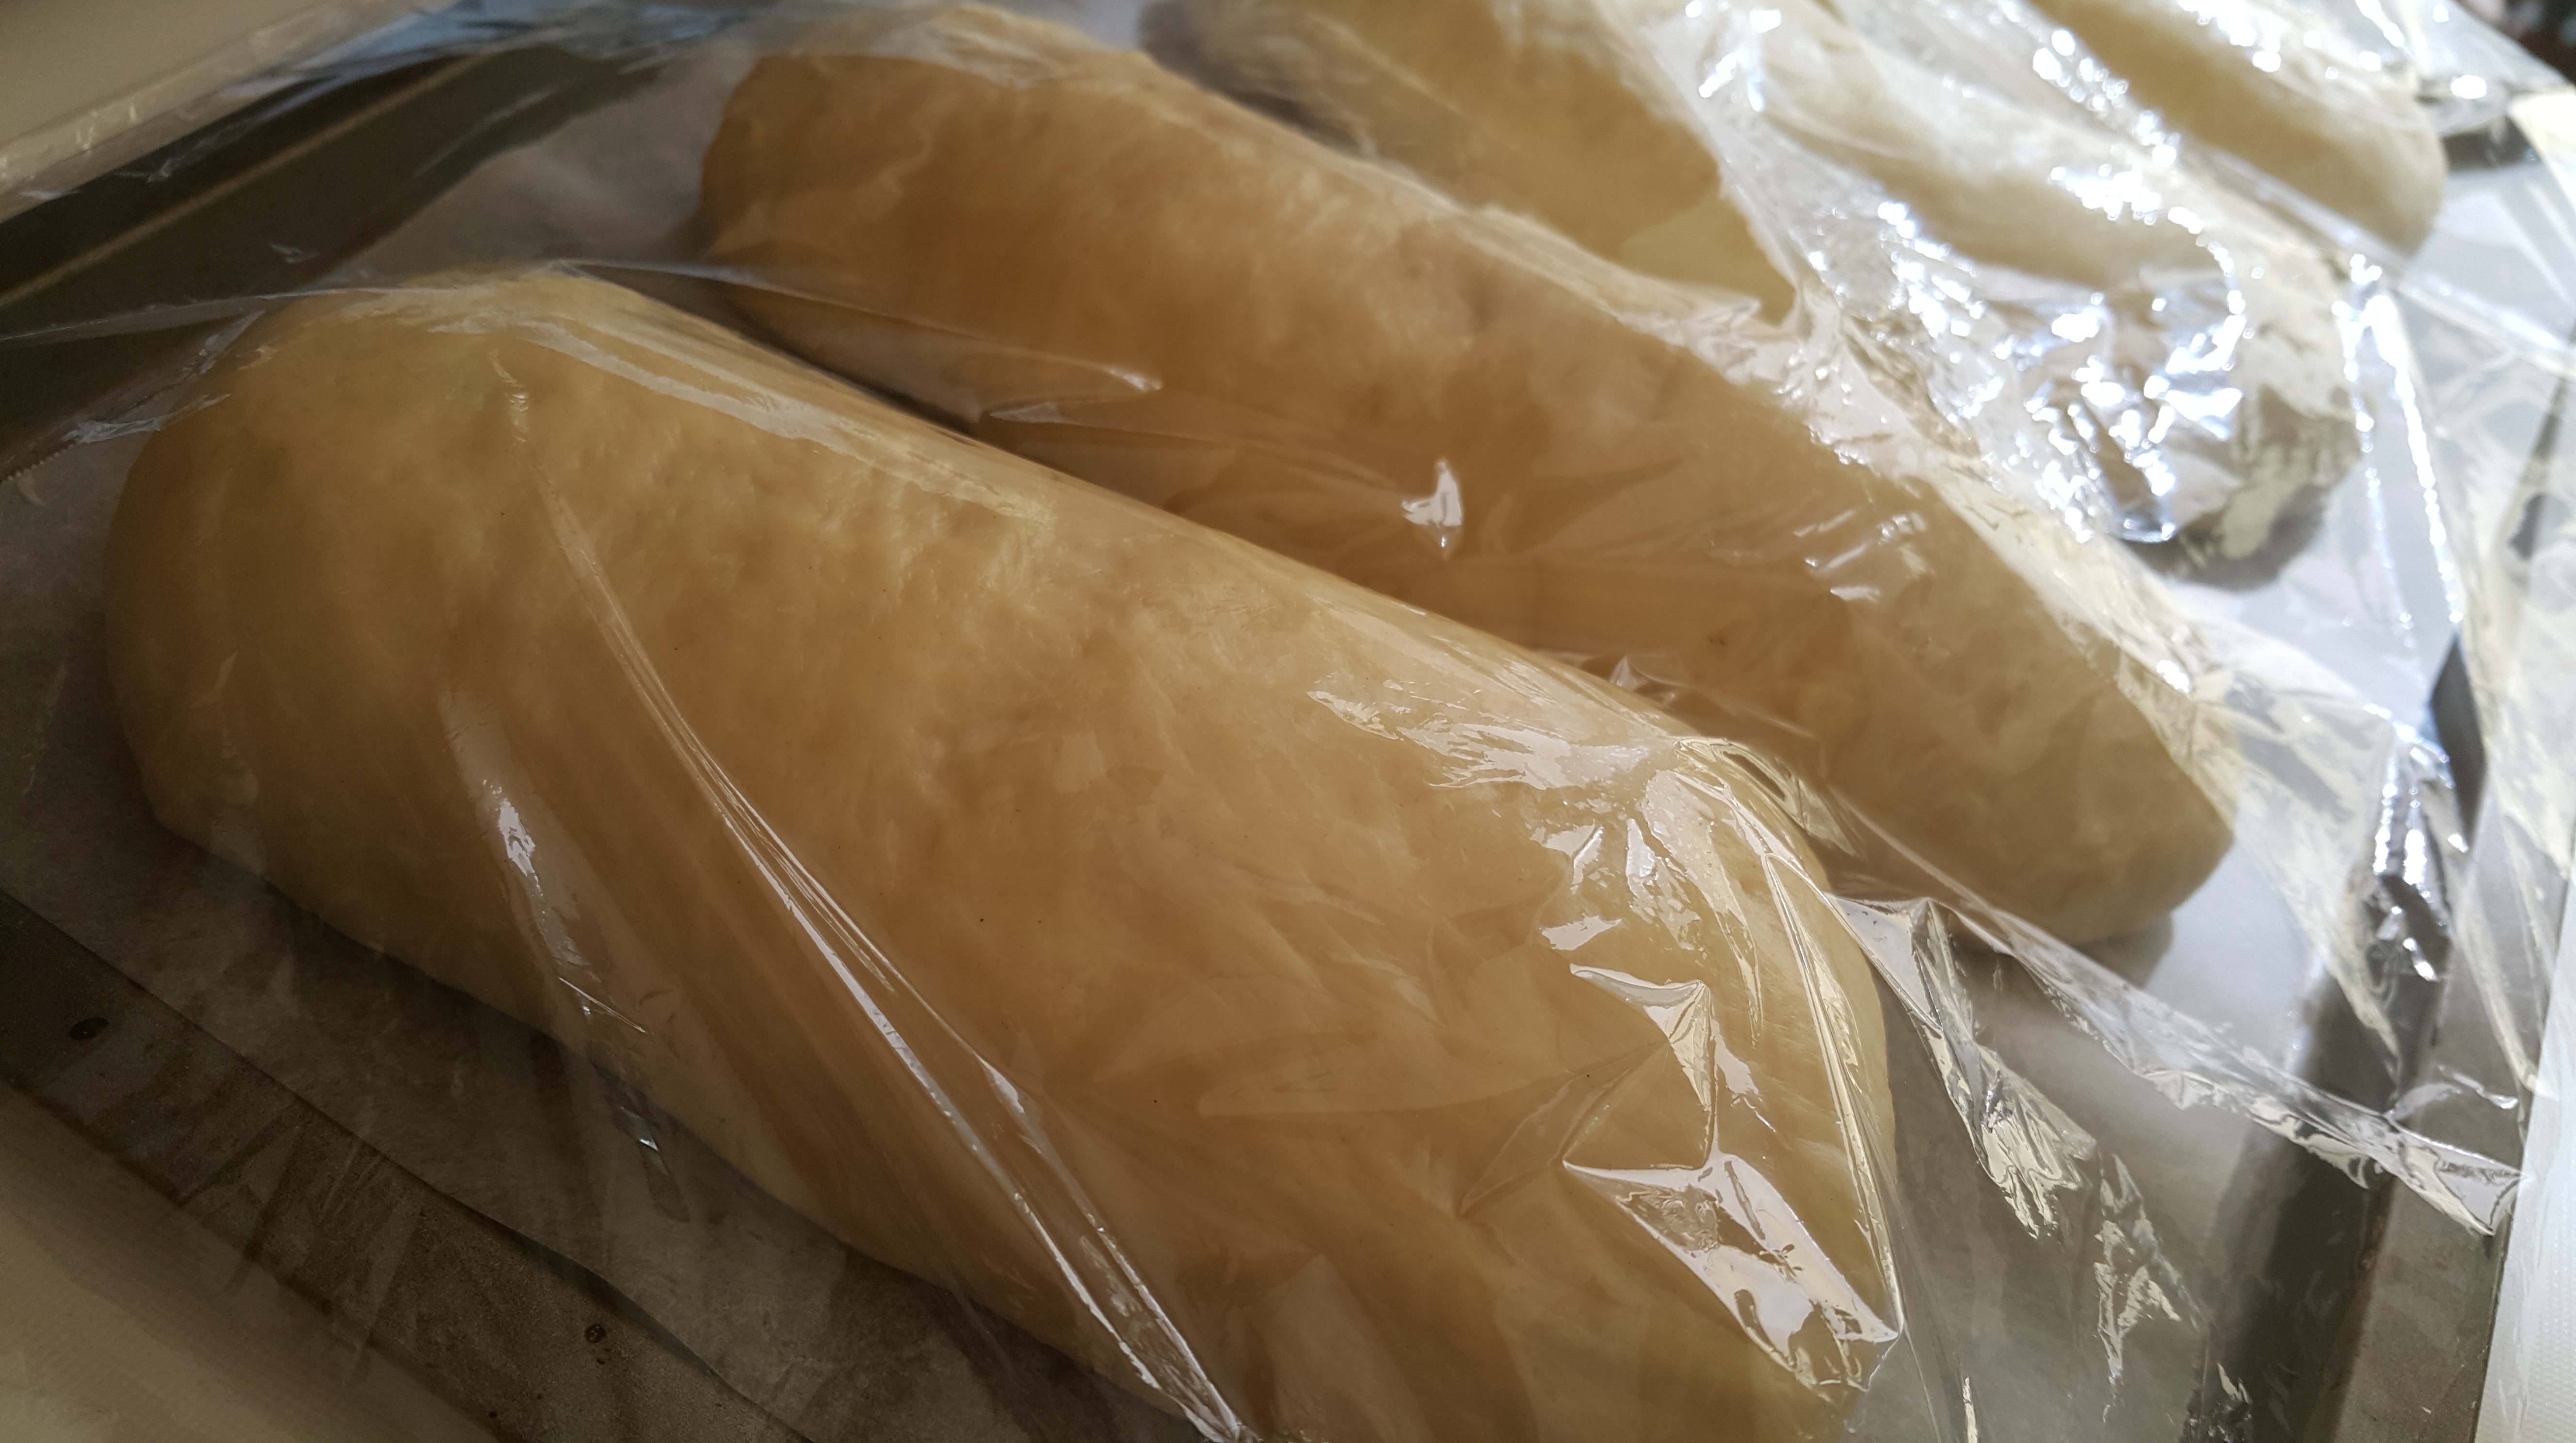
Cover, and leave to rise until doubled or more. This takes about an hour. Preheat your oven to 180C somewhere around this point.
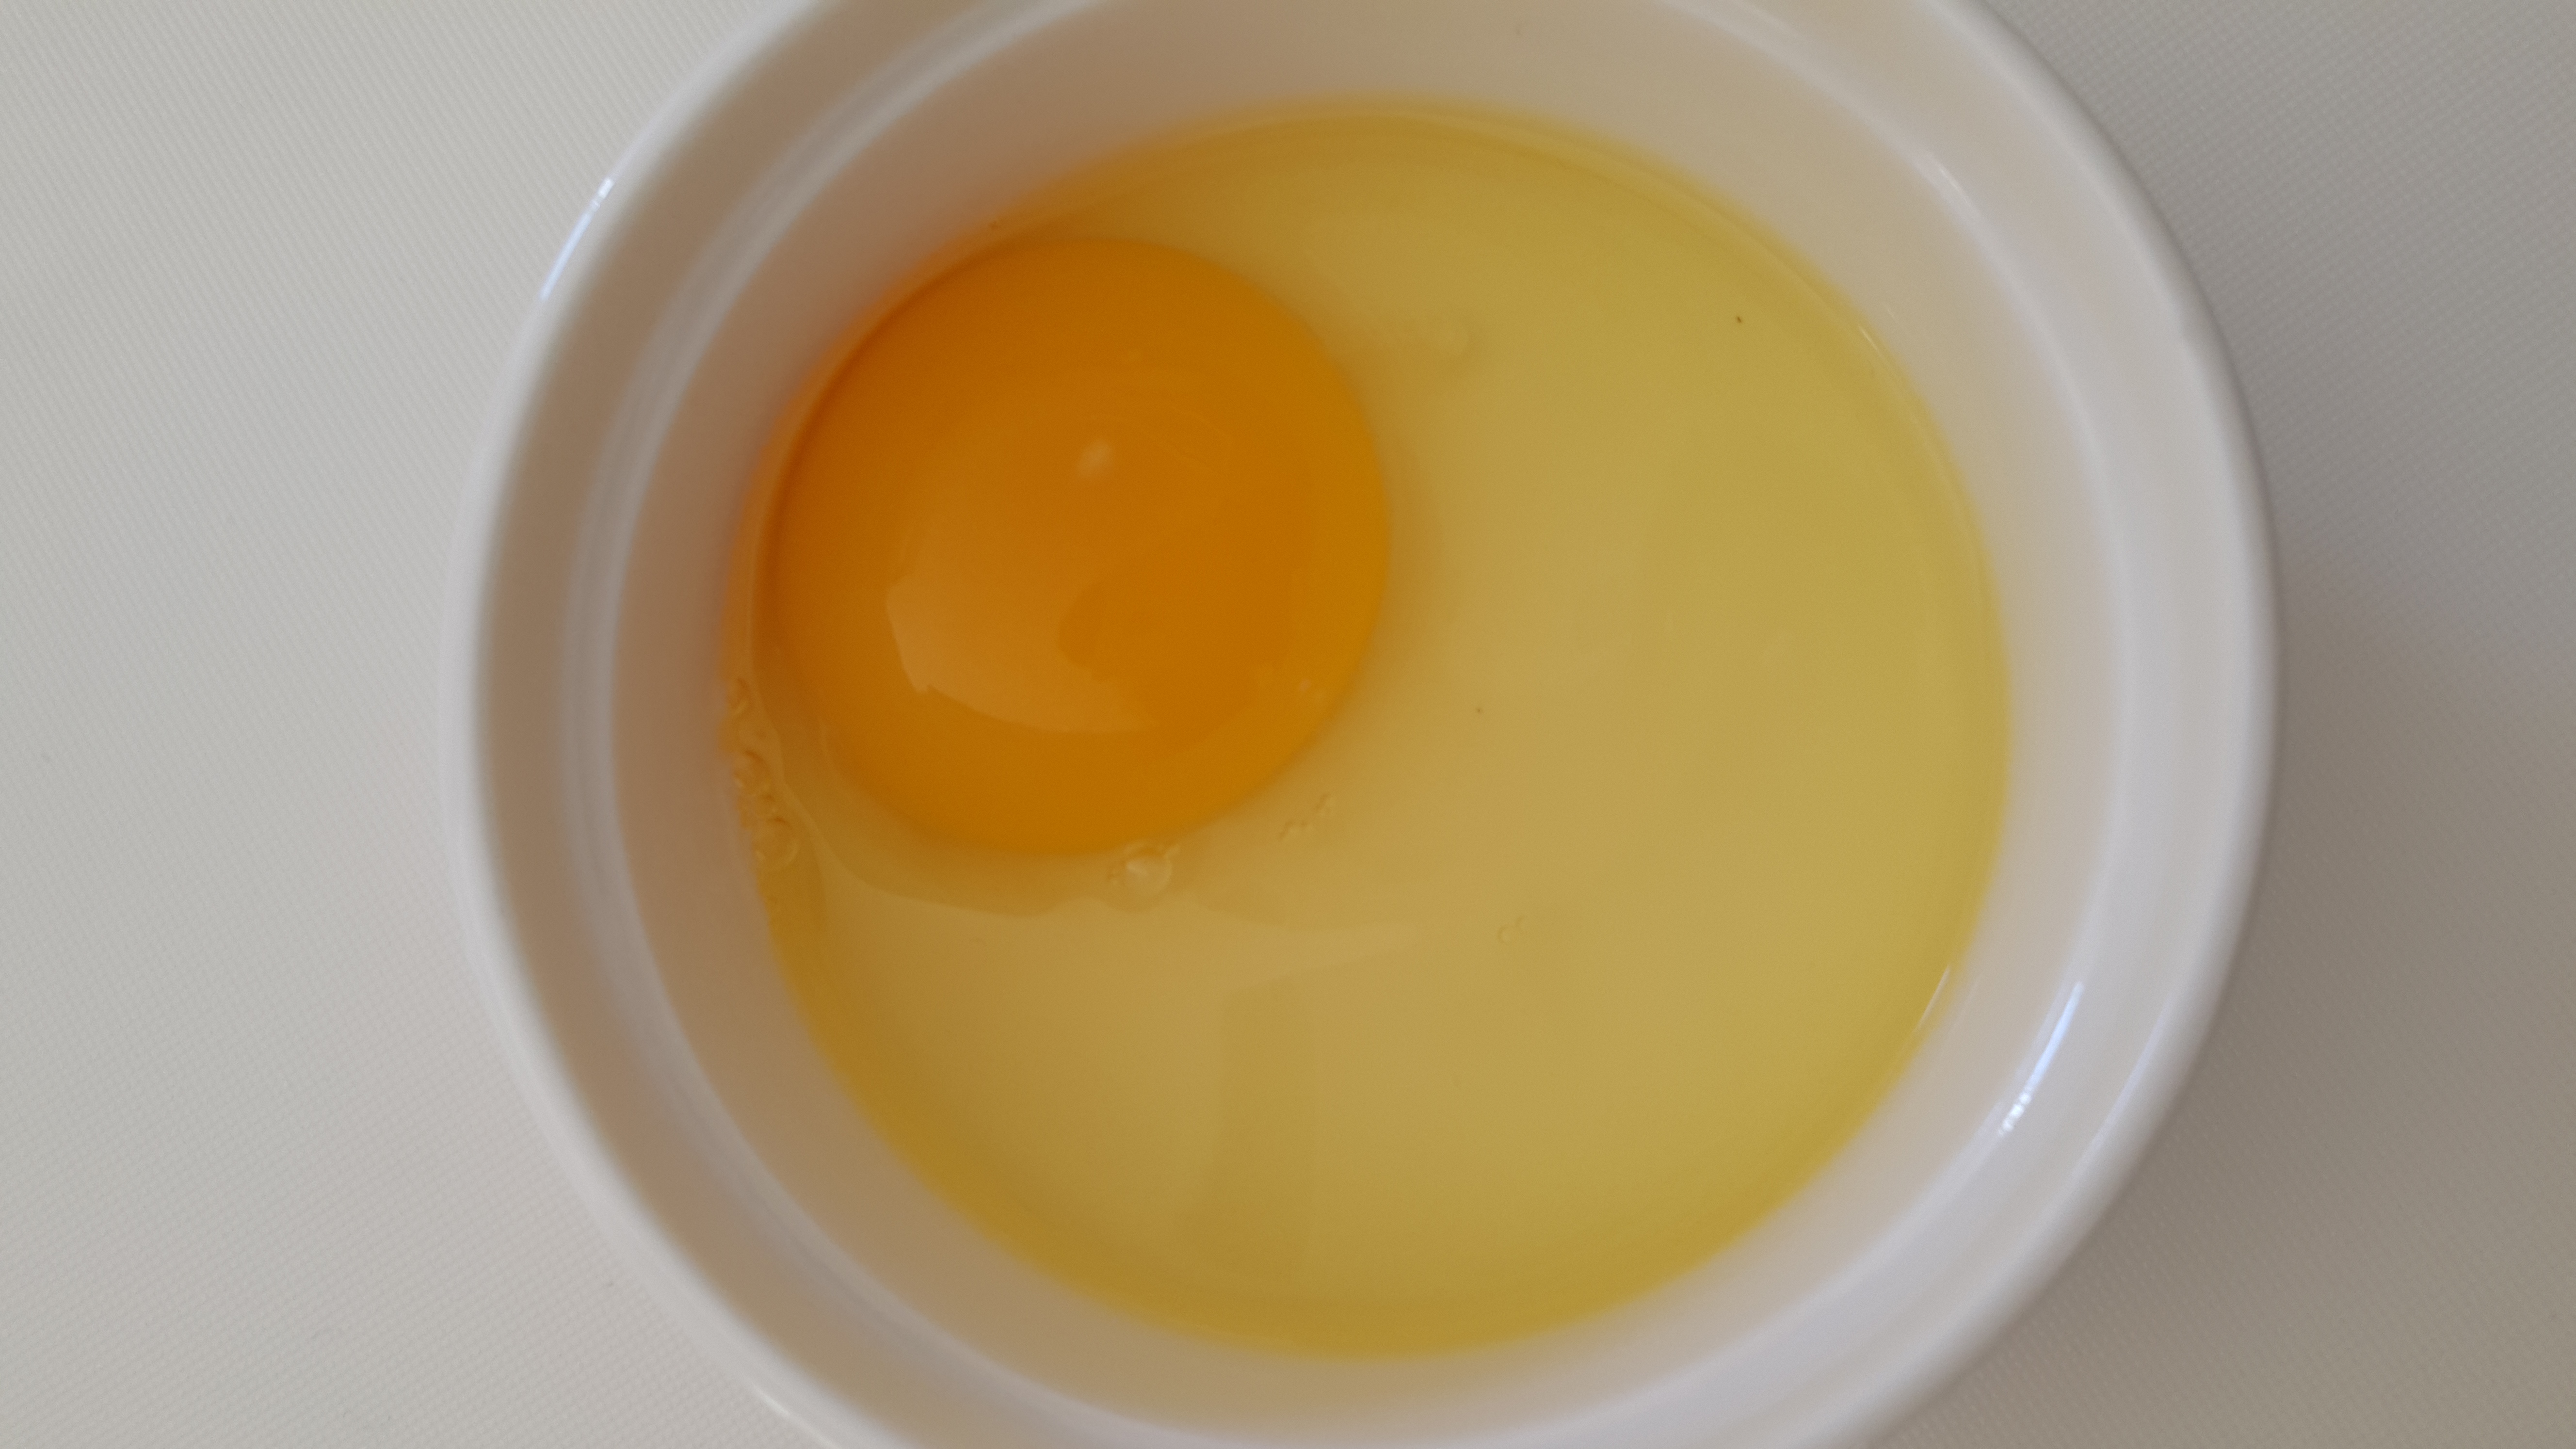
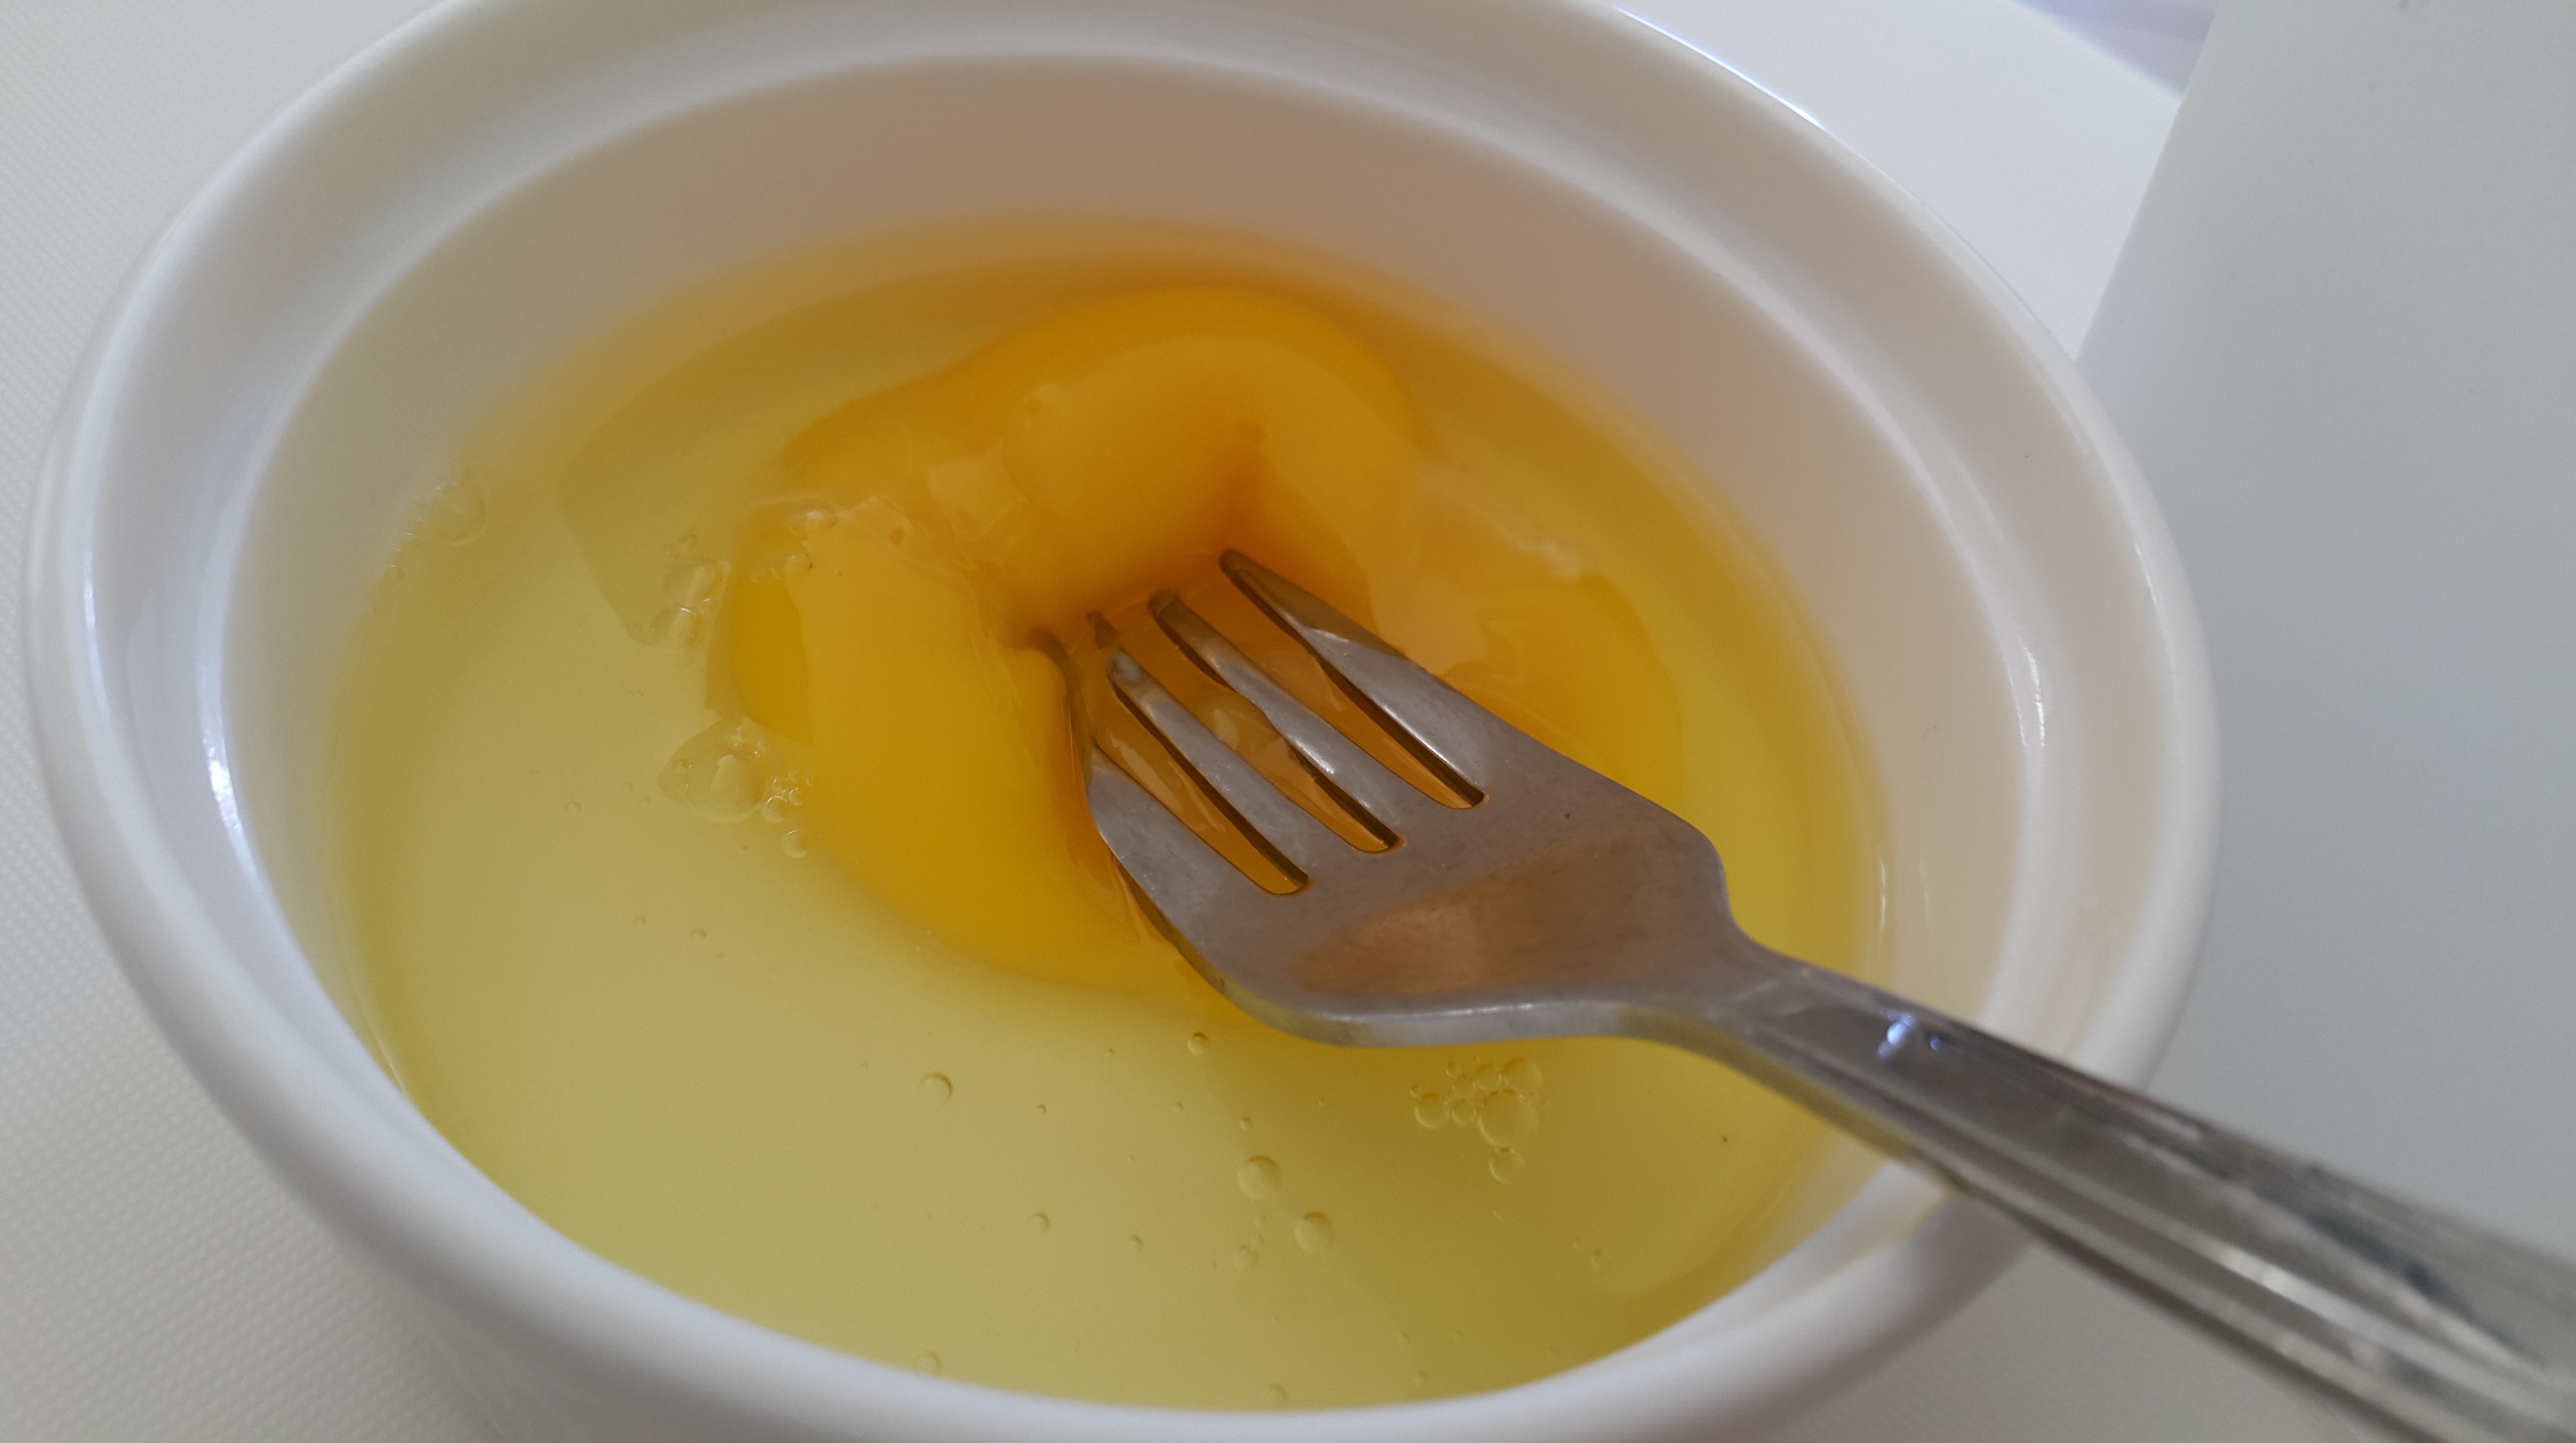
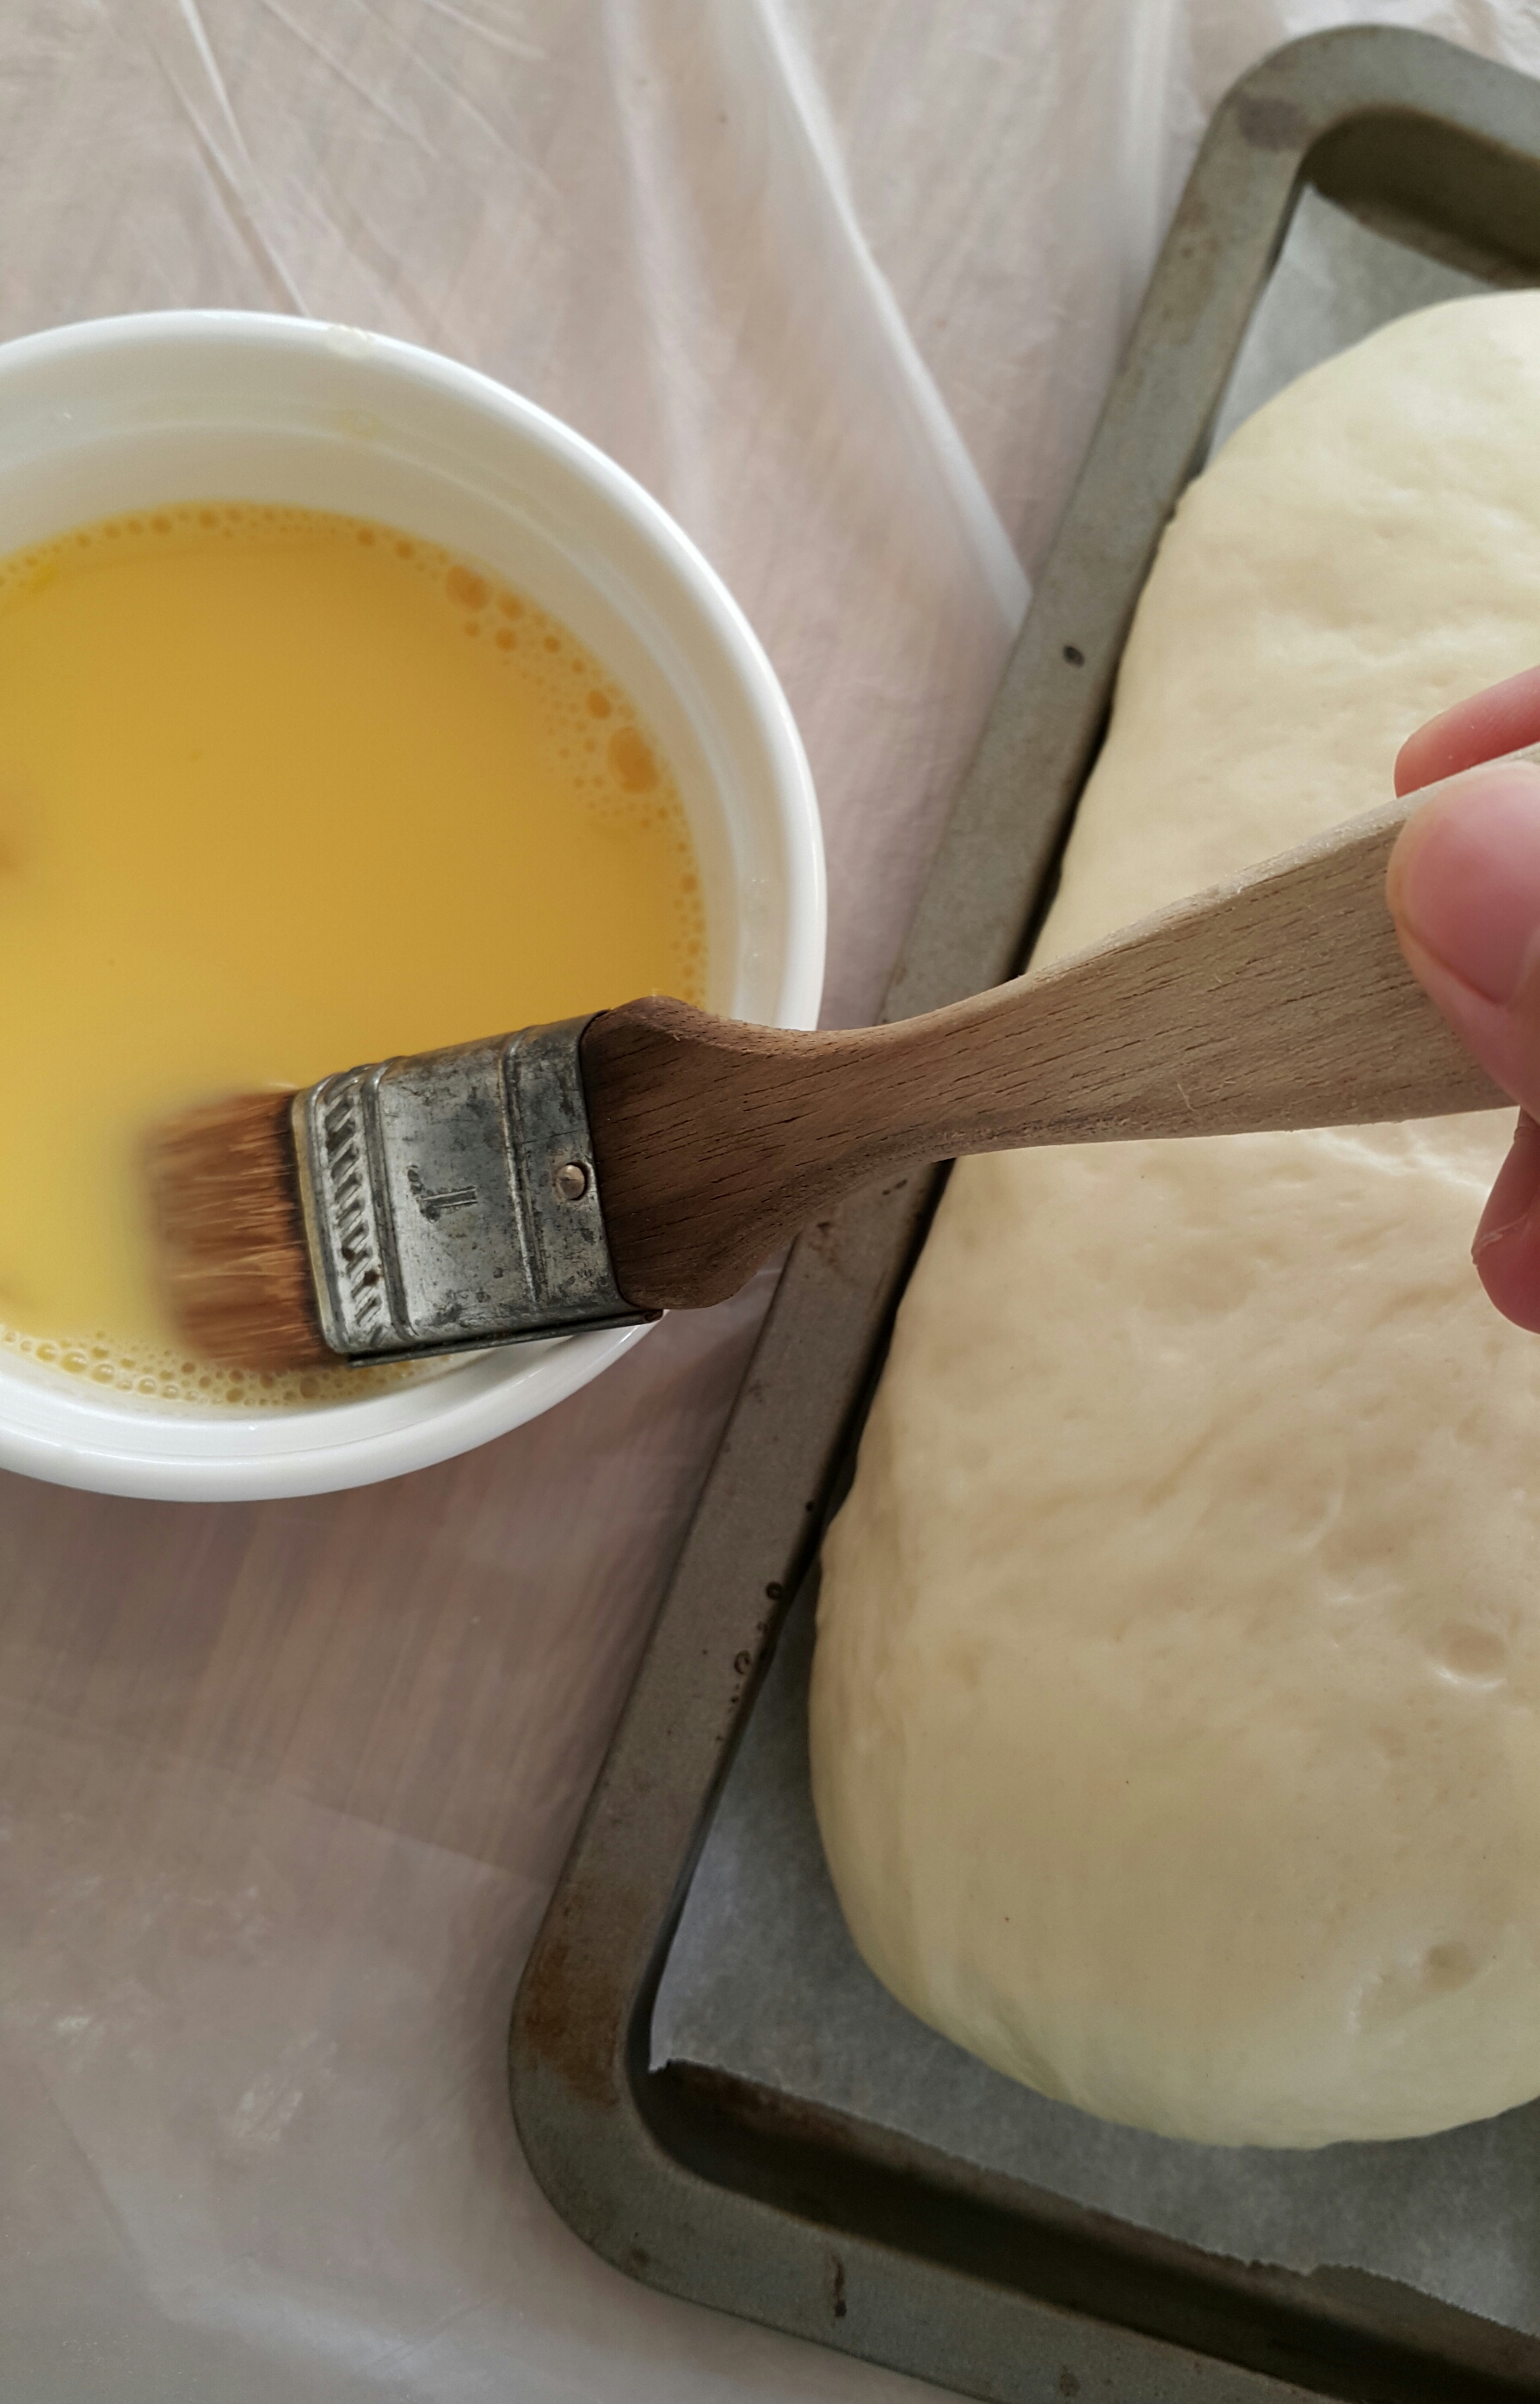
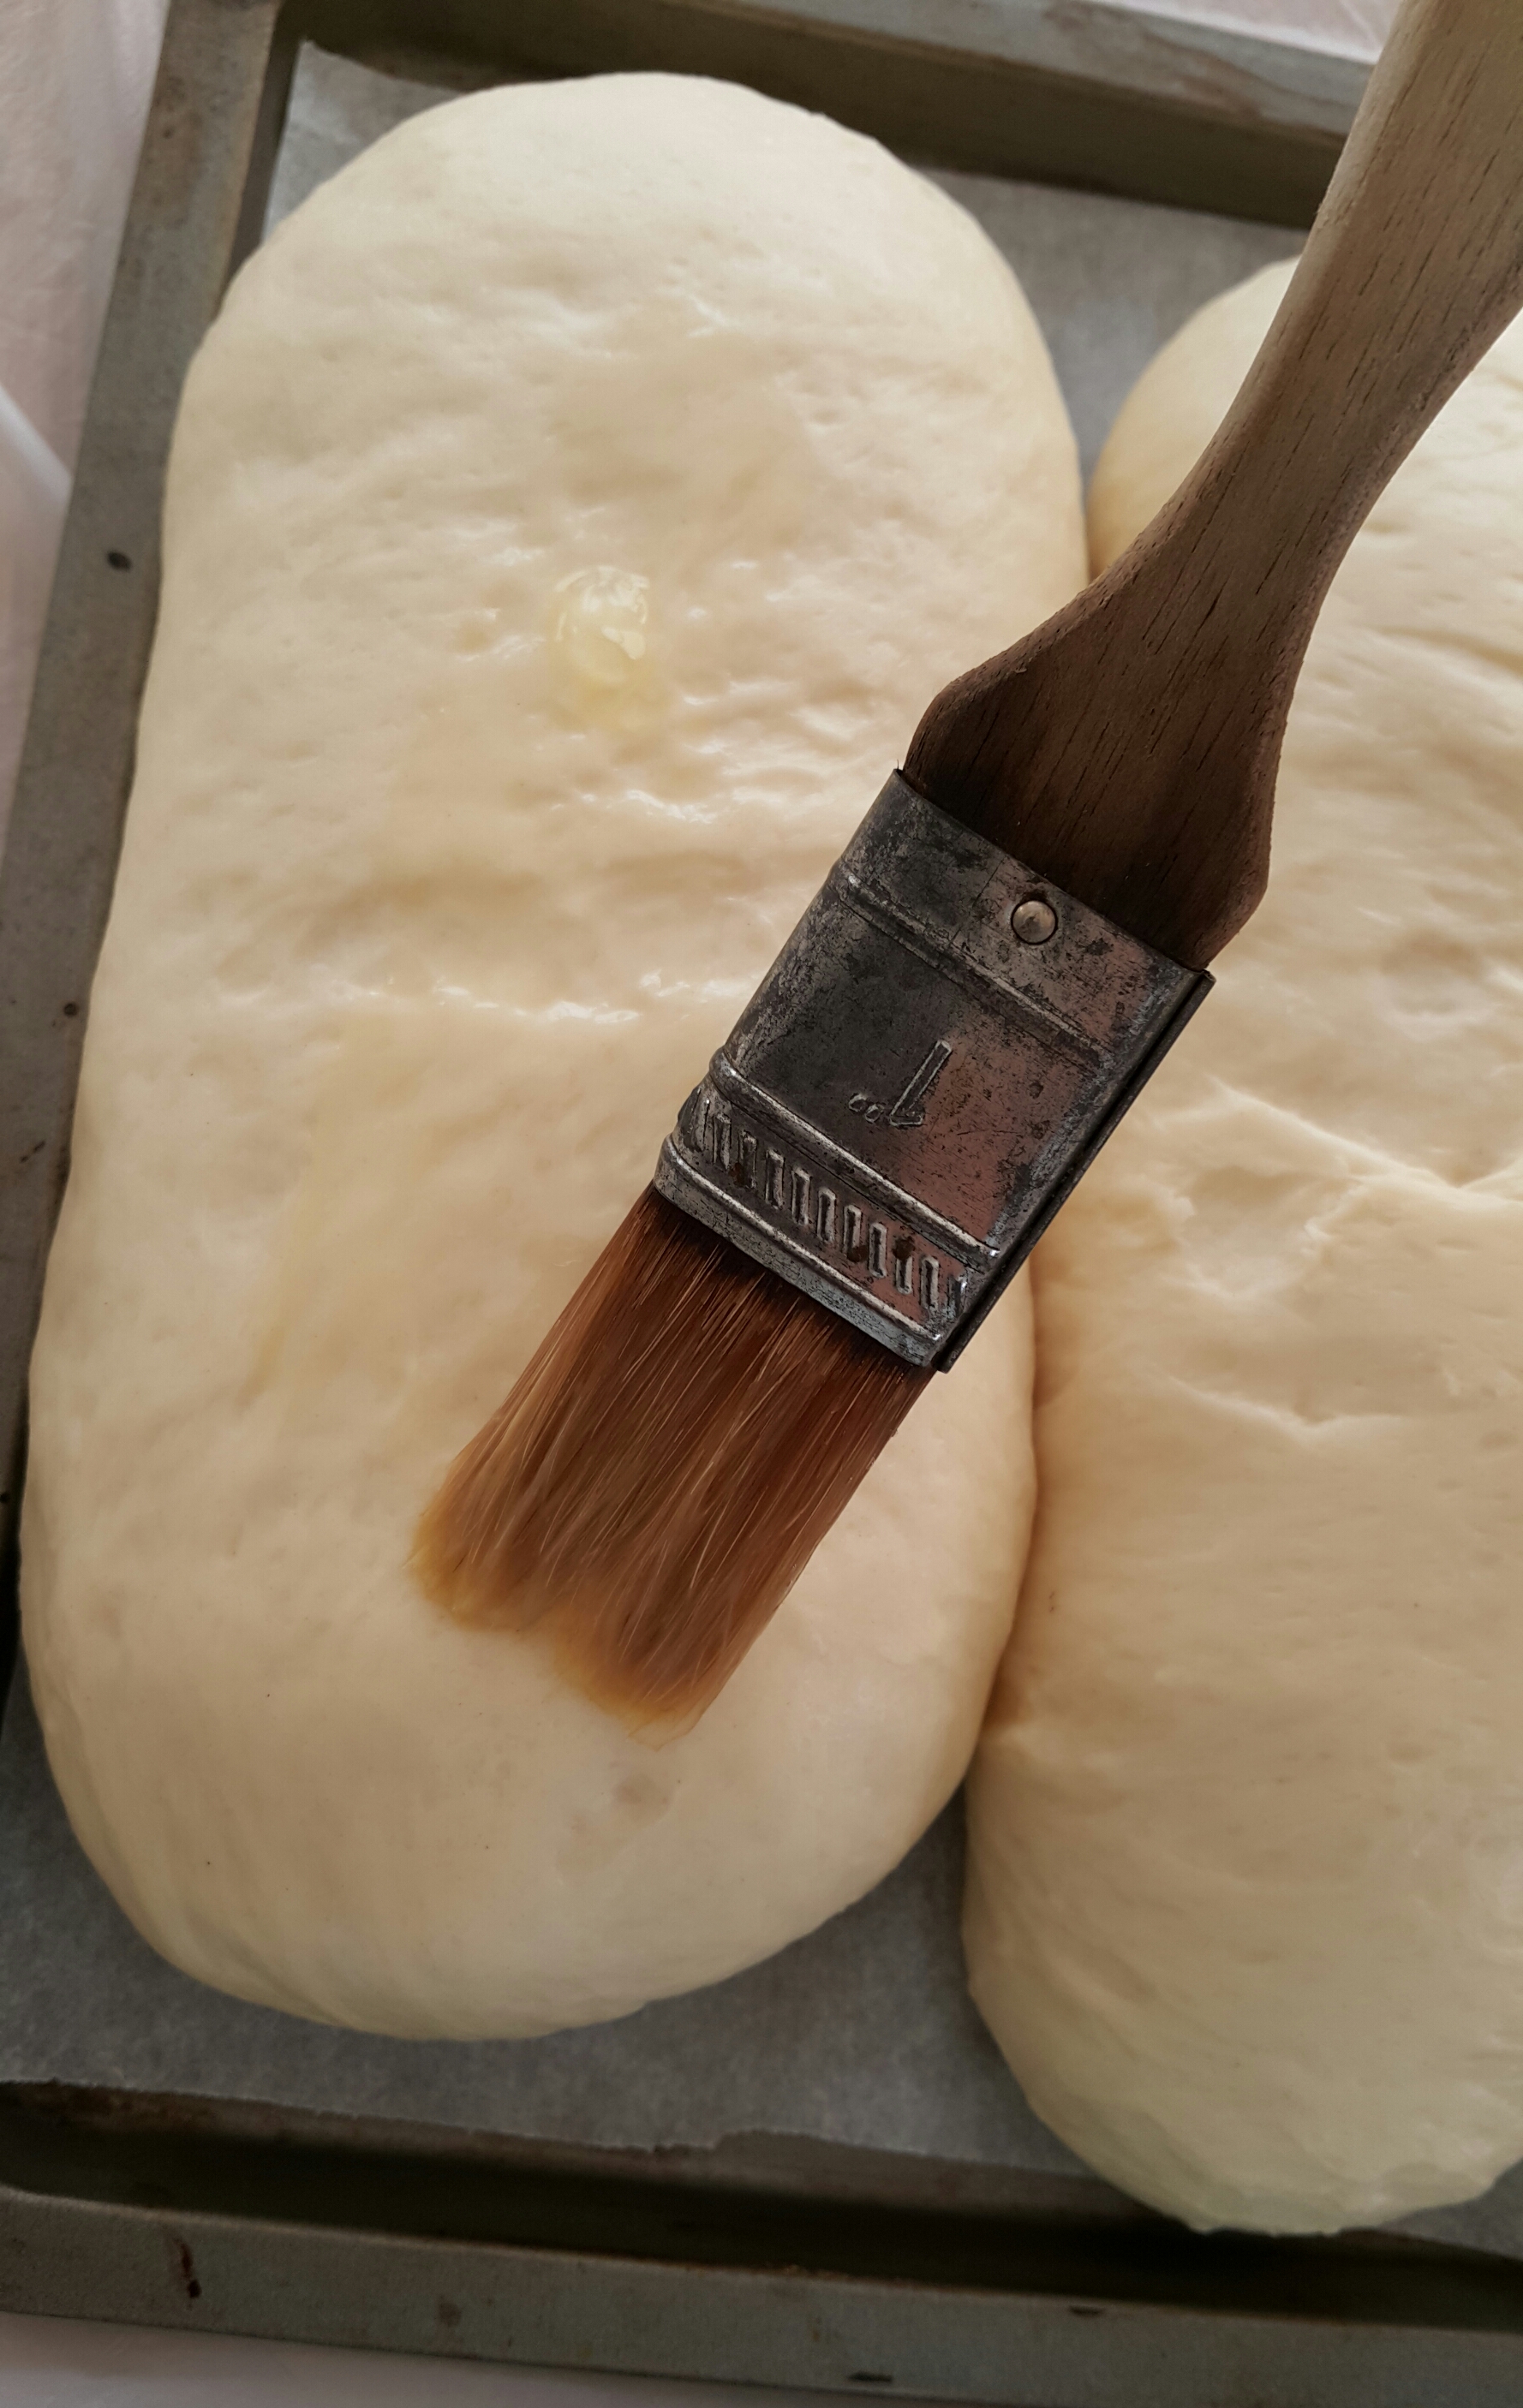
When they’re ready to bake, prepare the egg wash. Crack an egg into a bowl or something and beat it with a little water.
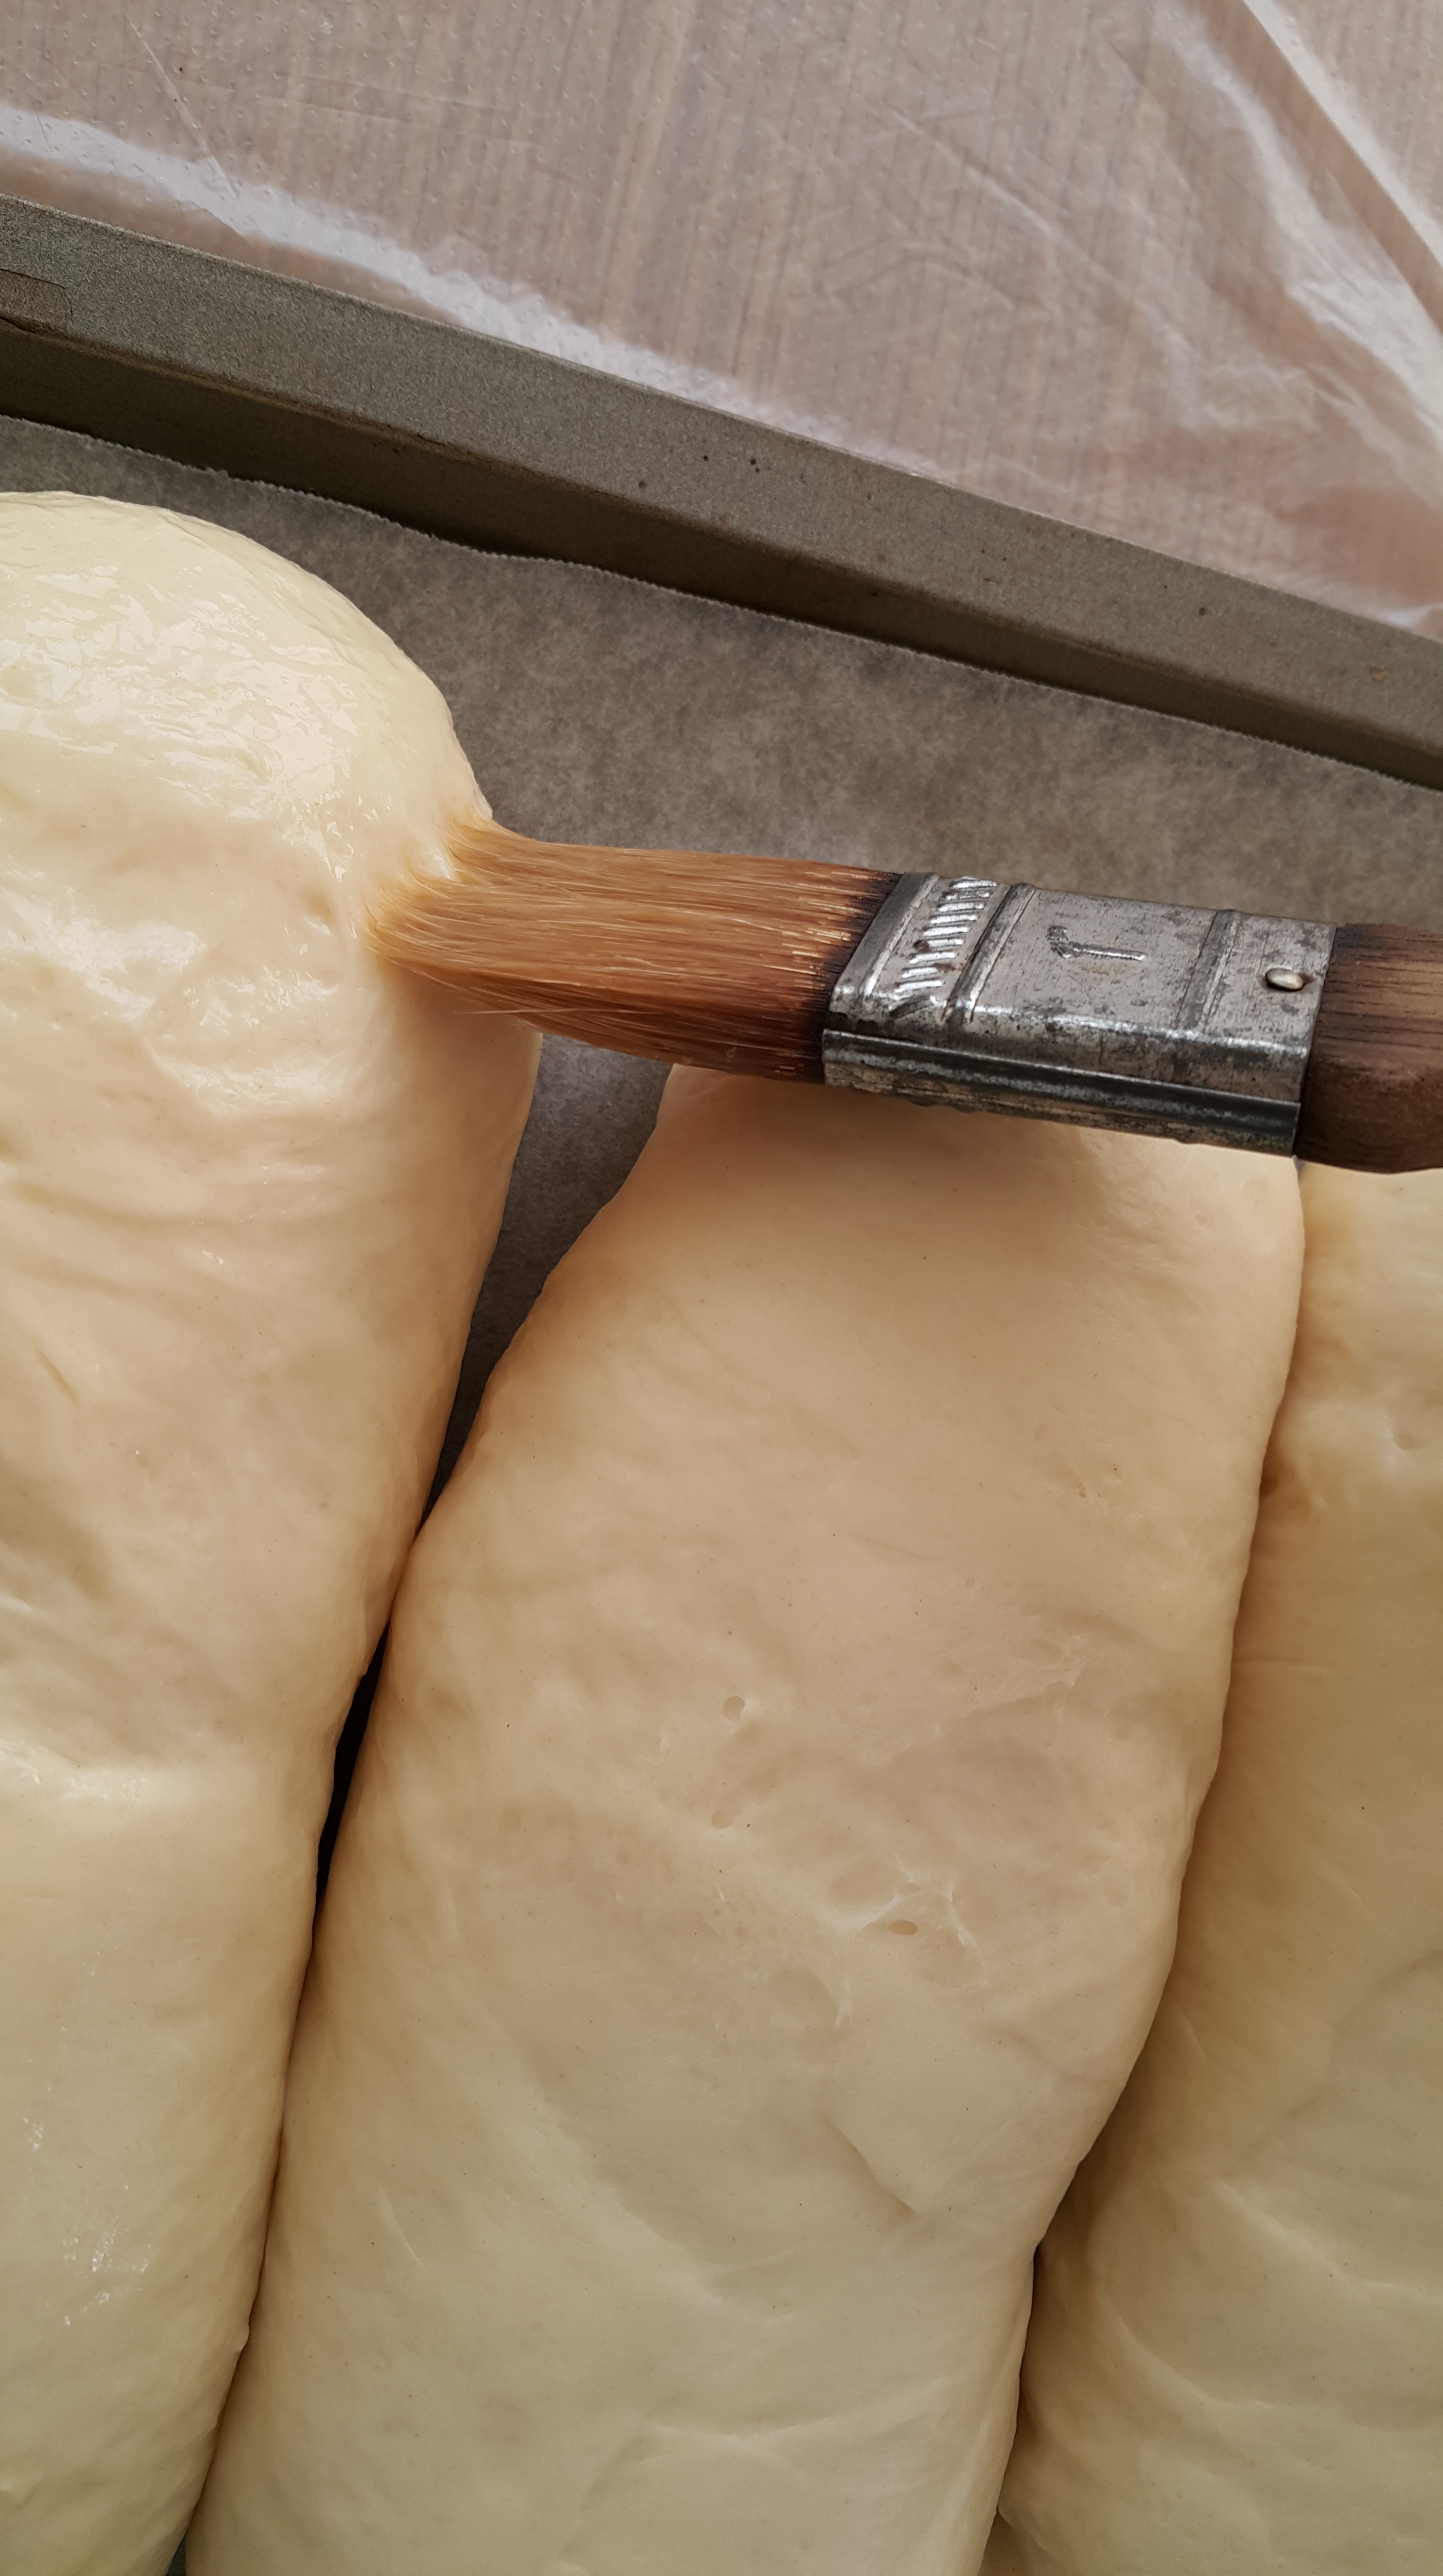
Using a pastry brush, carefully brush the egg wash onto the buns. You don’t want to skimp on the egg wash. Double or triple coat the dough, if you must.

Try not to let the egg wash drip onto the sheet.
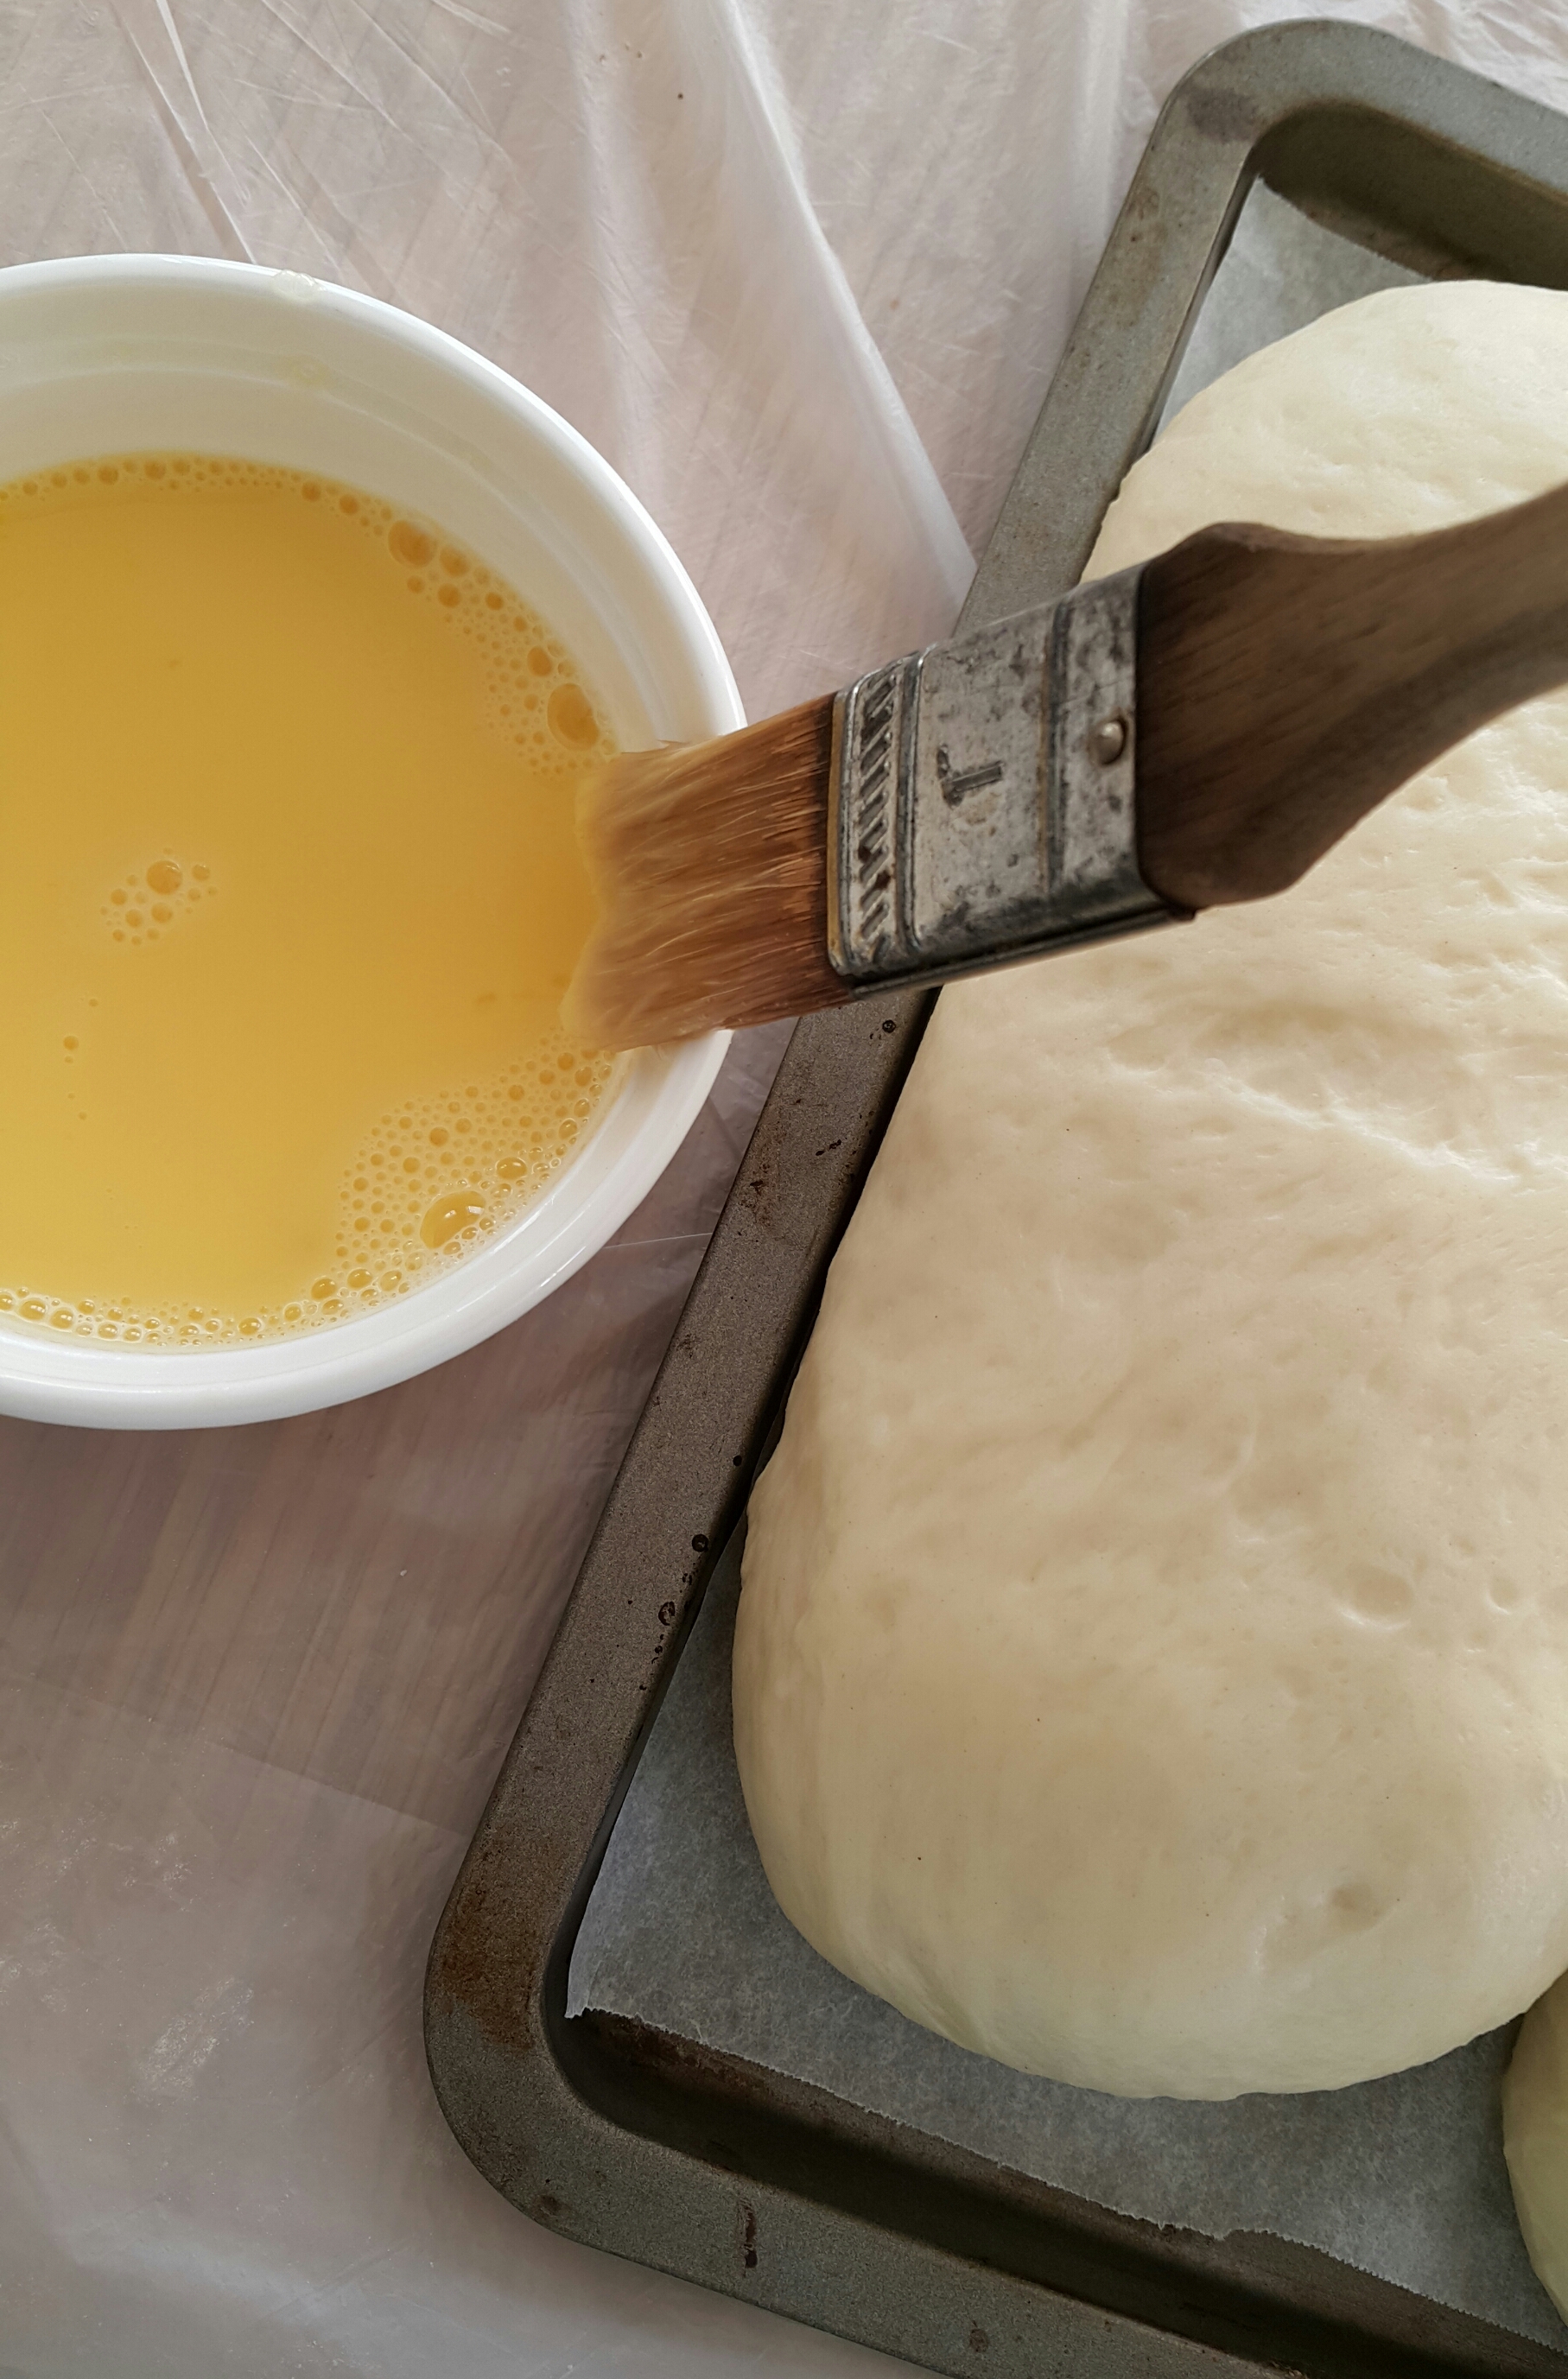
The egg wash is, after all, meant for the dough only.
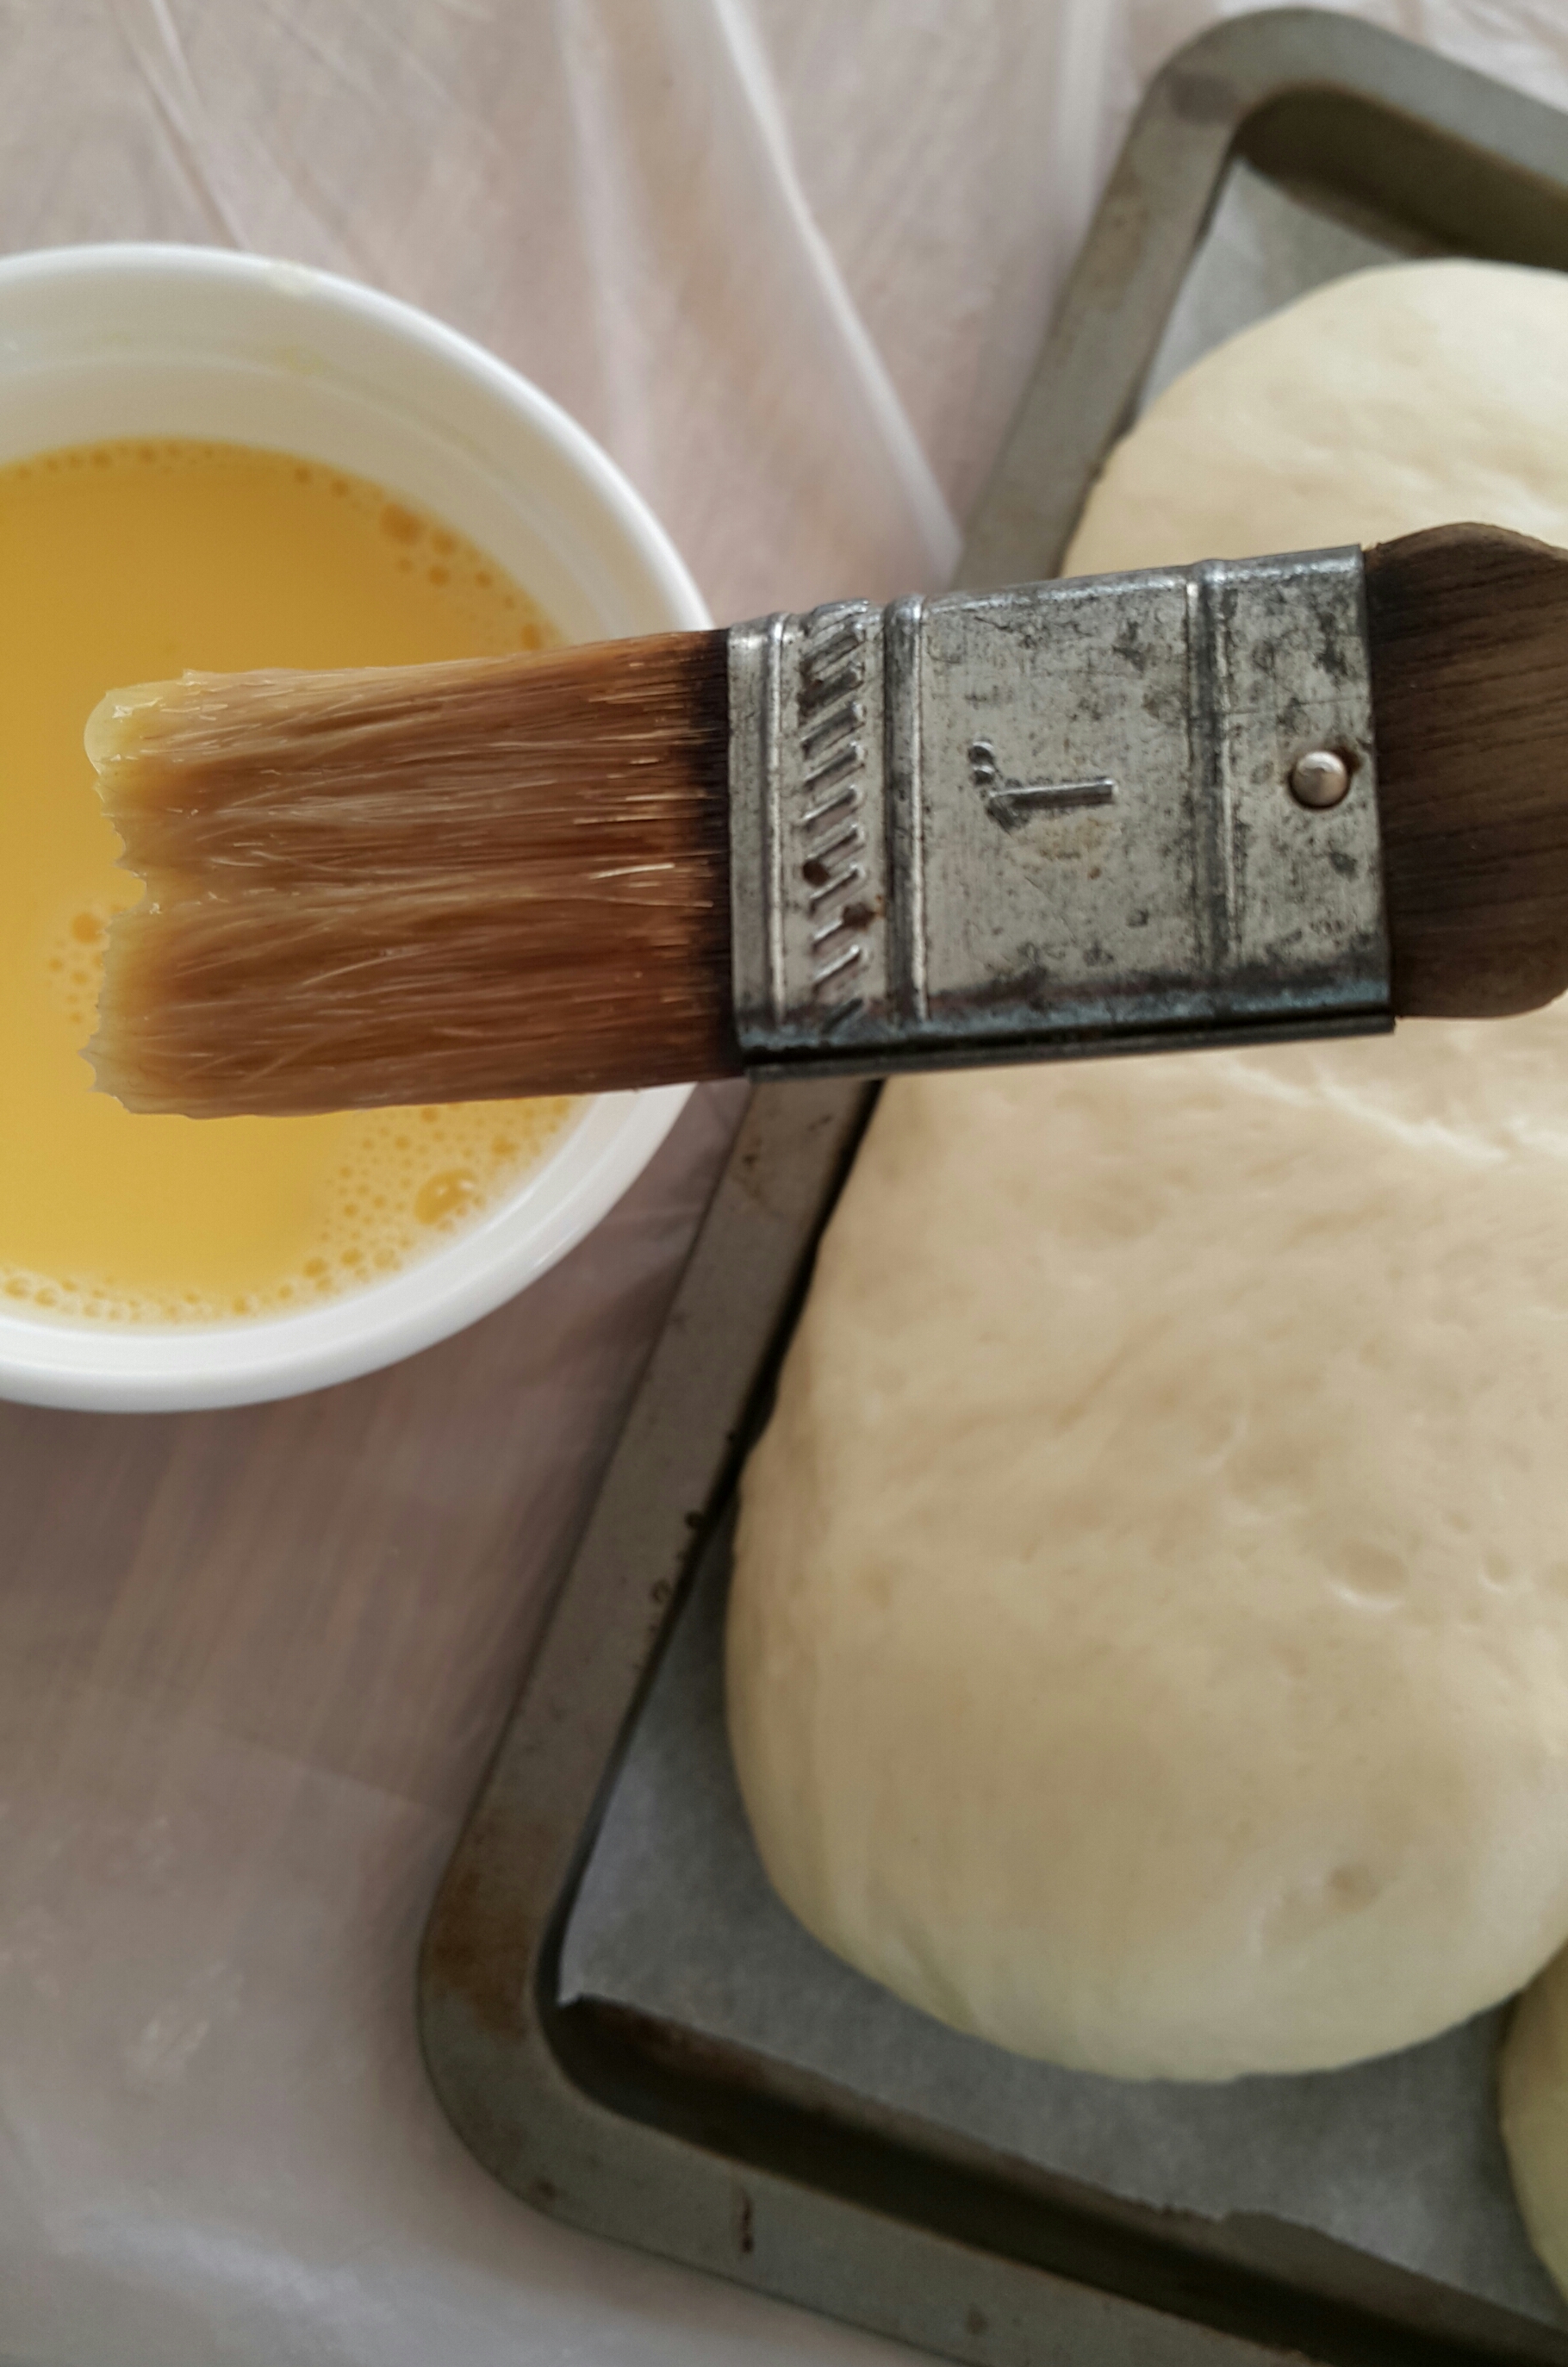
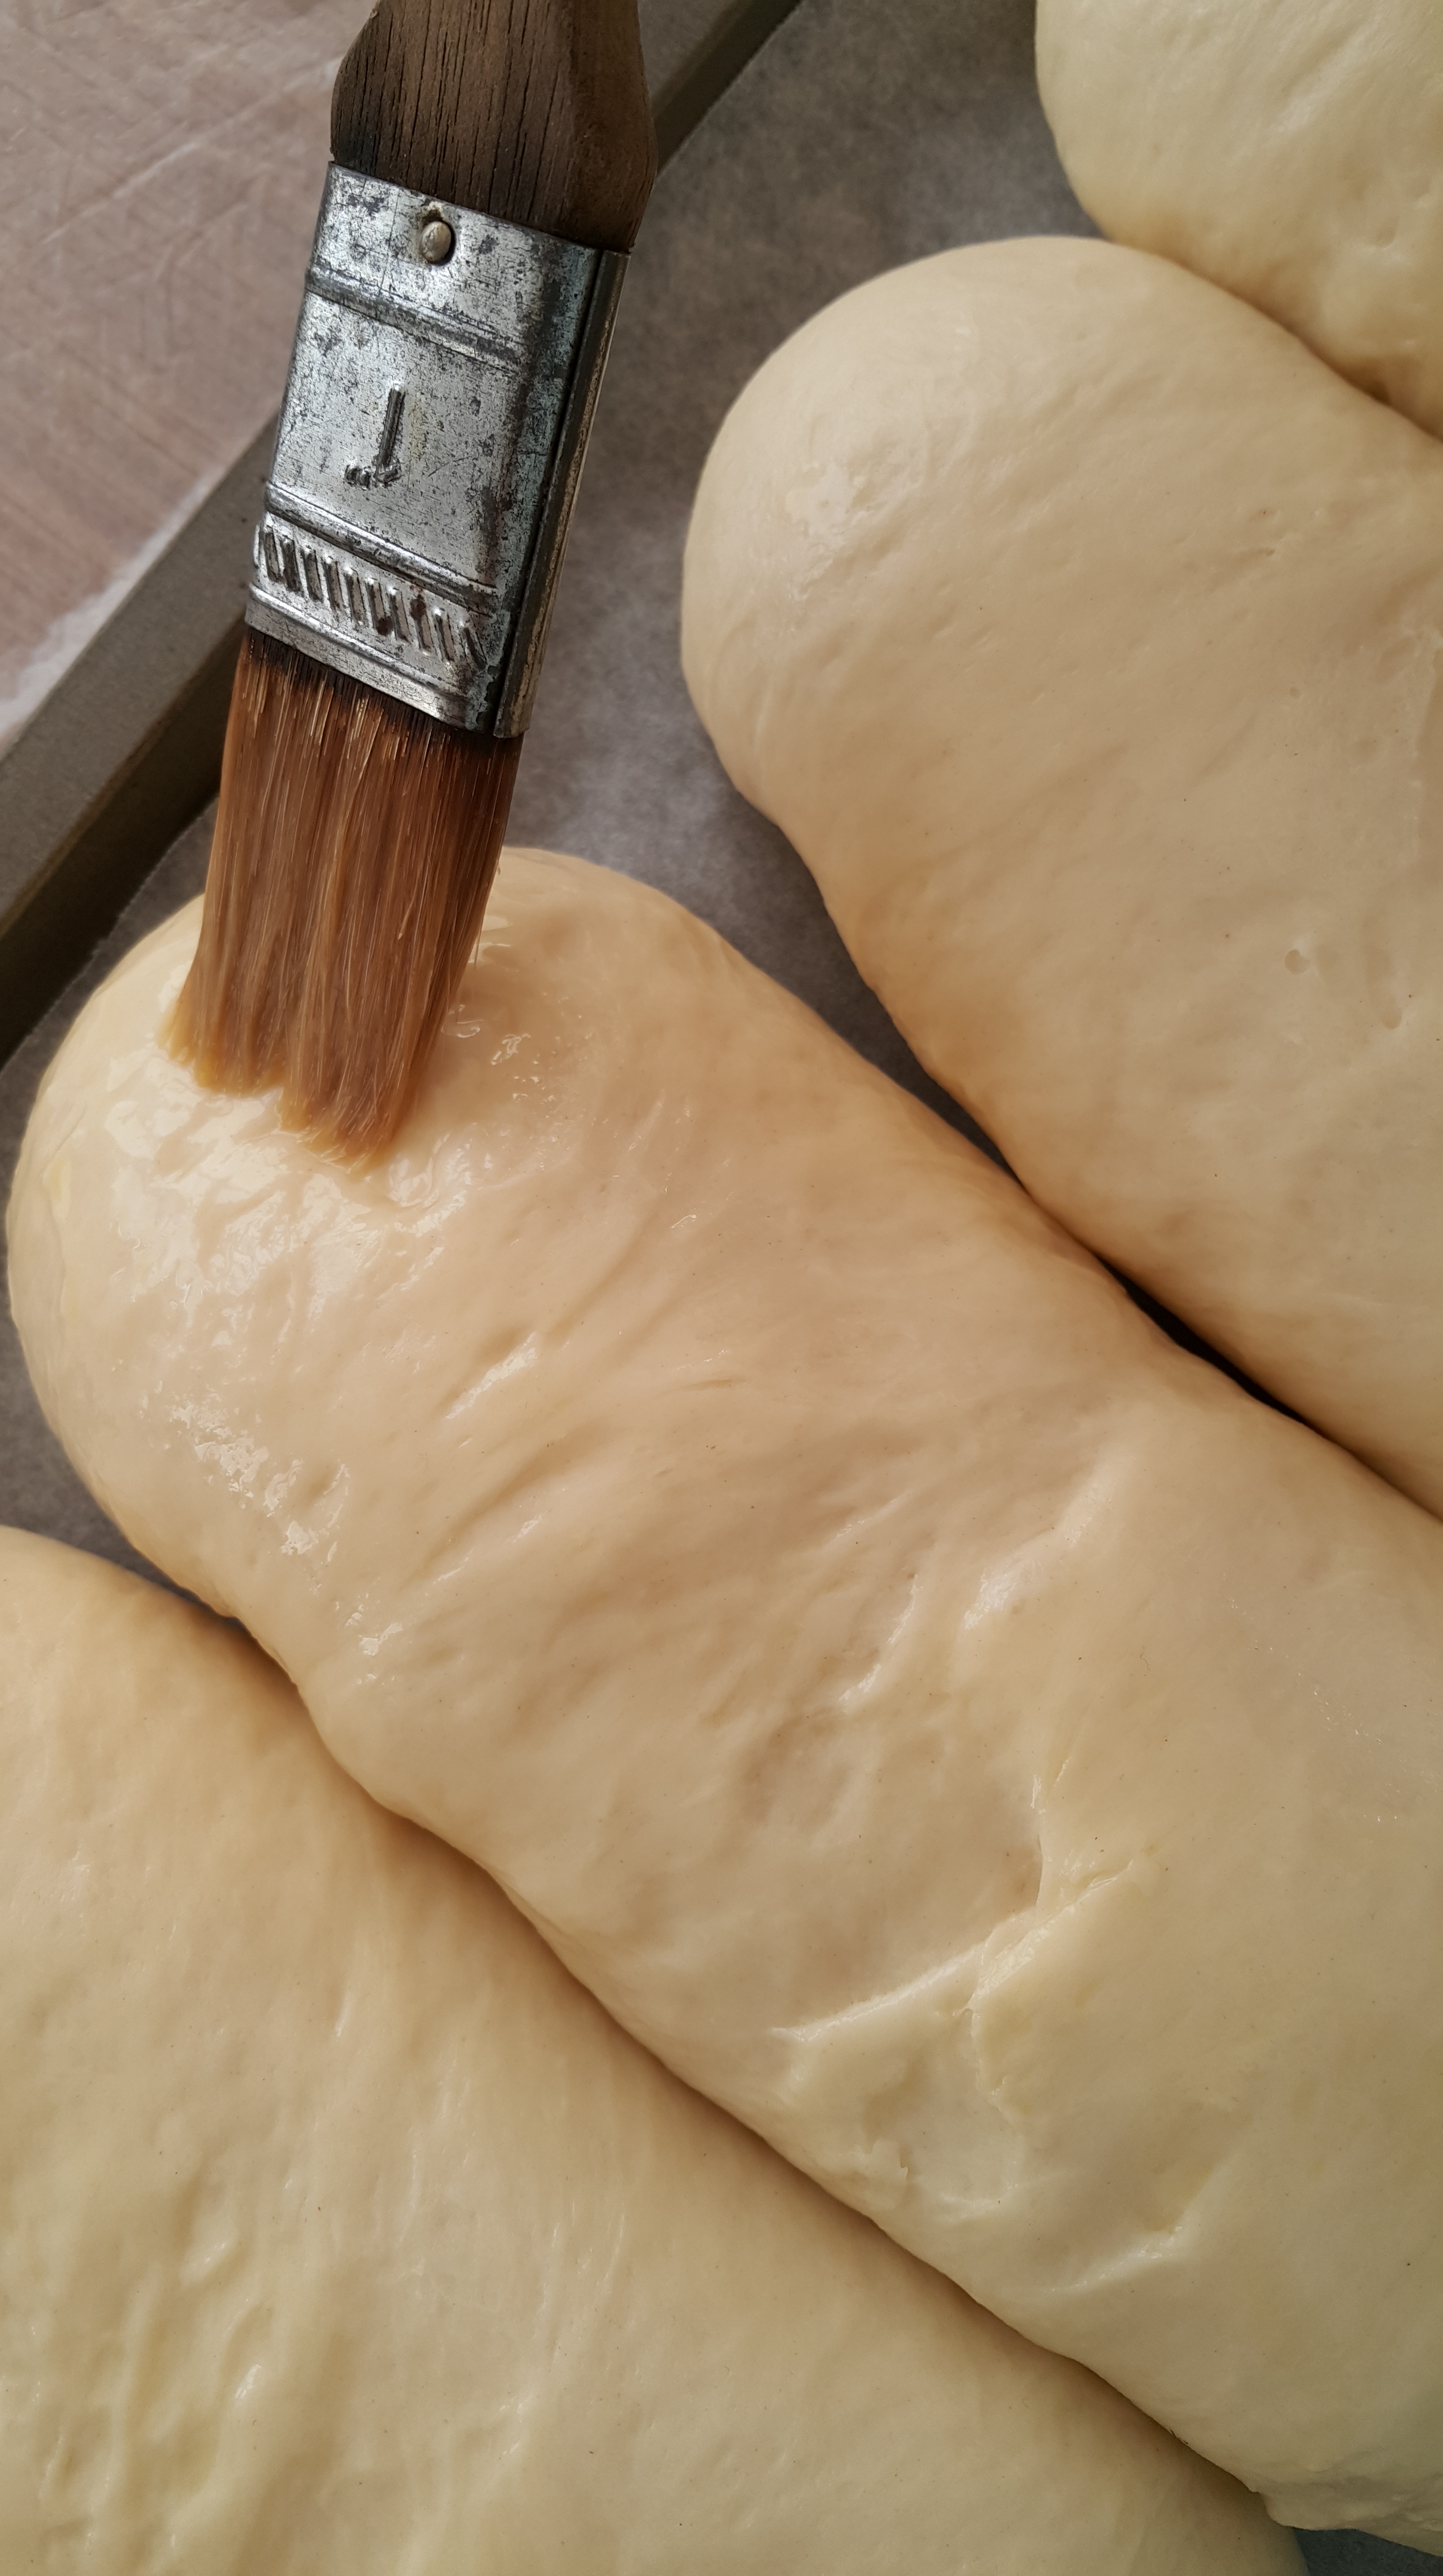
Keep a light touch- you don’t want to deflate the dough!
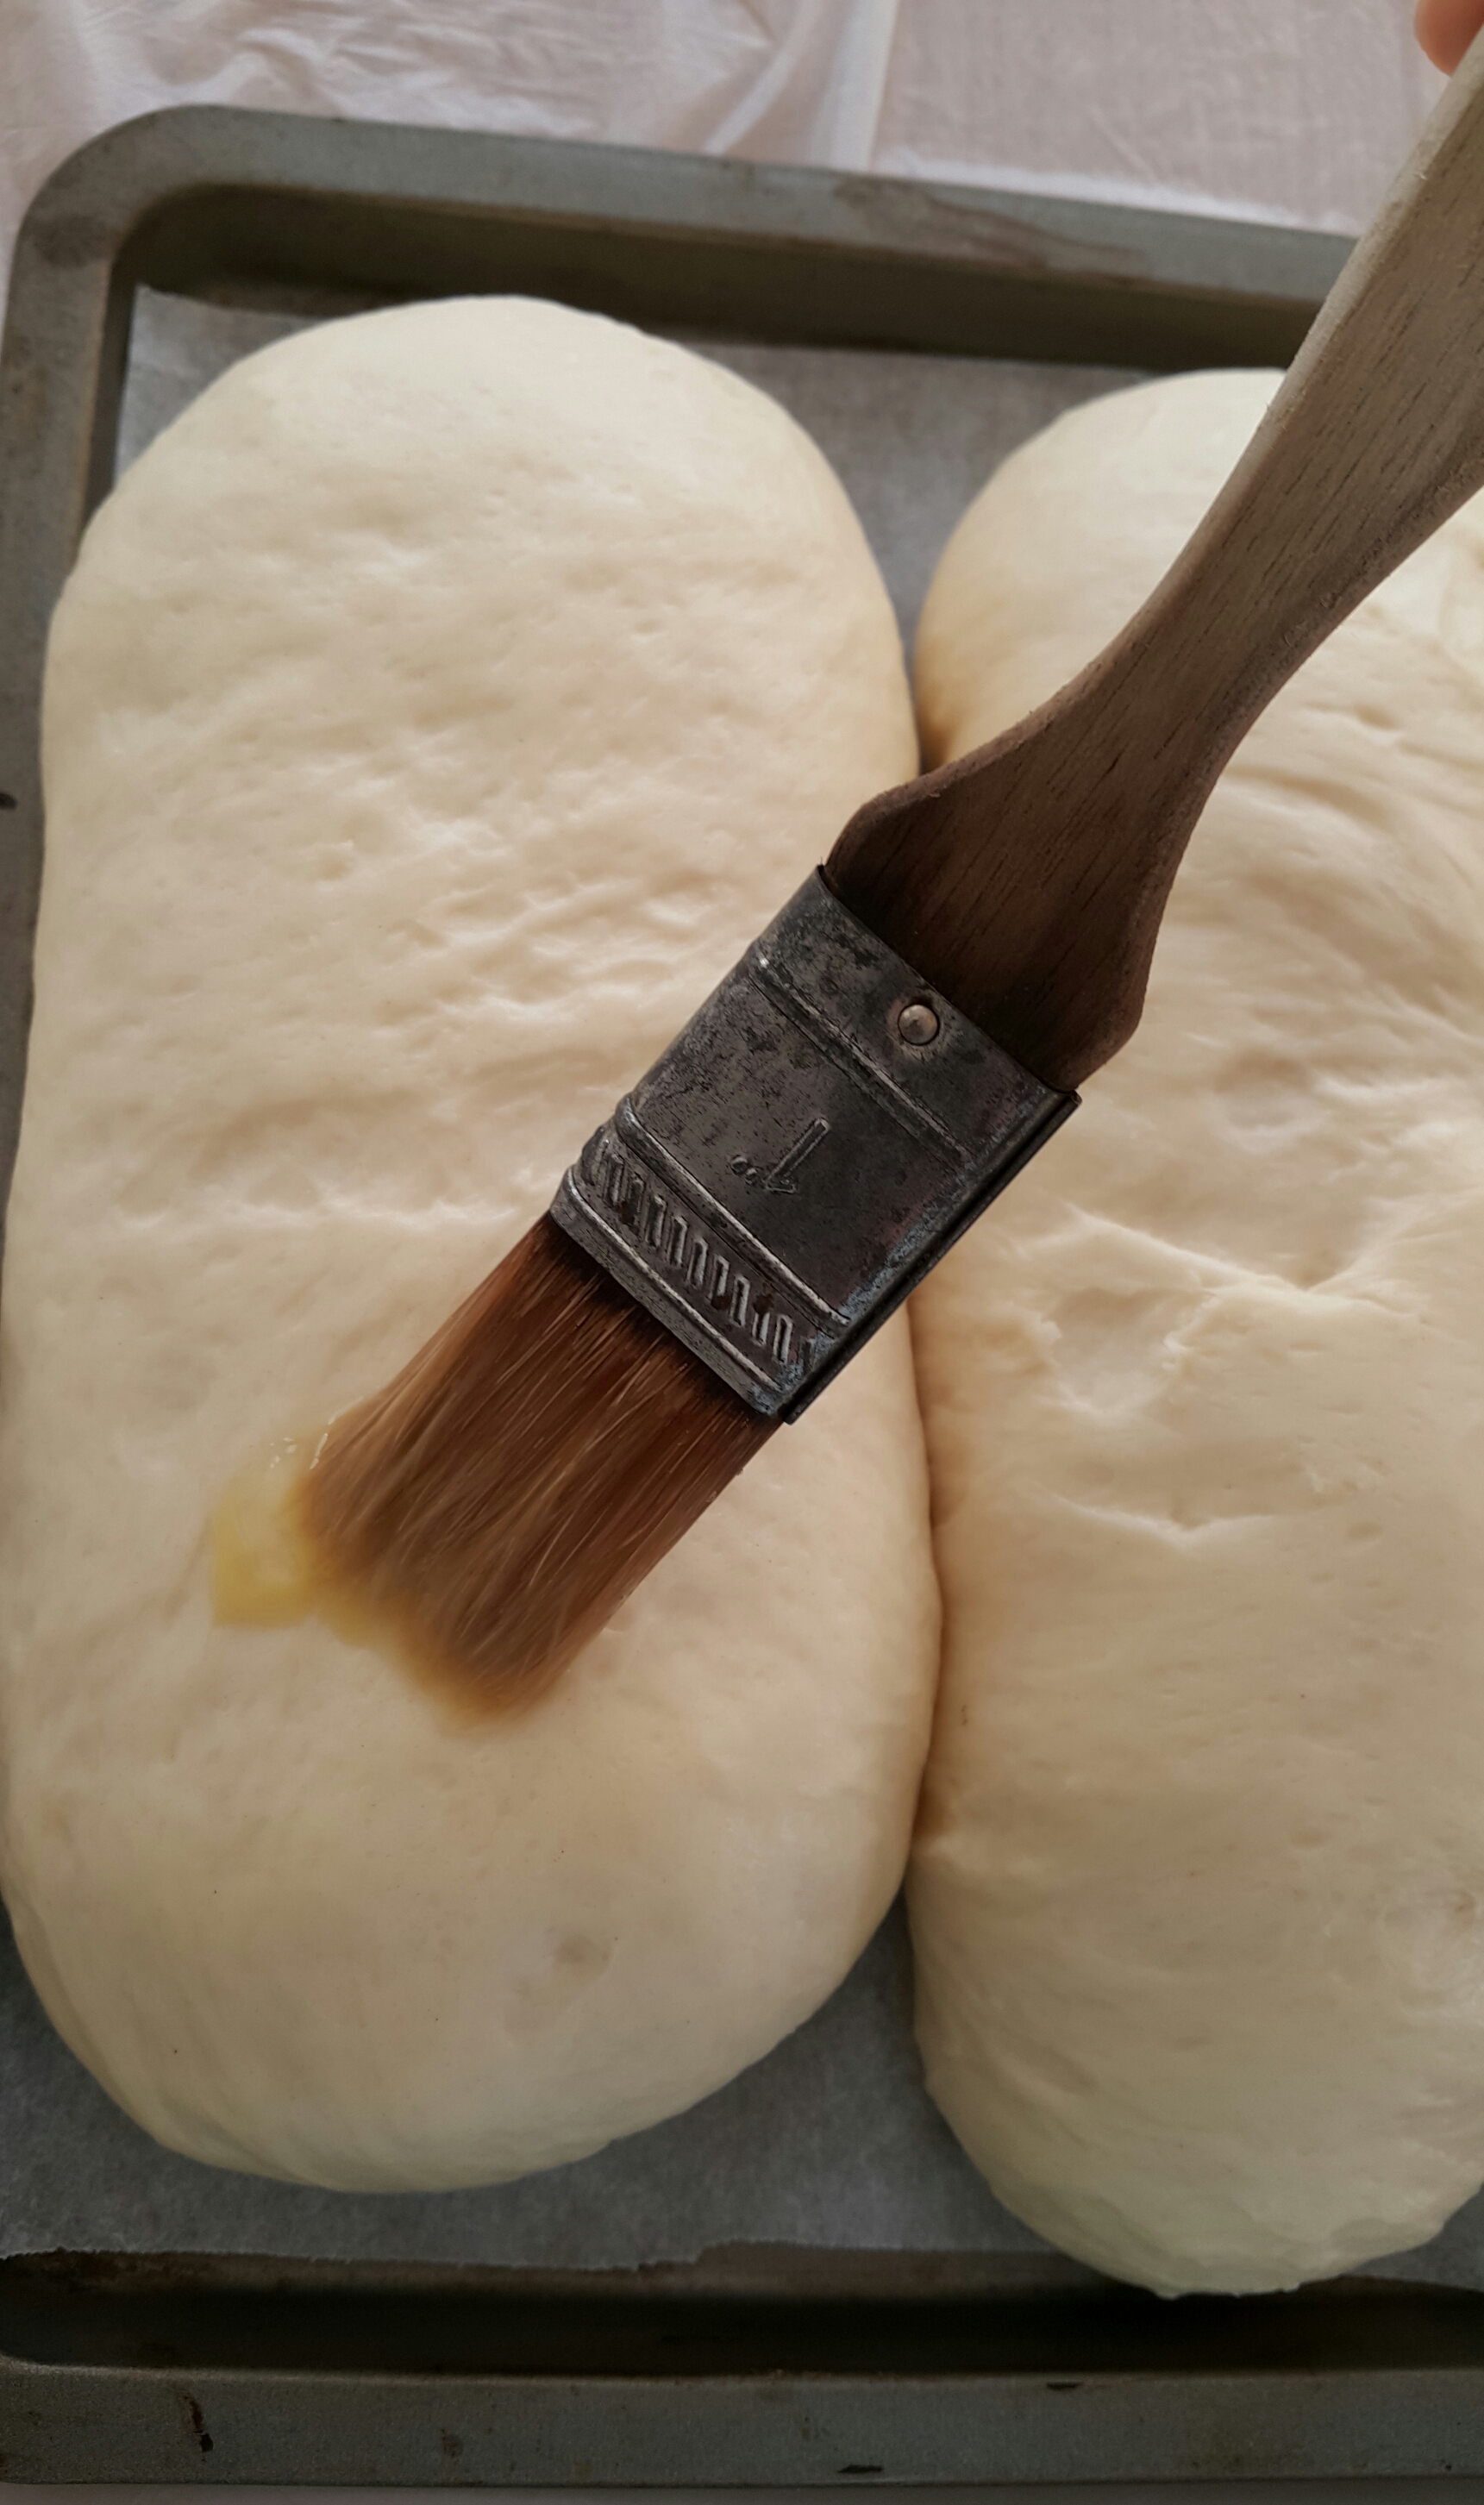
This process is oddly calming and mesmerising. Maybe it’s the focus required that does it.
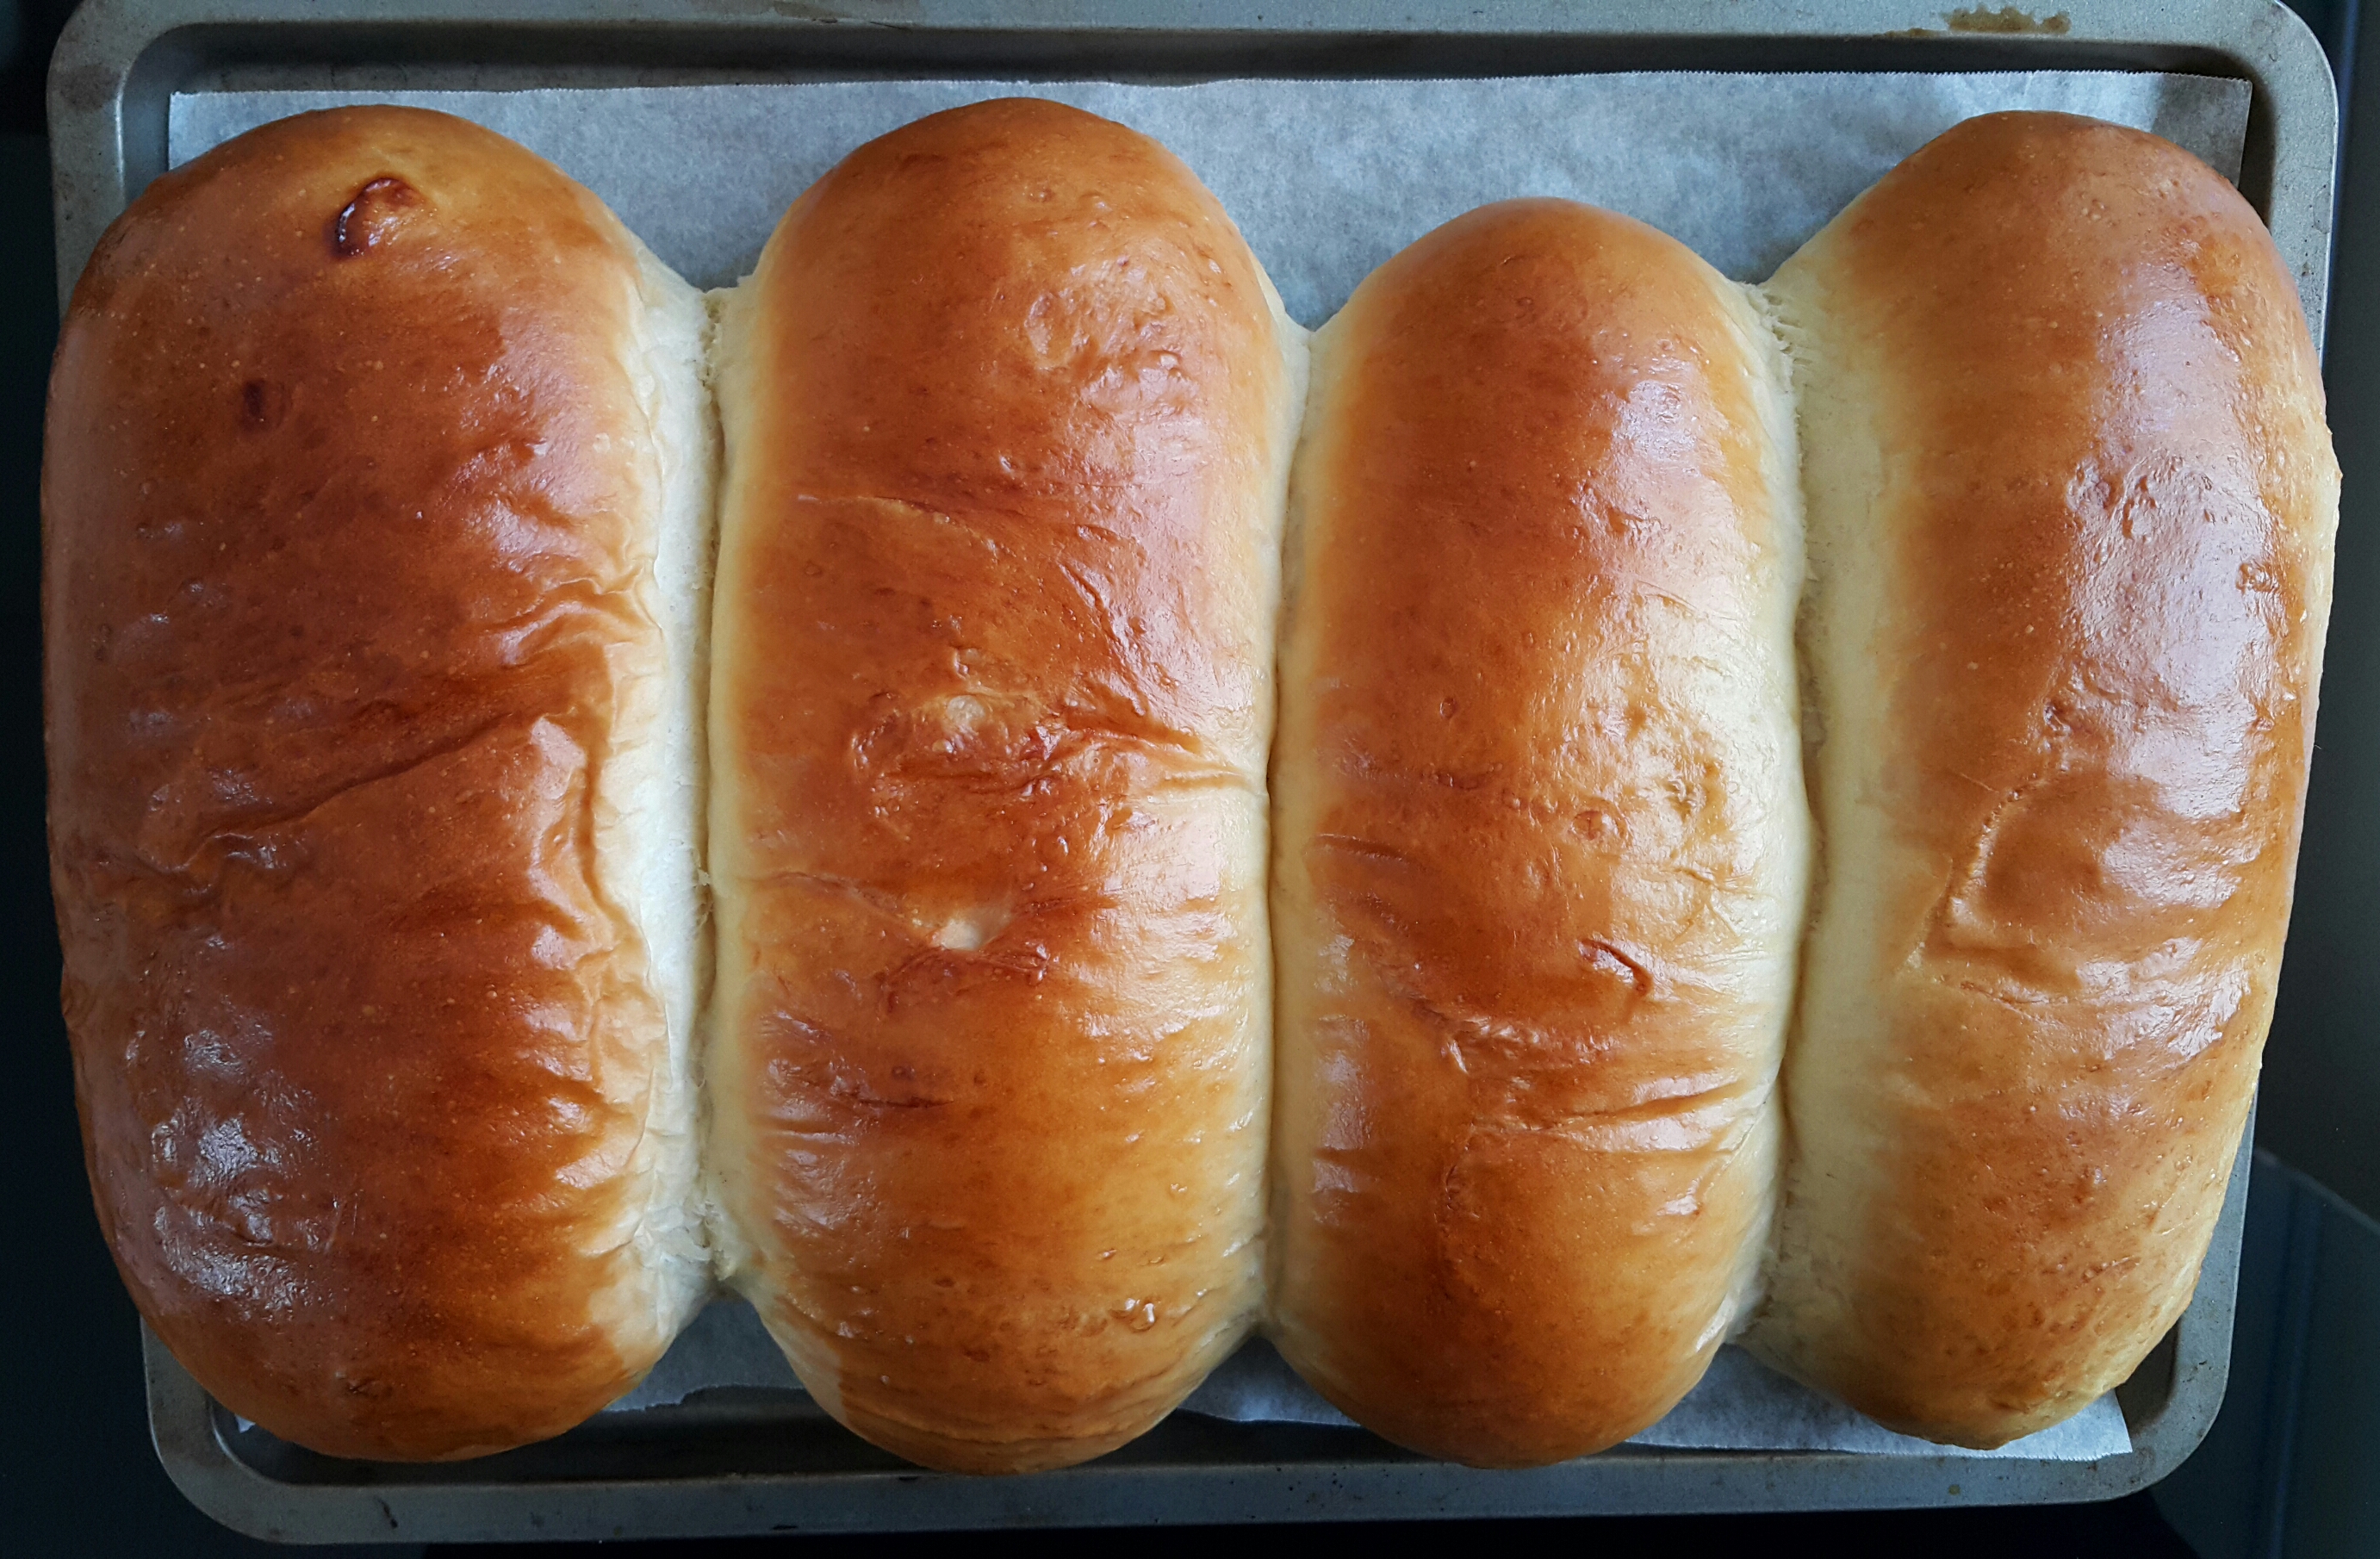
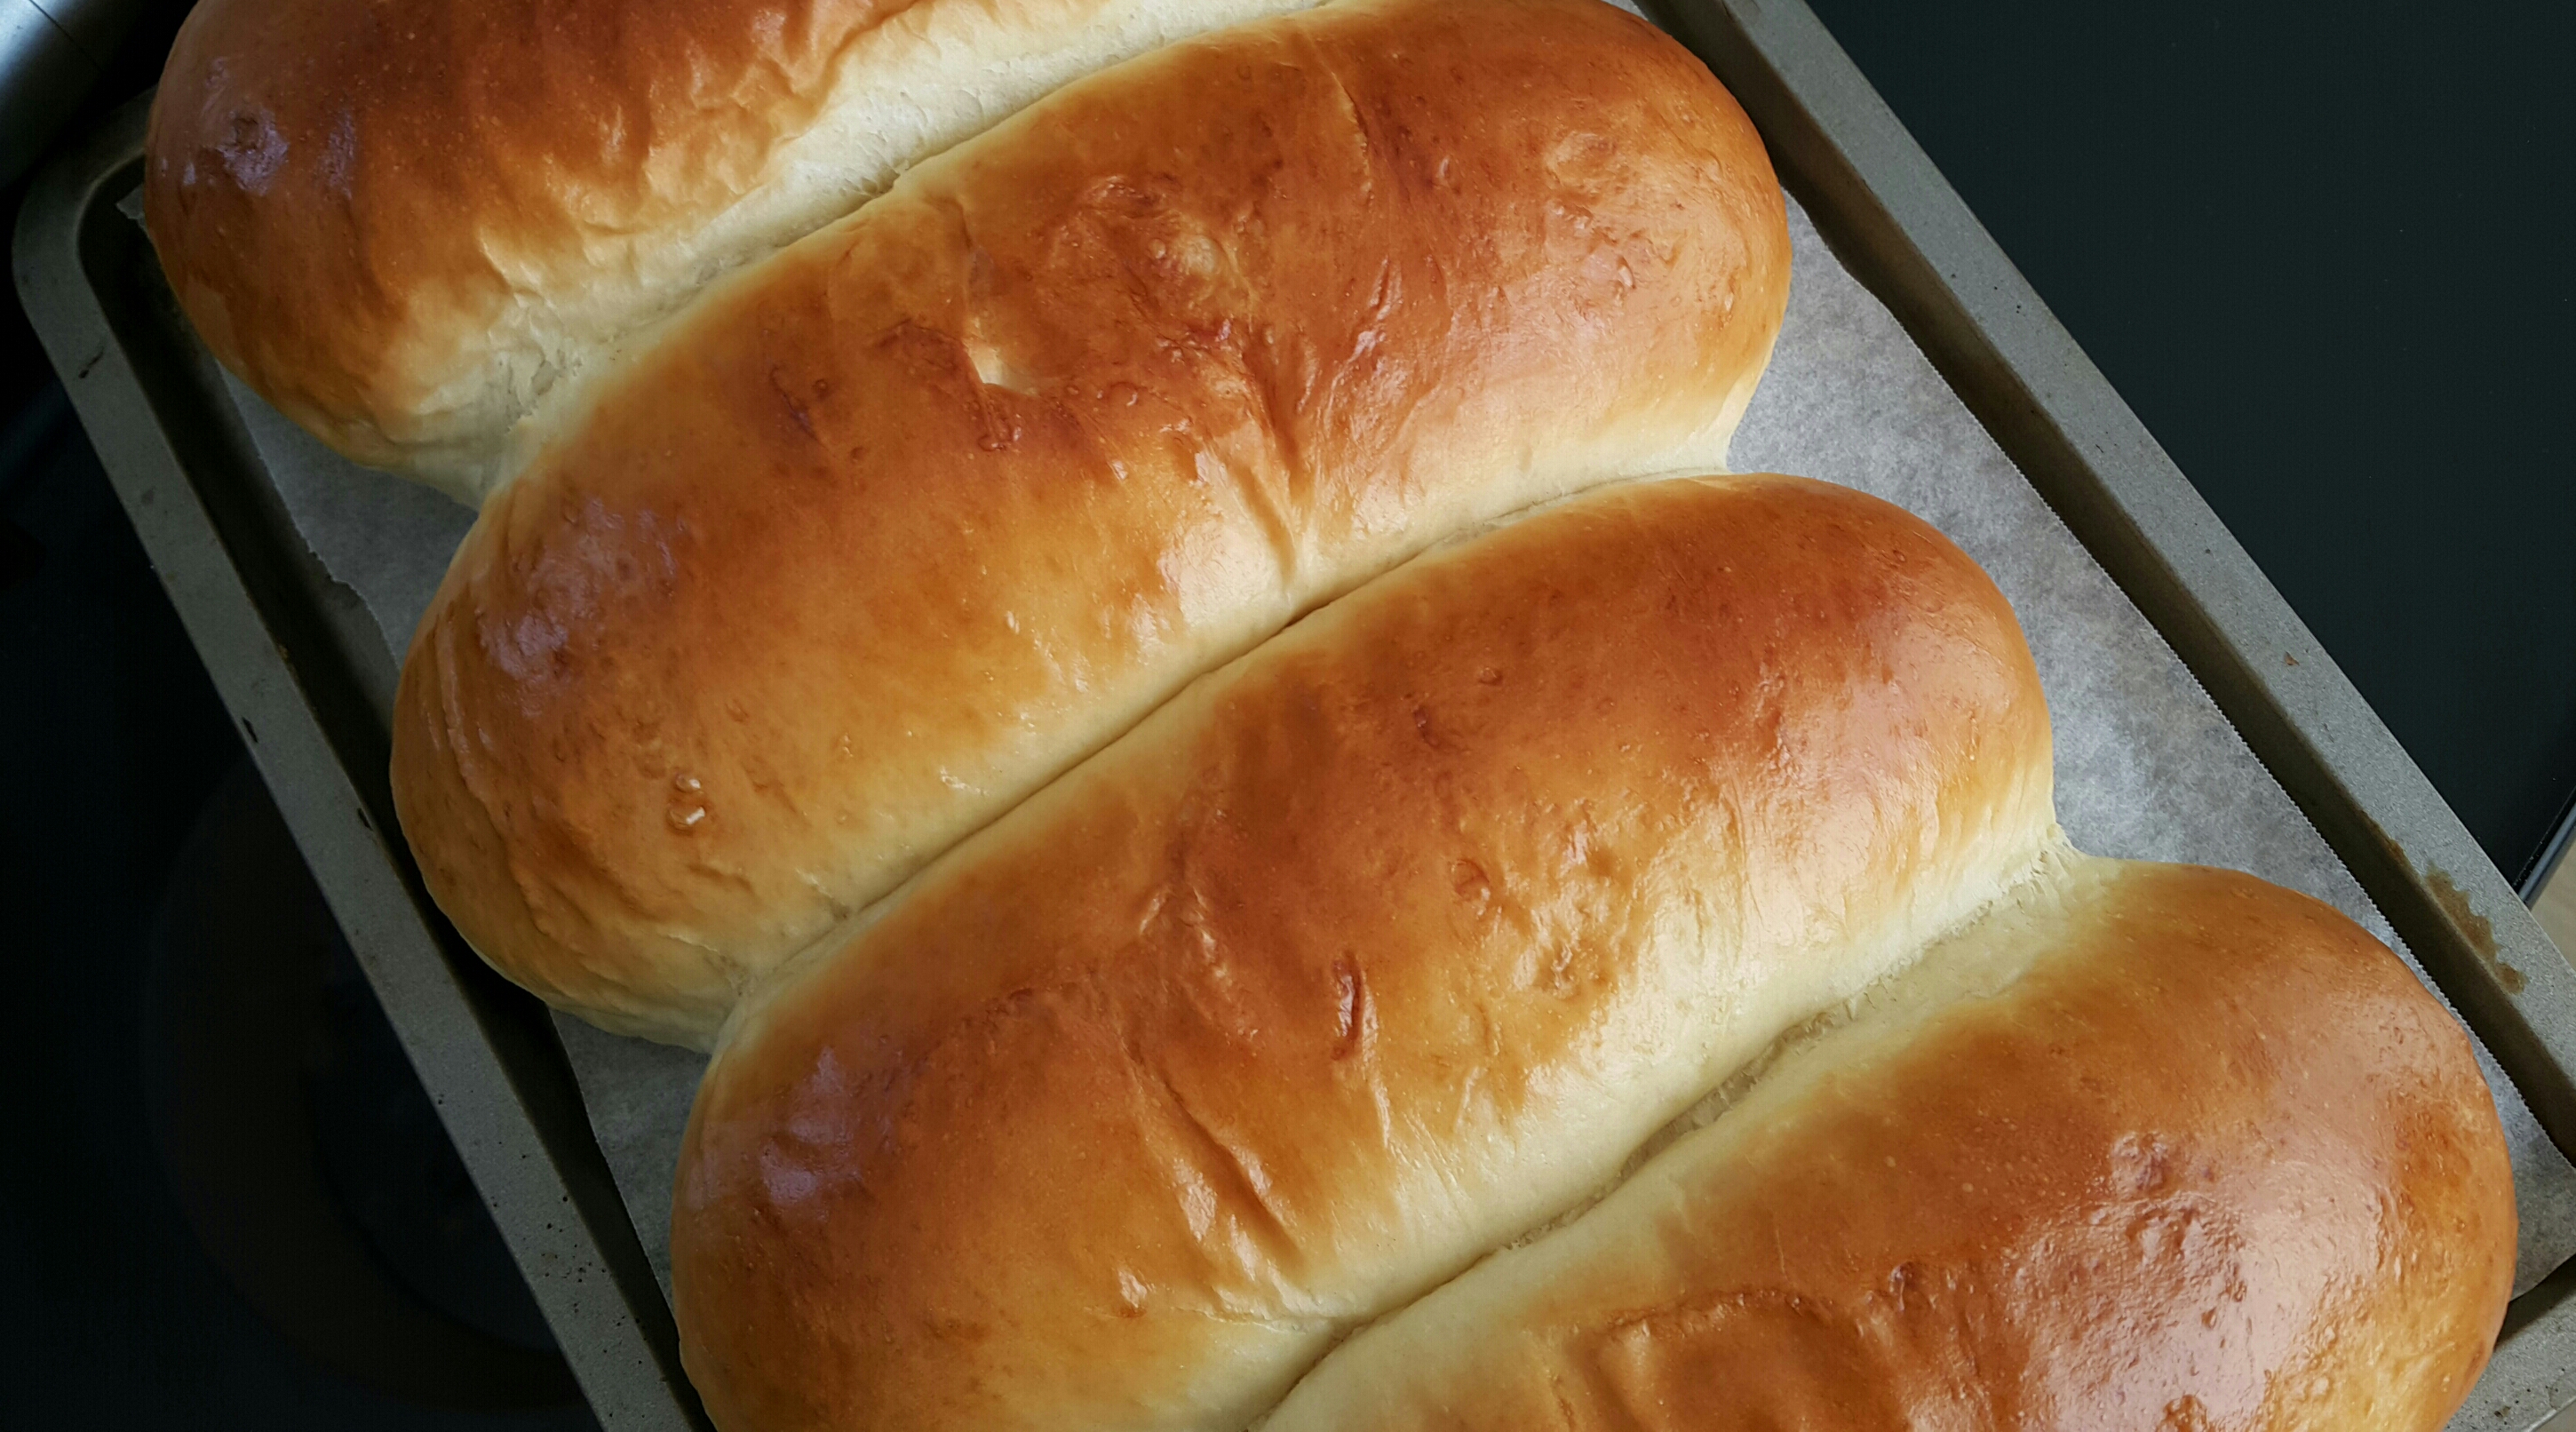
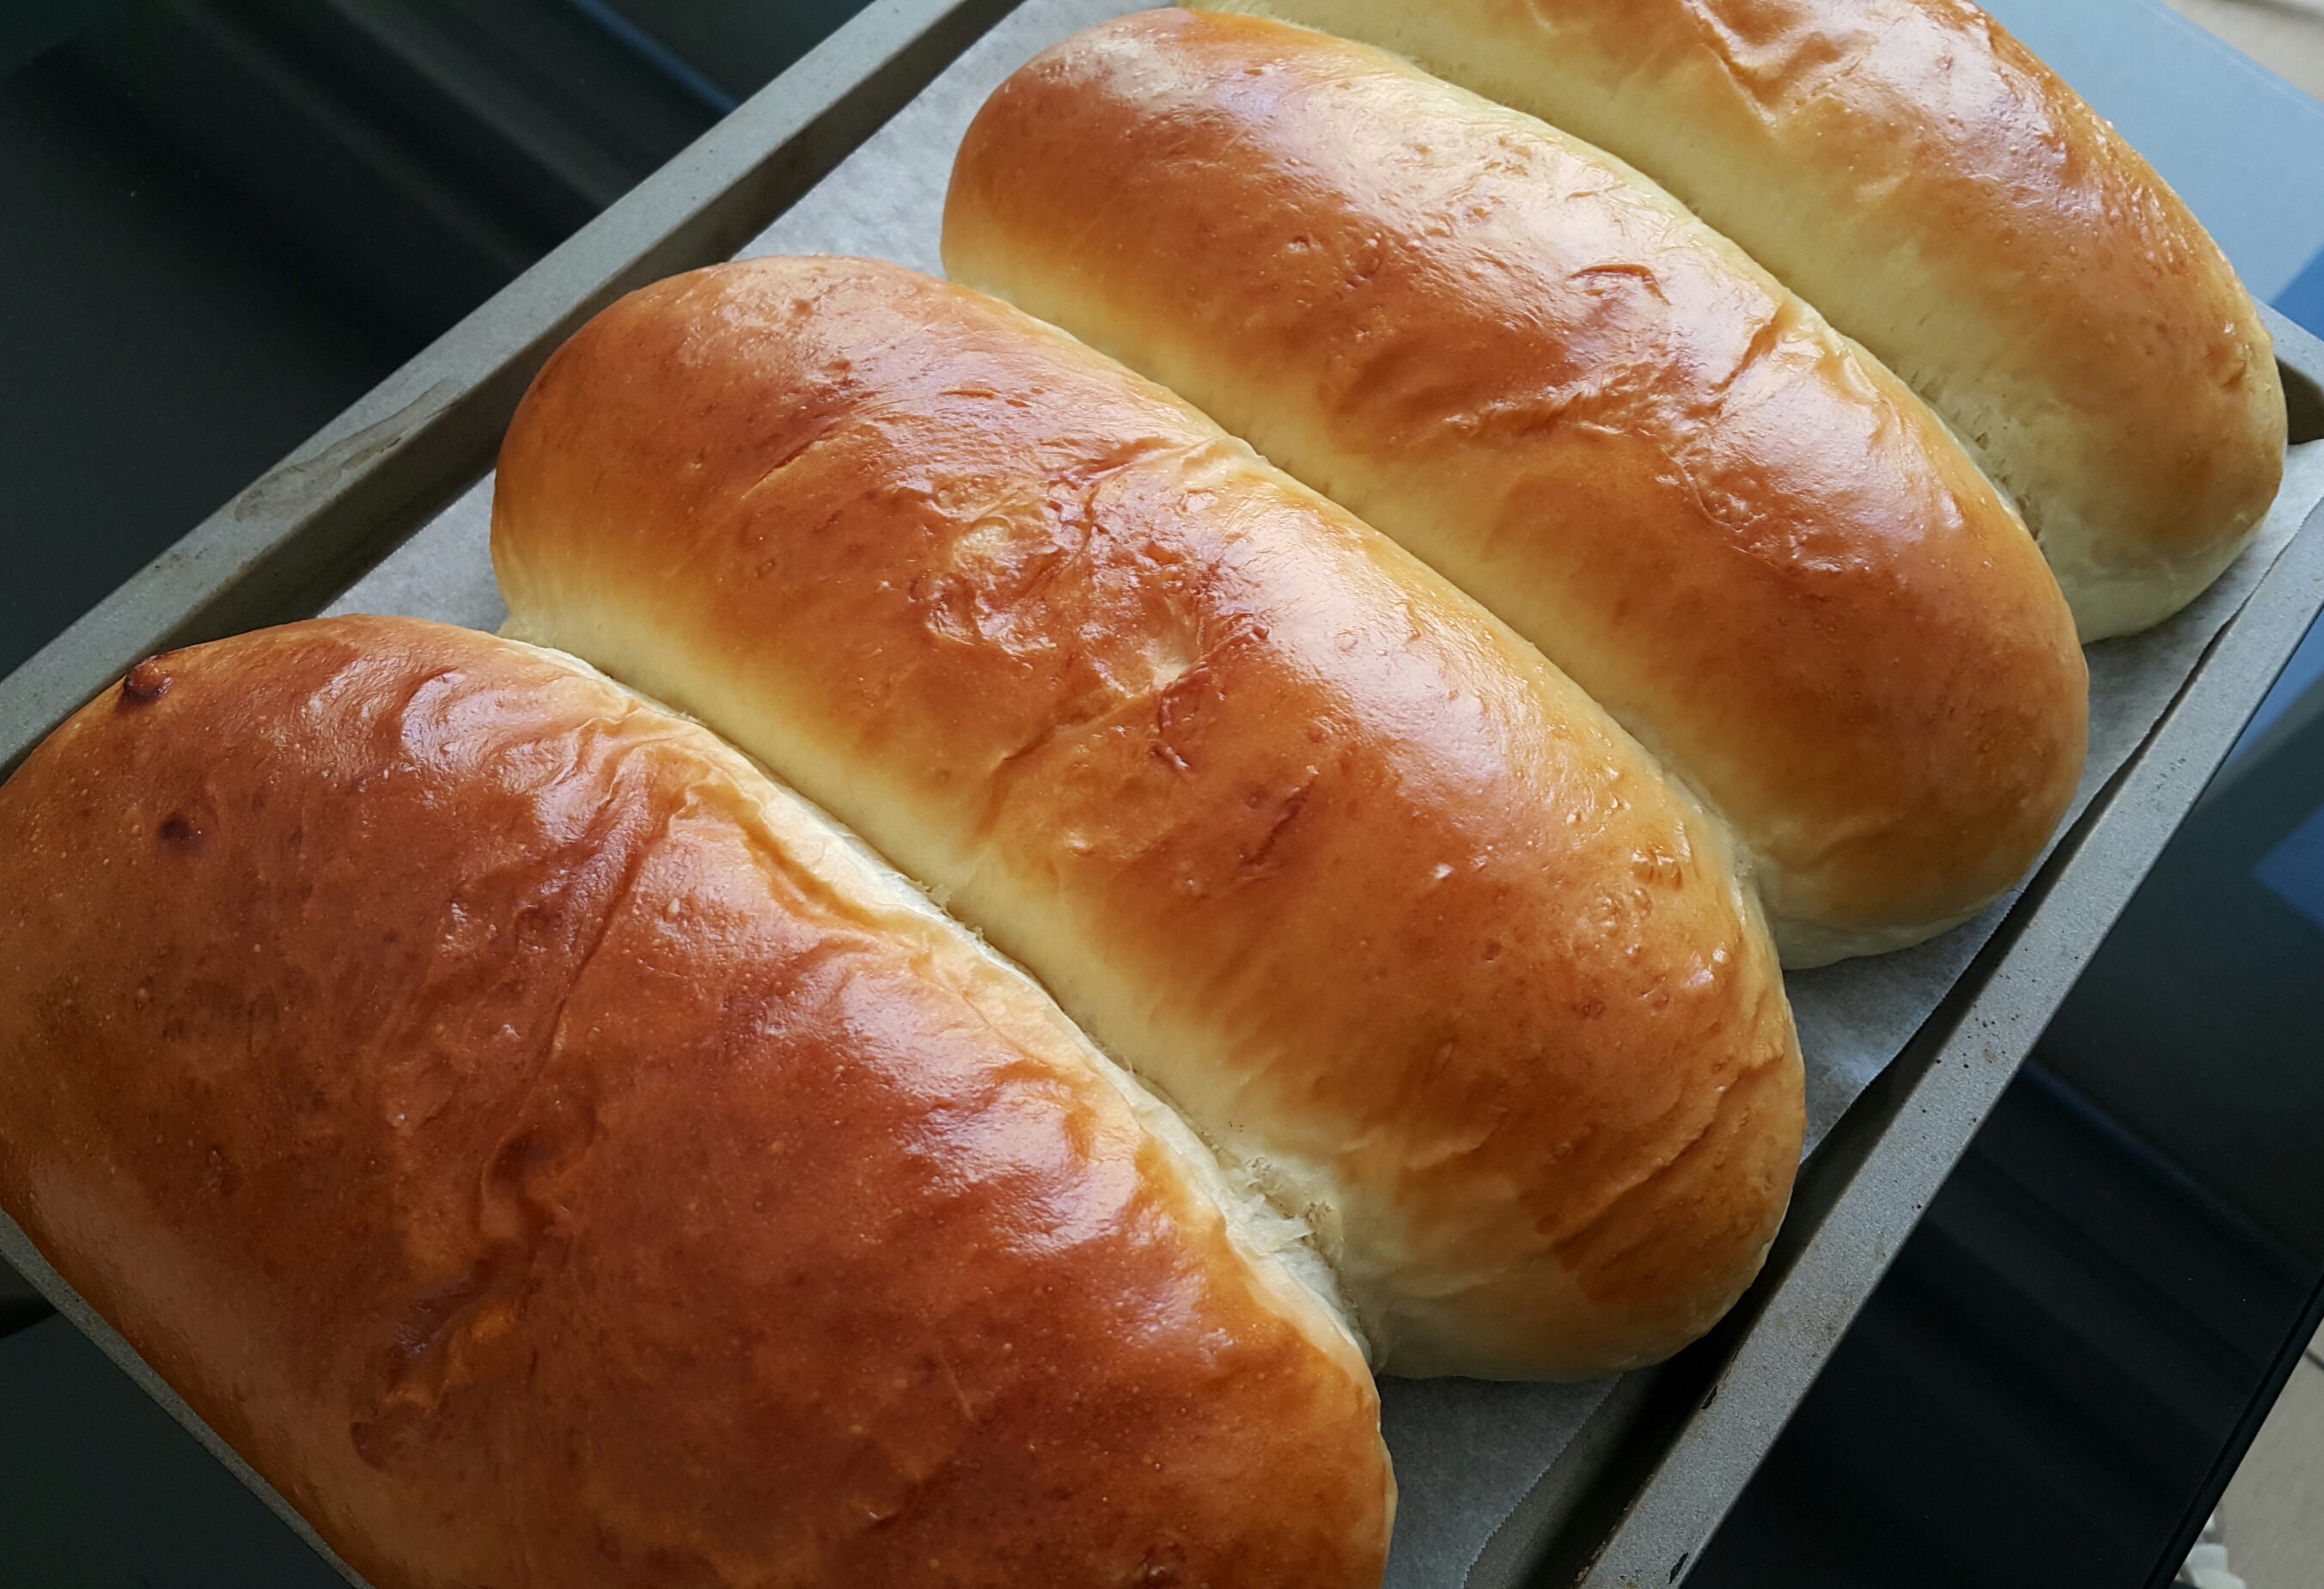
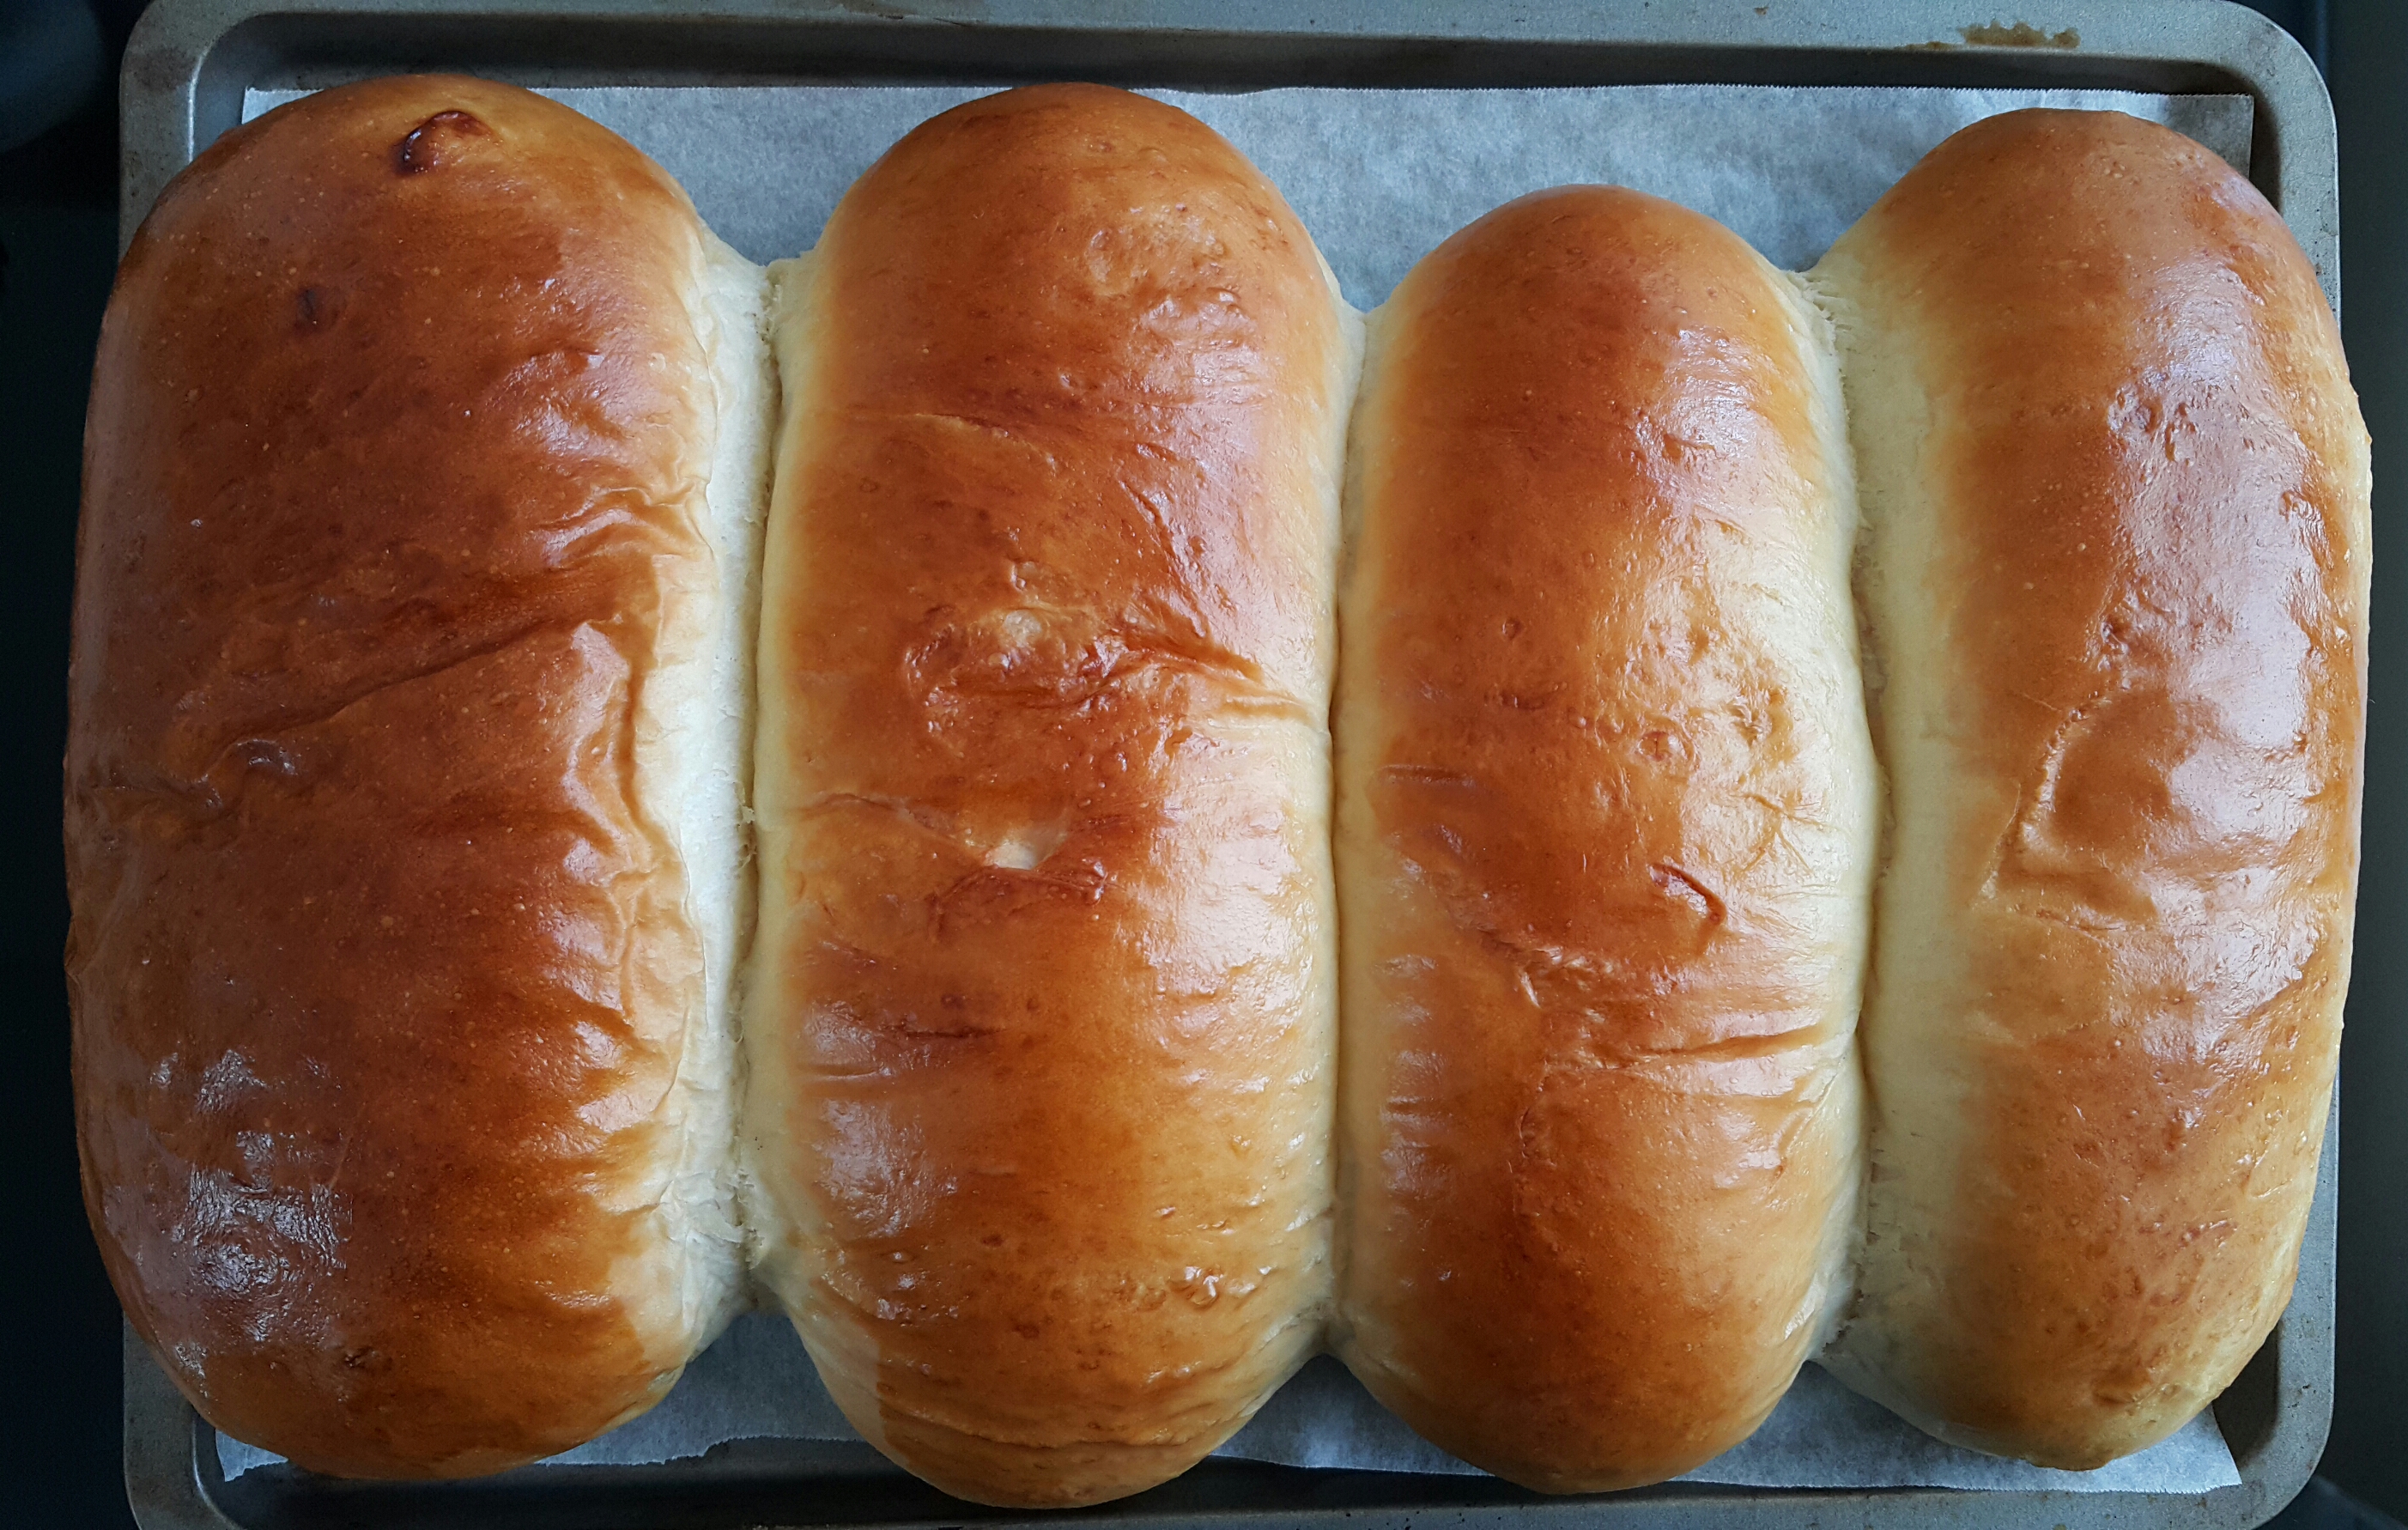
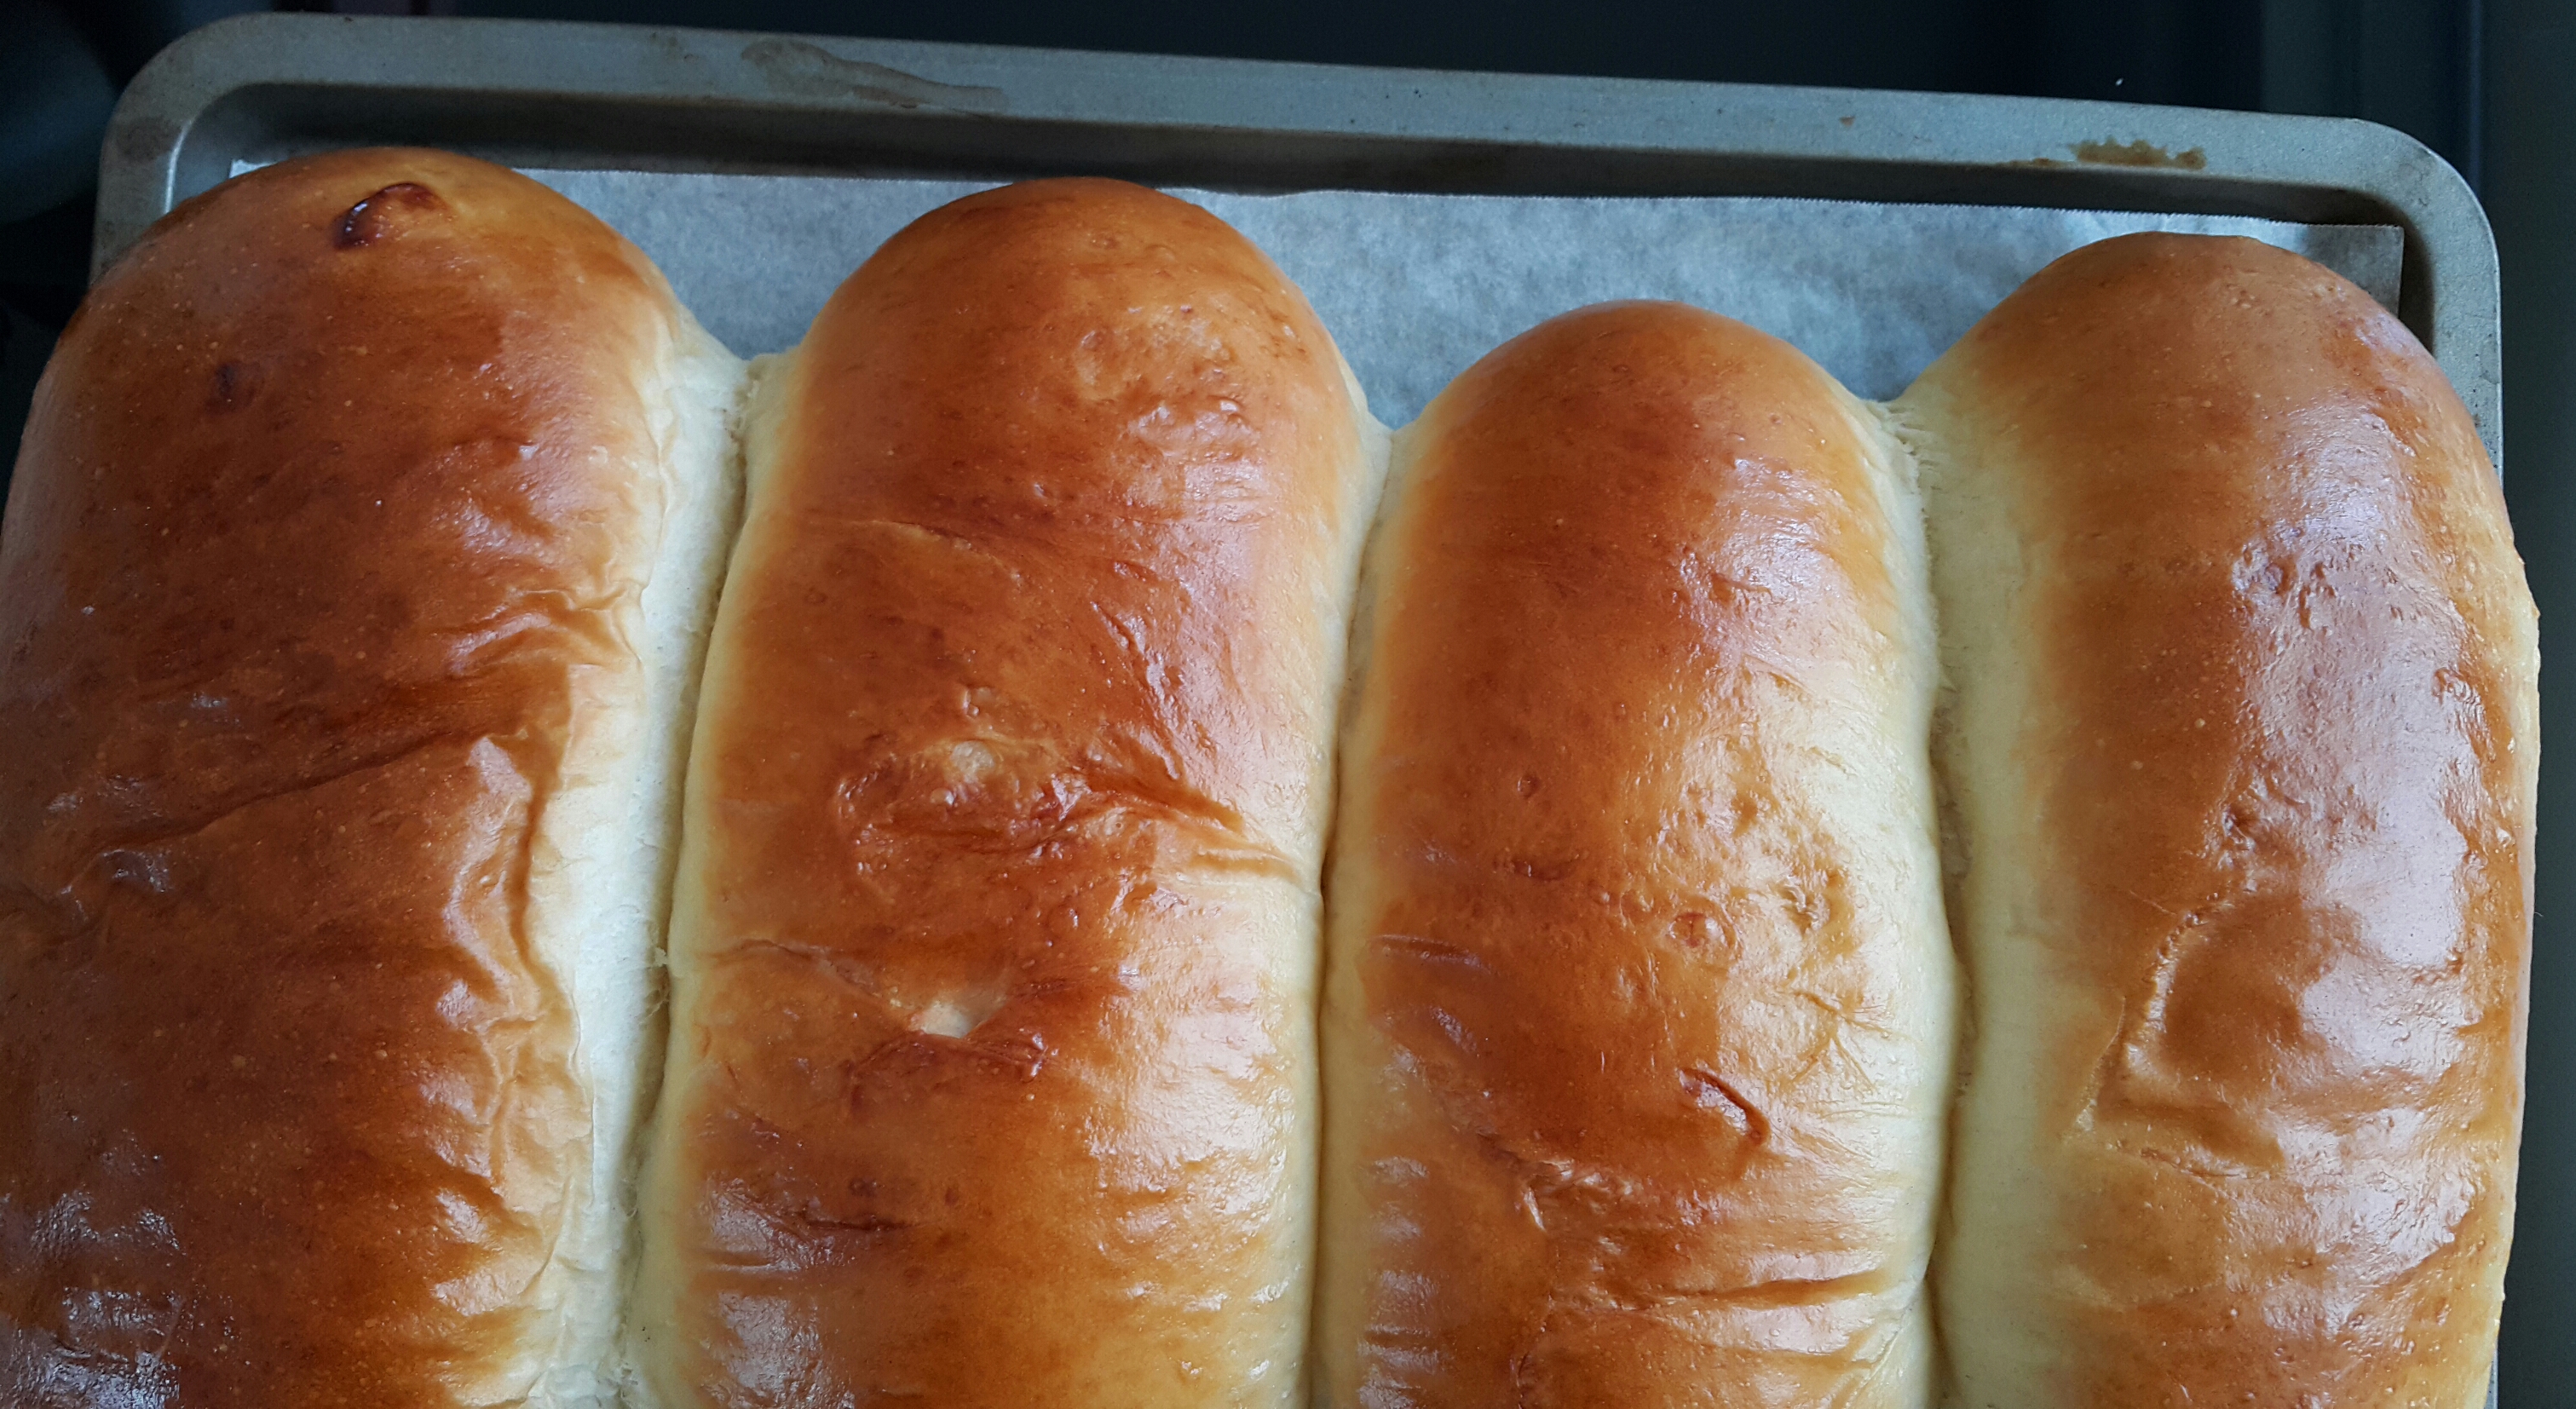
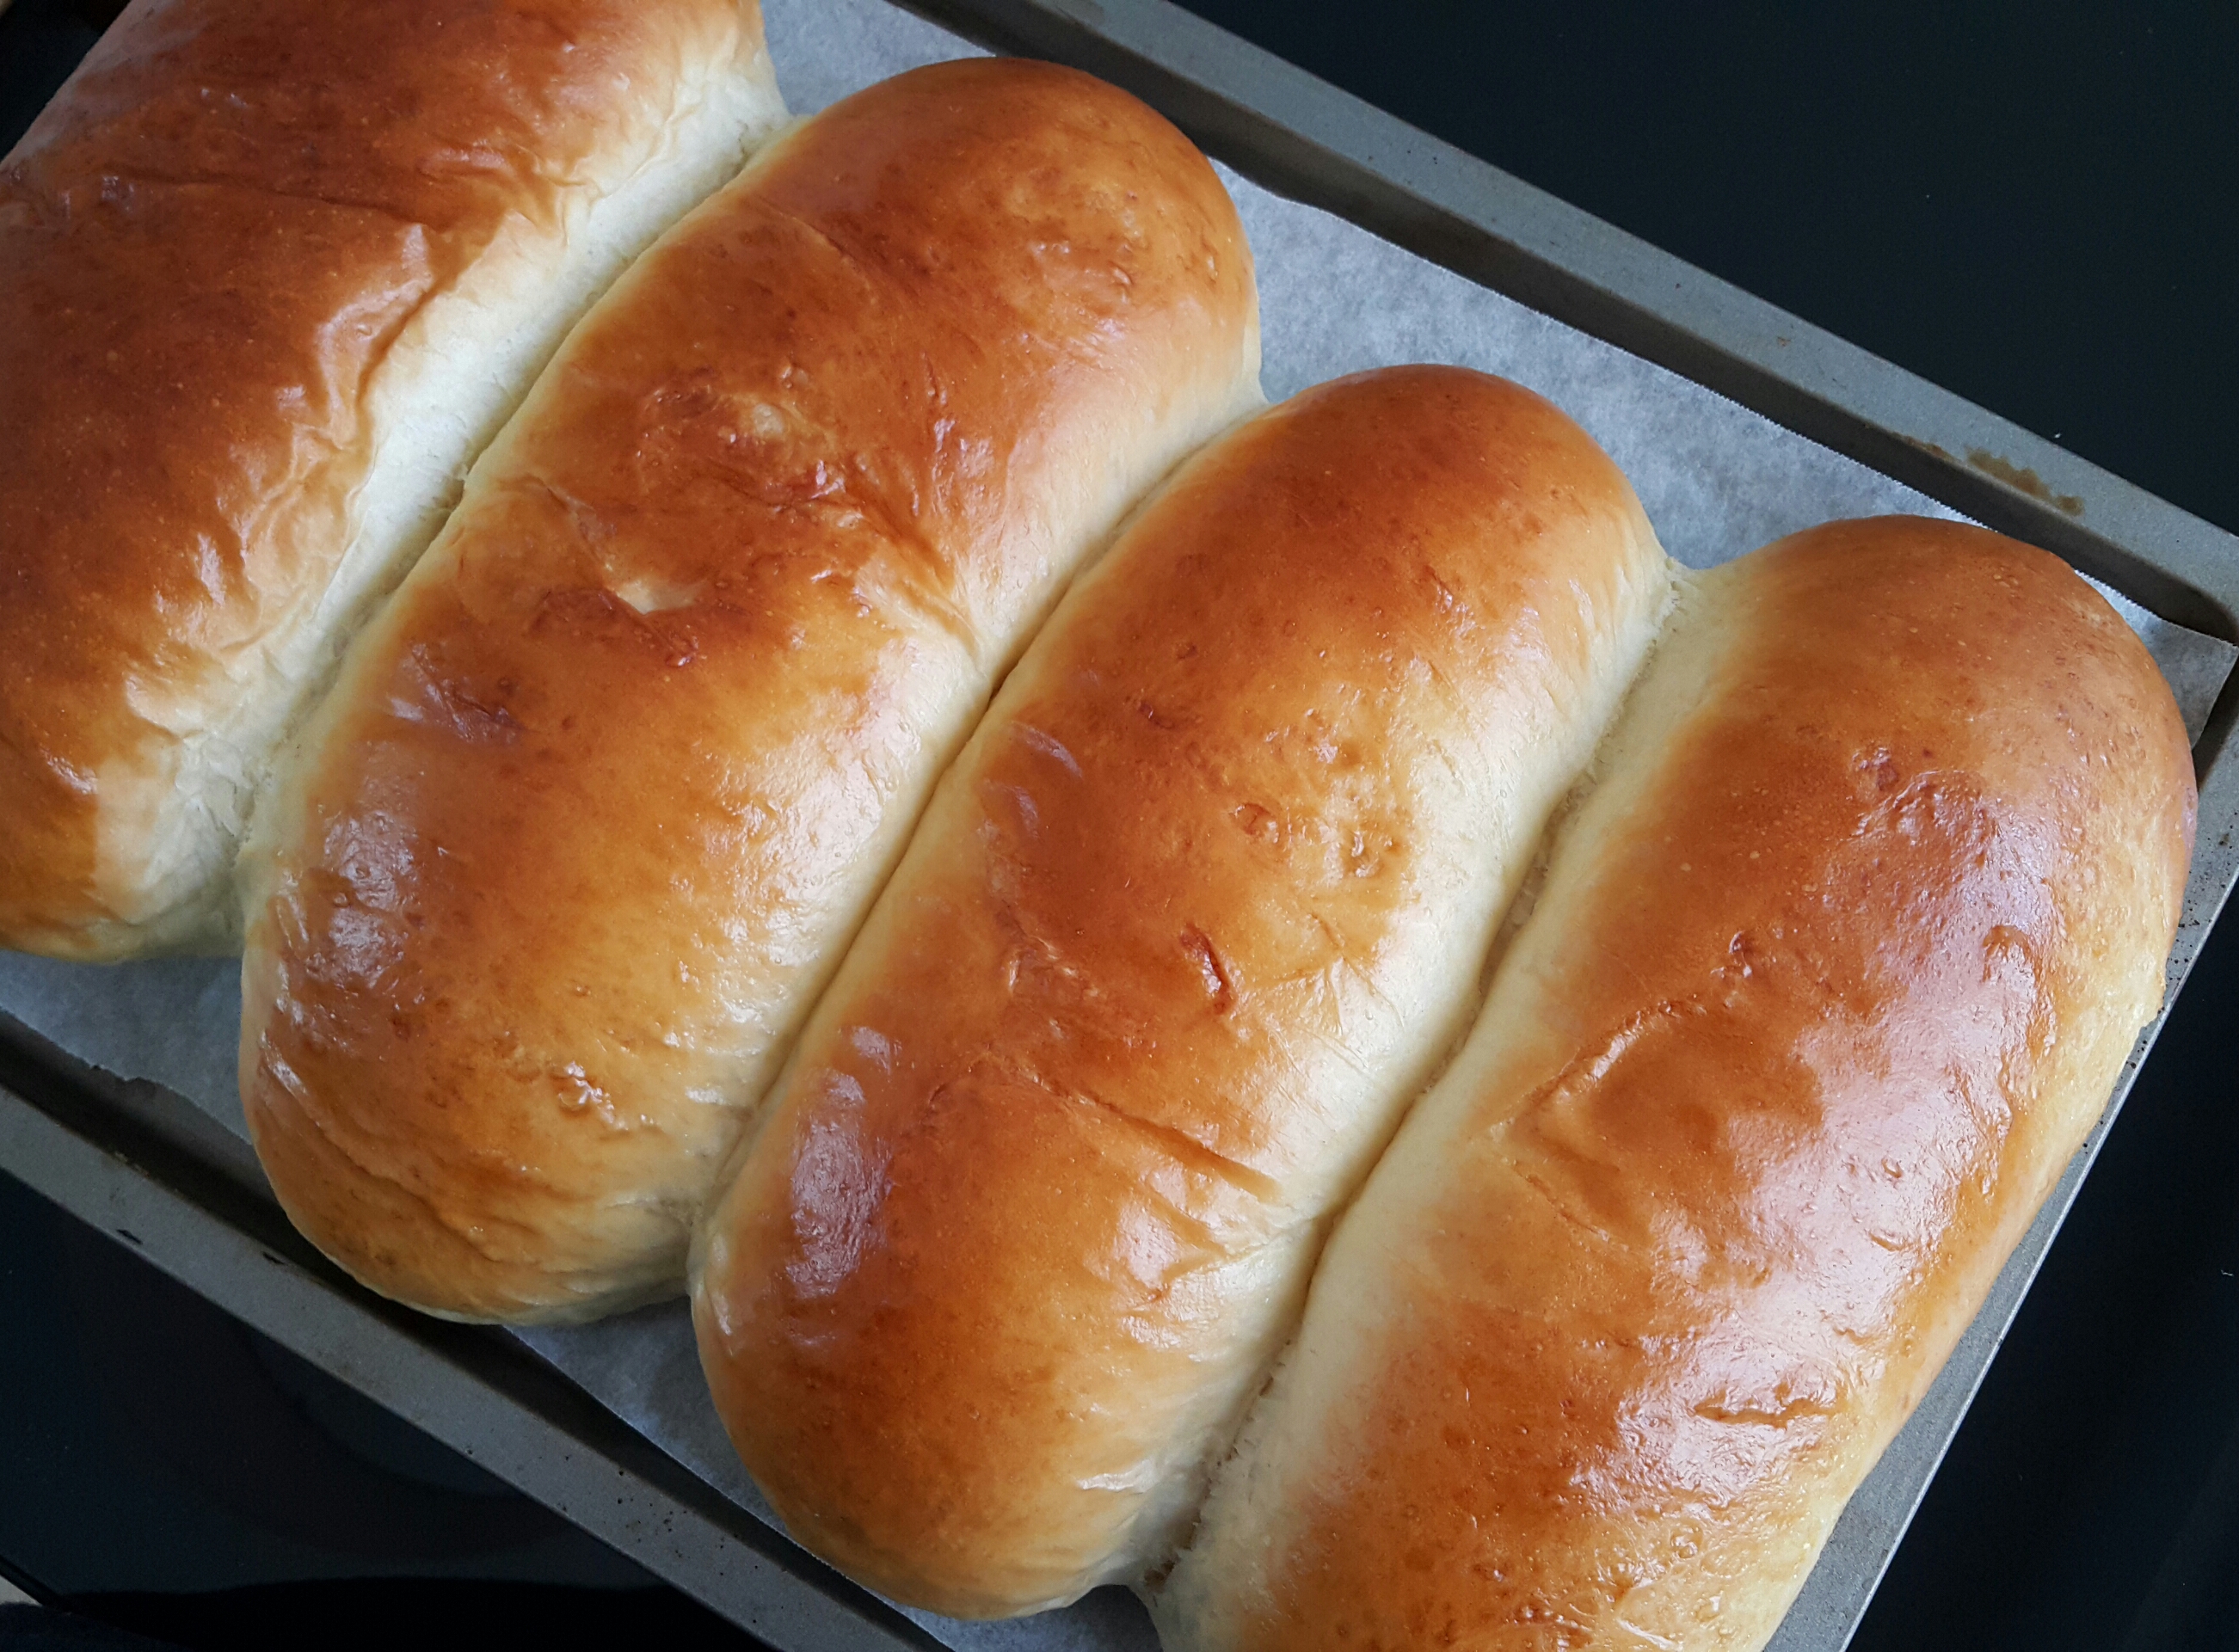
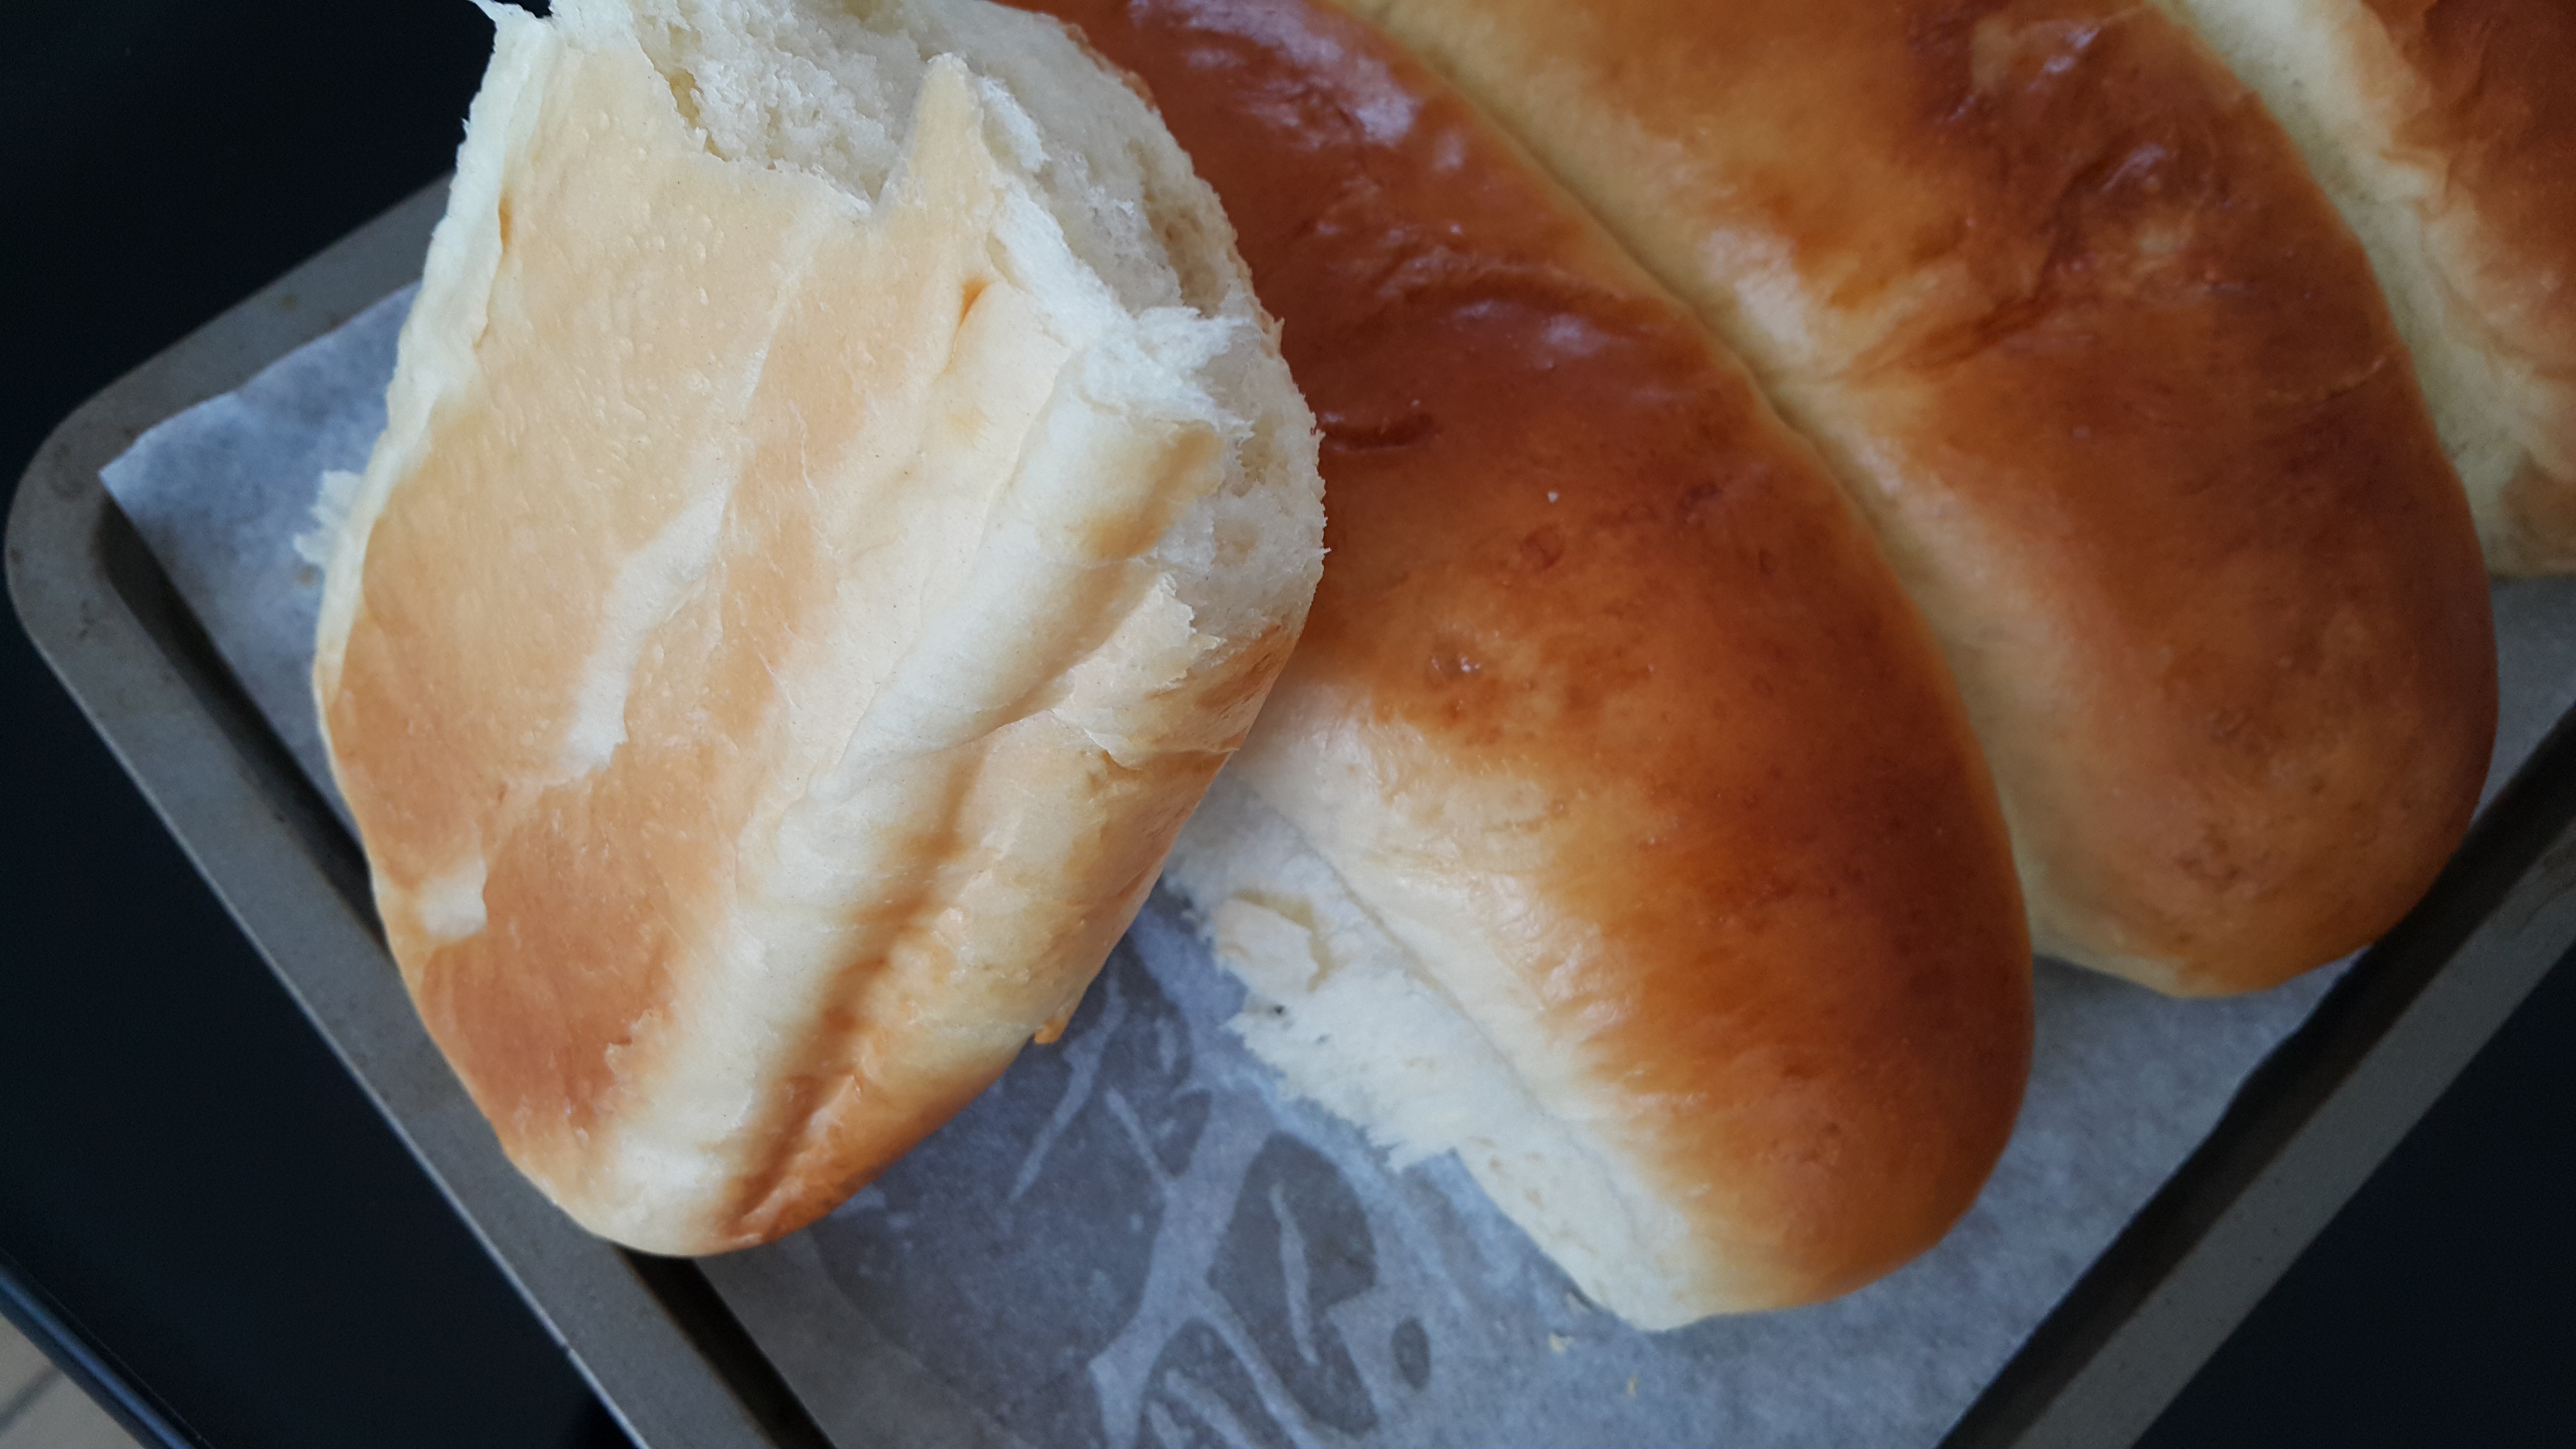
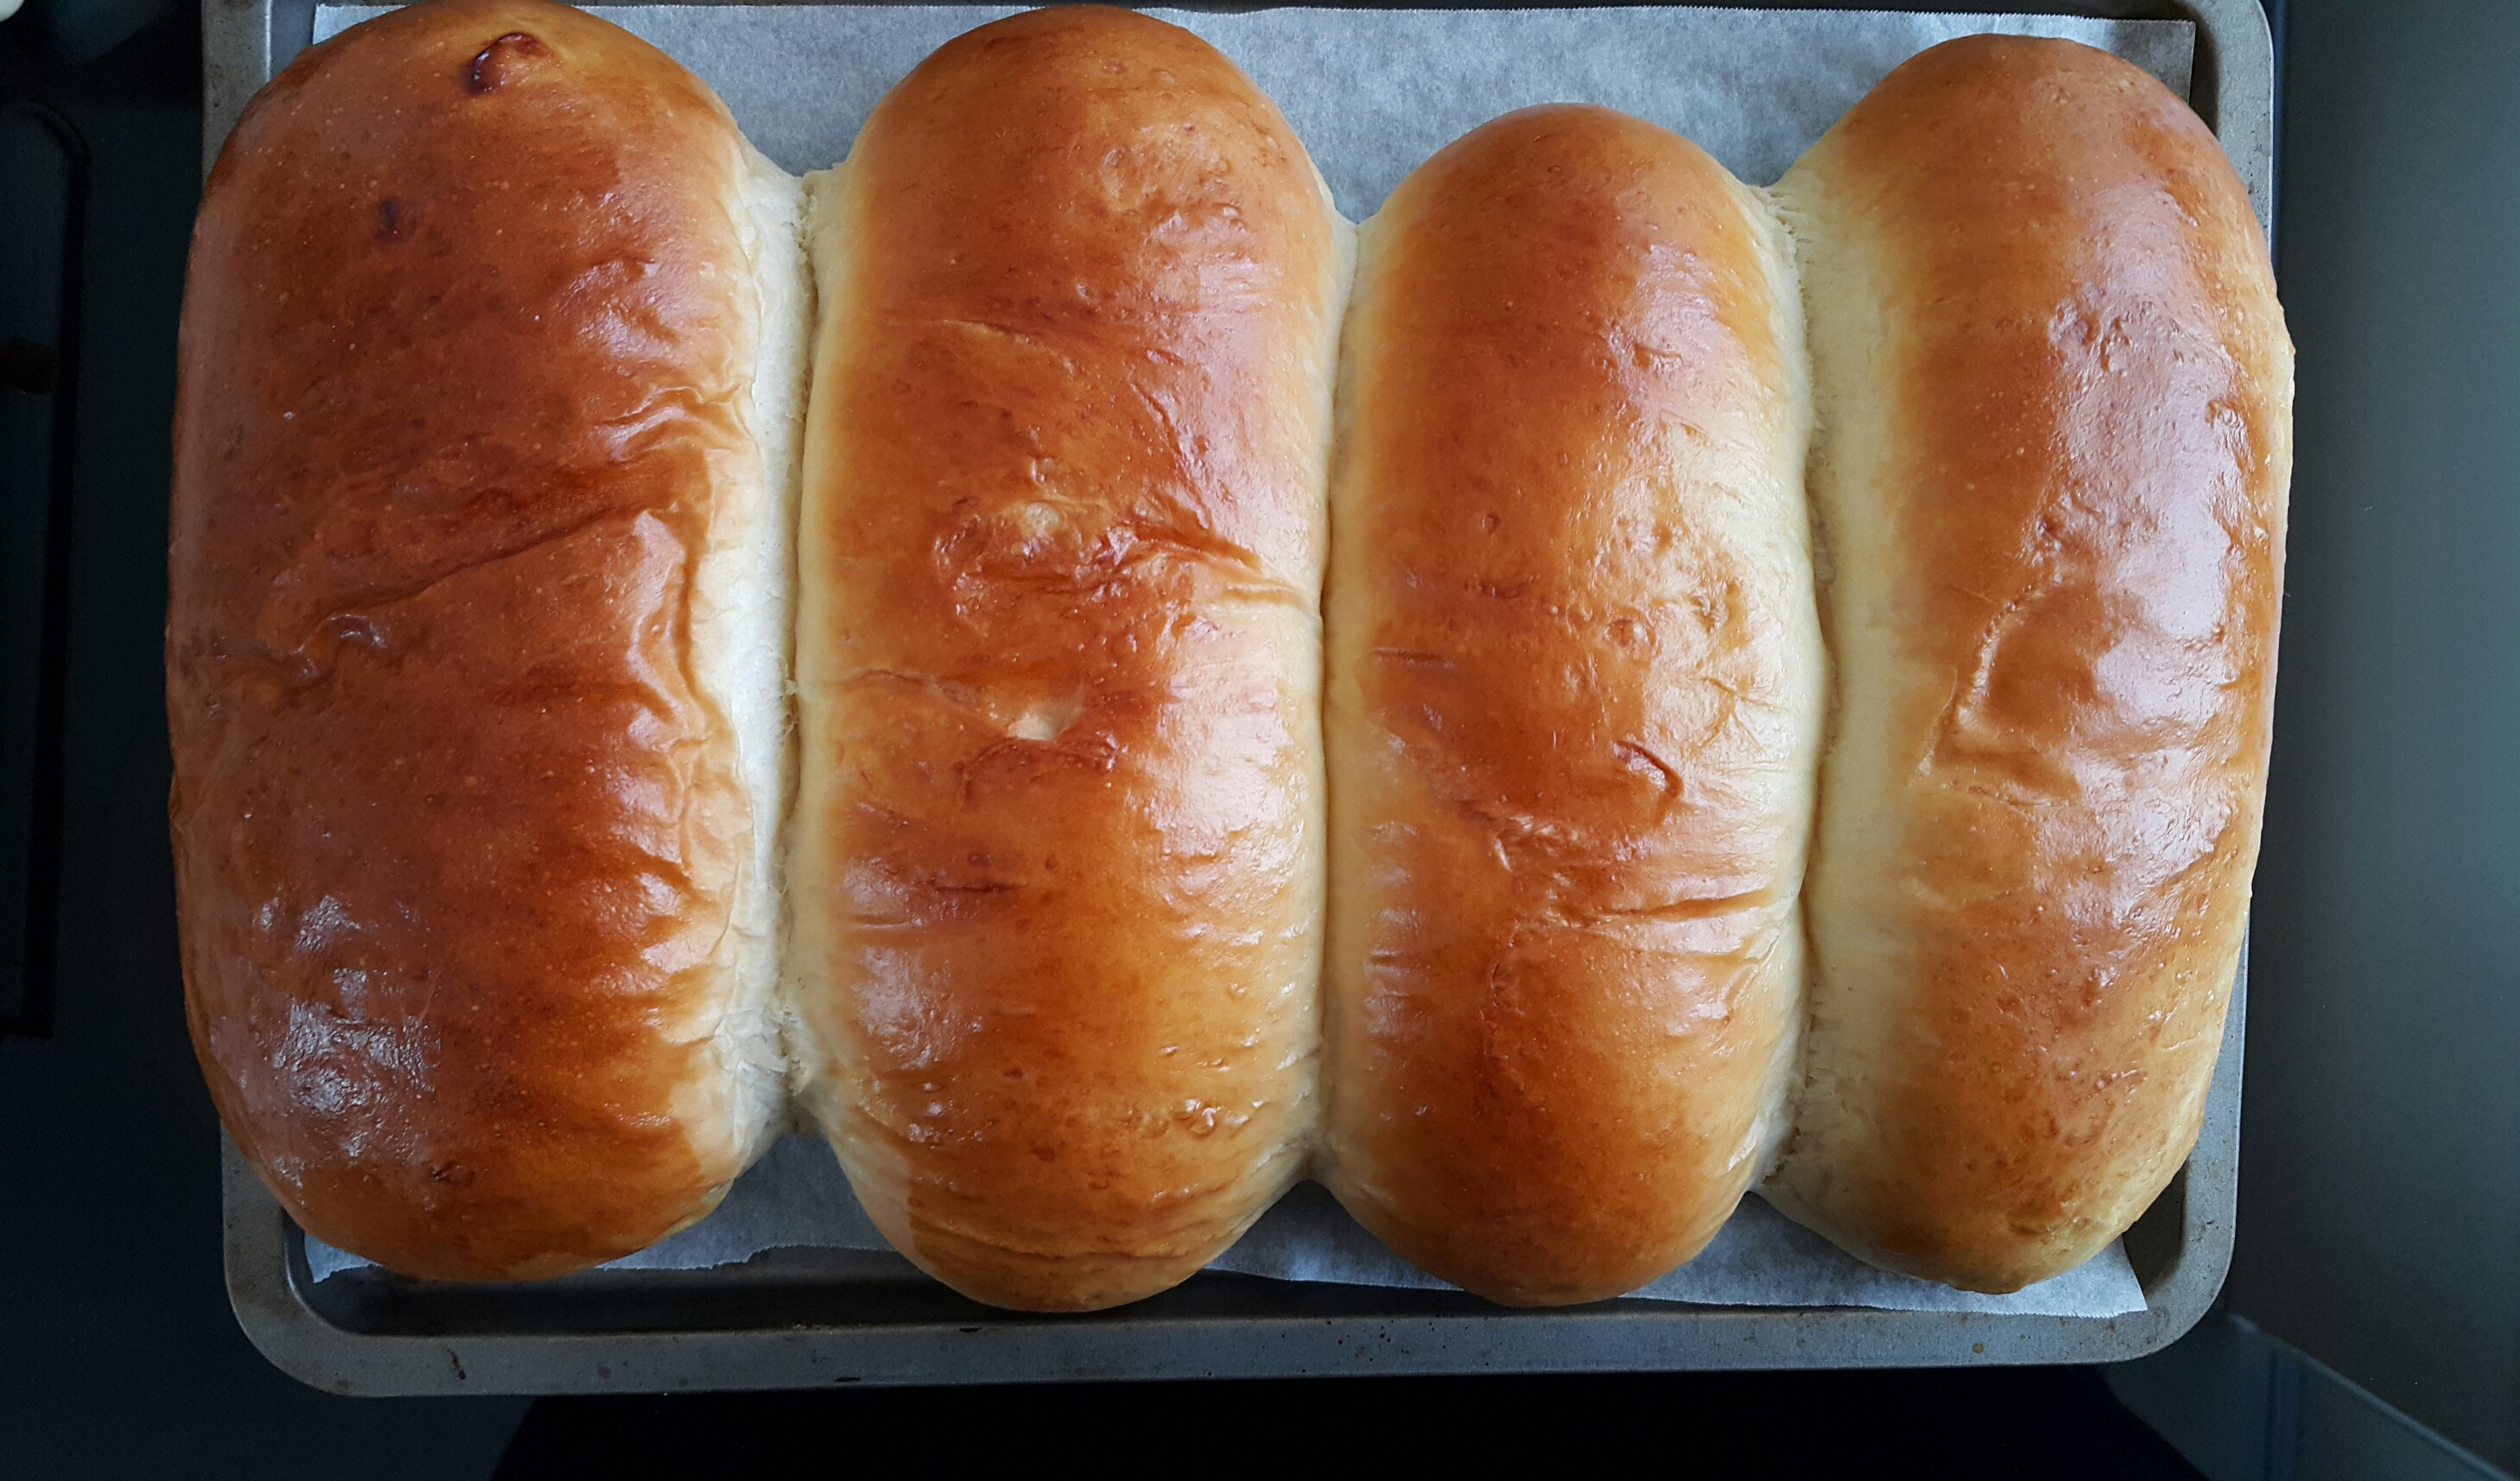
Ready to experience heaven? Put them in the oven and in 25-30 minutes, you’ll have a beautiful tray of golden fluff. Meanwhile, the house will smell like bread. Which is a great thing by the way. Stand in front of the oven if you’re cold- trust me, it’s one of the best sensations ever. Oh, and the smell that hits you when you open the oven door… a rich, buttery scent that is reminiscent of caramel. Yeasty. Perfectly yeasty. Let’s just say that if this scent was made into a perfume, I’d wear it everyday.
If the rolls get too brown, just tent them with foil. When they’re a deep golden, they’re done.
Are you ready? You butter be.

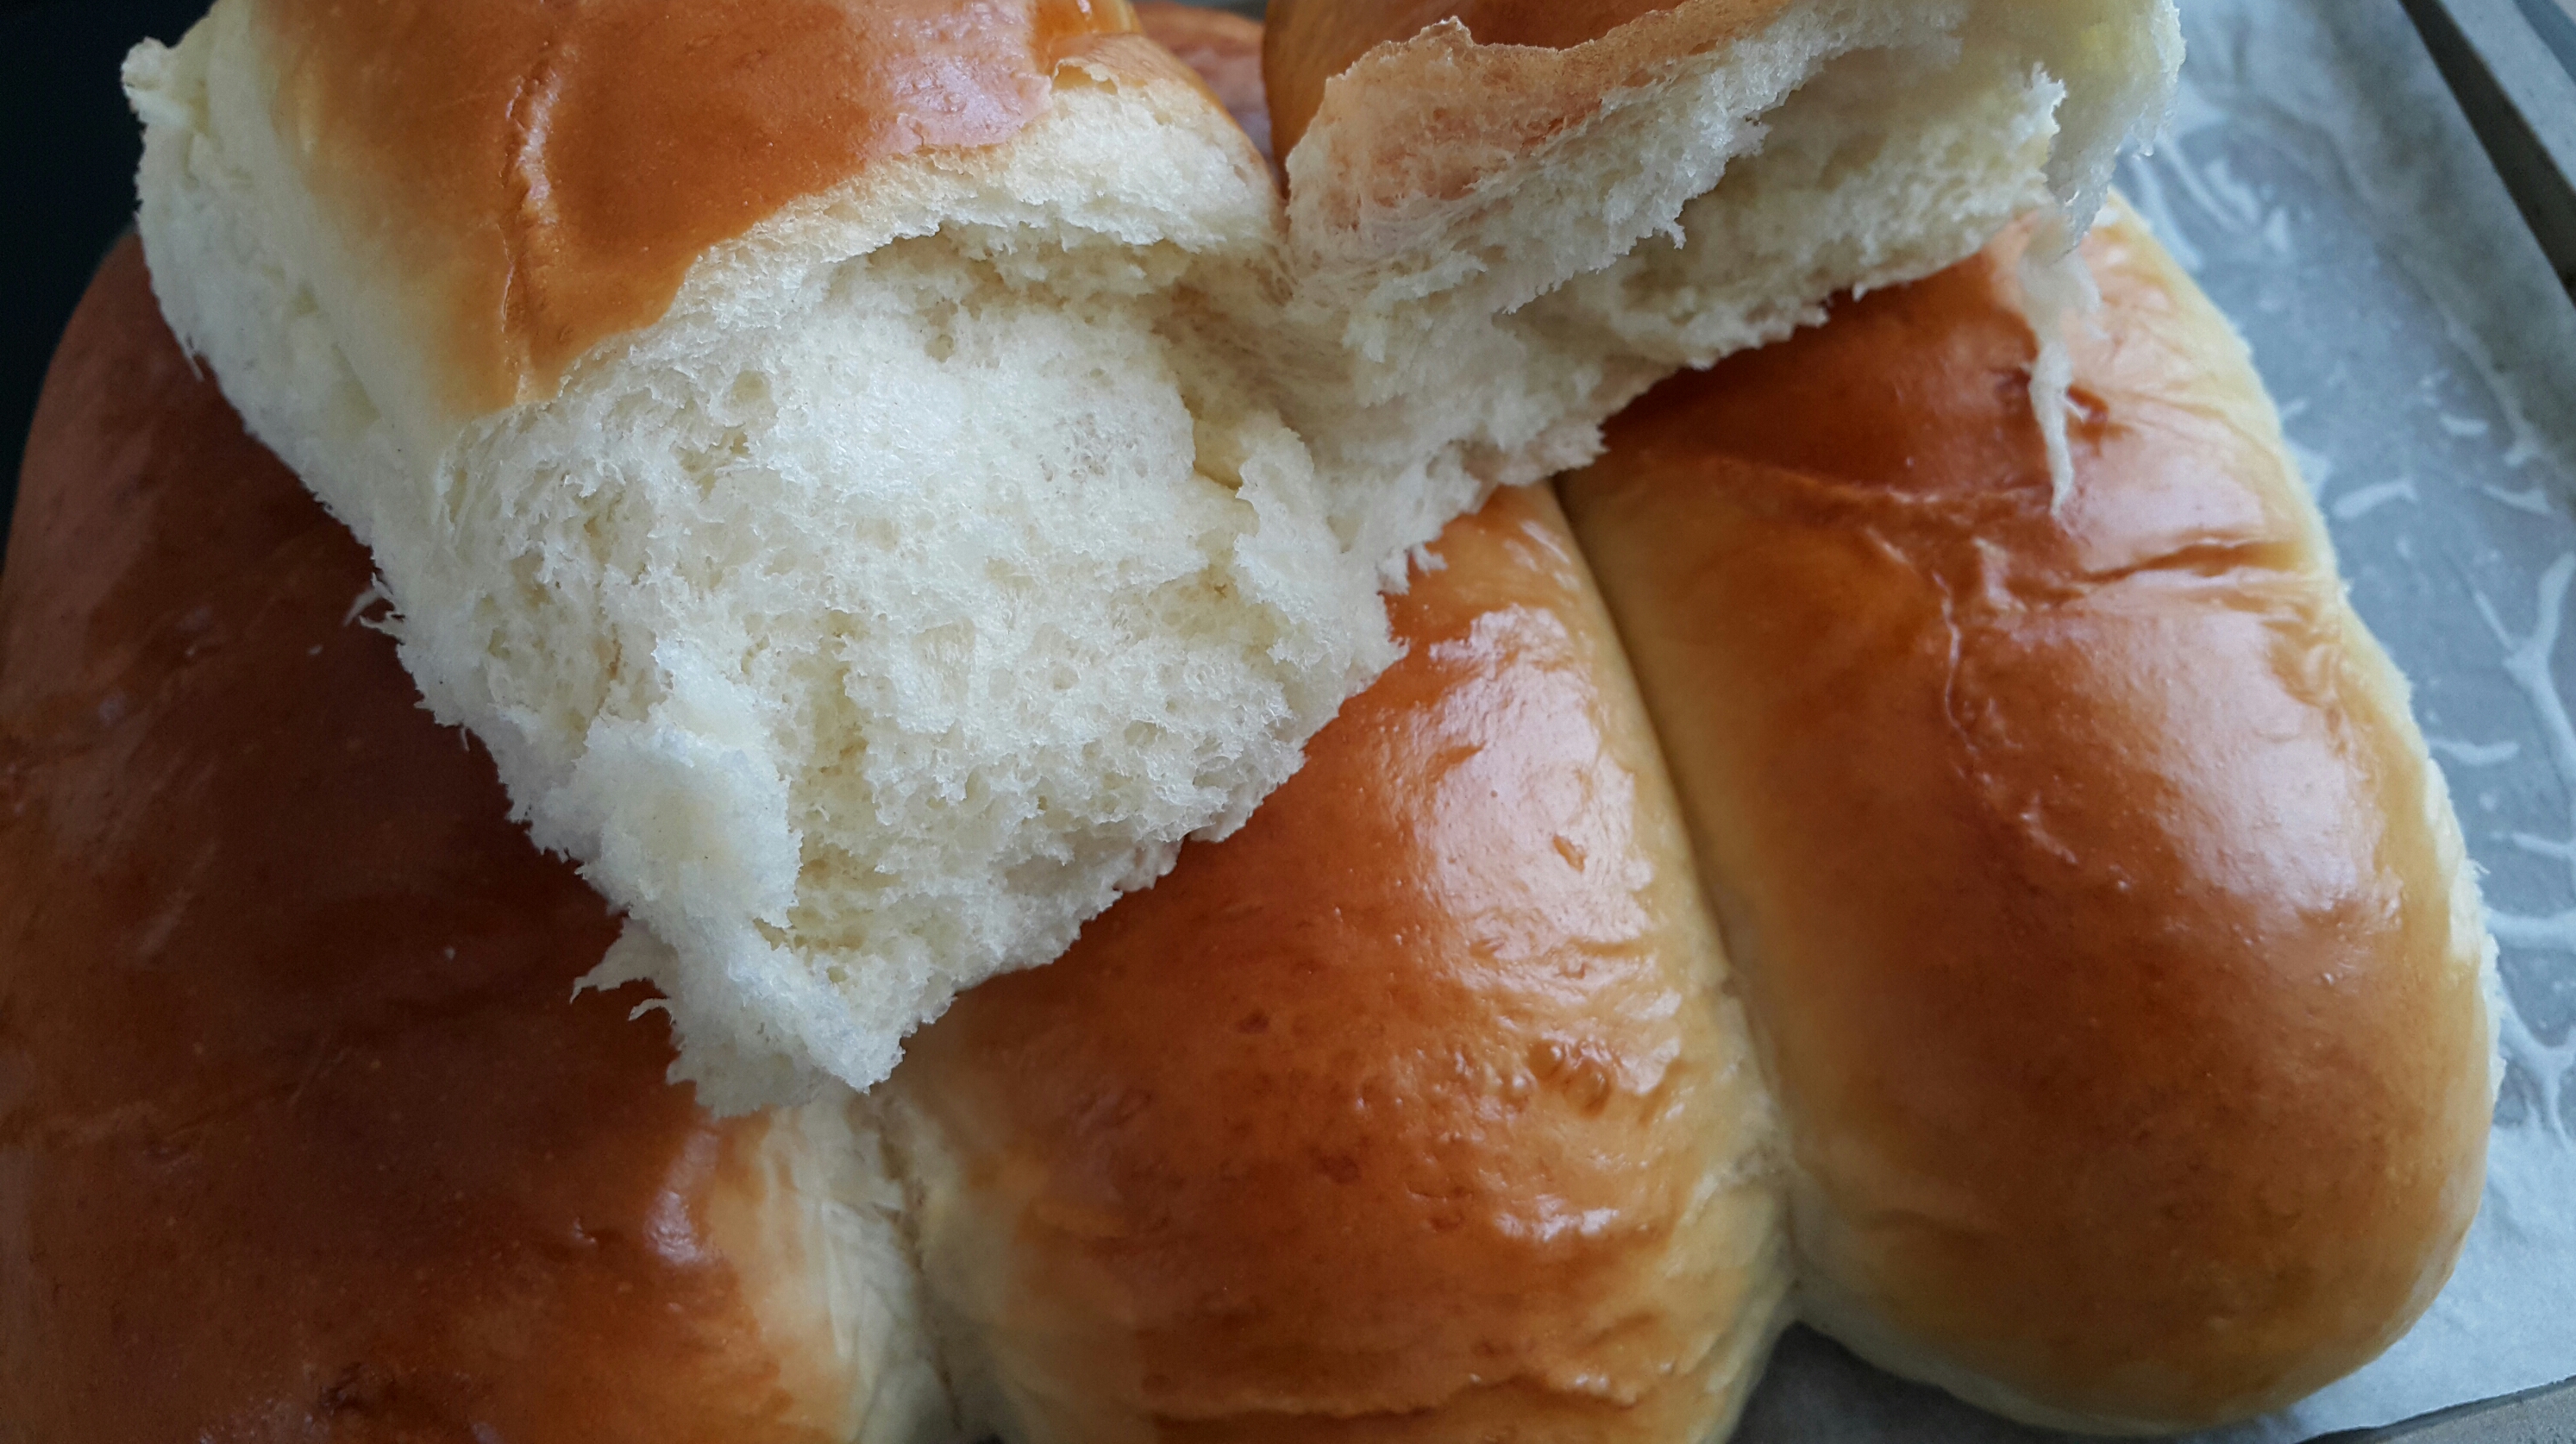
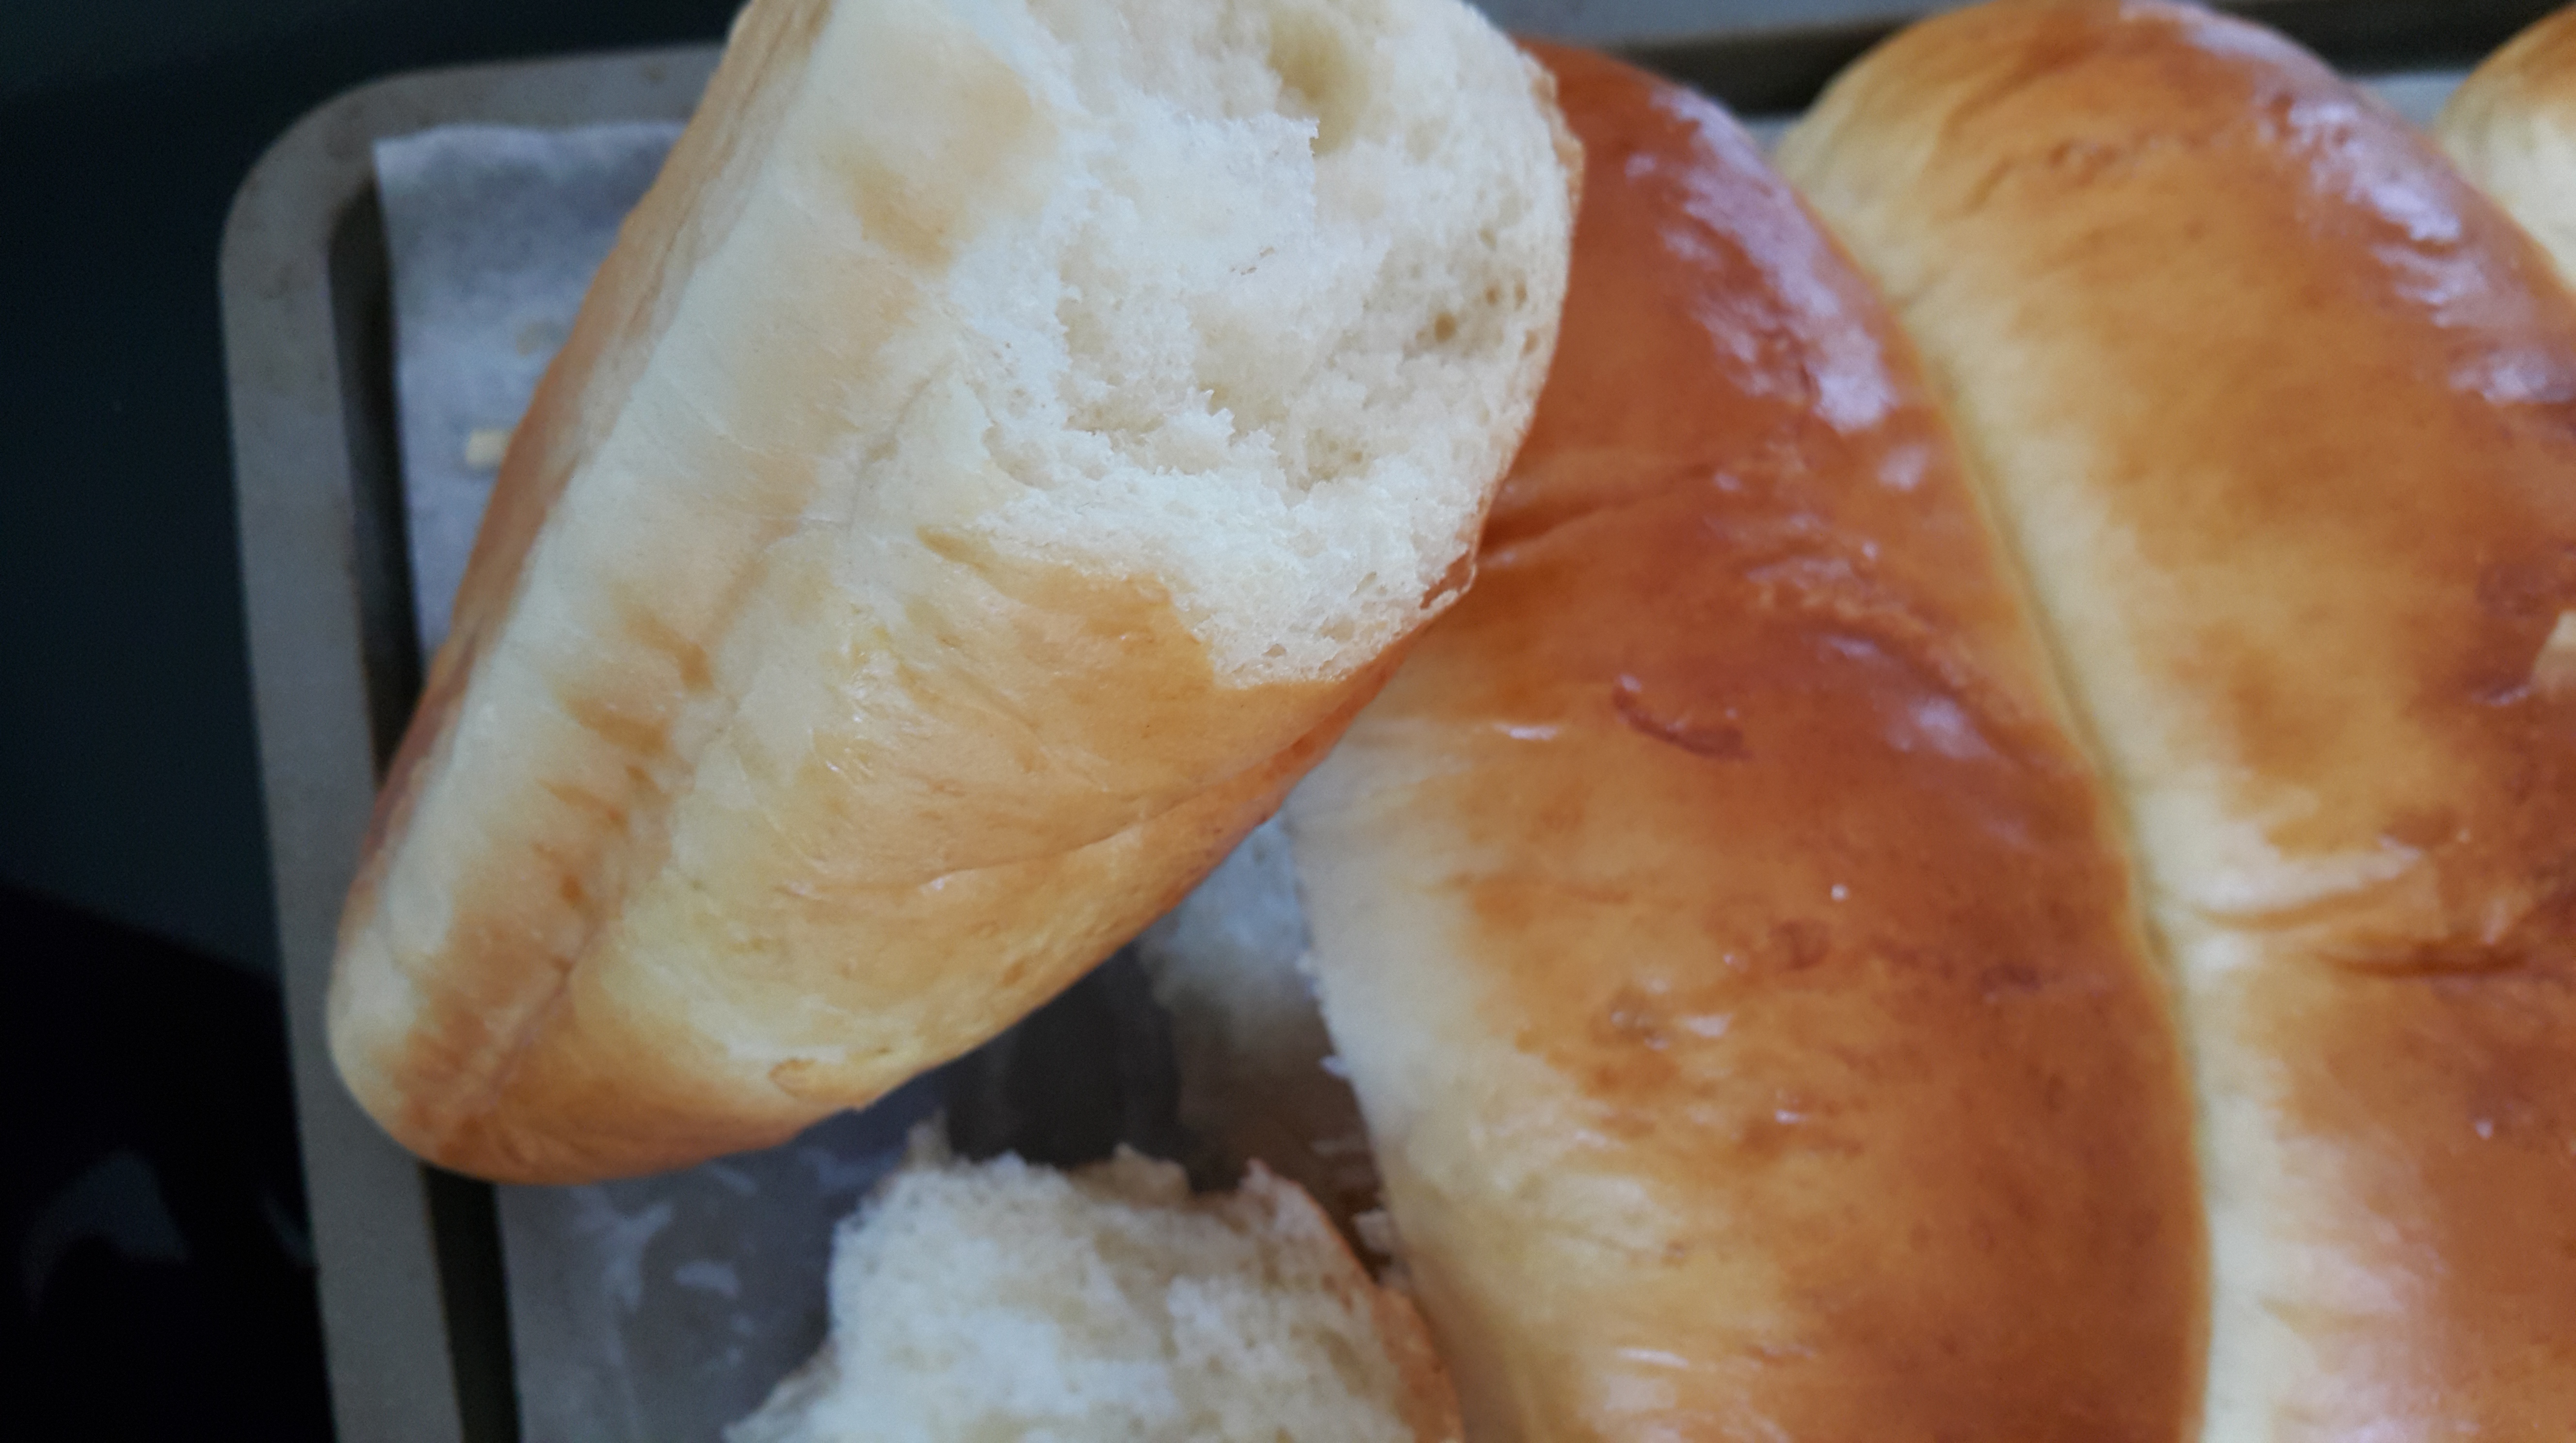
Irresistible. Plain goodness. Simple but oh-so delectable. And oh my, that blissful smell…
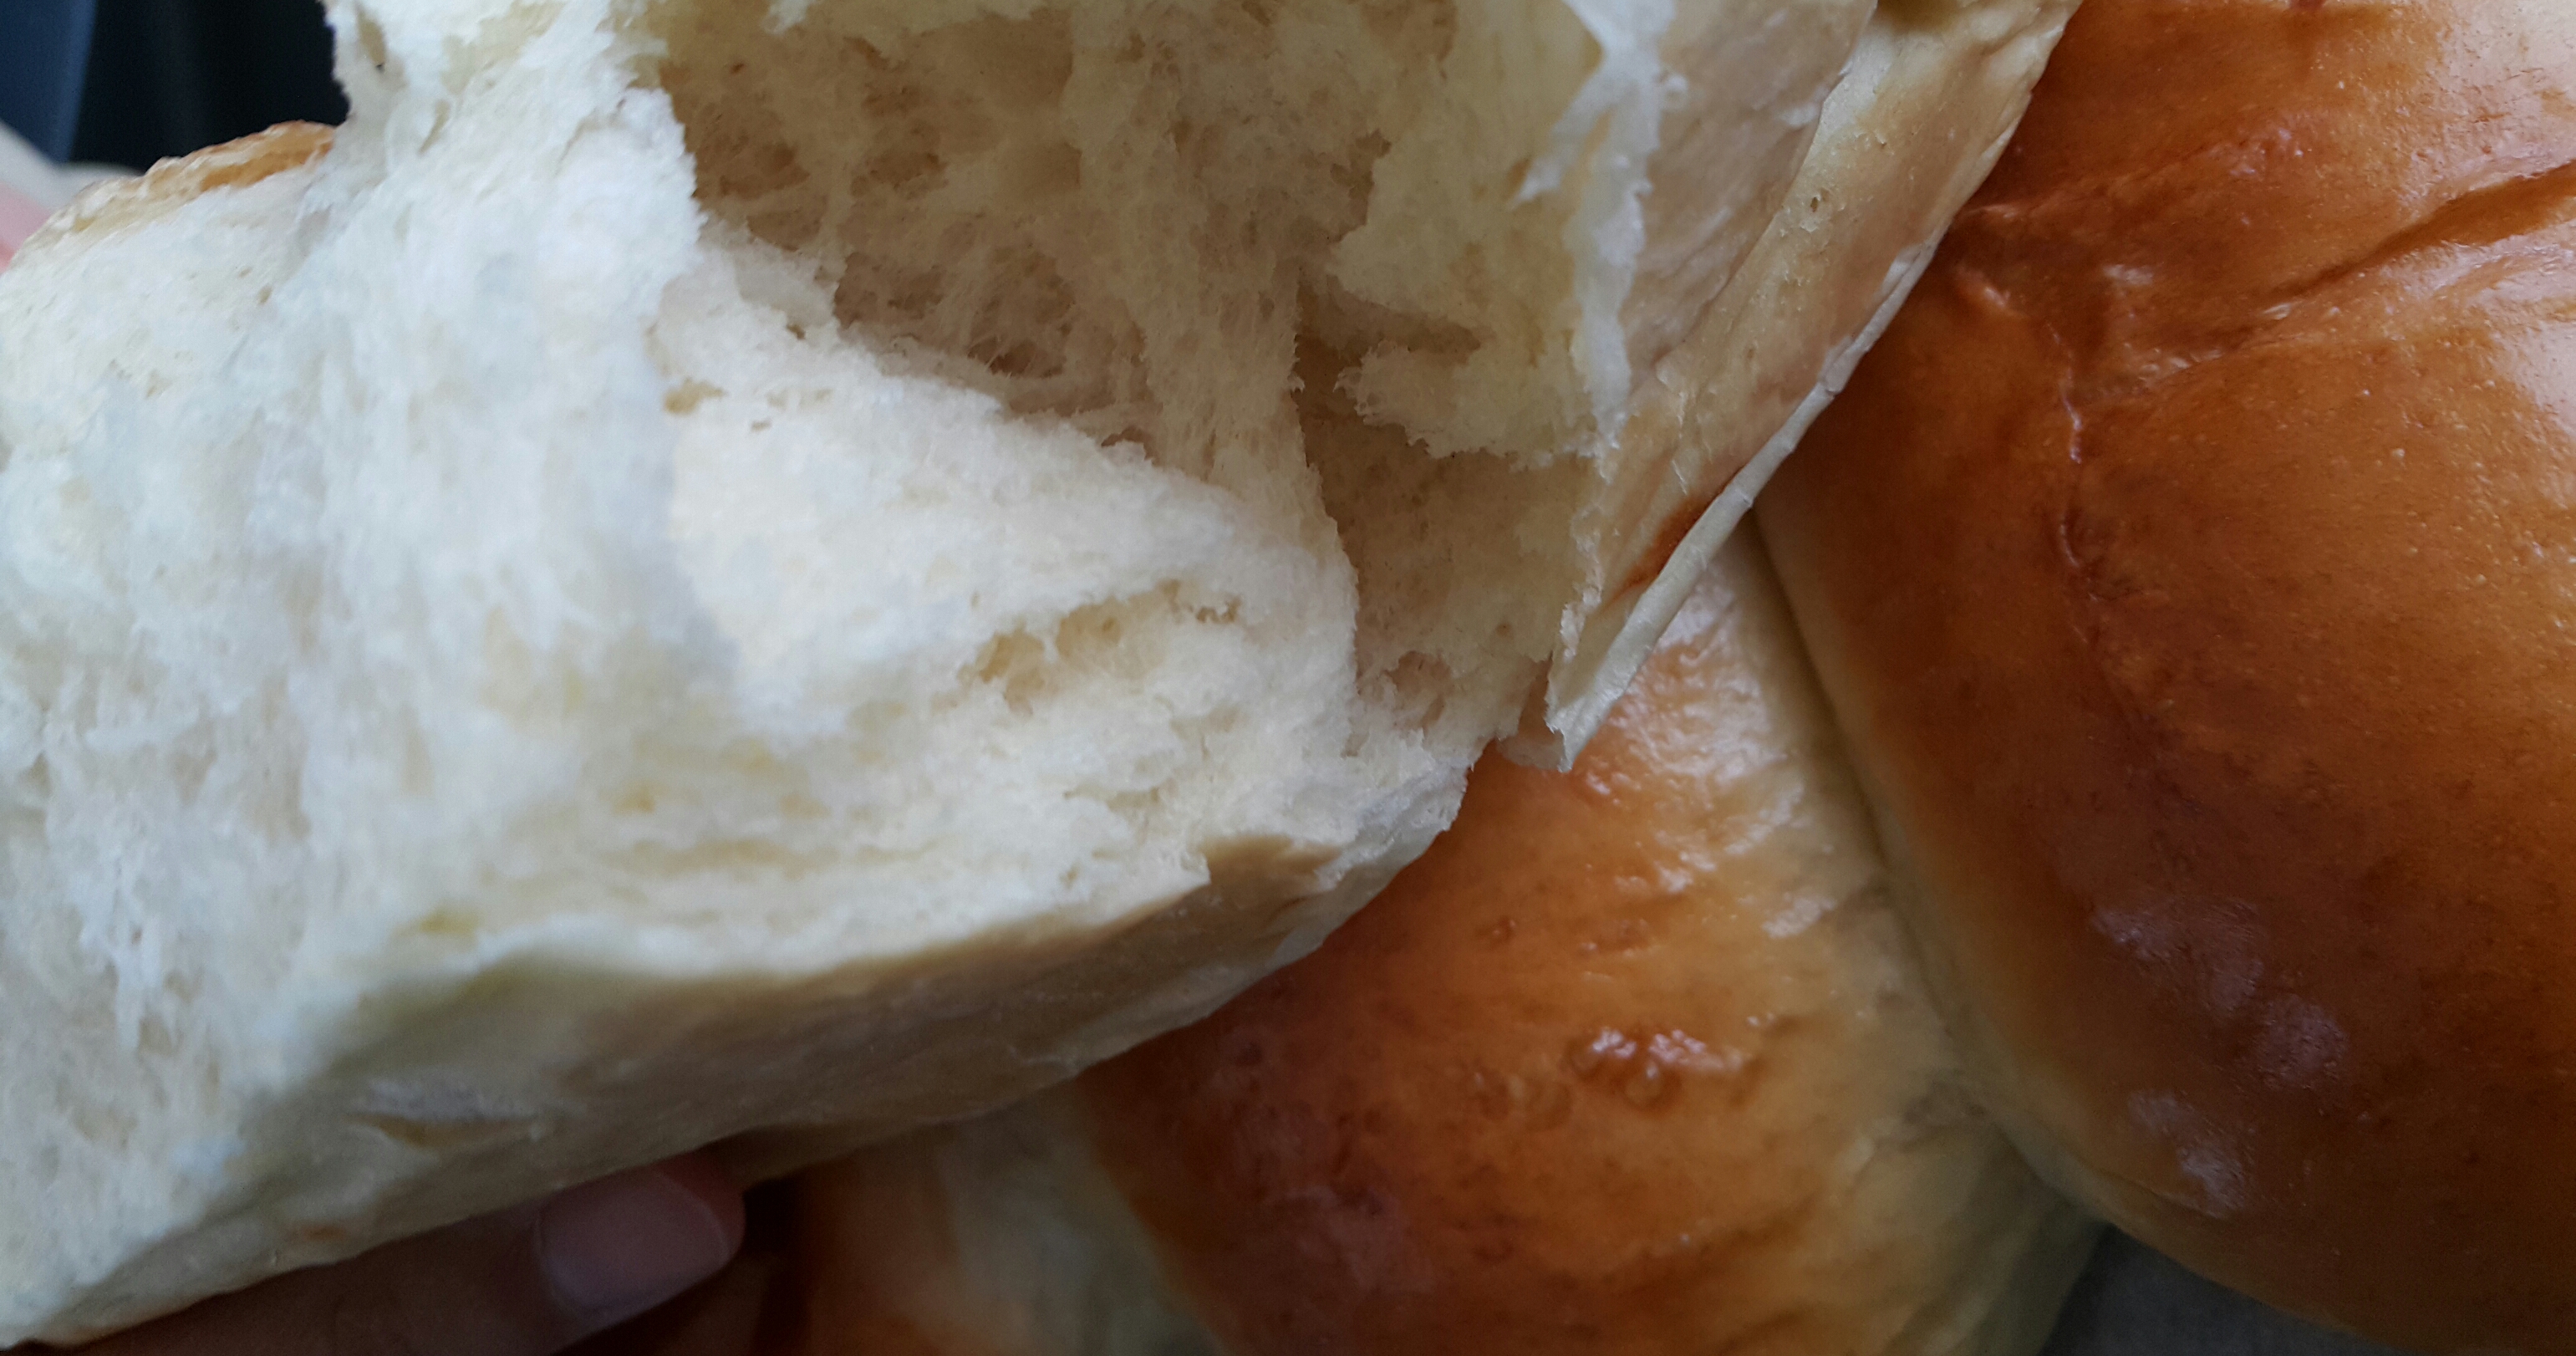
Inside? Inside is the stuff angels eat. I think.
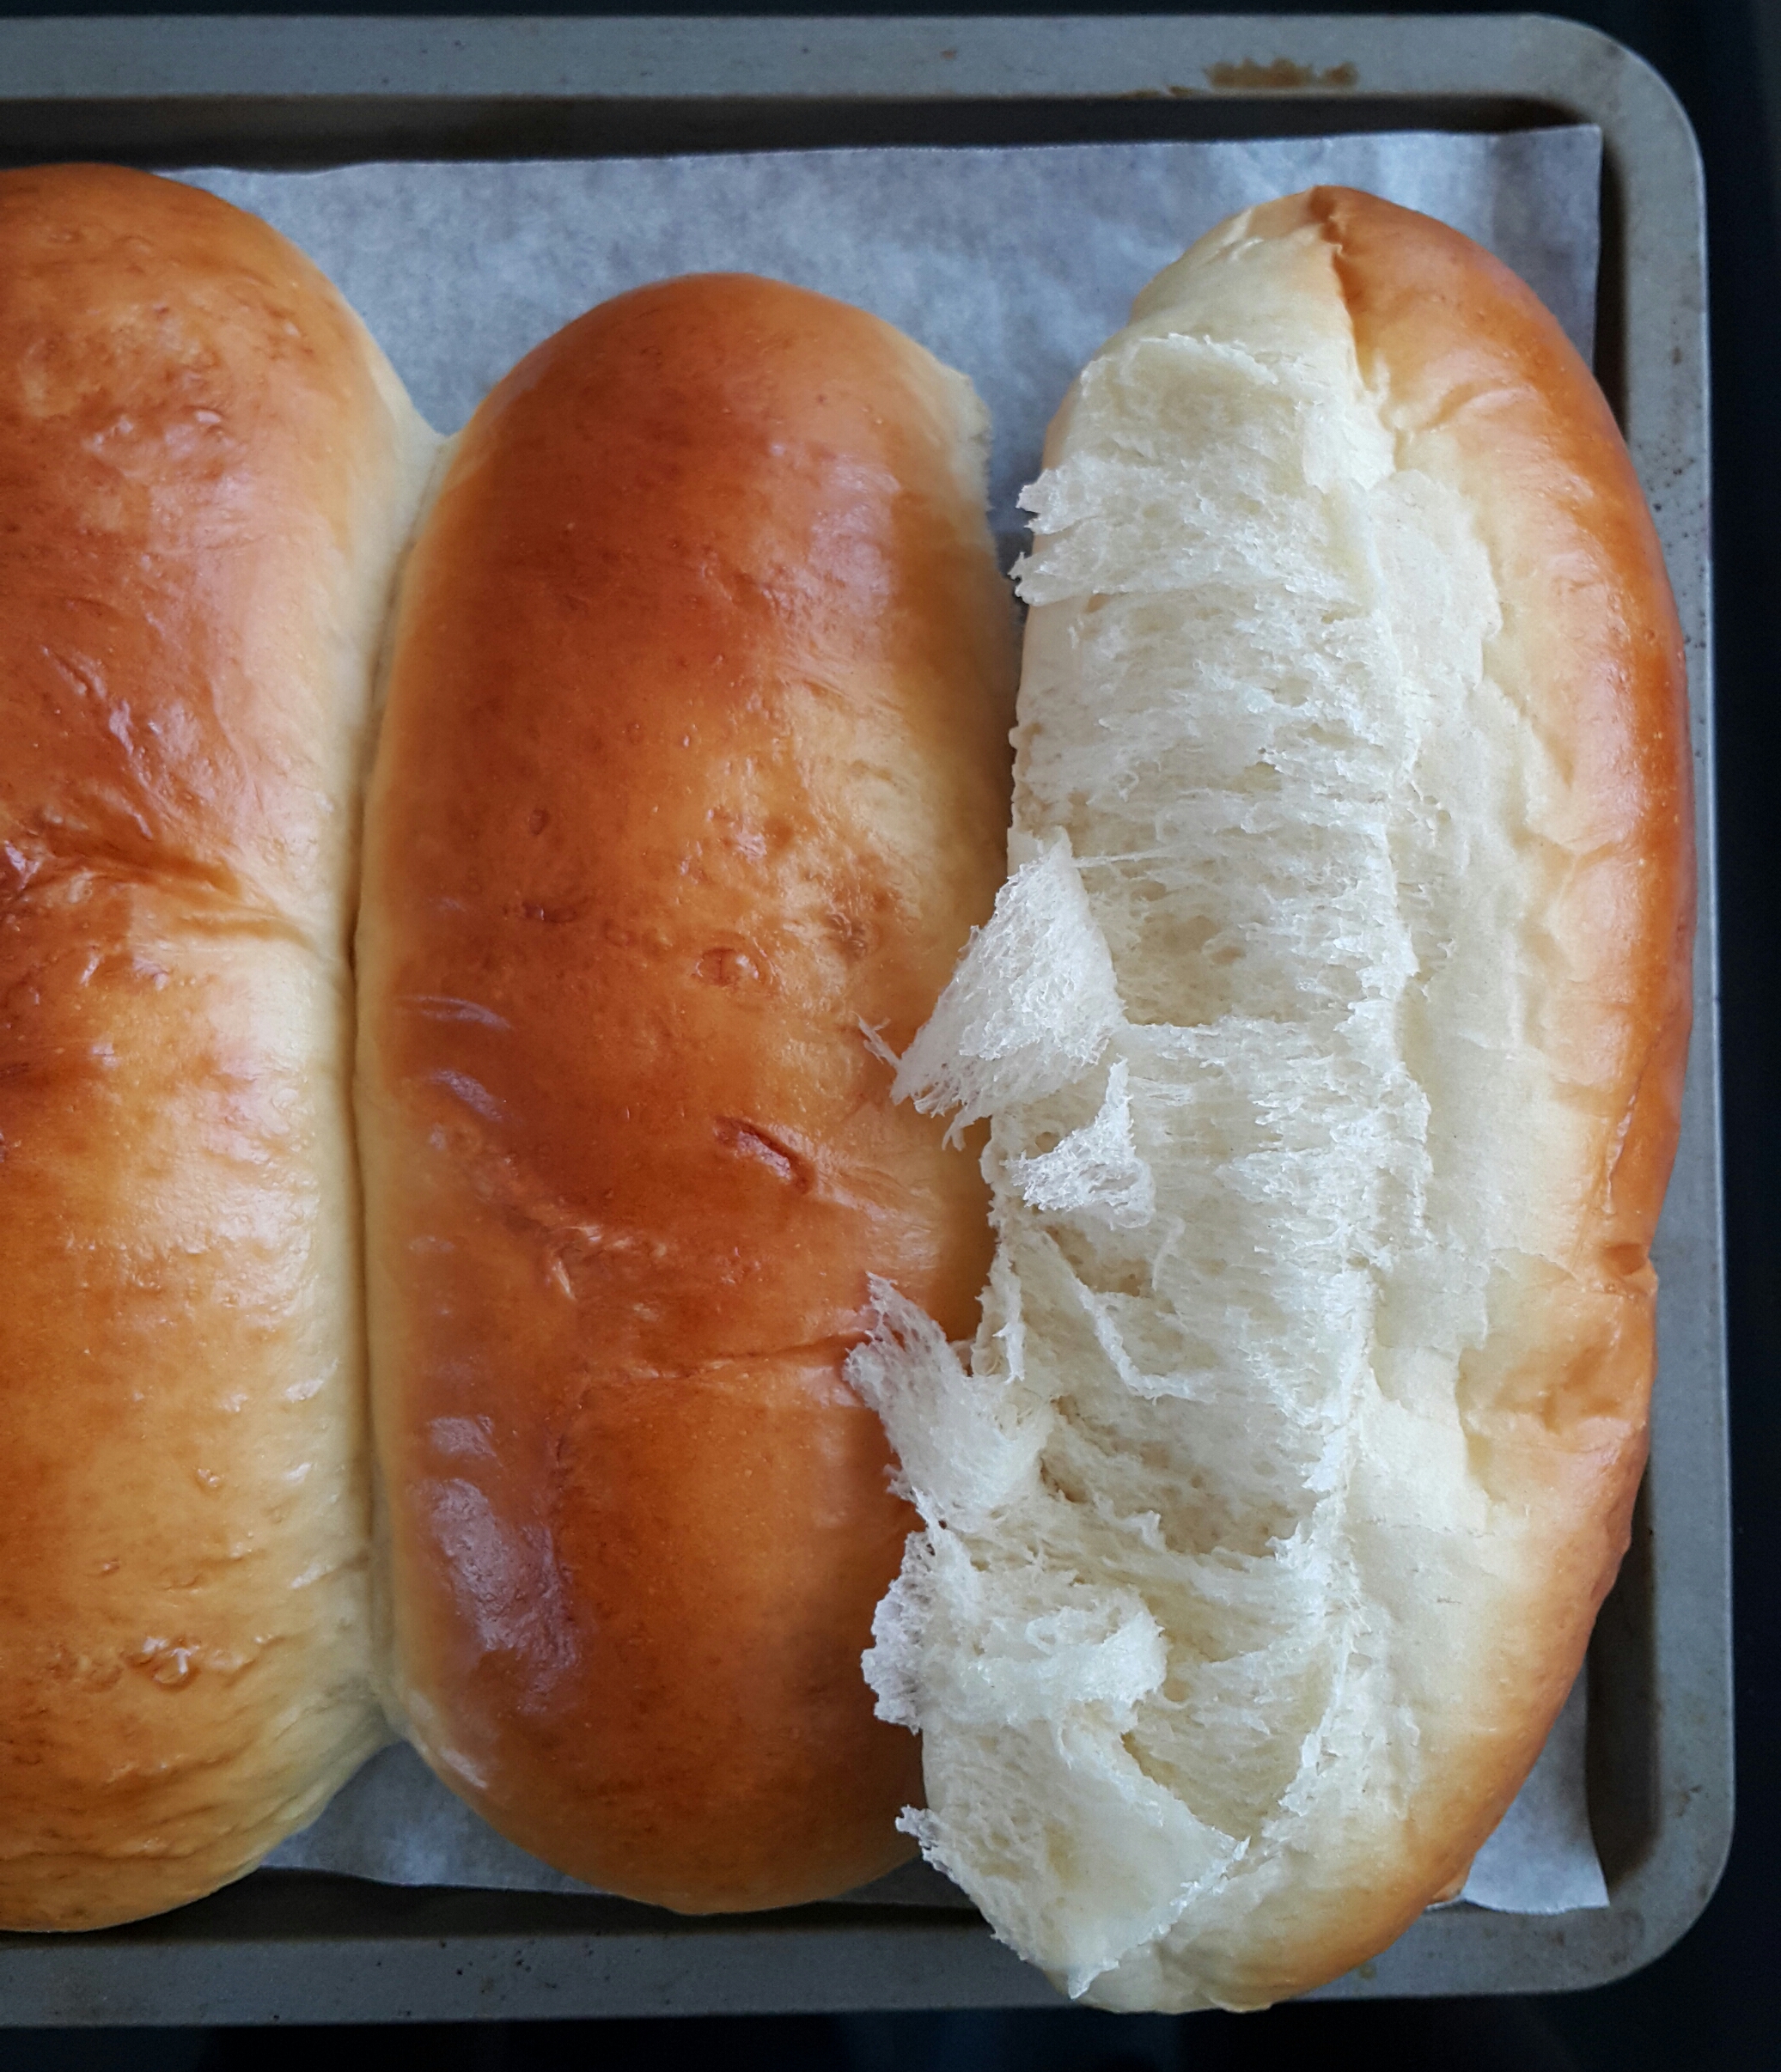
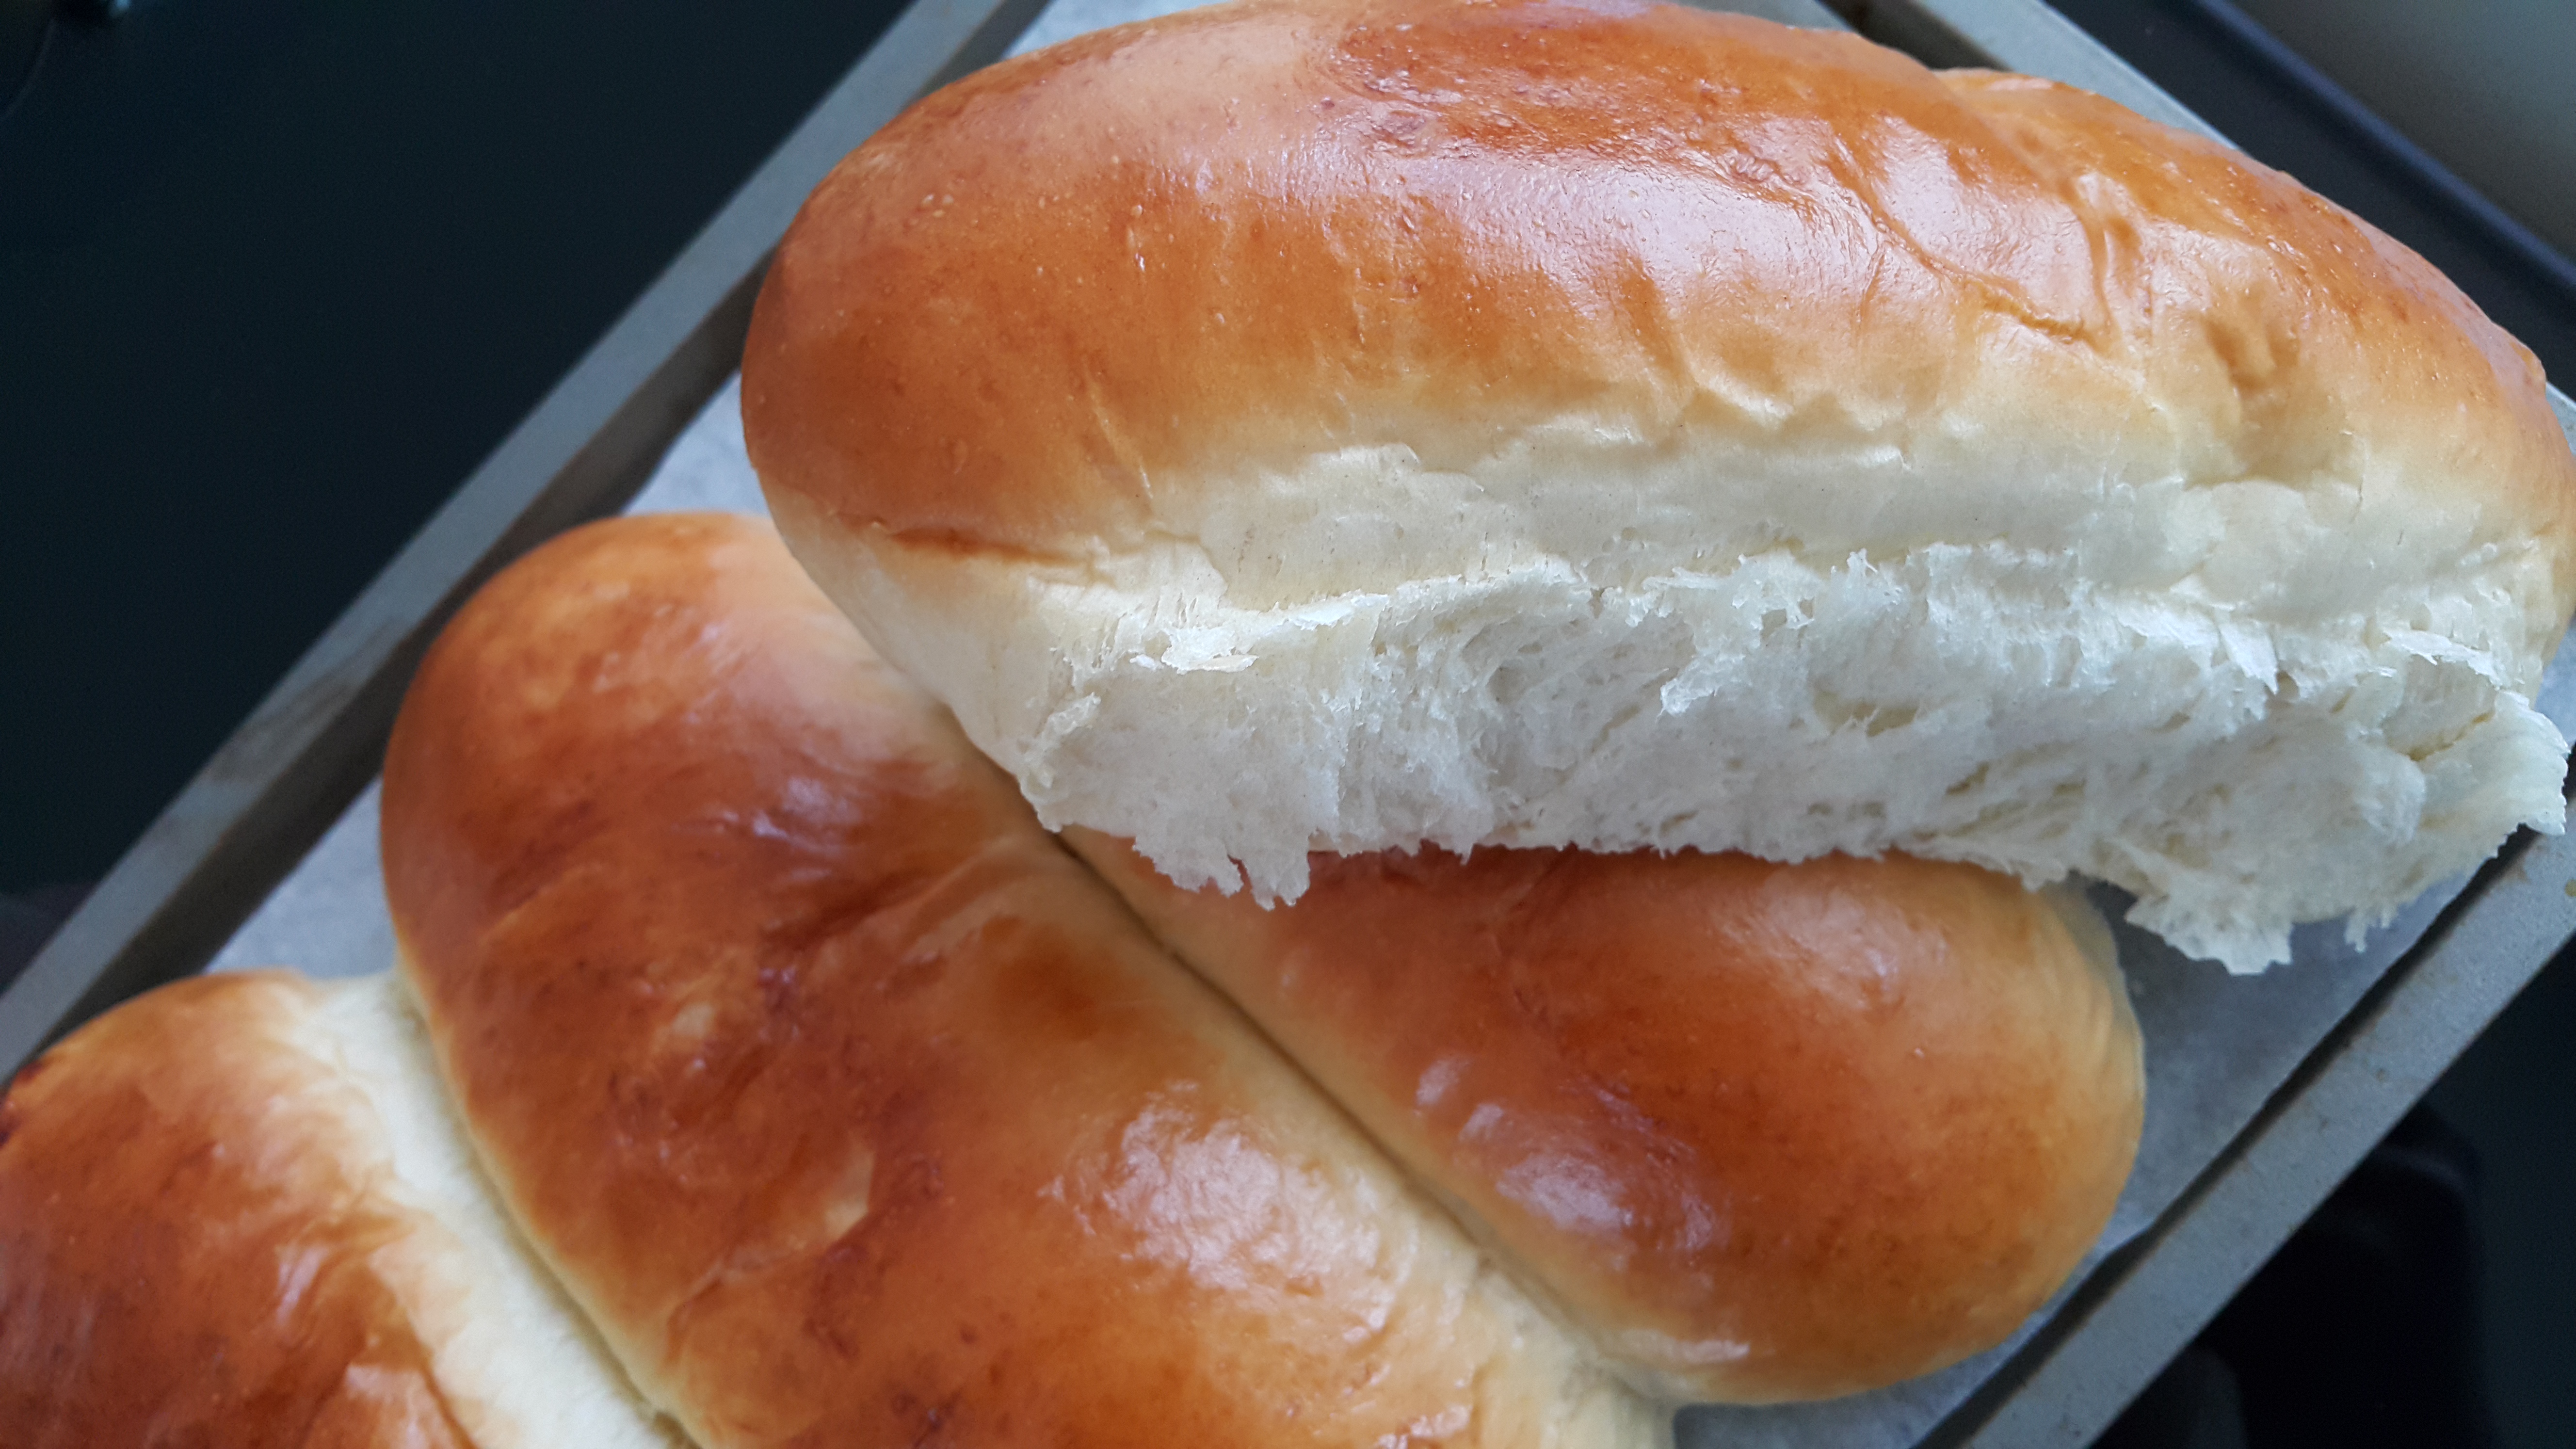
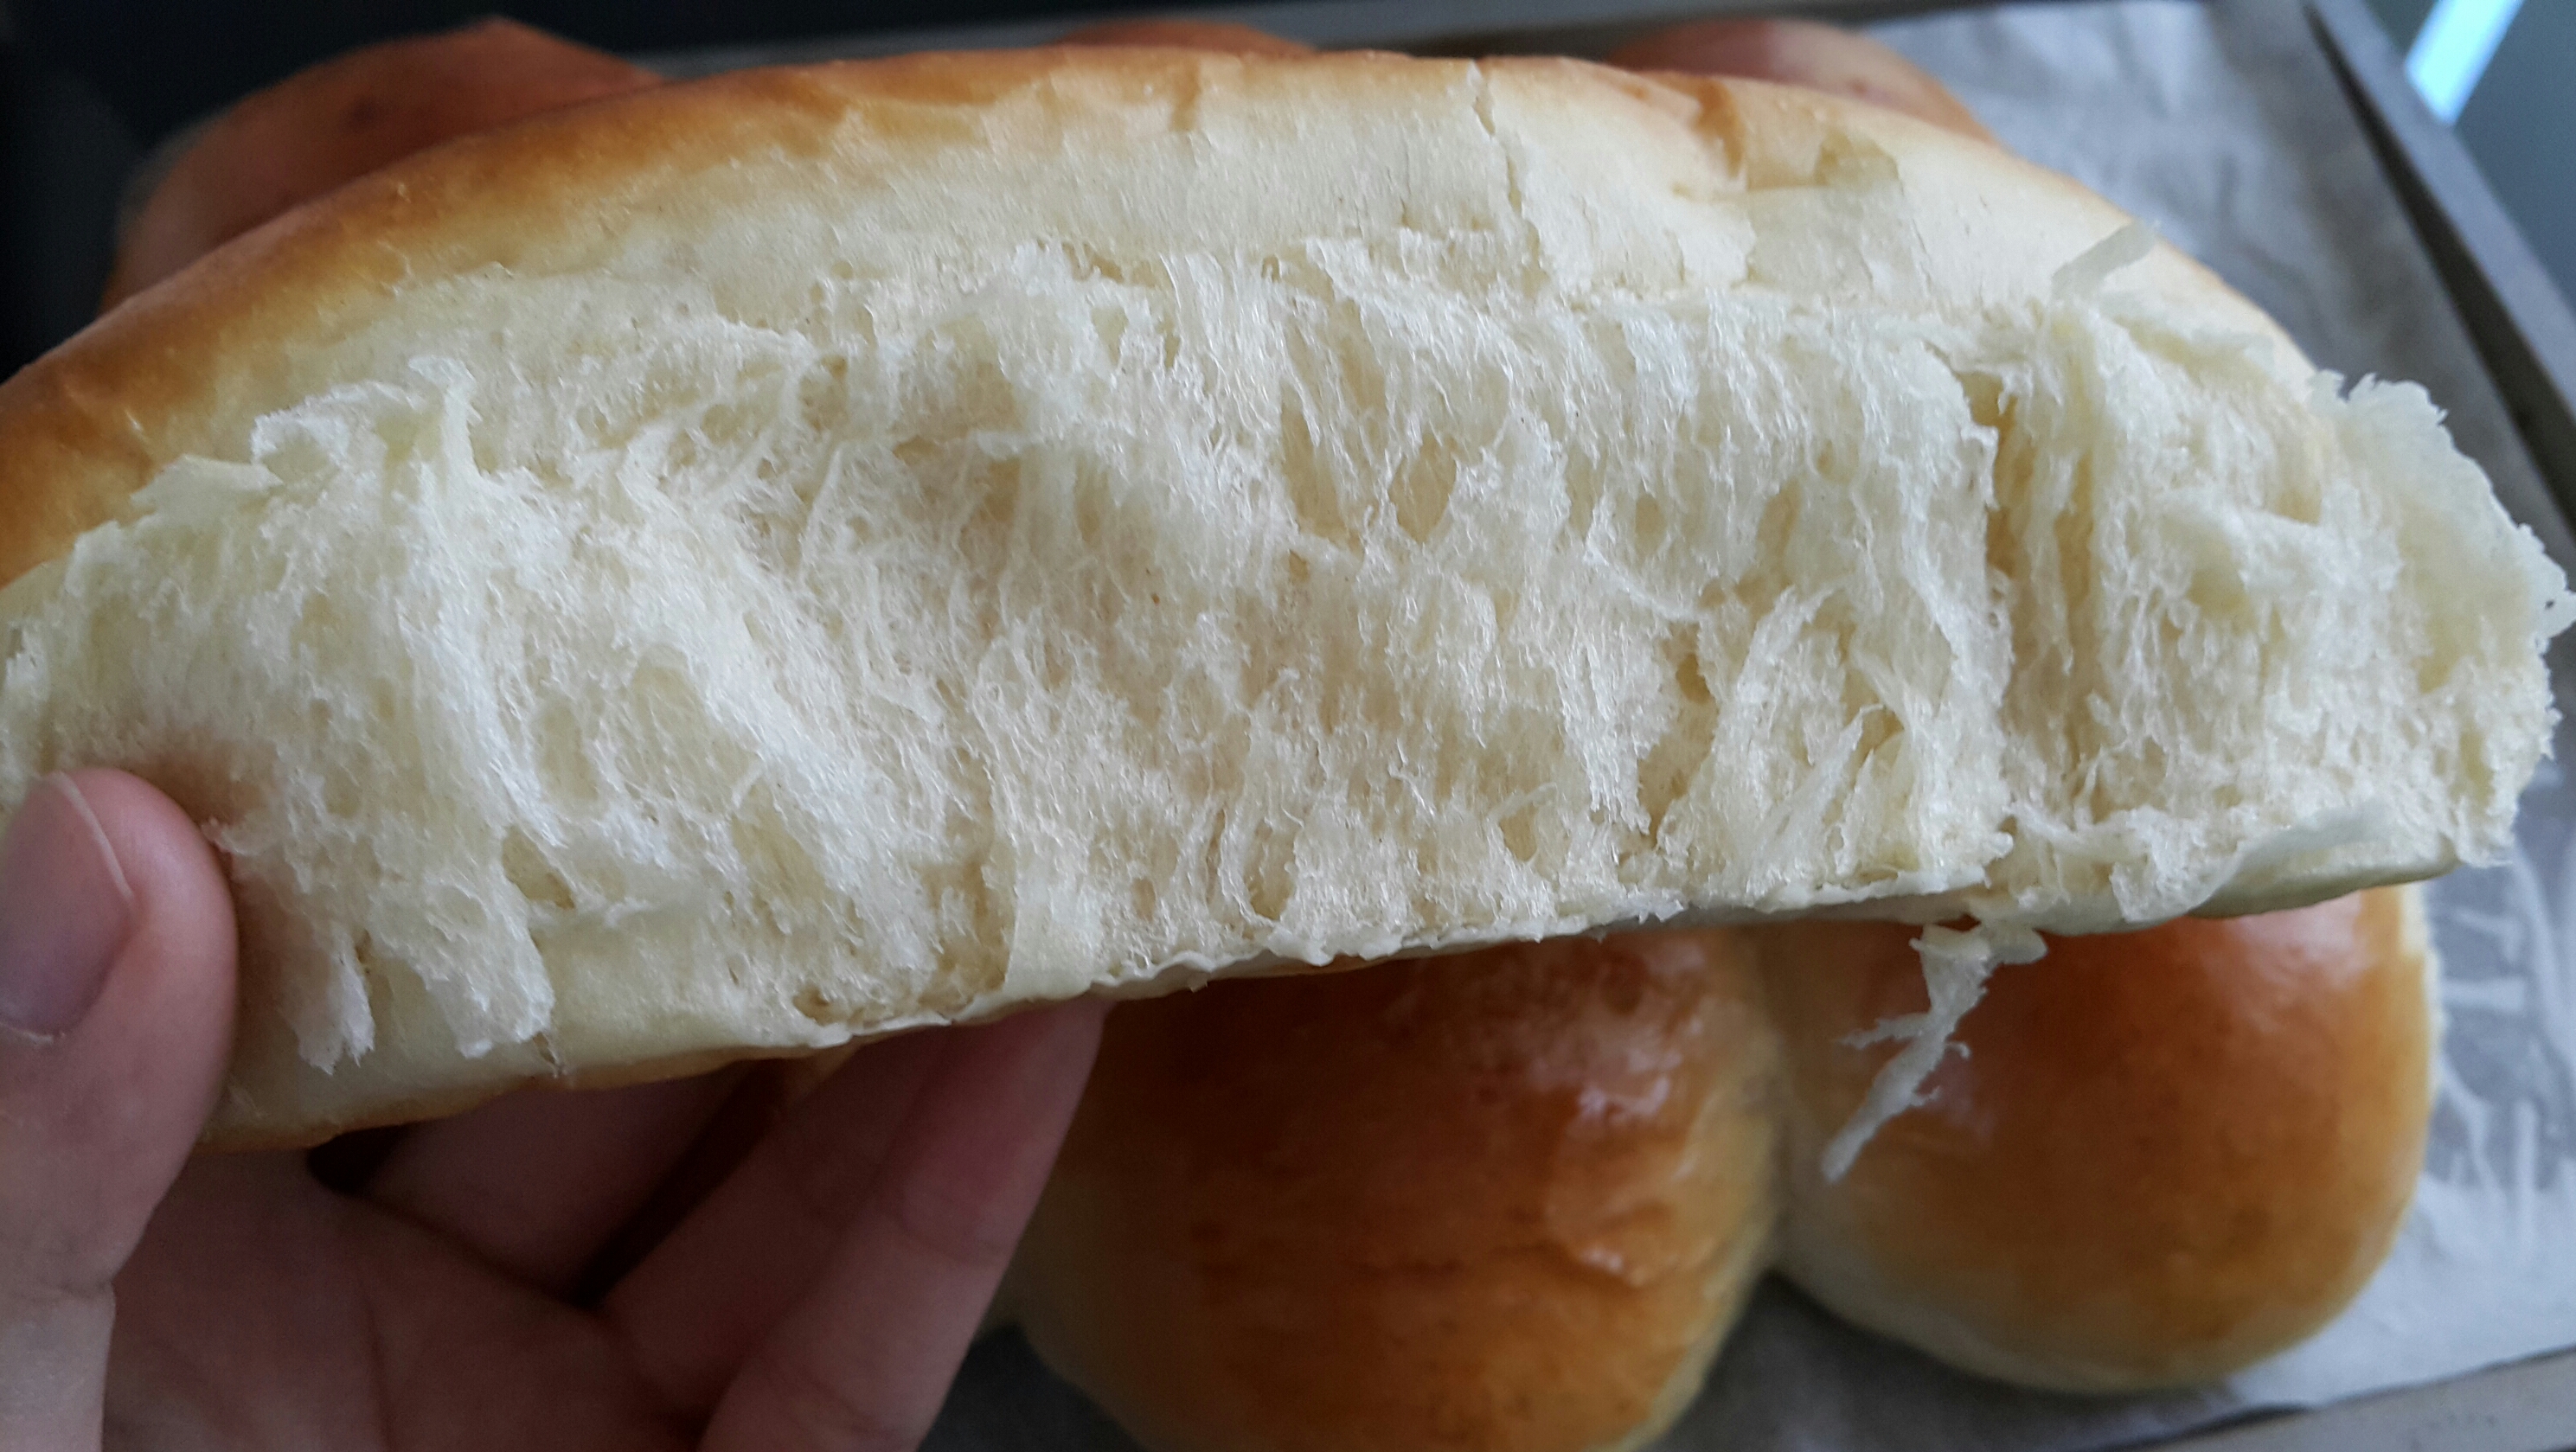
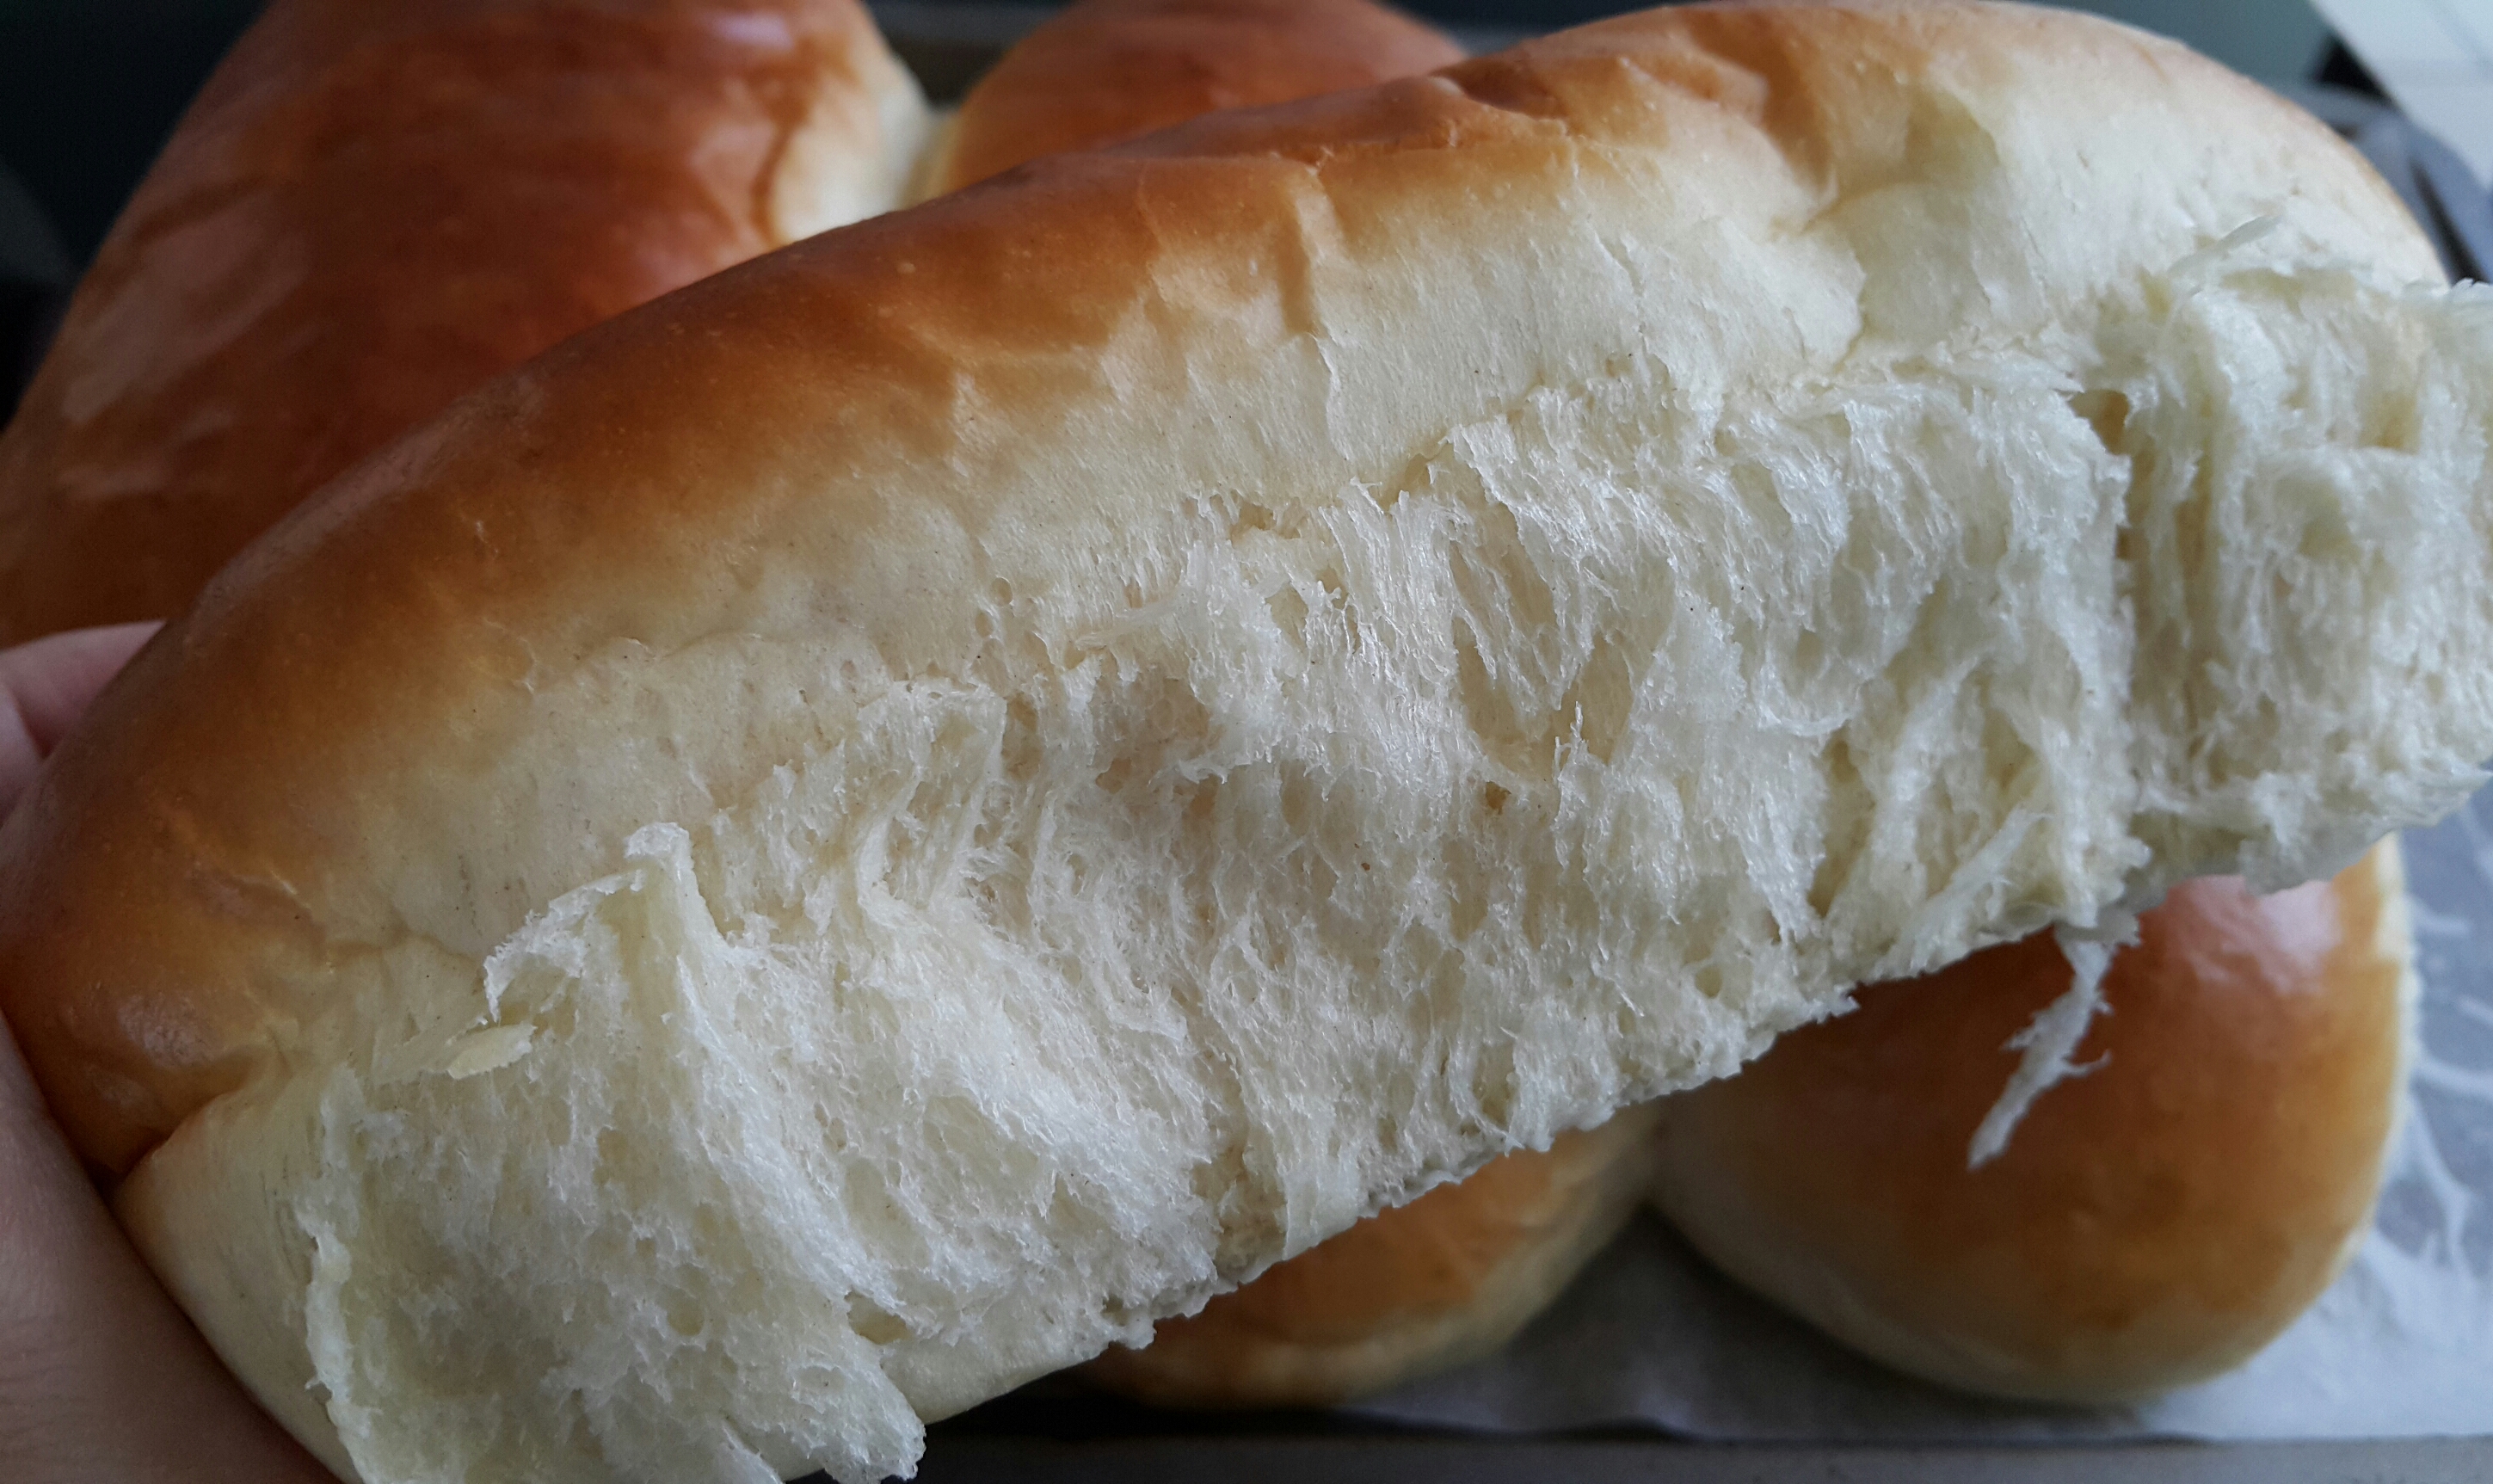
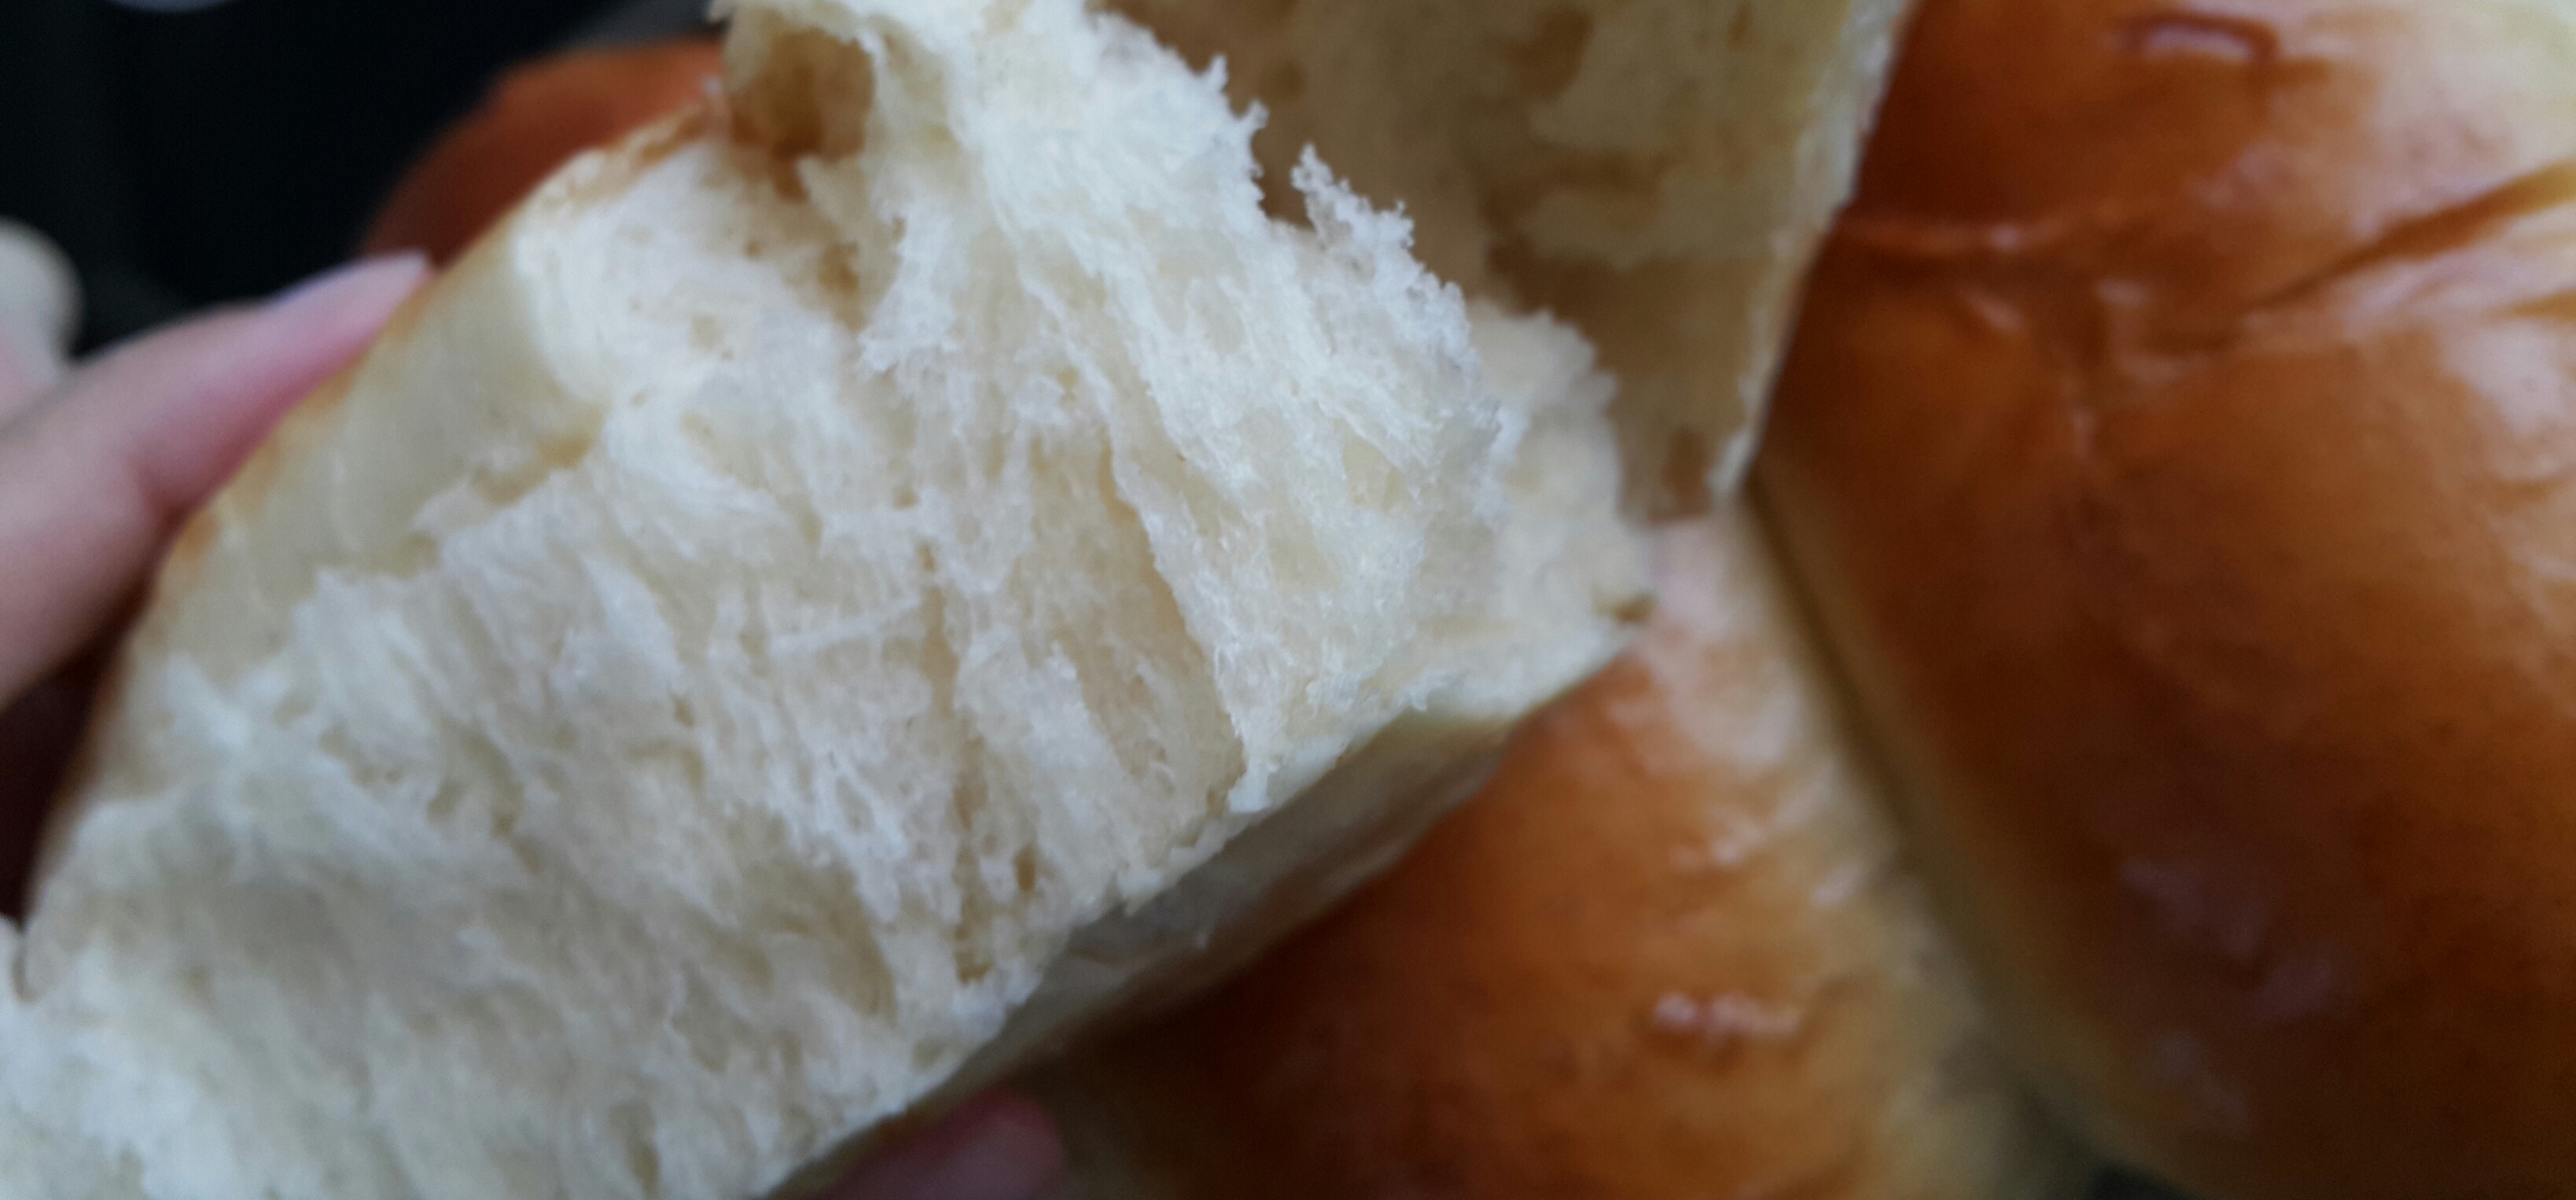
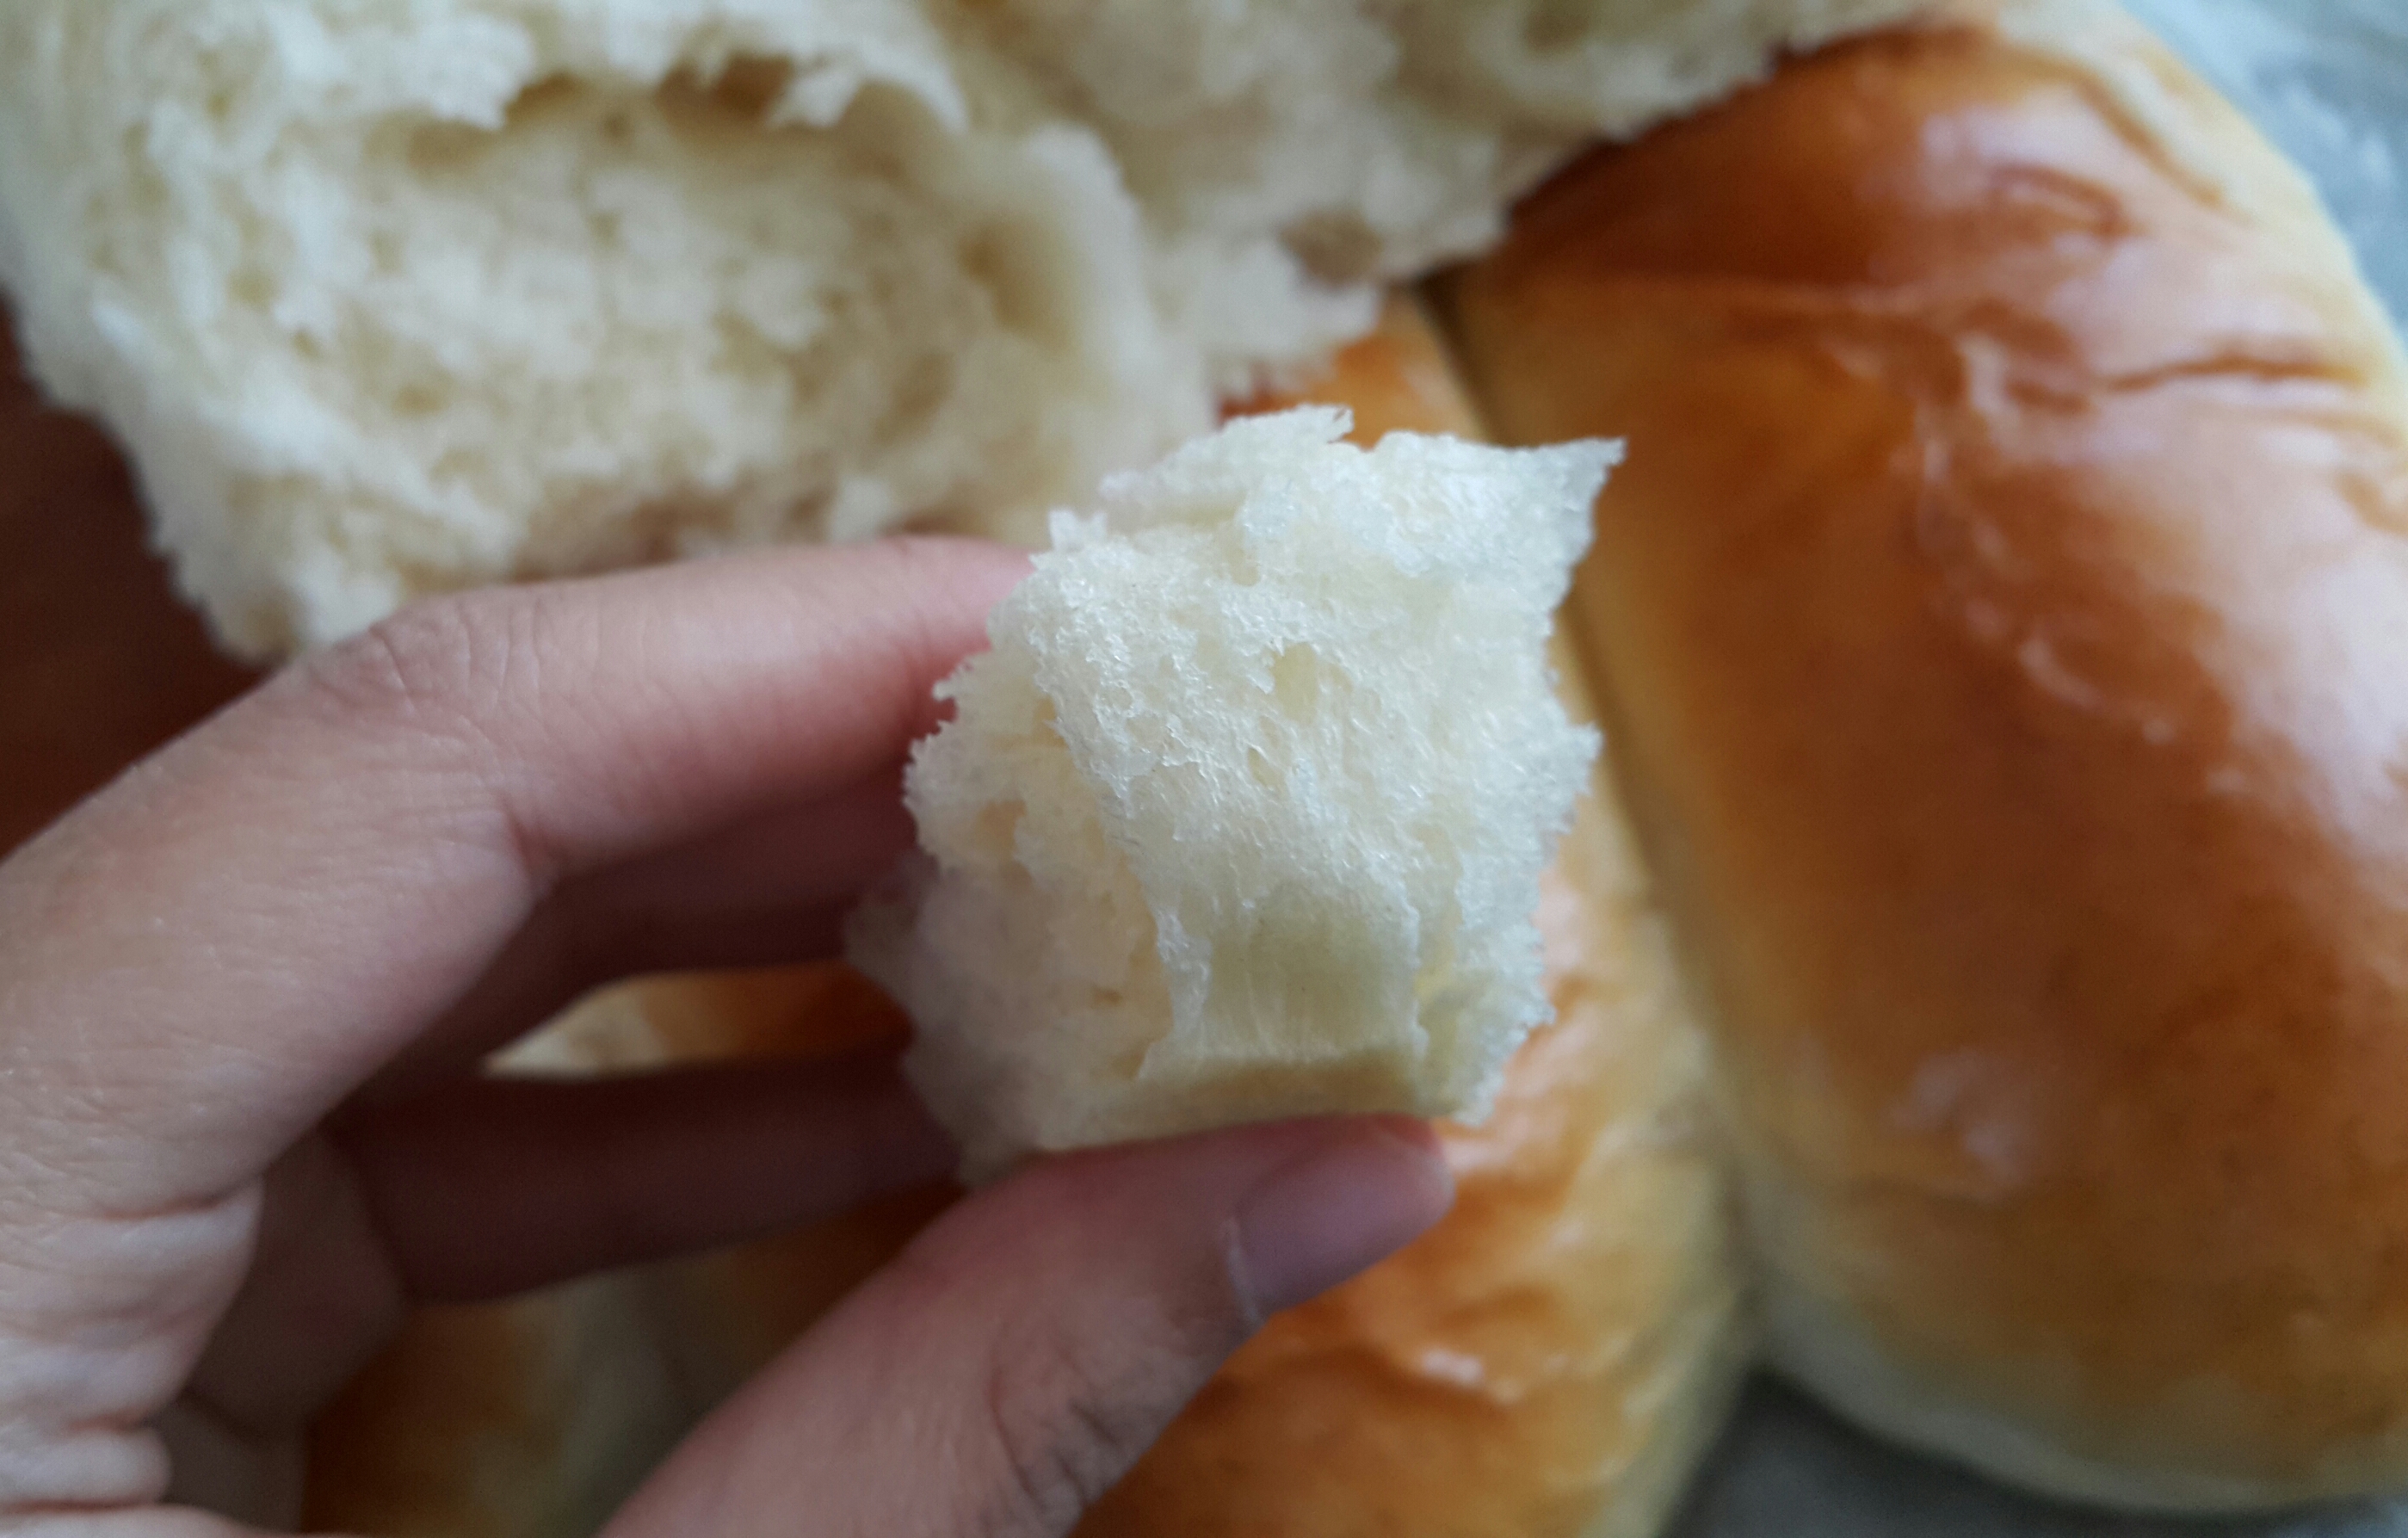
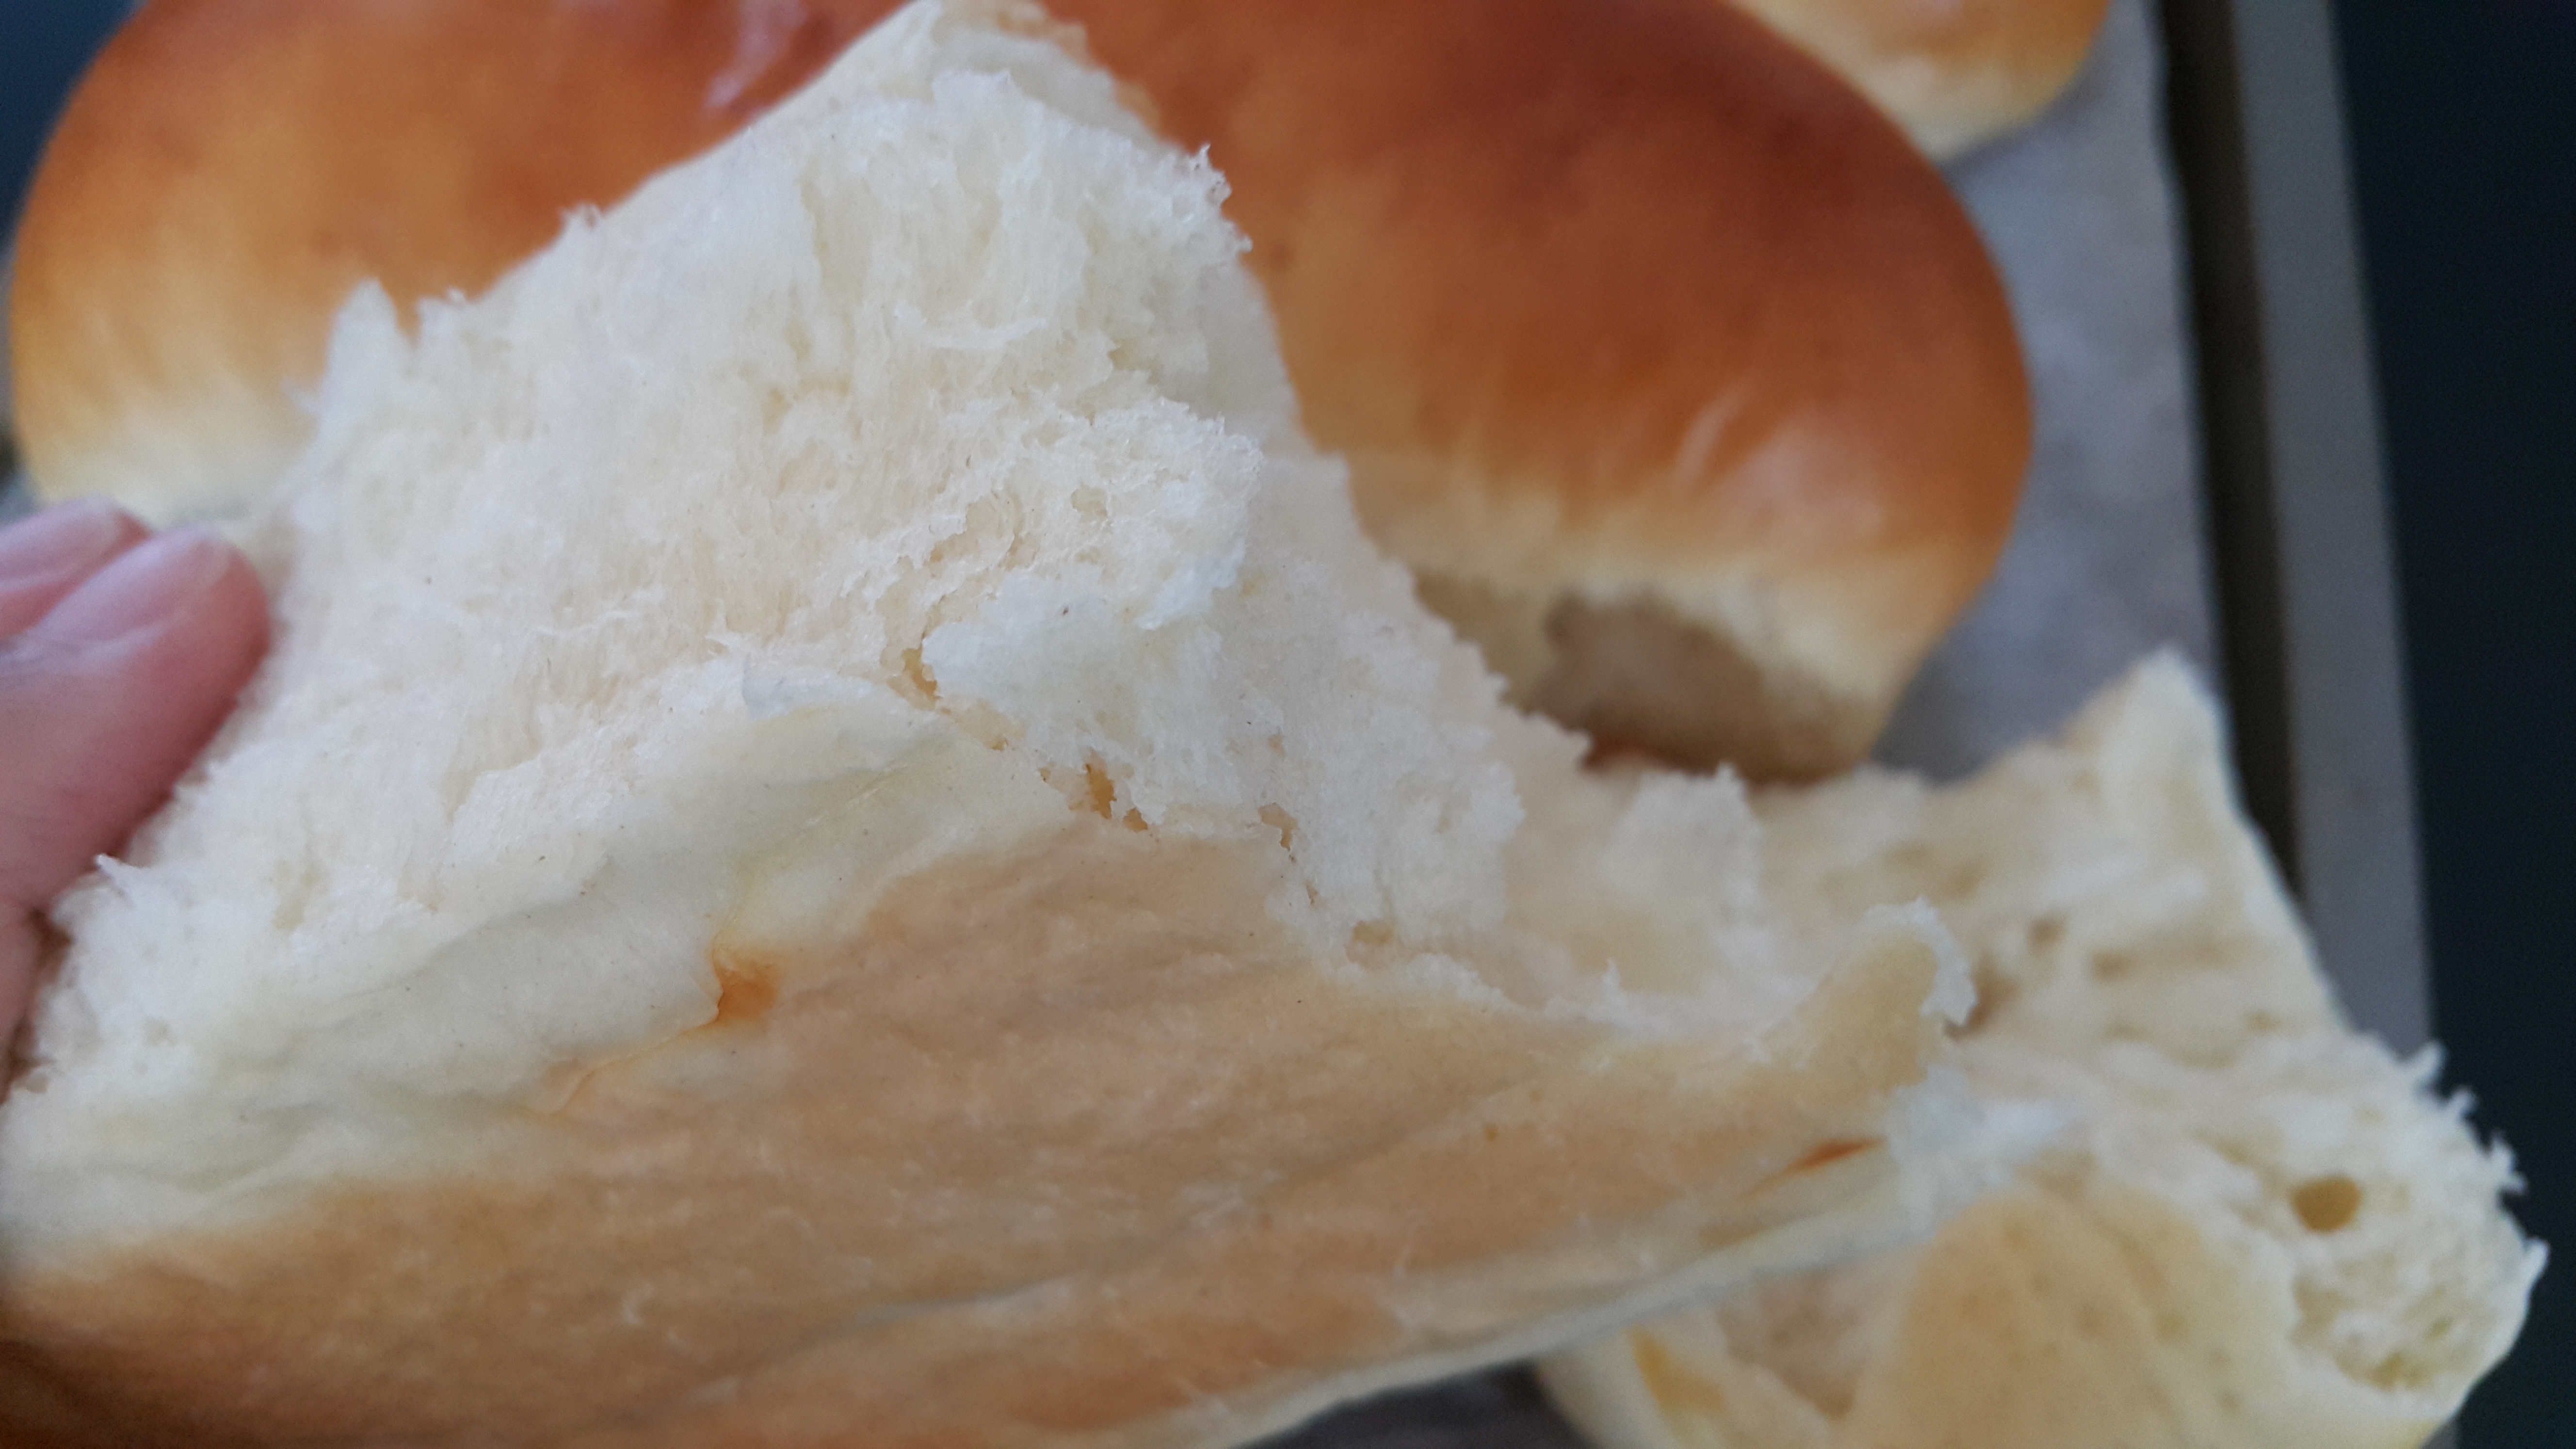
Is that enough to get you to make it yourself?
Enjoy. Enjoy it warm, or cold, or toasted, or slathered with butter. Or just tear into it. It’s all good.

Could you make this in a bread machine?
LikeLike
I haven’t tried making it in a bread machine, but give it a go!
LikeLike
Could I use a stand mixer to knead?
LikeLike
Yes, that should work!
LikeLike
Can you use this bread to make the old school submarine dogs with the hotdog inside?
LikeLike
Yes, that sounds lovely! Let me know how it turns out.
LikeLike